Dune: Awakening Deep Desert Map & Loot Tables
The Deep Desert Companion is your all-in-one solution for thriving in the Deep Desert. It contains a Deep Desert Map (with all key POIs), rotating Deep Desert loot tables and PVE guides for Testing Stations & Wrecks. Updated shortly after the reset each week.
Deep Desert Map
As of Patch 1.3.20.0, the Deep Desert is now split into separate PVE and PVP instances (both with the same layout).
In the PVP instance of the Deep Desert, mining yields and spice harvesting is increased by 250%.
Hit the 'PVE/PVP' toggle below the map to view the different loot tables for each instance.
Map Filters
Deep Desert POI Loot Tables
Updated for: 23rd June > 30th June
The loot tables below contain all of the Unique Schematics that are available from the PVE content in the Deep Desert each week. Row A (Mk5) loot tables are at the bottom (collapsed).
All Schematics
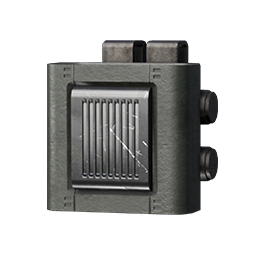
Adaptive Holtzman Shield
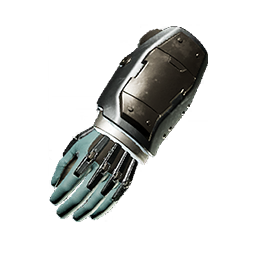
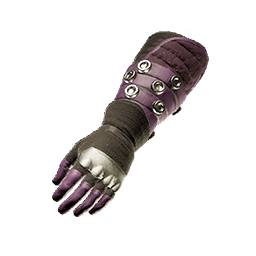
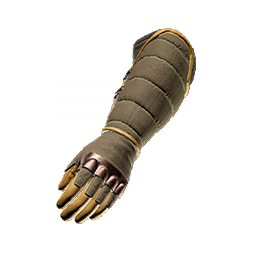
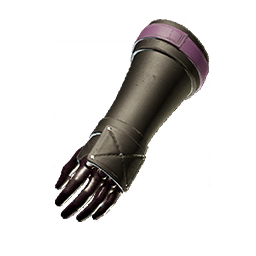
Circuit Gauntlets
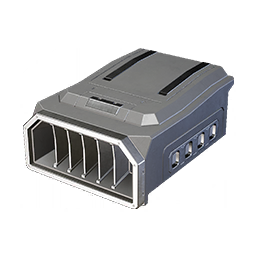
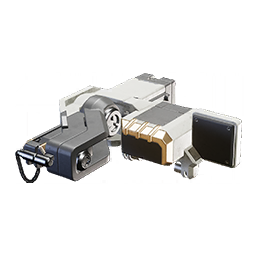
Compact Compactor Mk6

Focused Buggy Cutteray Mk6
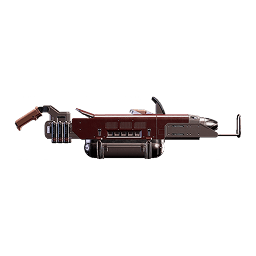
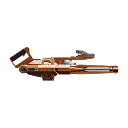
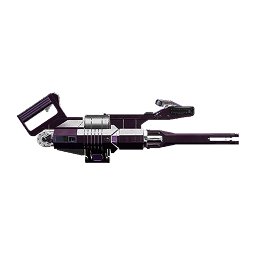
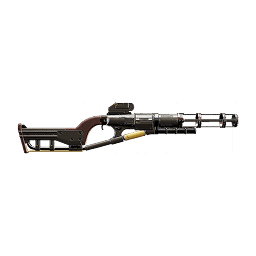
Kynes's Cutteray
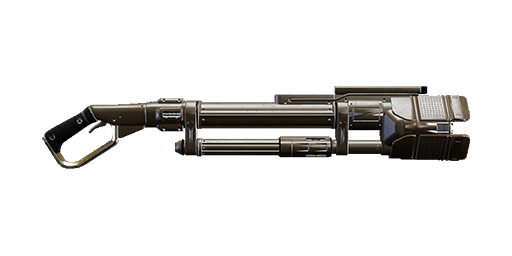
Perforator

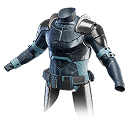
Power Harness
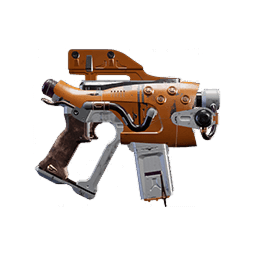
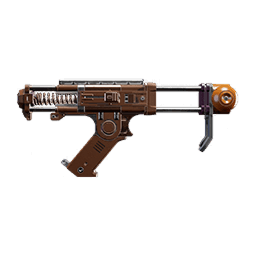
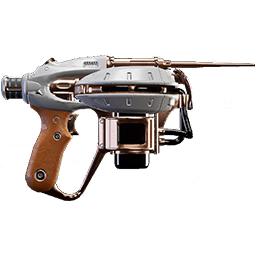
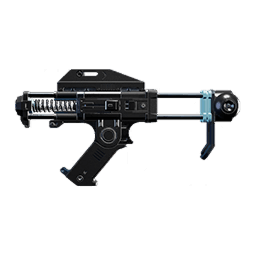
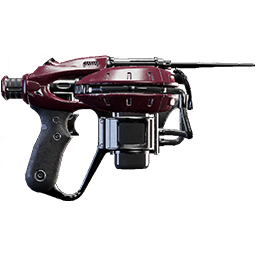
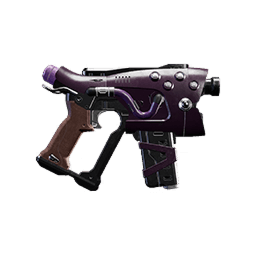
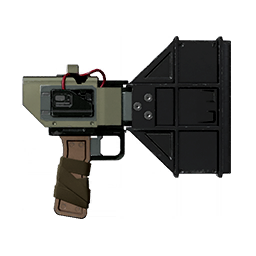
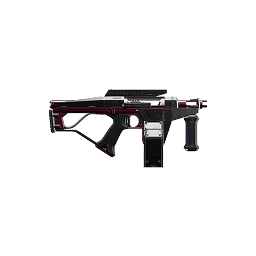
Regis Disruptor Pistol
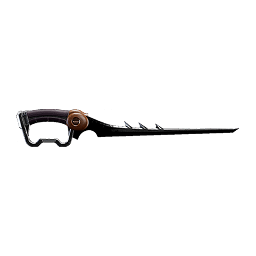
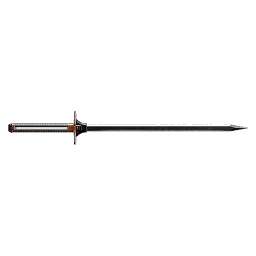
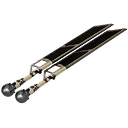
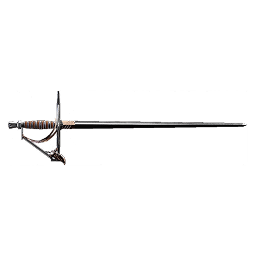
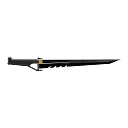
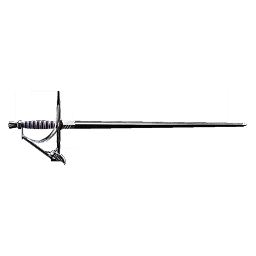
Replica Pulse-knife
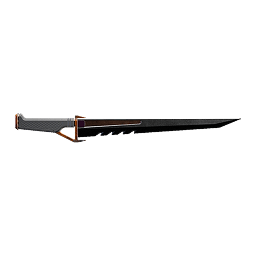
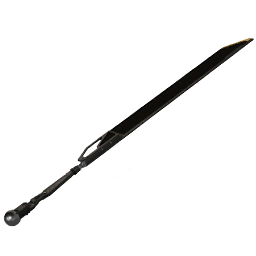
Replica Pulse-sword
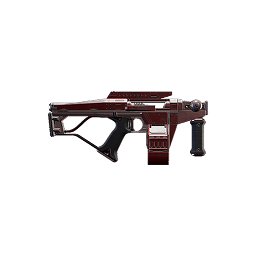
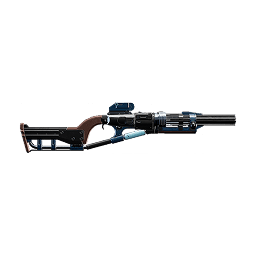
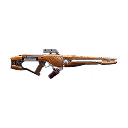
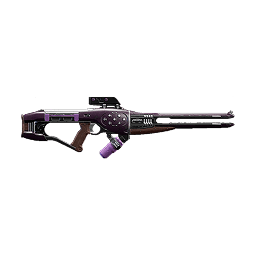
Seethe
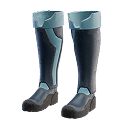
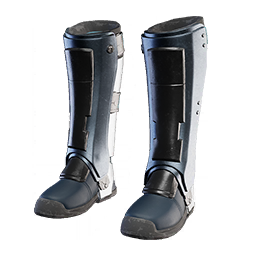
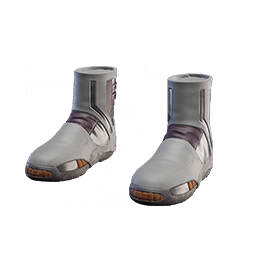
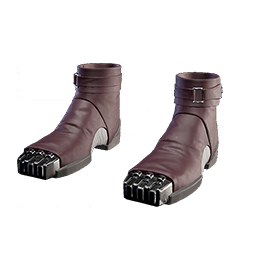
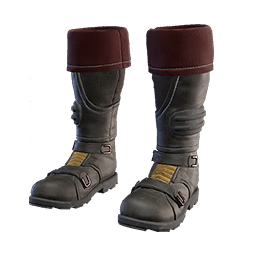
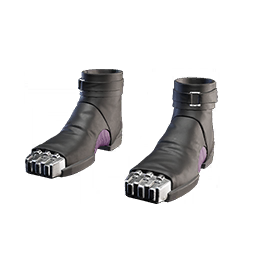
Tabr Softstep Boots

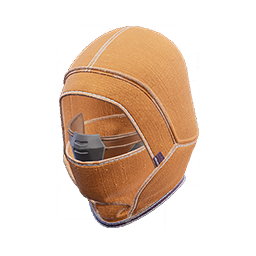
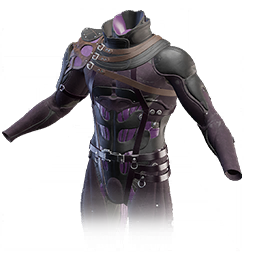
Tactical Radiation Suit

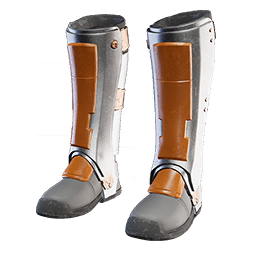
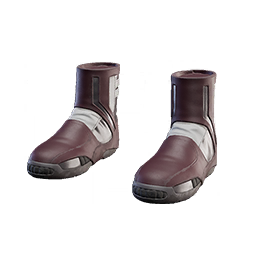
The Forge Boots
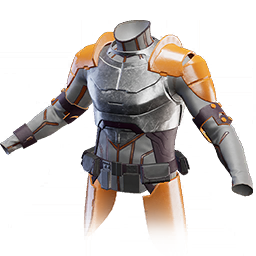
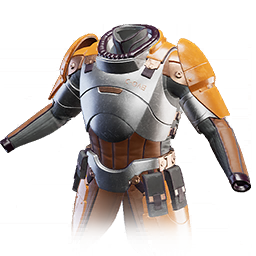
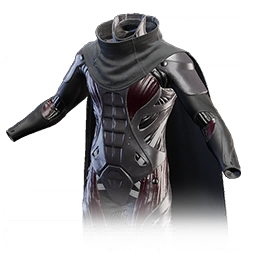
The Forge Chestpiece

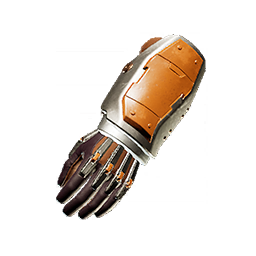
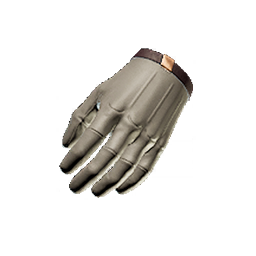
The Forge Gloves
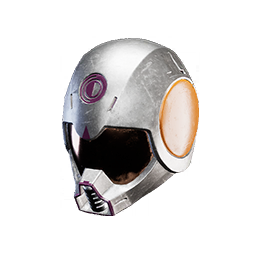
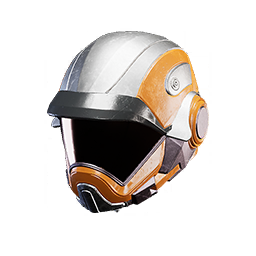
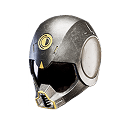
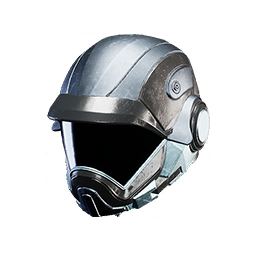
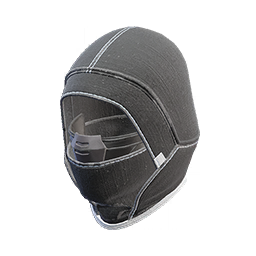
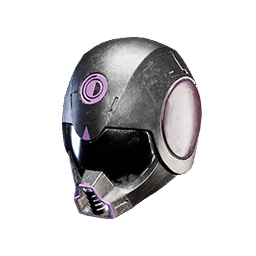
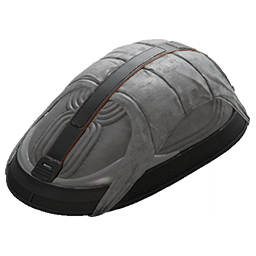
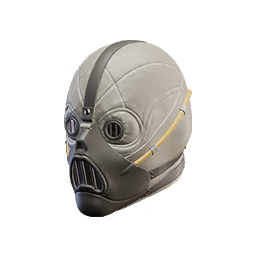
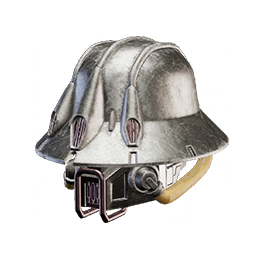
The Forge Helmet
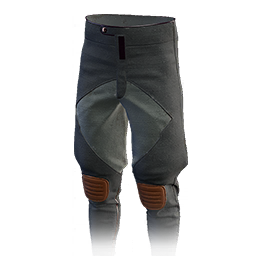
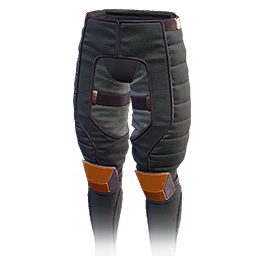
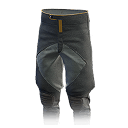
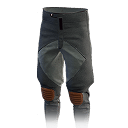
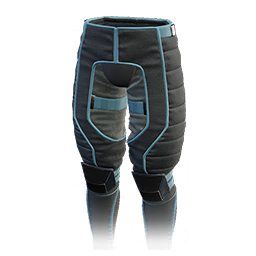
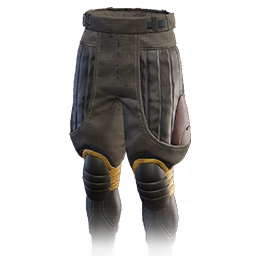
The Forge Pants
Young Sparky Mk6
Bigger Buggy Boot Mk6
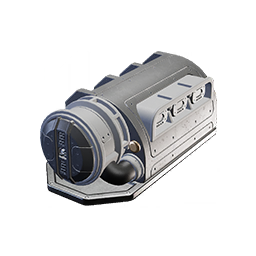
Bluddshot Buggy Engine Mk6
Ix-core Leggings
Shellburster
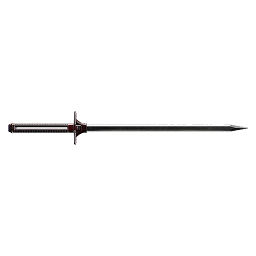
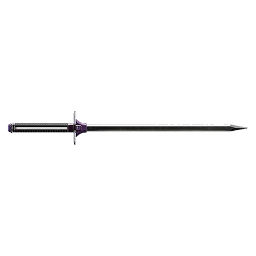
Static Needle

Steady Assault Boost Module Mk6
Stormrider Boost Module Mk6
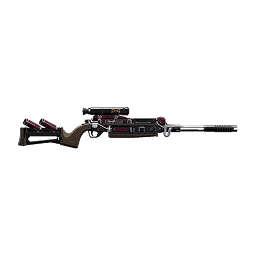
A Dart for Every Man
Albatross Wing Module Mk6
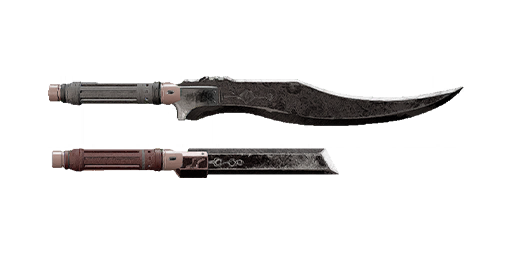
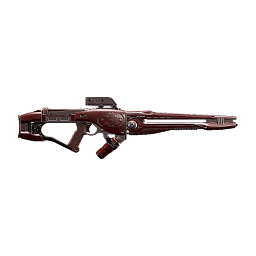
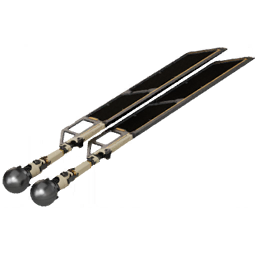
Burning Blades
Executor's Boots
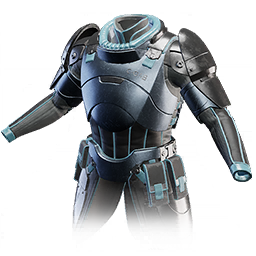
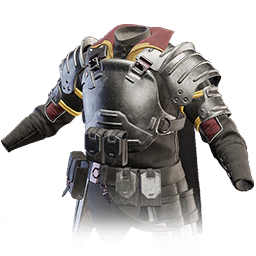
Executor's Chestpiece

Executor's Gauntlets
Executor's Helmet
Executor's Pants
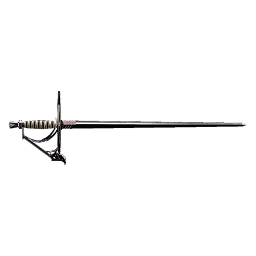
Halleck's Pick
Hummingbird Wing Module Mk6
Idaho's Charge
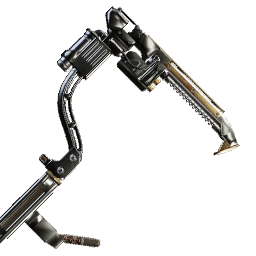
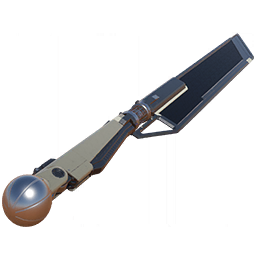
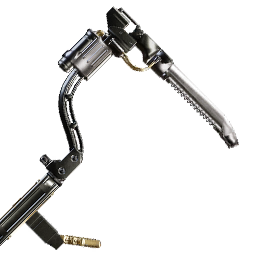
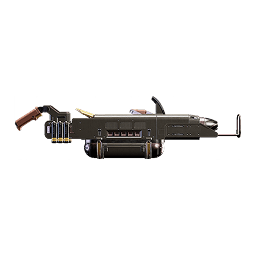
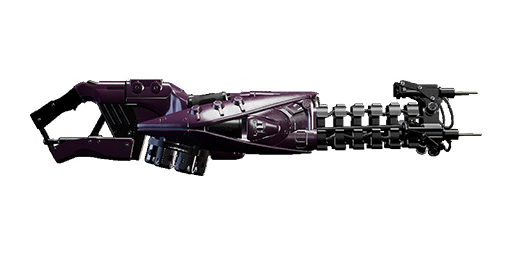
Omni Focused Dew Scythe
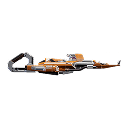
Walker Sandcrawler Engine Mk6
Way of the Misr

Bashar's Command
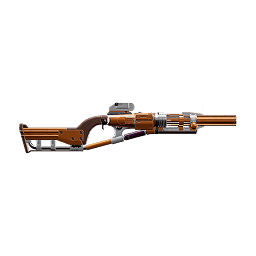
Collapsible Dew Reaper Mk6
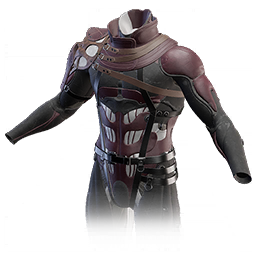
Crew Chief's Stillsuit Garment
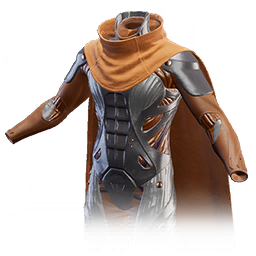
Desert Garb
Feyd's Drinker
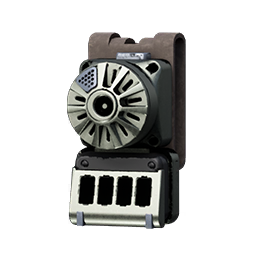
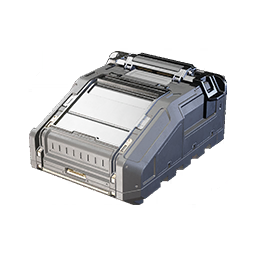
Filter Extractor Mk6
Glasser

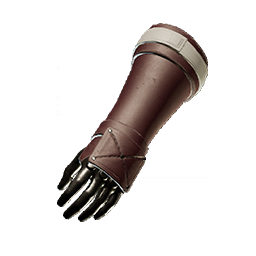
Hook-claw Gloves
Imperial Stillsuit Boots
Imperial Stillsuit Garment

Imperial Stillsuit Gloves
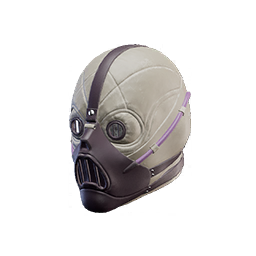
Imperial Stillsuit Mask

Impure Extractor Mk6
Mohandis Sandbike Engine Mk6
Night Rider Sandbike Boost Mk6
Pardot's Hood
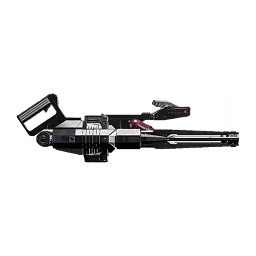
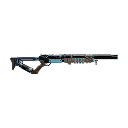
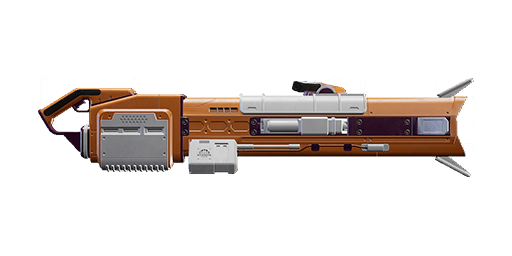
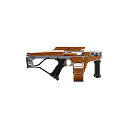
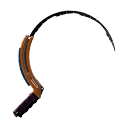
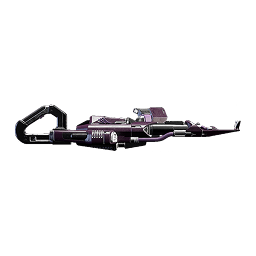
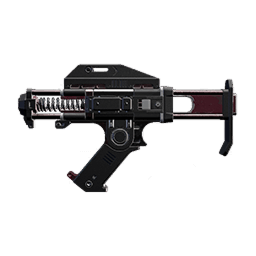
Penetrator
Rattler Boost Module Mk6
Roc Carrier Wing
Salusan Vengeance

Shaddam's Bladder
Shishakli's Bite
Steady Carrier Boost Module Mk6

Steady Treadwheel Boost Module Mk6
Swift Treadwheel Engine Mk6
The Baron's Bloodbag
The Emperor's Wings Mk6
Vaporizer
Villari's Stillsuit Boots
Villari's Stillsuit Garment

Villari's Stillsuit Gloves
Villari's Stillsuit Mask
Wayfinder Helm
Yueh's Reaper Gloves
Downed Ships
The Baron's Bloodbag
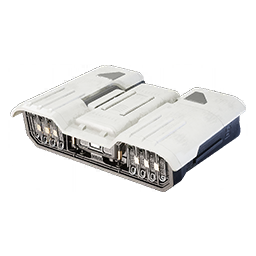
 Testing Stations (PVE Instance)
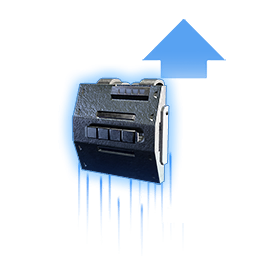
 Caves (PVE Instance)
Loot Cave (D6)
Loot Cave (C3)
Loot Cave (G7)
Loot Cave (I7)
Loot Cave (B9)
The Baron's Bloodbag
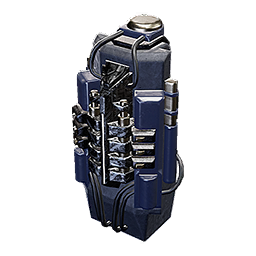
 Wrecks (PVE Instance)
The Baron's Bloodbag
Row A (Mk5) Loot Tables
Imperial Testing Station 148 (A4)
Filter Extractor Mk5
Maas Kharet Bloodbag

Hummingbird Wing Module Mk5
Imperial Testing Station 185 (A3)
Night Rider Sandbike Boost Mk5

Compact Compactor Mk5

Collapsible Dew Reaper Mk5
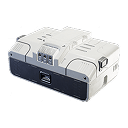
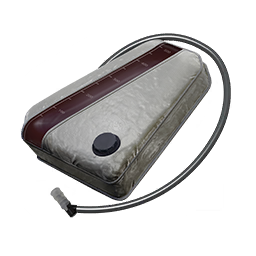
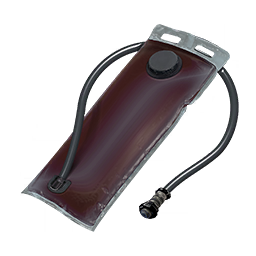
Double-sealed Stilltent


Steady Assault Boost Module Mk5
Imperial Testing Station 186 (A8)
Long Range Scanner
The Emperor's Wings Mk5
Focused Reaper Mk5

Albatross Wing Module Mk5
Imperial Testing Station 217 (A9)
Long Range Scanner
The Emperor's Wings Mk5
Focused Reaper Mk5
Albatross Wing Module Mk5
Imperial Testing Station 37 (A2)
Night Rider Sandbike Boost Mk5
Compact Compactor Mk5
Collapsible Dew Reaper Mk5
Double-sealed Stilltent
Steady Assault Boost Module Mk5
Imperial Testing Station 93 (A5)
Filter Extractor Mk5
Maas Kharet Bloodbag
Hummingbird Wing Module Mk5
Wreck of the Archidamas III (A3)
Focused Buggy Cutteray Mk5
Impure Extractor Mk5

Wreck of the Cycliadas (A3)

Wreck of the Dioedas (A4)
Wreck of the Eumenes (A1)
Wreck of the Hicetas (A1)
Stormrider Boost Module Mk5
Wreck of the Hyperbatas (A2)
Wreck of the Orsippus (A9)
Wreck of the Proxenus (A7)
Focused Buggy Cutteray Mk5
Impure Extractor Mk5
Wreck of the Stasanor (A9)
Focused Buggy Cutteray Mk5
Impure Extractor Mk5
Wreck of the Xenophon (A5)