The Great Convention Part II kicks off with Dune's Chapter 3 instalment and is Act 4 of the main storyline.
You will get access to the first quest, 'Call to Arms' once you have completed The Great Convention Part I, culminating with the quest 'Noctua's Return.'
Required Gear: If you are planning to do the quests back to back, take the following with you before you start:
- Cutteray
- Radiation Suit
- Hand Scanner
Call To Arms
We're kicking off Act 4 by heading to Harko Village to speak with Elara Tuek. You'll find her in the back room of the bar, as usual.
She'll direct you to speak with her contact at the north exit of Harko Village, speak with him and you'll be taken to the Neo Carthag Arena.
The Art Of Kanly
Arena First Tier: Scavenger Waves
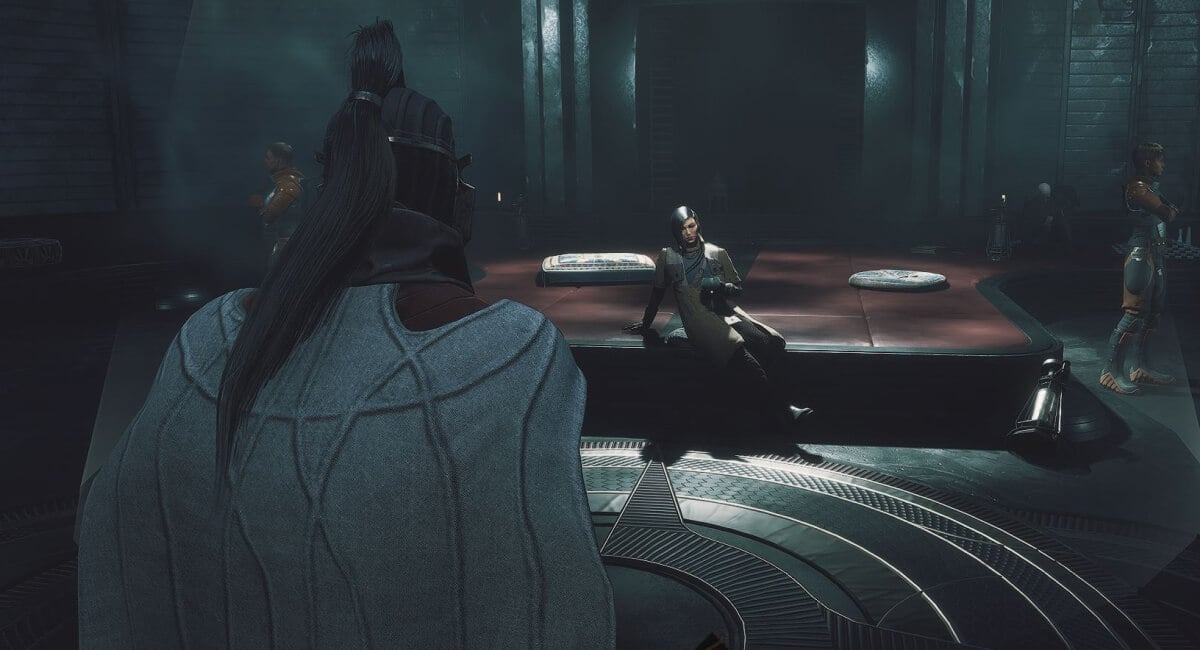
Speak to Maksim Dubrov at the gate to the arena to trigger a pretty awesome cutscene of a duel in the Arena.
Continue the conversation with him to begin your first Arena fight, against a pack of Scavengers. There are around ~8 mobs to kill, and they seem to be around Mk4 (Aluminum) level difficulty, dying to a single melee attack from a Mk6 dagger.
Note: There is a vendor before the fight (behind you on the right) where you can buy weapons and Healkits. You will enter the fight at whatever HP you enter, so heal up fast if you go in on low HP.
Arena First Tier: Brute the Scrapper
Speak to Maksim Dubrov again to face off against a more challenging opponent, Brute the Scrapper.
Brute is a 3-phase boss and definitely a little bit harder, probably around Mk5 (Duraluminum Tier) difficulty. At the start of each phase, two unshielded melee adds will spawn.
Once you take down his shield, he doesn't seem to get it back, so nuke it down as early as possible to leave him vulnerable. He's easier to deal with at range than in melee as he appears difficult to stagger.
Take him down and chat with Maksim again, who'll send you to the Sheol to find out what happened to his missing courier.
Secrets of the Exile
Required Gear: Radiation Suit + Cutteray.
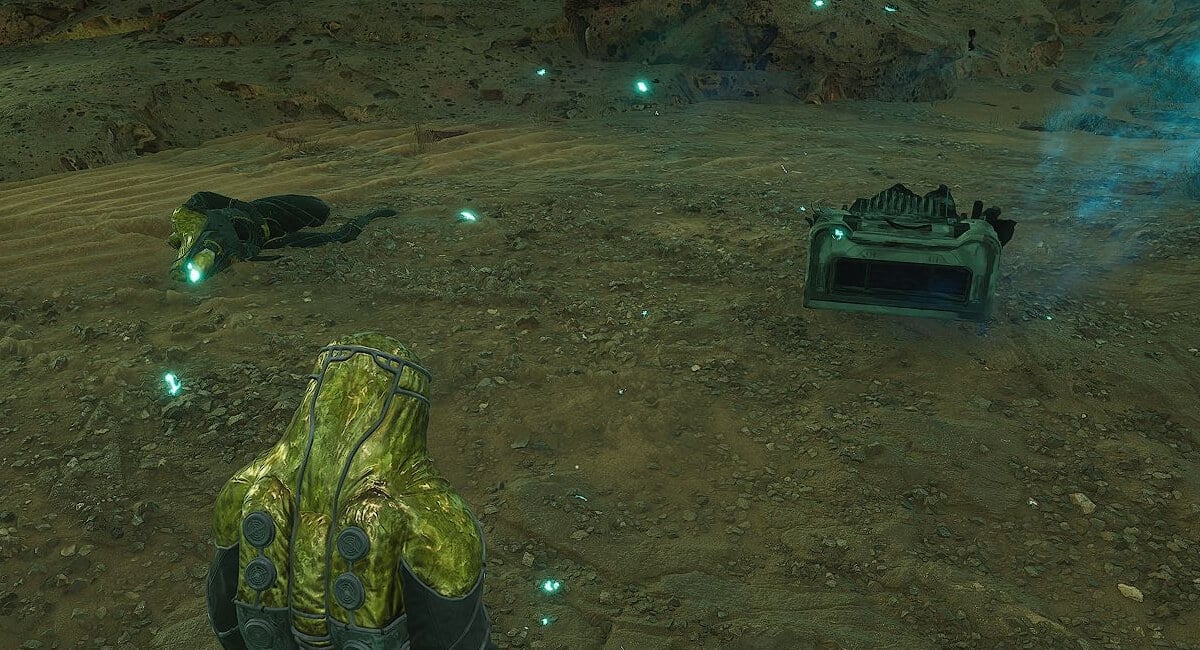
Head to northwest Sheol, where you'll find a downed 'thopter. Locations below.
Beside it is a body and a metal container, interact with them both.
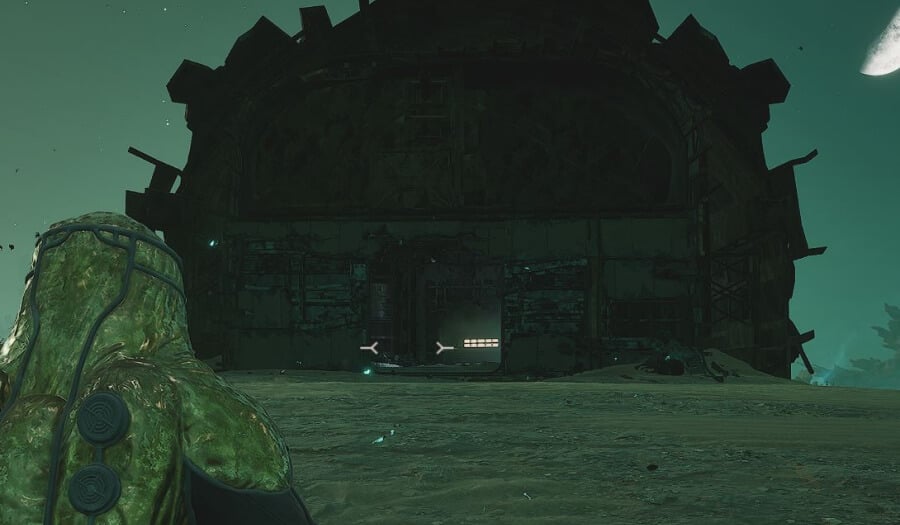
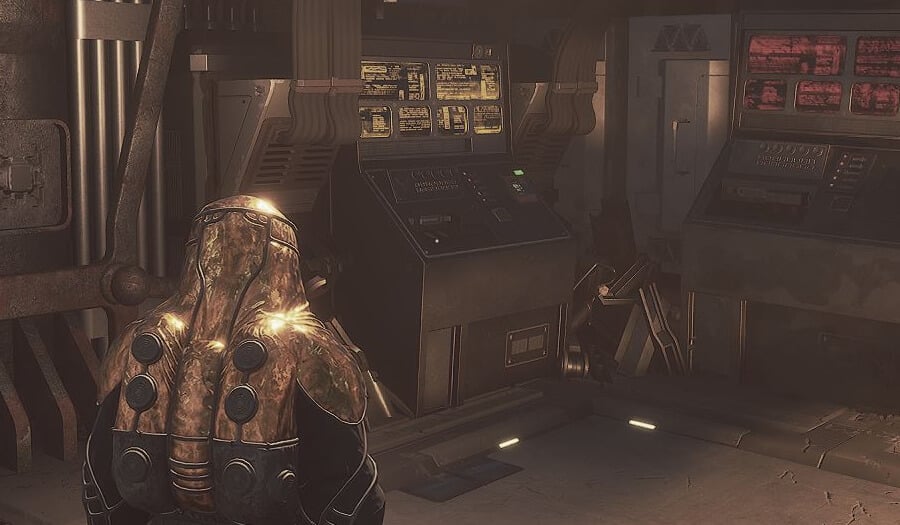
Next head just a little south of the Wreck of the Ourea and Cutteray through the door on the Downed Ship. Inside you will find the Radiation Core, however in order to pick it up, you must fire 'close' it by interacting with a machine in the room just behind it.
You'll be ambushed by three enemies when you exit, kill them or ignore them then head back to the Neo Carthag Arena which is just beside Harko Village on the Overland Map.
Arena Second Tier: Kirab Waves
Speak to Maksim and hand in the Radiation Core to begin Arena Fight Three, against three waves of Kirab. These are pretty easy again, around Mk5 difficulty.
Arena Second Tier: Aren the Exile
After defeating the Kirab, speak with Maksim again to challenge the second arena boss, Aren the Exile. Similar to Brute the Scrapper, he'll summon a couple of adds each Phase.
He's much easier to deal with in melee because he is so easily staggered, allowing you to chain slow blade attacks. Dispatch with him to complete Secrets of the Exile.
Breaking the Chains
Required Gear: Scanner
Talk to Maksim again, and he'll send you on another errand, this time to track down a shipment of 'elacca' in the Deep Desert.
Make sure you enter the Deep Desert from the northeast entry point, as the quest takes place in sector A9.
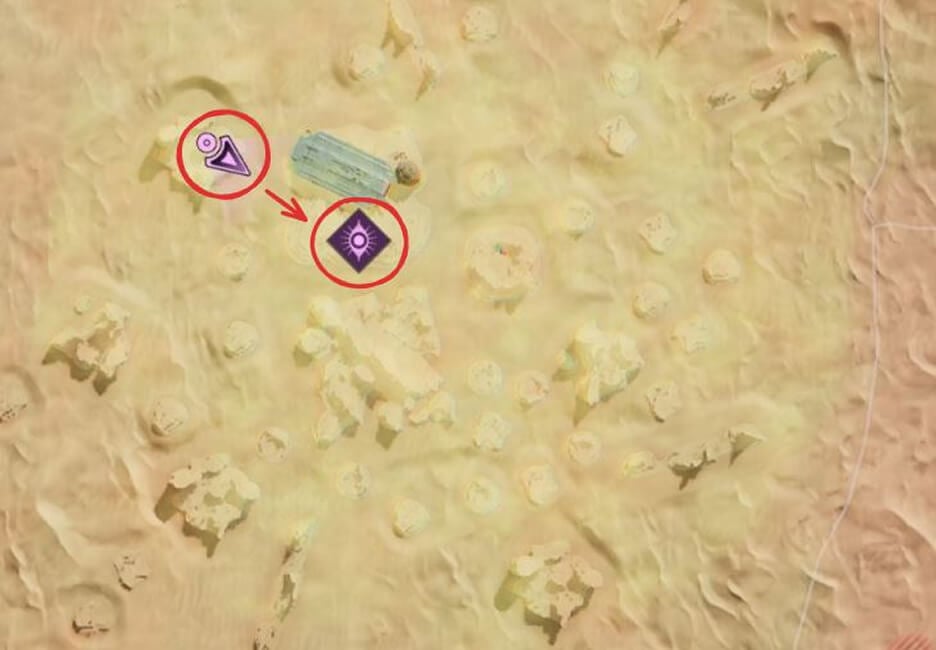
Navigate to the quest map marker to find another downed 'thopter. Scan the area just left of the ornithopter (if facing the Testing Station) and you'll notice the quest icon appear.
Examine the area to find footprints leading into Testing Station 217.
This is quite a simple Testing Station, there's one short 'lock-in' (3 enemies) but all of the enemies are Duraluminum Tier (Mk5) so keep that in mind.
We have a guide for this Testing Station if you want to refer to it, but otherwise, you'll find the quest item down the stairs, after the lock-in room.
Finally, you'll have to collect three crates of elacca from throughout the Testing Station. Just follow the map markers for these. A few Atreides troops will spawn each time you loot a crate.
Head back to the Neo Carthag Arena and turn the quest in to Maksim to begin your next fight in the Arena.
Arena Third Tier: Drugged Fighters
In this arena fight you'll have to deal with three large waves of unshielded, drugged fighters. Take out the one ranged enemy in each wave first and then just deal with the other fighters using any ranged weapon.
Arena Third Tier: Slavers
Your next encounter is with three waves of Slavers. They are a little harder than the Drugged Fighters, but just keep moving and take out the ranged enemies first, leaving you time to deal with the melee shielded Slavers.
Arena Third Tier: Master of Chains
Your final encounter in the third Arena Tier is the Master of Chains. He's probably the most difficult encounter so far, but still easy enough if you are in Mk5 or Mk6 gear.
Keep moving around the arena and dash to remove his drillshot hits. Deal with the adds first (which spawn every 30 seconds or so) and then slowly chip him down. Ranged or melee, both work.
Extinguishing The Flames
Required Gear: Cutteray, Radiation Suit
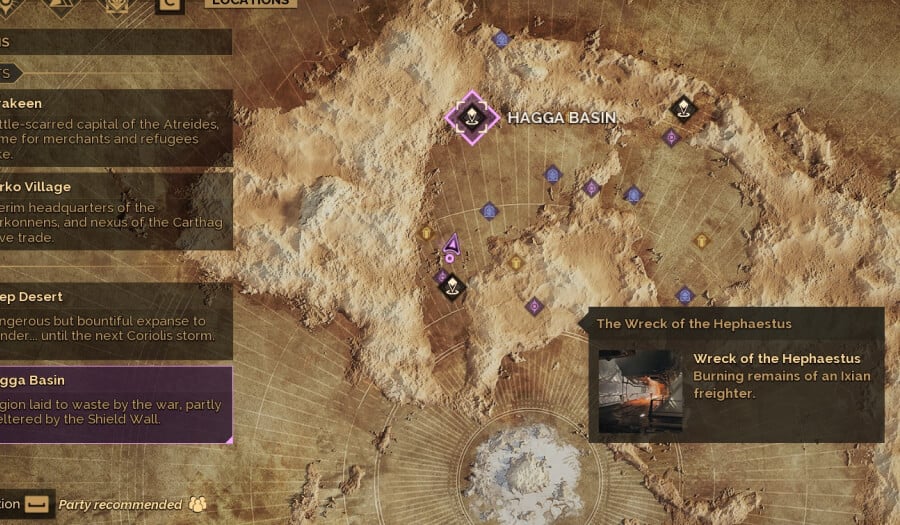
Time for another errand, this time we need to venture to the Wreck of Hephaestus, which can be found just east of Harko Village on the Overland Map.
Follow the markers and interact with the corpse, which will lead us to search the cargo deck. You will encounter five enemies on the way, all of whom will come at you one at a time. The room we need is directly to our right (the green door), but be sure to look left first, behind the door that requires the Cutteray, for a bit of extra loot.
Once you enter the room, you'll be attacked by five or so guards. Once done, put on your Radiation Suit and enter into the next area. The area is short, so you can just run through. There is one Iodine Tablet in the next area if you don't have a Radiation Suit. The next area has two waves of enemies, around four in each. Once done, head through the next green door.
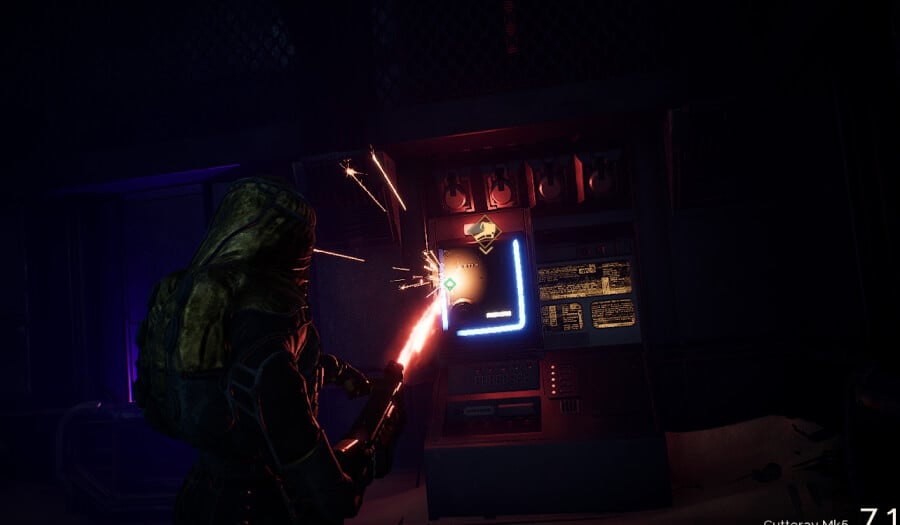
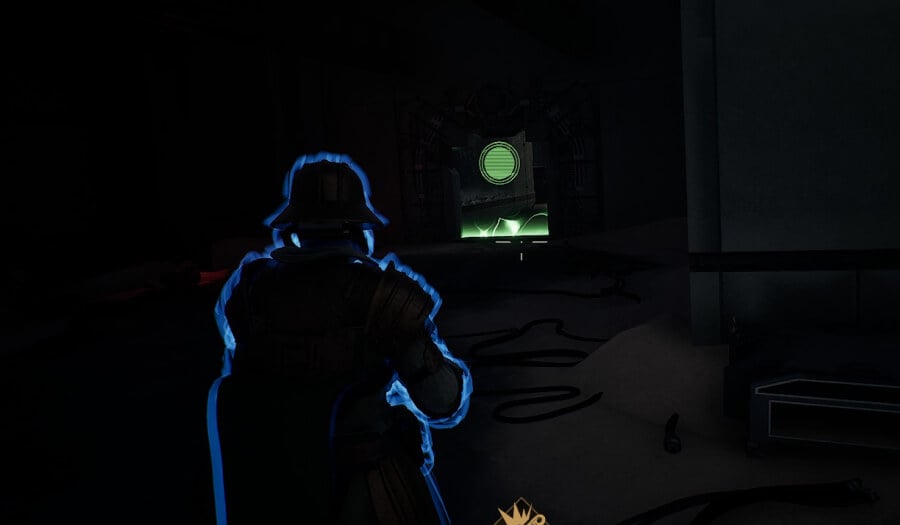
In the second cargo area, follow it round to the right, where we will once again be attacked. Kill the guards on the left, and then go to their location and take a right into the room. As shown above, use the Cutteray on the panel to unlock the console to turn on the lights and reveal the Purple Key Band.
Note: The key is very awkward to pick up; we had to stand to the left of it.
Now head through the now unlocked door, loot the chest and the body. Head back to where the guards attacked us and leave the ship. From the Overland Map, head back to Neo Carthag Arena and speak to Maksim Dubrov. Once done, we will start the next series of fights in the Arena.
Arena Fourth Tier: Sandflies Waves
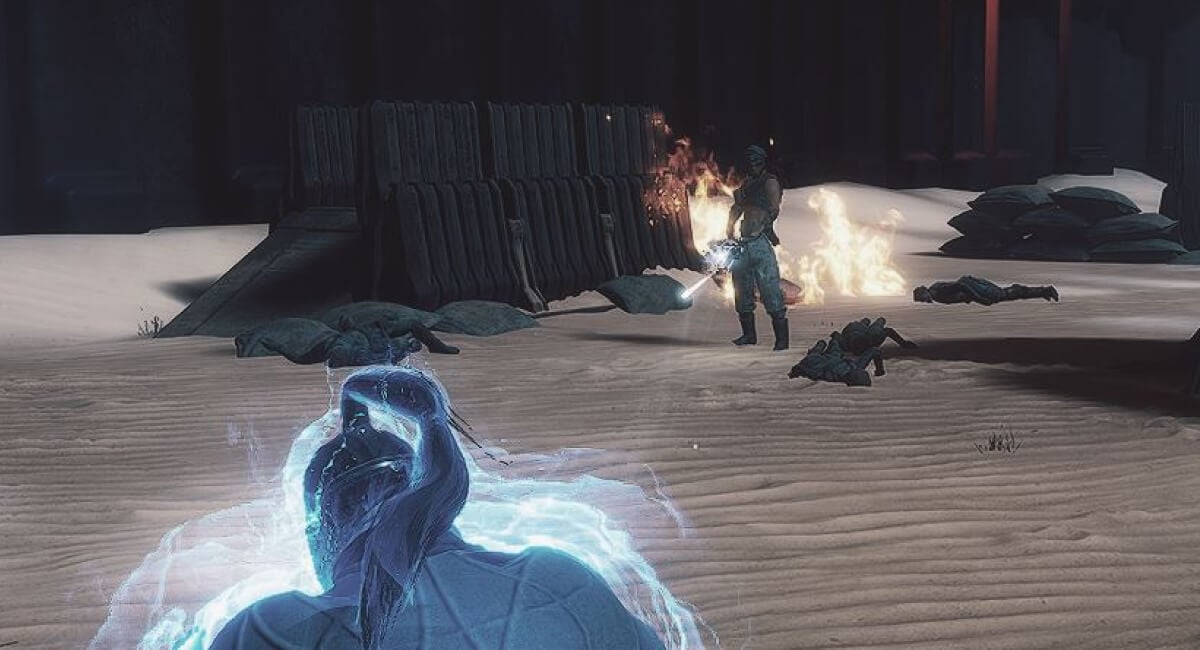
Next up is a wave of Sandflies. The first wave will feature two Flamethrower Heavies and one Sniper using fire rounds. Take out the Sniper from afar and then chunk down the Heavies. The second wave will feature two melee units with large shields that come at you separately making them easy to dispatch. Overall, a fairly easy fight.
Arena Fourth Tier: Sandflies Waves Round Two
Next up is a similar fight, just a little harder, and this time you will fight in the dark. This does technically make spotting the melee guys a little harder. The first wave is two Flamethrower Heavies and one melee; just deal with the melee first. Wave two is two ranged enemies with fire attacks and one melee. The third and final wave is two Flamethrowers and three melee. The last wave is the only really hard one. Just take down one melee quickly and then kite the rest.
Arena Fourth Tier: Sandflies and Suboids
The last set of enemies before the boss is fairly tough. Wave one will be two melee guys that will rush you but die fast. Wave two is 12 of those same enemies. Pick off the group closest to you, then start to kite the rest. The final wave is a little harder; it features fewer enemies, but three of them will have shields. Make sure to pick off the shieldless ones first, and have an escape ability ready. We found the turret was very useful in this fight.
Arena Fourth Tier: Thrax the Flamer

While it seems hard, Thrax is probably the easiest boss so far. He has a fairly low shield, and apart from his slow dash towards you, he's really easy to just kite away. He will spawn two adds at each new health threshold, but once you deal with the first two, it's easier just to nuke him down and get it done with.
A Deadly Poison
Required Gear: Cutteray
For all of you wondering 'where to start the Journey for A Deadly Poison', congrats, you've reached it! To complete the quest we need to find even more crazy people for the Arena for Maksim Dubrov. It's time to travel to Old Carthag, which you will find on the Overworld map, between Harko and Arrakeen. Once there, head down the right side path (red) and not the green path to the left.
Once you go up the stairs after the room with the projections, take the left path to advance. This will require the use of a Cutteray. You will encounter two sets of enemies on the way to the next checkpoint.
Once you go through the green door, a three-wave fight will start. Wave 1 is two melee, one range, wave 2 is the same, and wave 3 is two range and one melee. It's fairly simple, just take out the range first.
Once done, head into the green room, and the chest will have a Mk5 Assault Ornithopter Engine if you need one. Next, head through the floor using the Cutteray.
Note: This was bugged for us as the floor panel remained; just stand on it, and you'll fall through it.
Go to the Pod room, which will trigger the next step. Then, go back to the previous room and interact with the console. This will trigger two enemies to spawn in the two rooms to either side of you.
In the next room, we will trigger an ambush, which will feature one melee and two ranged enemies that come from behind. As previously, open the pods, but this time we are retrieving one of the abominations. Make sure to loot the purple key card on the left.
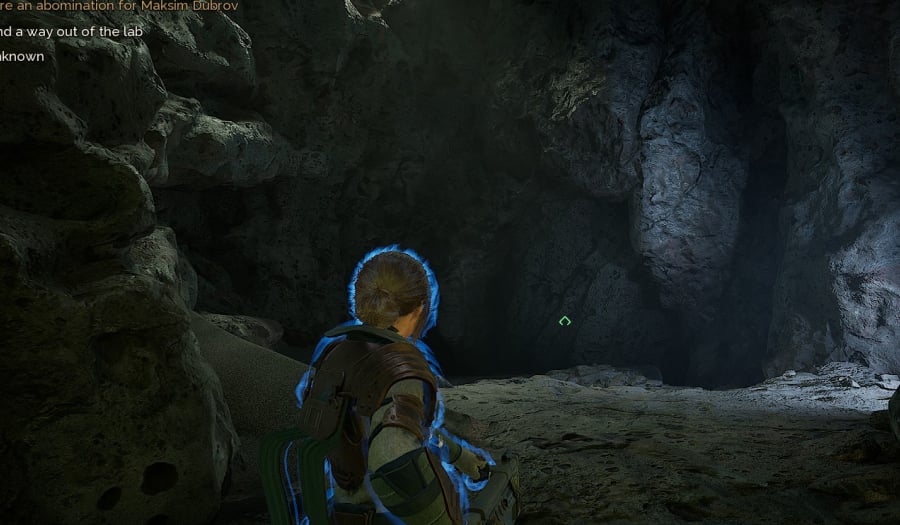
Now we need to escape, which is a case of following the door out and then climbing. When you reach the top, however, the game is a bit odd. It will make it seem like you have to go up again; however, you need to break through a wall, as shown above.
Continue on to the next stage to unlock the Dual Blades.
Arena Fifth Tier: Zealots
This is a slightly harder fight just due to the new terrain. The first wave will feature two ranged and two melee, which is fairly easy. Next up is two ranged and two heavy. The last one has the fewest, but with added poison attacks, making it a little harder. Take out the range unit first, then drag the melee away from the heavy.
Arena Fifth Tier: Abominations
This fight is all about kiting once again. The Abominations are all melee, with the larger ones also using poison grenades. Bait them onto higher ground then jump between platforms to pick them off at range. Grenades and turrets are really nice here.
Arena Fifth Tier: Sinnu the Poisoner
As the name suggests, and the previous rounds have hinted at, Sinnu likes poison. As always, the fight is over three phases, though this one comes with an extra reveal at the end. The fight itself is pretty simple. Kite them around and keep your distance, as speed is very much the name of Sinnu's game. They use melee attacks and grenade showers to slow you down. They will spawn adds at each phase, though these are just Abominations, so they go down easily.
Completing this will reward you with Adept Dual Blades and Feyd’s Spare Blades, the Dual Blades.
Arena Fifth Tier: Facedancer Assassin
While a fun fight for the story, it's a fairly easy fight. Stay on the high ground, and just unload bullets into them as it seems they get stuck in the shield charge stage. Move between platforms if you need some extra time. There are no adds for this fight.
The fight ends in a lengthy conversation, which will lead us to the next stage of the quest.
Meet the Free Traders
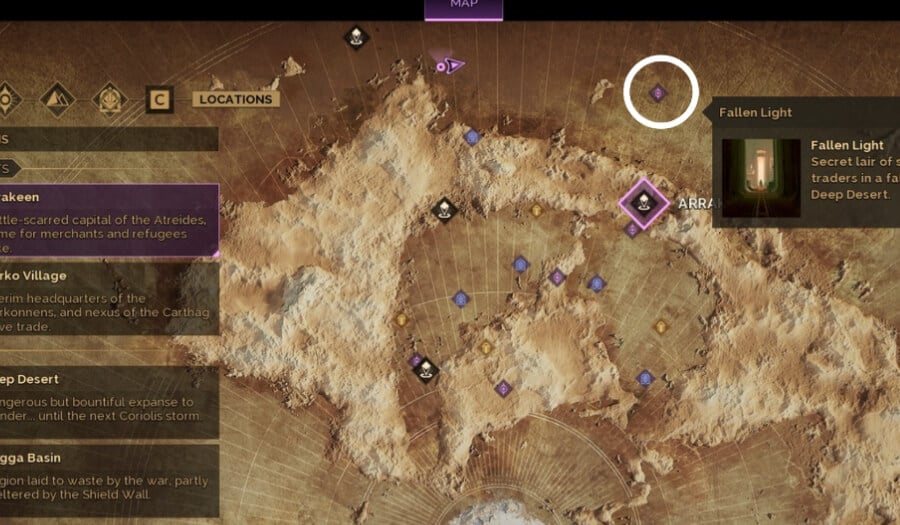
First, head back to Harko and speak with Elara Tuek; she's in her usual location. She will task us with heading to Fallen Light, which can be found on the Overworld map once again. The location will state that it's in the Deep Desert; however, while that's true, you need to head to the location's dedicated marker, and not to the Deep Desert.
Once the cutscene has played out, make your way through the halls to the green gate and start the encounter. You'll have a friend, but you will face three waves of enemies before being able to move on.
Next, we will get separated and be confronted with a climbing puzzle. Loot the body if you need a Power Pack and a Leap Suspensor Belt. Head to the right and interact with the panel. From here, head upwards, then down into the next stage, where we will meet up with Fryd.
Another arena awaits, three waves, though this time the enemies are a little tougher. We'll then get another jumping puzzle, just loot the key from the green room on the right. Again, we'll link back up with Fryd before doing another set of arena fights.
Same again, though once more a little harder than before. The terrain here makes it easy to catch your breath with waves spawning on the high and low ground.
Minotaur Fight
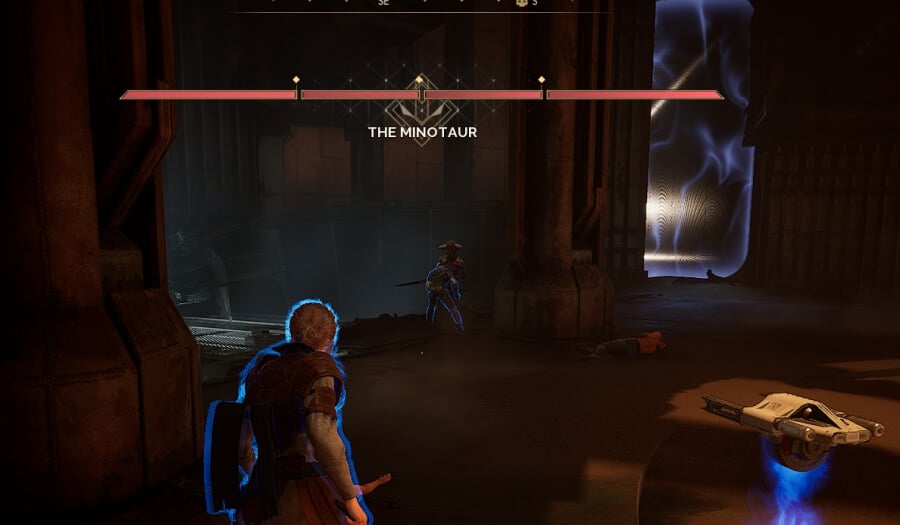
Overall, a fairly easy fight. He will spawn friends every 30 seconds, meaning you can either nuke him down fast but face being overwhelmed, or handle each wave as it comes. Grenades and turrets help a lot, but work on avoiding direct contact with the Minotaur when possible. Once the fight is over, we get the reveal of what is really going on.
Fight through the first two rooms of enemies before getting the chance to confront the Face Dancer after a small cutscene involving them and Esmar Tuek. After the story dump, it's time to head back to Harko Village and speak to Elara. This will reward us with Asterion's End, a 110 damage Long Blade.
Now, head to Hagga Basin and to any Trade Post.
And that's it, Act 4 is done and we'll need to wait for Act 5 to see where the story continues next!