The Great Convention (The Call) in Dune Awakening is the beginning of the new chain of contracts that arrived with Chapter 2.
Following on from the end of Searching for Answers, The Call begins the next phase of the Dune Awakening main story.
The quest will be in your Journal (J) by default, but will need to be triggered first. If you started the new patch with the Lost Harvest DLC purchased, note that this will auto-trigger first instead.
Quick Links
- The Call
- Called to a Count
- Proces-Verbal
- Touch of Evil
- From the Ashes
- The Janusian Faithful
- The Bloodline
- Noctua’s Return
Before You Start - Preparation Checklist
- You will need a Handheld Scanner for the 'From the Ashes' contract
- Ornithopter is highly recommended, as you will be travelling around a lot
The Call
To start The Call, you will need to head into the journal (J) and head to The Great Convention category, which is underneath The Assassin’s Handbook. To trigger the quest to start, head to any of the Tradeposts in Hagga Basin, which will start a cutscene which begins the quest.
From here, we are swiftly sent on the next part of the contract which will see us head to Harko Village for Called to a Count.
Called to a Count
Now it’s time to head to Harko Village. You can do so via the fast travel at the Tradepost you are at, or just fly there yourself. Once you arrive, the next step will trigger once you start heading into the main hub. When it does, it will tell you to speak to Elara Tuek at the Hannivar’s .
Proces-Verbal
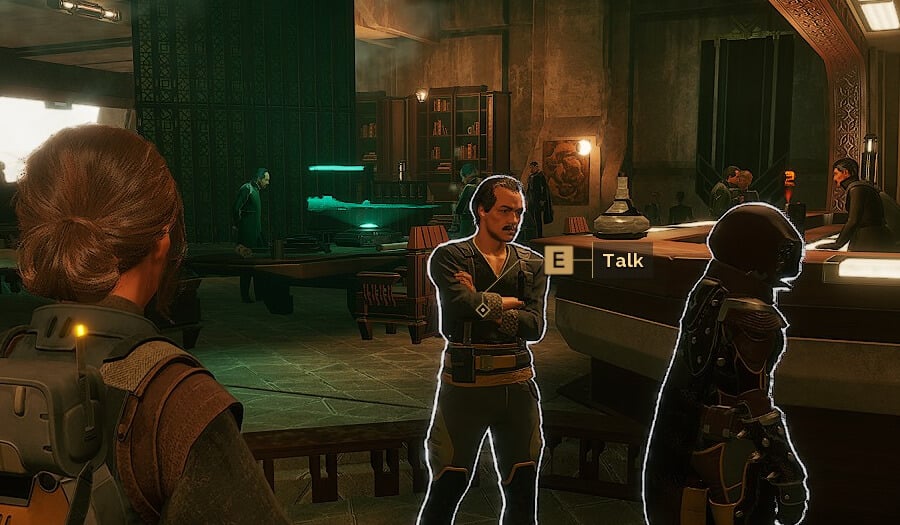
Next up, we need to travel to Arrakeen. Same process as before, either fly or take the Fast Travel. Now we need to head into the Imperial Consulate (Tax Office) and speak to our contact.
Next, we need to head to the Salusan Bull (upper section) and speak with Osten Laithe. Once you arrive, you’ll need to speak to Ugo Firenze (shown above), who is at the top of the stairs of the Salusan Bull. Once that dialogue is over, head to the Private Room in the back left corner of the Salusan Bull. This is an instanced location.
Osten Laithe Investigation
Next, we need to search for clues as to what happened to Osten Laithe.
We have broken down the remaining steps of the contract into bite-size bullets for convenience, since it's a large number of small steps:
- Interact with Osten Laithe head, then mouth, then eyes
- Interact with the voice recorder on the table
- Head back outside the room and speak with his assistant, Hester Klimt (a lady outside the room with her arms folded)
- Next, head to the Clinic in Arrakeen and speak with Dr Shaffat
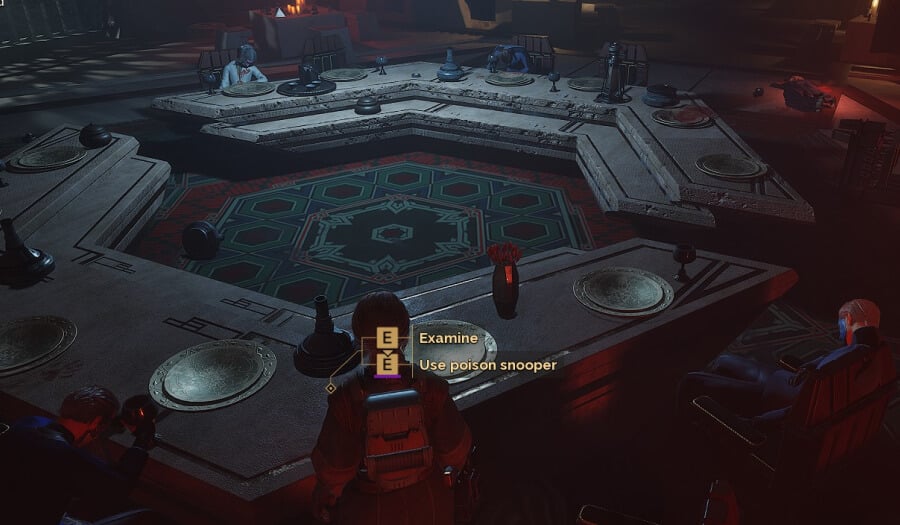
- We then need to find a Poison Snooper, which can be purchased from two vendors in Arrakeen shown on your map for 100 Solari
- Head back to the private room to examine the body with the Poison Snooper
- Use the Poison Sooper on the following locations
- Book
- Osten Laithe’s Hand
- Speak with the following people to get the evidence
- Hester Klimt (Assistant)
- Ugo Firenze (Private Room owner)
- Ambrose Lucifera (South East in front of the fish picture)
- Alastair Christian Chim (bartender)
- Next, head back to our contact and give him the lowdown on what we’ve learnt
Doing this will trigger the next step of the quest: Touch of Evil.
Touch of Evil
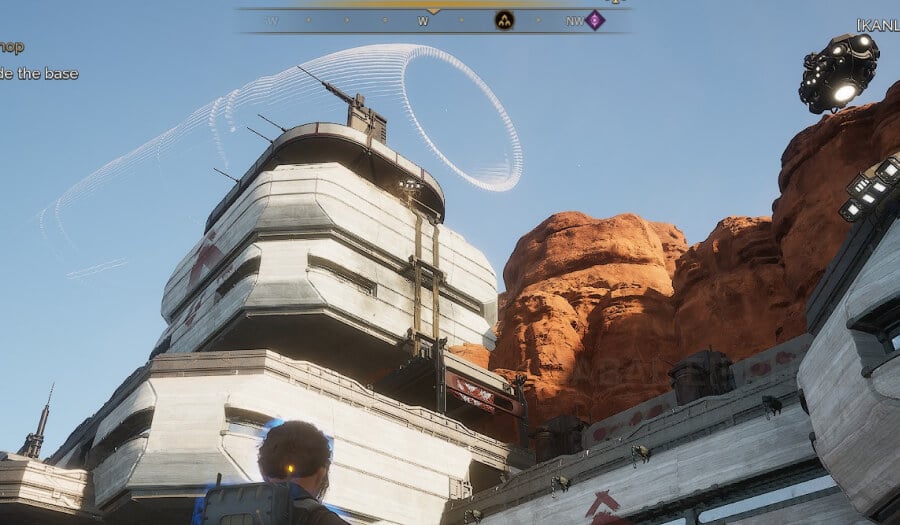
It’s now time to leave Arrakeen and head back to the Hagga Basin once more. We need to head to the northern part of the Eastern Shield Wall. If you are using Fast Travel, go to Pinnacle Station, and if you are flying yourself, enter from the north of Hagga Basin.
Once you arrive, we’ll need to find Osten’s Workshop, which is on the lowest level of the base. However, you’ll need to find the security band, which you will find at the top floor of the base, on the west side of the facility.
Once you unlock the door, head inside, loot the loot, listen to the recording and loot the two scrolls on the desk behind the recorder and on the northwestern desk.
Now it’s time to head back to Arrakeen and speak with Tors. He will then tell us to find Phaedra Vye, who is located within Arrakeen.
From the Ashes
Note: As mentioned at the start, this step requires the use of a Hand Scanner.
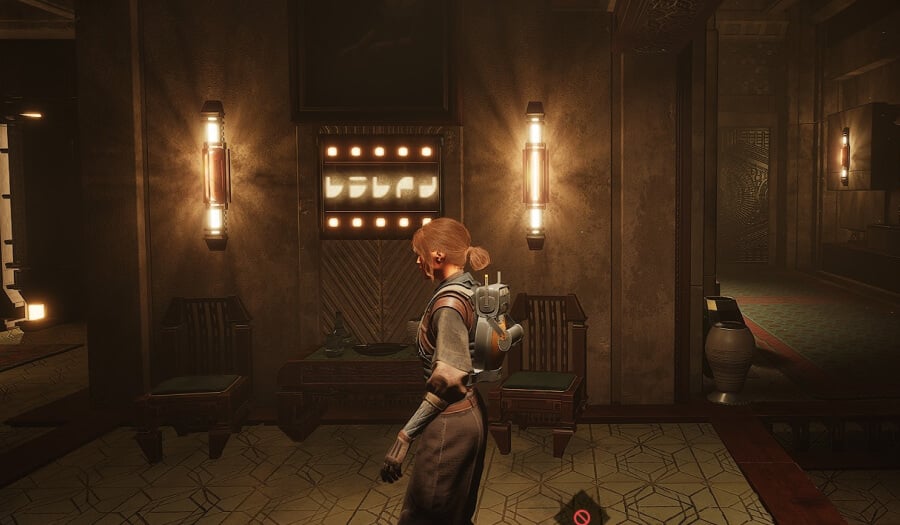
Enter the apartment of Phaedra Vye, who is located in the upstairs section of Arrakeen. Enter her apartment which will once again trigger an instance.
Here, we need to find clues as to where Phaedra is:
- Black Market Trade Receipt on the first table on the right as you enter; then
- Use the Handheld Life Scanner or Resource Scanner on the golden picture frame on the left, which will reveal a note hidden under the chairs.
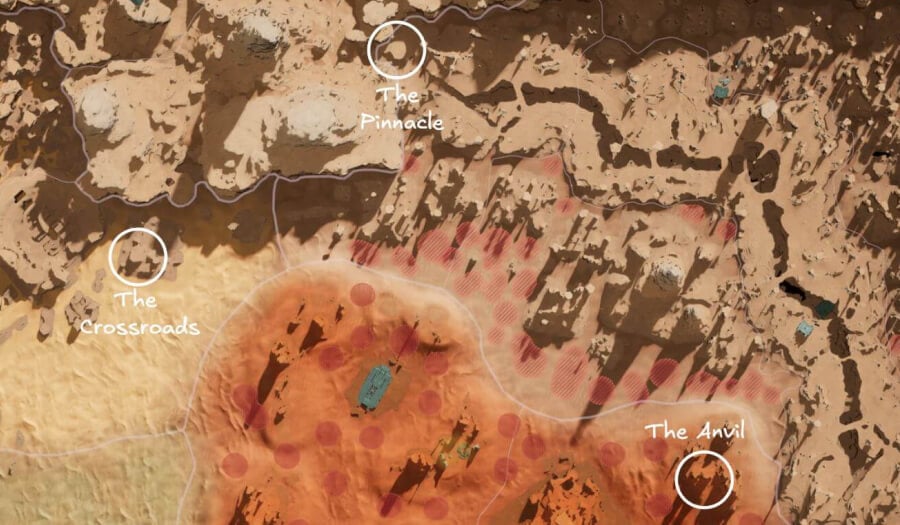
Once that’s done, we need to head back to Tors. He will send us to the Deep Desert in Sector B-5, which will be the next destination of the quest.
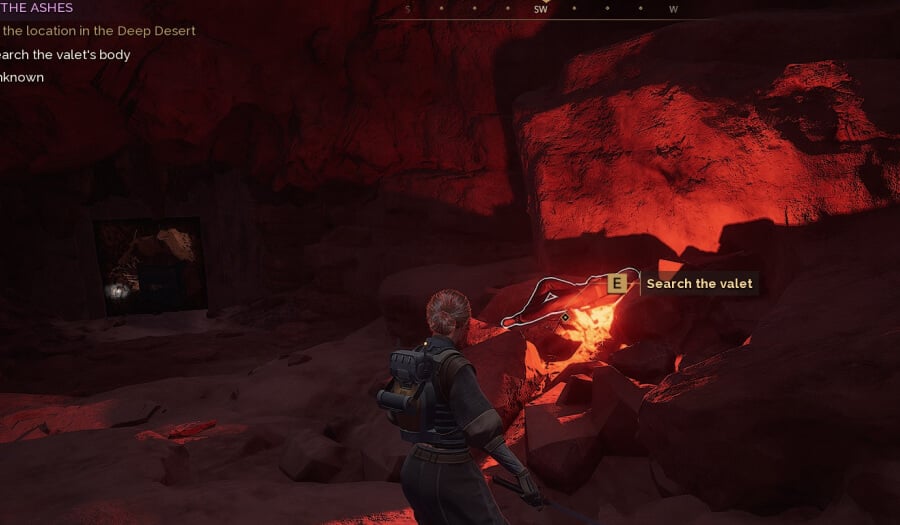
Pro Tip: The Valet’s Body is outside the main cave entrance shown above and is very easy to miss.
Pick up the note from the Valet before heading into the cave. Clear out the enemies, and then you need to find the last item, which is in the area lit up in red. The note shown above is located on top of a small box with blue lights on. Once done, head back to Arrakeen and speak with Tors to complete the quest.
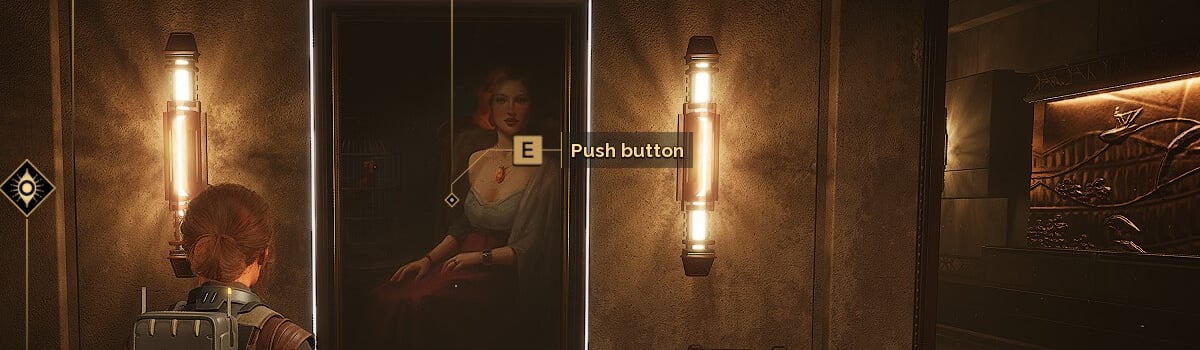
Head back to Phaedra Vye’s apartment once again. As you enter, hit a hard right and scan the first painting on the wall, which will reveal a secret button.
IMPORTANT: The next section of this guide will give you the answer to a puzzle. So beware of the spoilers ahead.
From The Ashes Puzzle Answer
You can see the code for the painting below. It's the same code you'll find in the 'Old Carthag Schematics' quest item description in your inventory.
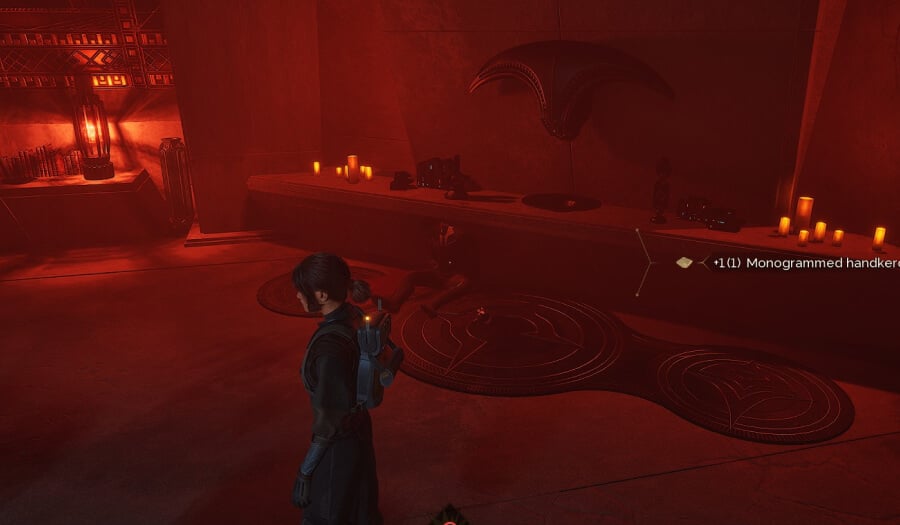
Once inside the room, examine the body, then scan the room to search for clues. Head down to Tidjii O'Garee (The Scrap Vendor), who sold us the Poison Sooper, who will give us more information.
The Janusian Faithful
Note: You will need a Scanner for this section.
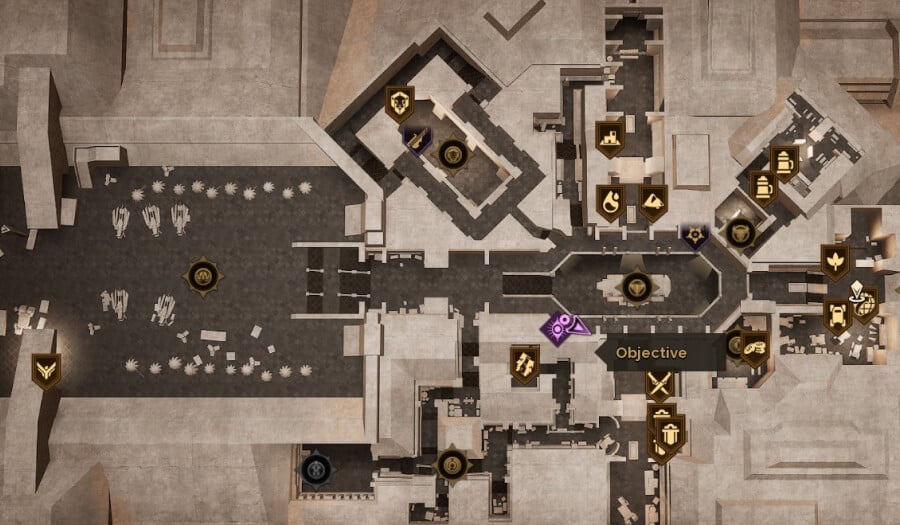
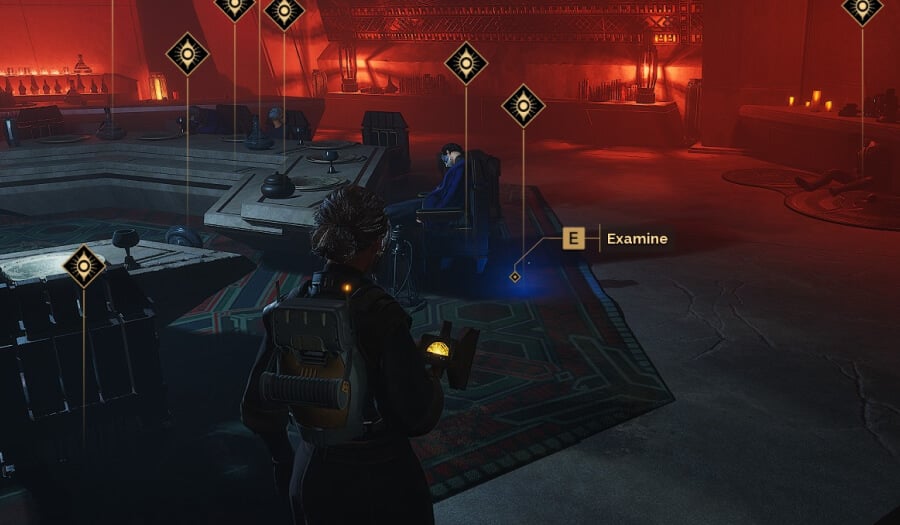
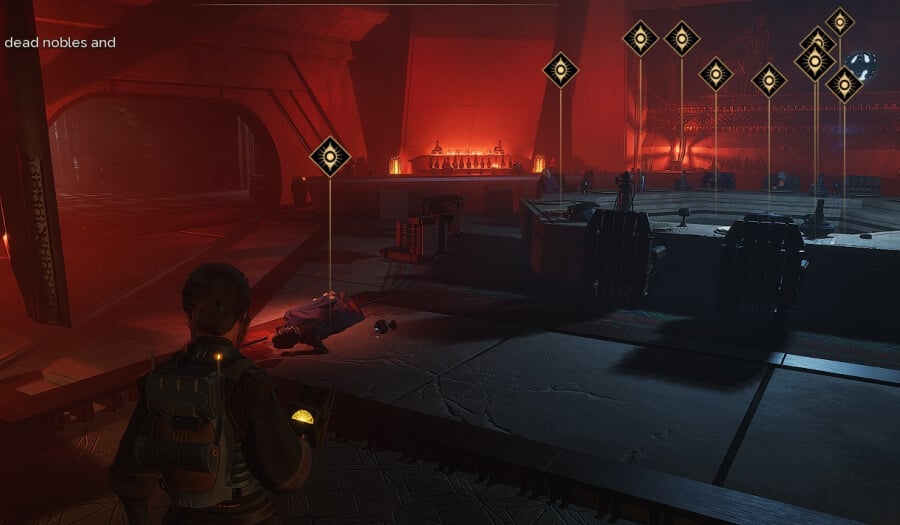
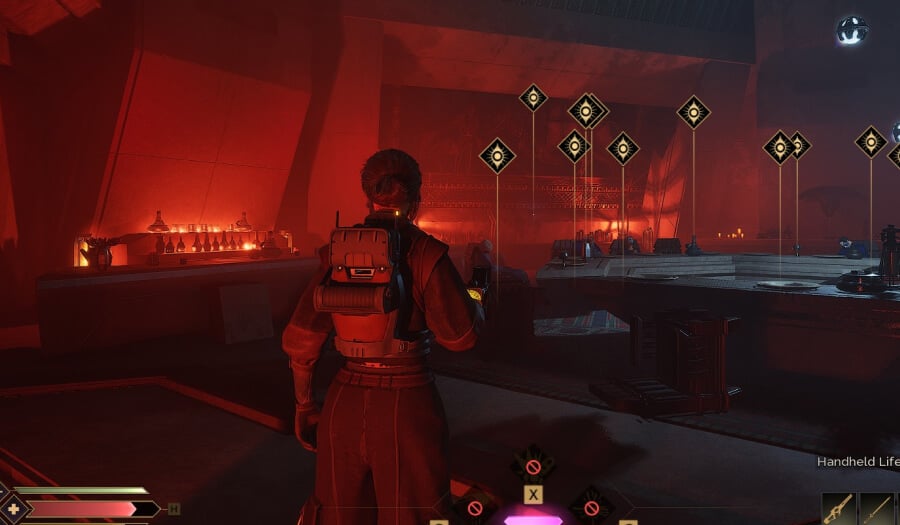
The next step requires us to head to the Banquet inside Arrakeen. The location is on the opposite side of Phaedra Vye's apartment on the upper floor. Once inside, we’ll be told the Baquet has not gone to plan (everyone's dead), and we need to talk to people to gather information.
IMPORTANT: Before you get started, we recommend moving around the banquet table and exhausting the dialogue options with the dead nobles so you have all of the later dialogue options with Dhood and the Butler unlocked.
To progress the quest, talk to the dying noble that is lying on the floor to the left as you enter the room, asking about her Mask will reveal that this was the real way the poison was administered and not the wine.
After you have talked to the dying noble, head back to Dhood Shazz. He will send us back to attempt to identify Ansel Virro.
To do so, head to the right side of the table and use the scanner on the area shown above. Check the blood spill and the body next to it to reveal that the man in the chair is who we are looking for. Head back to Dhood Shazz where you will now have the correct dialogue option: “Dark blue mask on the right side of the room. Between an empty chair and the purple mask.”.
Now we need to question the butler once again, who will reveal that Agade Yimari was allergic to flowers and was moved to be seated as far away from them as possible. Scan the room and then interact with the flower shown above. Select the option “Look at the guest sitting on the other table at the far end.” This will reveal that the lady next to the spill (from the previous image) is Agade Yimari. We can now return with the correct information: "Purple mask on the right side of the table. Next to an empty chair."
Next we need to interrogate Ambrose Lucifera and then go and speak to the Butler.
On the left is the noble with the missing finger, whereas the right image shows the wall where we will find the handprint missing a finger.
The Butler will reveal a woman in a terracotta-coloured mask was handed the note. We now need to work out which of the two that match that colour is correct. We need to search the lady on the ground (shown above) and then search the wall at the back (shown above) which will reveal a handprint missing a finger.
Head back to Dhood Shazz and as long as you have interacted with both the dead noble lying on the floor (to identify the missing finger) and the handprint on the wall, you will get the dialogue option: “The terracotta mask on the floor”, which is the correct answer for Roella Ramsby.
Next up is Lady Bianca Bagetti and our friend Sub-Prefect Tors. Except it isn’t, as he’s just standing behind us! After speaking with him, it becomes clear that he’s the next target of the assassin, so we need to follow him to his office (shown in the image above) to intercept the assassin.
We won't spoil the lore for you, but you'll receive a cutscene in Tors' office, following which it’s time to head back to our contact in Harko Village, Elara Tuek.
The Bloodline
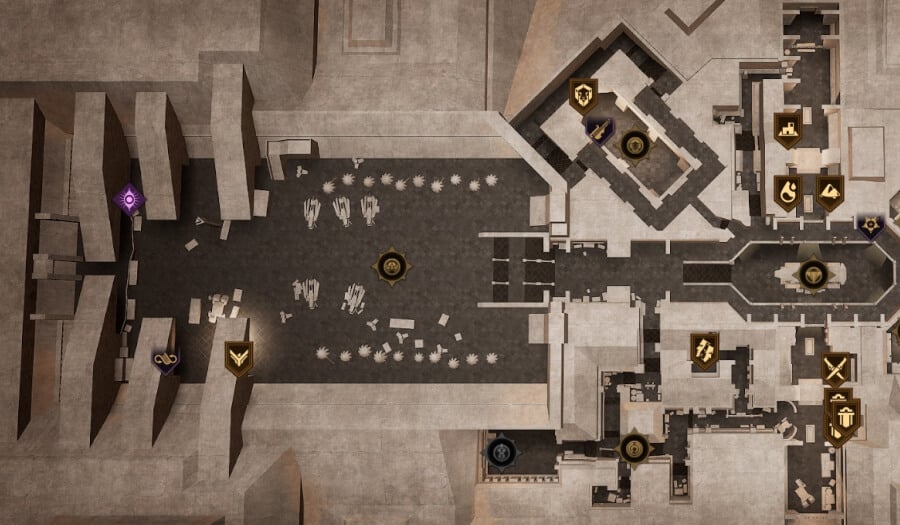
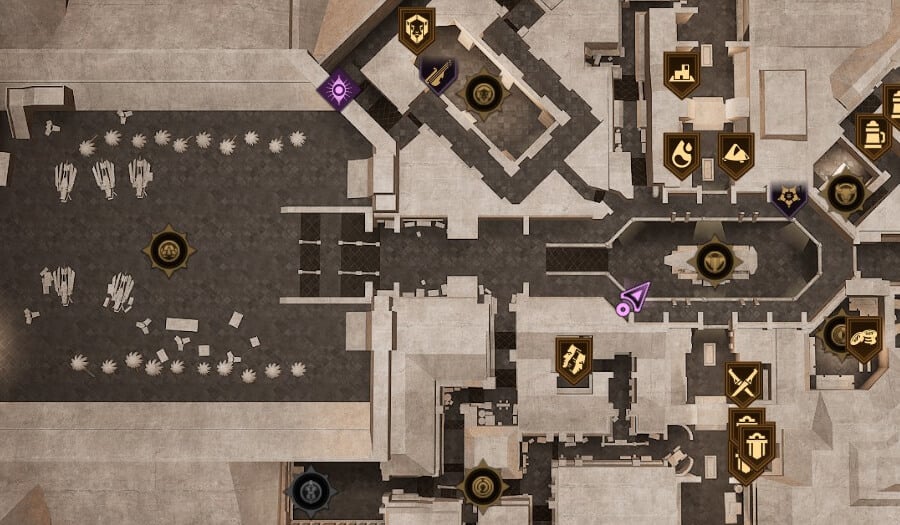
This is a pretty fun stealth mission. After we speak to Elara Tuek, Ariste will contact us right away and ask us to head back to Arrakeen to the Salusan Bull. Once the meeting is over, we’ll be tasked with heading to the Western Palace Barricade in Arrakeen. Head to the location shown above.
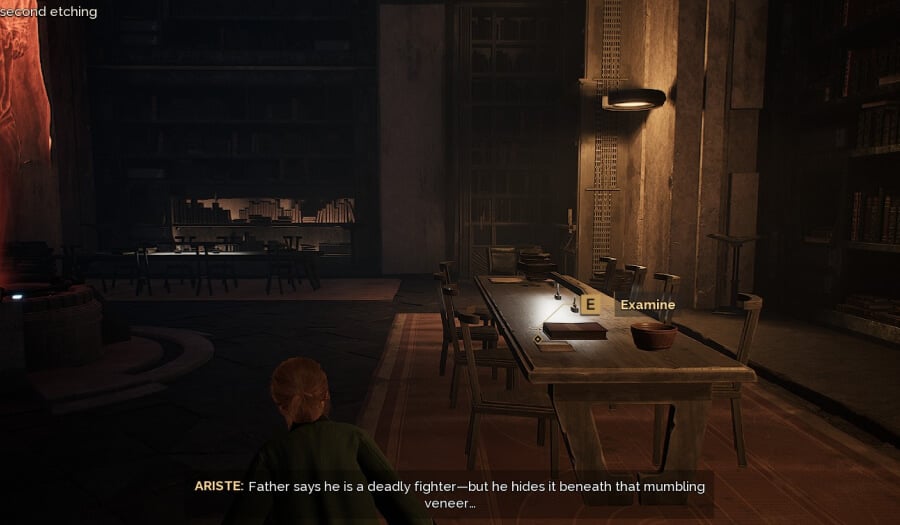
In here, you’ll lose all your weapons and gear and be tasked with finding a number of etchings for Ariste inside the archives. Check the tables for the etched words, the etchings are in the following locations:
- On the corner of table right at the bottom of the stairs (on your right) when you first enter the main library
- At the end of the corridor (in front of a red projection), before you enter the room with one guard at the door
- After the room with the two guards you will enter a room with two (note on how below). The third etching is on the table next to the large blue projection in the middle of the room directly left from the stairs the correct table is the second table towards the guards.
- After you grab the Glowtube, take a right at the end of the corridor and run straight ahead to the light sitting in the alcove
Note: You will need to activate the Projections to move guards around. In the third room, you will need to distract two guards by activating the projection on either side of the room.
Once you've found all the etchings, you should have observed the following:
- First and Jar
- Second and Mother
- Third and Dirt
- Fourth and Water
Next, we head back into the lower archives, where we can find an assortment of 'Hidden Notes'. Each of these Hidden Notes will provide us with a crucial piece of information for the puzzle which follows.
IMPORTANT: The next section of this guide will give you the answer to a fun and semi-challenging puzzle. So beware of the spoilers ahead.
The Bloodline Puzzle Answer
Each of the Hidden Notes contains one of the words we found in the etchings (Jar, Mother, Dirt, Water) and a number of dots. To complete the puzzle you have to match the order of the etchings with the note which contains the word tied to that etching.
So for example in the 'Hidden Note to Lady Jessica', the bottom text reads: "... you can count seven little dots". The Note is about motherhood which was the second etching so 7 dots = second platform.
The answer you will arrive at for the Bloodline Puzzle is 4-7-2-3 which means you first stand on the platform with 4 dots, then 7, then 2, then 3.

Once that’s done, you’ll need to pass a test with the projection. The correct answers are as follows:
- Any bad human can be reformed
- Evil men never prosper
- Only females understand the ancient mysteries
- Everything happens for a reason
This will give you access to proceed. There's another long (but important to the story) lore cutscene here. Once complete, we will receive the final quest in Chapter 2.
Noctua’s Return
To trigger the event, we are told to head to Hagga Basin, much like the first quest in this chain, what this really means head to a Tradepost. You might have to go in and then back out of the Tradepost.
When we do, Zantara will speak to us through a recording given to us by his bat, Noctua. Take in the key story details, and that’s concludes Act 3 and the Dune main storyline... for now.