The 'Boosting the Signal & No Trespassing' Contracts/Quests is one of the early Lost Harvest DLC quests provided by Lt. Drangh and Quartermaster Hix. It directly follows on from Radio Silenced.
The 'Boosting the Signal & No Trespassing' Contracts will see us head inside the side entrance of the Mithra wreck. Much like the Lost Within Quest, this will take us into an 'instance' of the downed ship through the elevated side entrance.
Pro tip: Both quests are best completed at the same time, so make sure to have them both already.
Before you start: Bring weapons; this is a combat quest.
Locate the Mithra Side Entrance
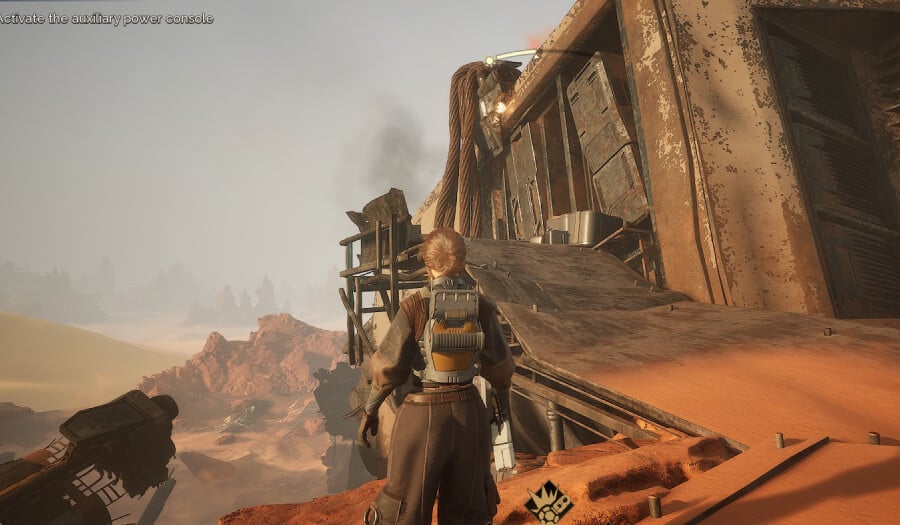
The side entrance can be found at the highest point of the rear of the downed Mithra. As shown in the screenshot above, you'll find it at the top of a small area of scaffolding. Enter the instanced location by clicking on the door with the green circle.
Pro tip: This area is filled with poison, so be sure to move through it quickly or use a Compactor to clear it out.
Activate the Auxiliary Power and No Trespassing
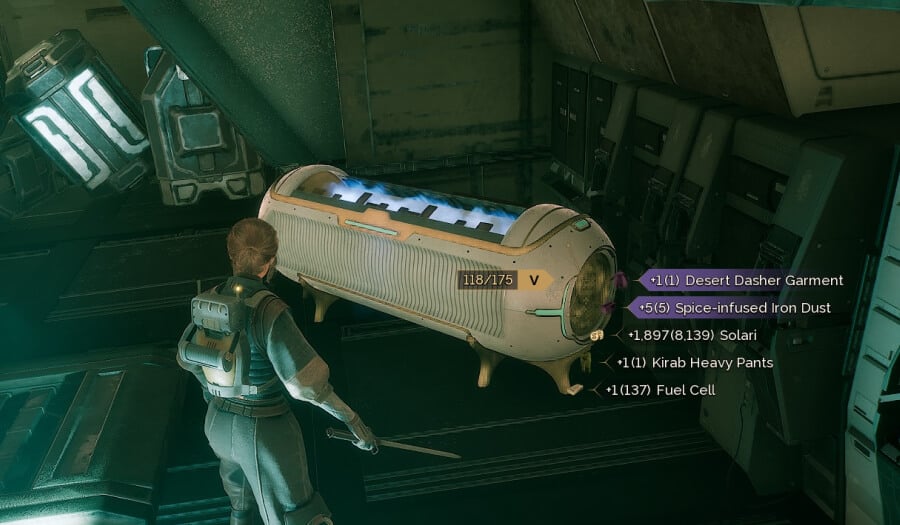
Pro tip: For a rare loot chest, hang left straight away and go up the stairs. From here, go through the orange-marked vent, and then go right, dropping into a lower section. Again, head through the vent, kill the enemy, and loot your rare chest.
Unlike Lost Within, this is a combat-focused quest, so prepare to fight. The first room will have around four enemies, though one Heavy Weapon enemy will be at the top level. Before we go to the Auxiliary Power, go to the room on the right and find the Blue ID Band so we can activate the door on the level above.

Next, follow the quest marker to the end of the corridor until you are greeted with a console. Activate it, then move through the vent to the left.
As for the No Trespassing portion of the quest, you'll likely have it done already at this point. If someone else was doing the quest, just wait for the Kirab Bandits to respawn.
Pro Tip: The respawn rate on these mobs is really fast. While writing this guide, they respawned on us five times.
Reactivate the Distress Beacon
![]()
Follow the vent till you get to the upper level. As we picked up the Blue ID Band already, we can just walk straight through the Blue Locked Door. If not, you need to go back to the first room and head to the room on the right to pick up the Blue ID Band.
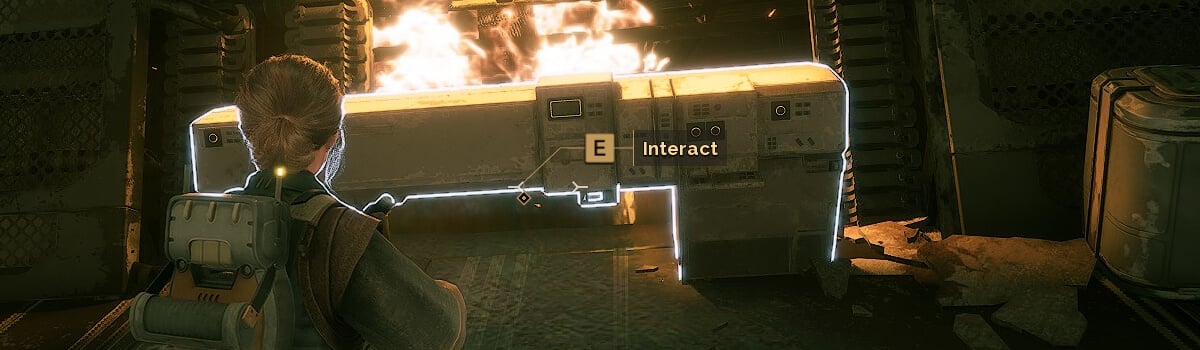
As you enter the first room after the door, go to the left side and activate the Distress Beacon shown above. This is very easy to miss; if you go through the second gate, you have gone too far.
Head back to the Lt. Drangh and Quartermaster Hix to complete the quests. Once the quest is done, you'll get a trigger to contact the contract issuers, which will trigger the follow-up quest 'Following Up'