Swordmasters are, as the name suggests, masters of the blade. Revered throughout Dune for their combat ability, Swordmasters of the Ginaz School are fearless warriors, striking fear into any who would dare come up against them.
In Dune Awakening, Swordmasters focus on The Blade (sword abilities & passives), The Will (defensive abilities & passives) and The Way (gap closers & utility).
If you want to start progressing the Swordmaster skill tree, you'll need to work through the Advanced Trainer quest chain, detailed below.
Rewards: Completing the Swordmaster Quest Chain will reward you with a powerful Unique sword, The Swordmaster Archetype Armor Set and the Swordmaster Archetype Armor Variant.
IMPORTANT BEFORE YOU START:
- Some of the quests in this chain involve combat with enemies which are quite tough. It's recommended, but not essential, that you have Aluminum level armour and weapons.
- In order to complete Quest 5, you will need to craft a sword. This requires Aluminum Ingots (6), Steel Ingots (6) Plant Fibre (12), Blade Parts (20), Carbide Scraps (8) and a Large Blood Sack (requires Survival Fabricator to craft).
- You will need to spend about 9 skill points in the Swordmaster skill trees to complete Quest 4. Easy to do if you have a respec available but if you've respecced in the last 48 hours and don't have enough skill points, this might be a blocker.
- As with all of the Advanced Trainer quest chains, it'll go a lot faster and be a lot cheaper and easier if you have an ornithopter before you start.
Quick Links:
- Quest 1 - Checking the Post (Basic)
- Quest 2 - A Tormented Soul
- Quest 3 - Piercing Eyes
- Quest 4 - Art of the Sword
- Quest 5 - Forged in Dishonor
- Quest 6 - The Last Stand of Saron Varlin
Quest 1 - Checking the Post (Basic Quest)
Note: If you started with Swordmaster as your primary class, you won't need to do this quest and can skip straight to quest 2.
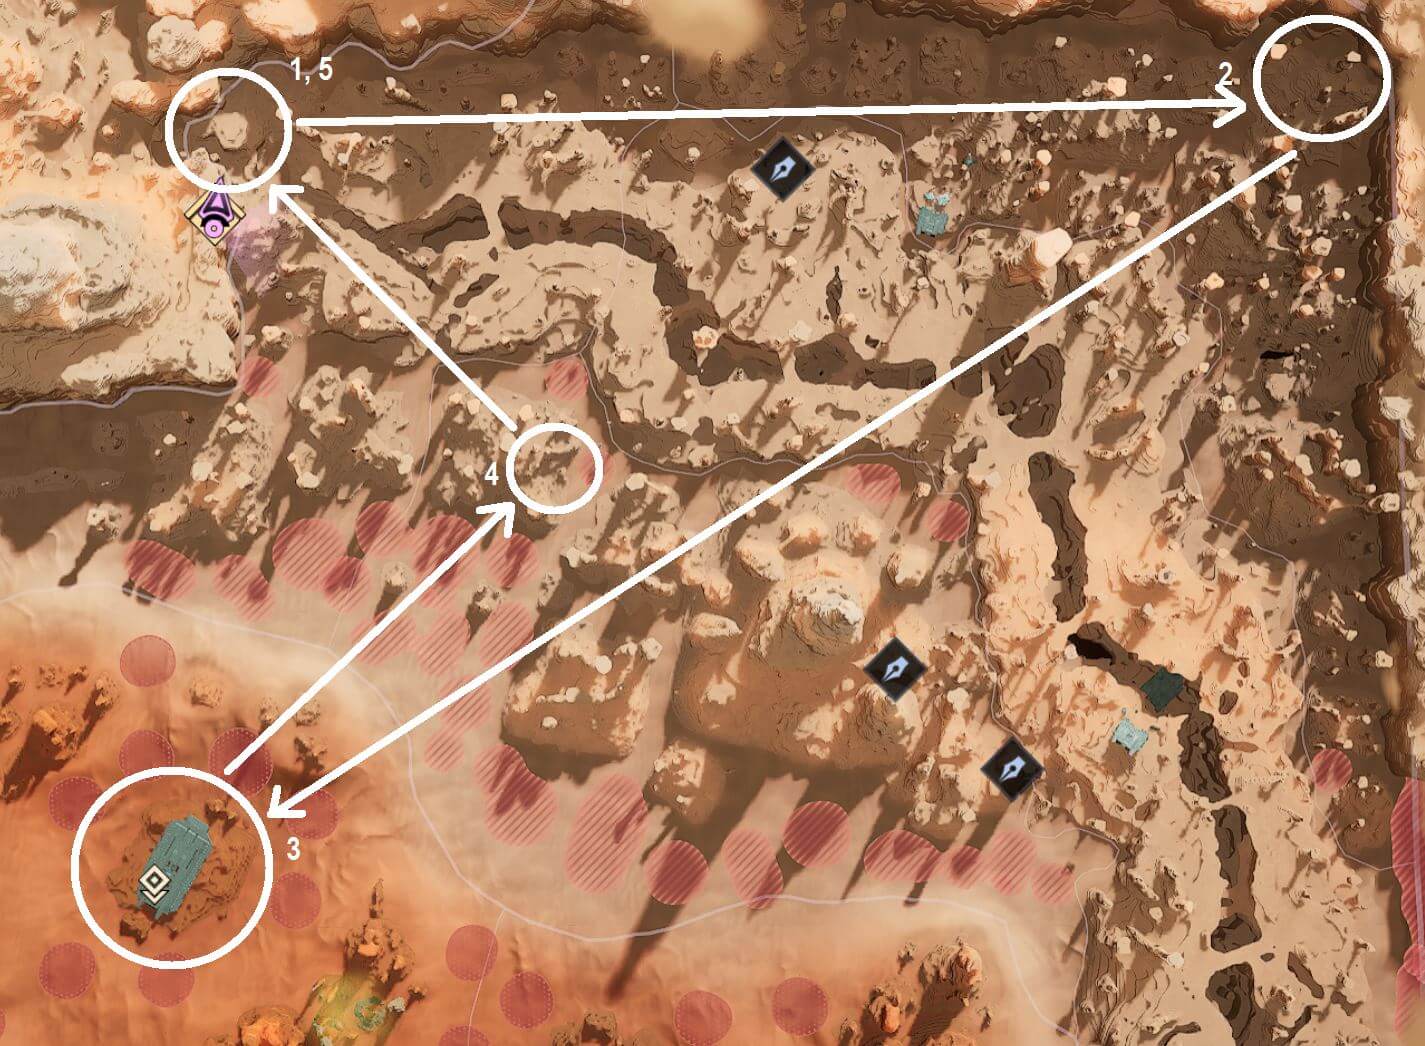
The Basic Swordmaster Trainer, Arno, is located in Pinnacle Station. Head there and accept the contract from him. He will send you to three different sites that are fairly far apart.
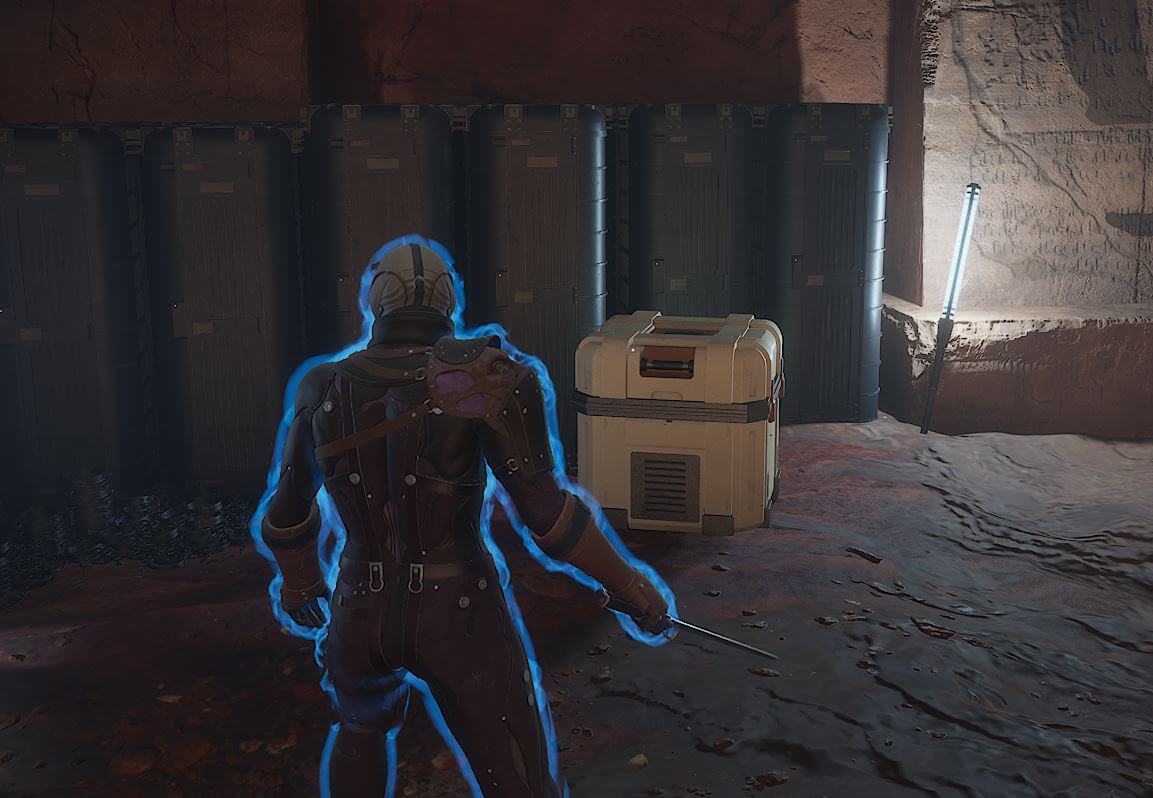
The first site is in the Devil's Eye Cavern in the very northeast corner of the map. Head there and keep left until you enter a small room with a white box. Interact with the box to complete this step.
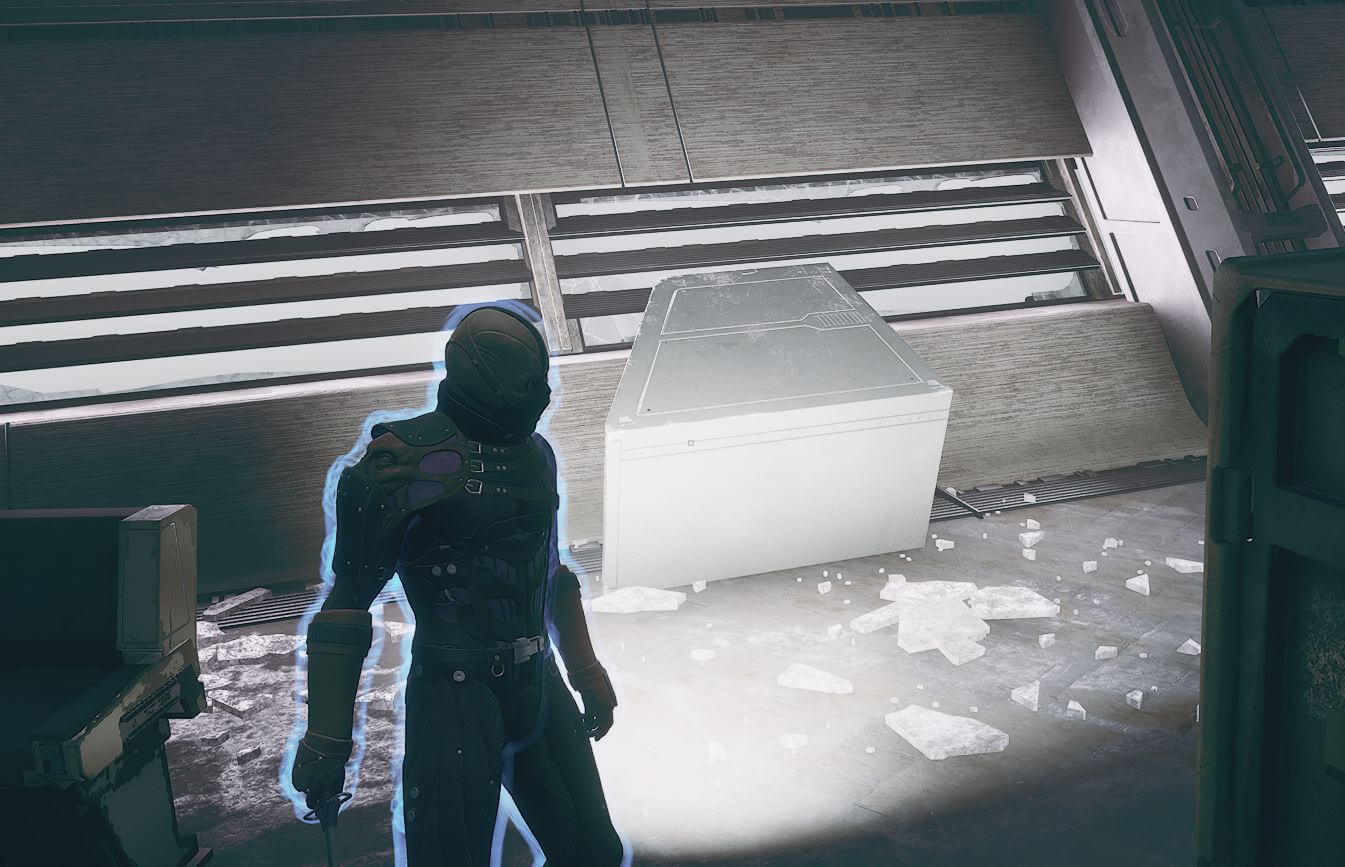
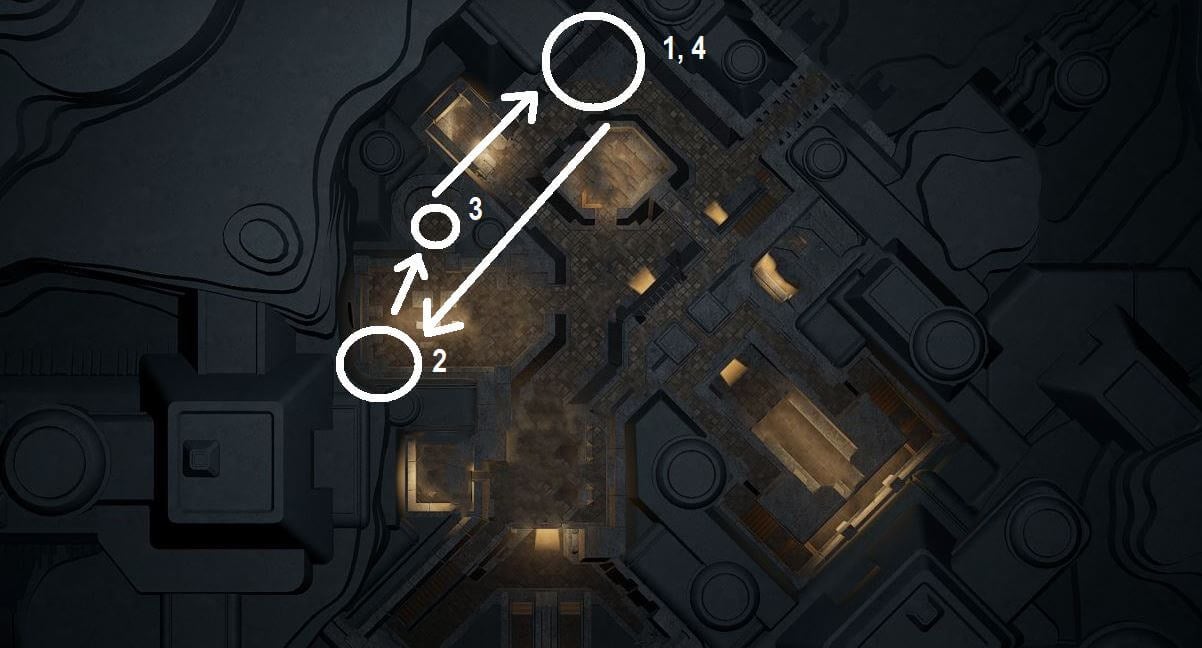
Next we're going to The Wreck of the Pallas in Western Vermillius Gap. It's quite hard to explain how to navigate the wreck but basically you want to get to the middle and then look up. There will be a second floor you can jump up to and a door you can scan + cut through. Within this room will be the ID band.
Next head through the now unlocked door and continue forward to the bridge. When you get to the bridge, the item you need to interact with is a metallic block at the back of the room on the right side.
If you get stuck on this part of the quest, there's a bunch of Youtube videos that show the route clearly like this one by Pixelcave.
Finally, the last location is Testing Station 76 in Jabal Eifrit Al-janub, northeast of the Wreck of the Pallas that we were just at. Head there and towards the end you'll see a computer that you need to interact with - follow the minimap quest icon for the exact location once you get close.
Return to Arno in Pinnacle Station and turn it in.
Quest 2 - A Tormented Soul
Seron Varlin, the Advanced Swordmaster Trainer can be found at the very northern tip of Harko Village. To get to Harko Village you can either fast travel there from any Tradepost or Arrakeen, or you can fly there from the Overworld map.
After speaking to Seron, head to the back of Hannivar's bar within Harko Village where you'll find a document you need to interact with. Next you'll need to speak to Elara Tuek who is in the back room just off of the bar. Finally, return to Seron.
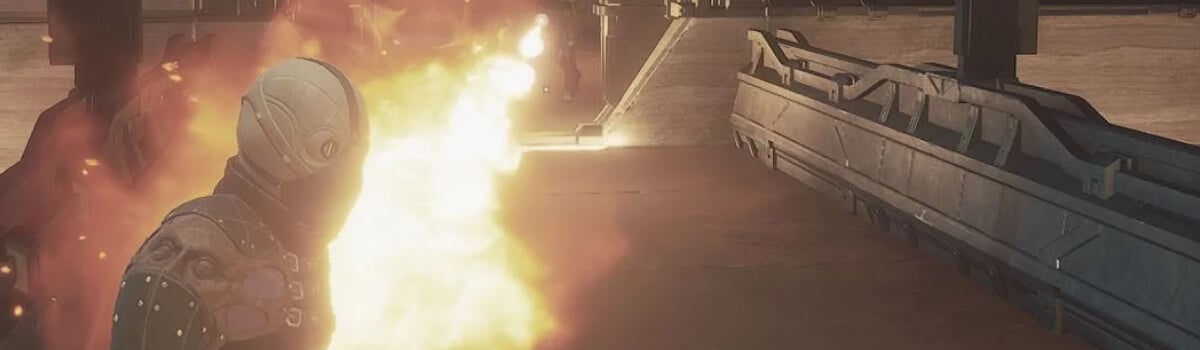
Seron will send us to 'Western Comms' near the westmost point of the Eastern Shield Wall. Head there and and you'll be tasked with killing the leader. This is a very heavily guarded base, probably 15-20 enemies here total so this is actually pretty spicy, especially if you have Steel or lower weapons & armour.
You'll find the Leader on the middle floor of the main building. The Leader is a tanky flamethrower-wielding enemy so don't get too close unless you are using a gap closer like Knee Charge as you will literally get melted.

Loot the hilt from the Leader, return to Seron in Harko and hand in the quest. Remember to speak to him to take Quest 3.
Quest 3 - Piercing Eyes
First we need to go and speak to the 'black market trader' in Hannivar's Bar within Harko Village. This is the barkeep Anoushka. Speak to her and use the dialogue option "I'd like a Kirana Brandy..." to progress this step.
Anoushka will then send us to a trader in Pinnacle Station, the Tradepost in Jabal Eifrit Al-gharb. If returning to Hagga Basin from the Overworld then come in north, overwise you can fast travel there directly from Harko.
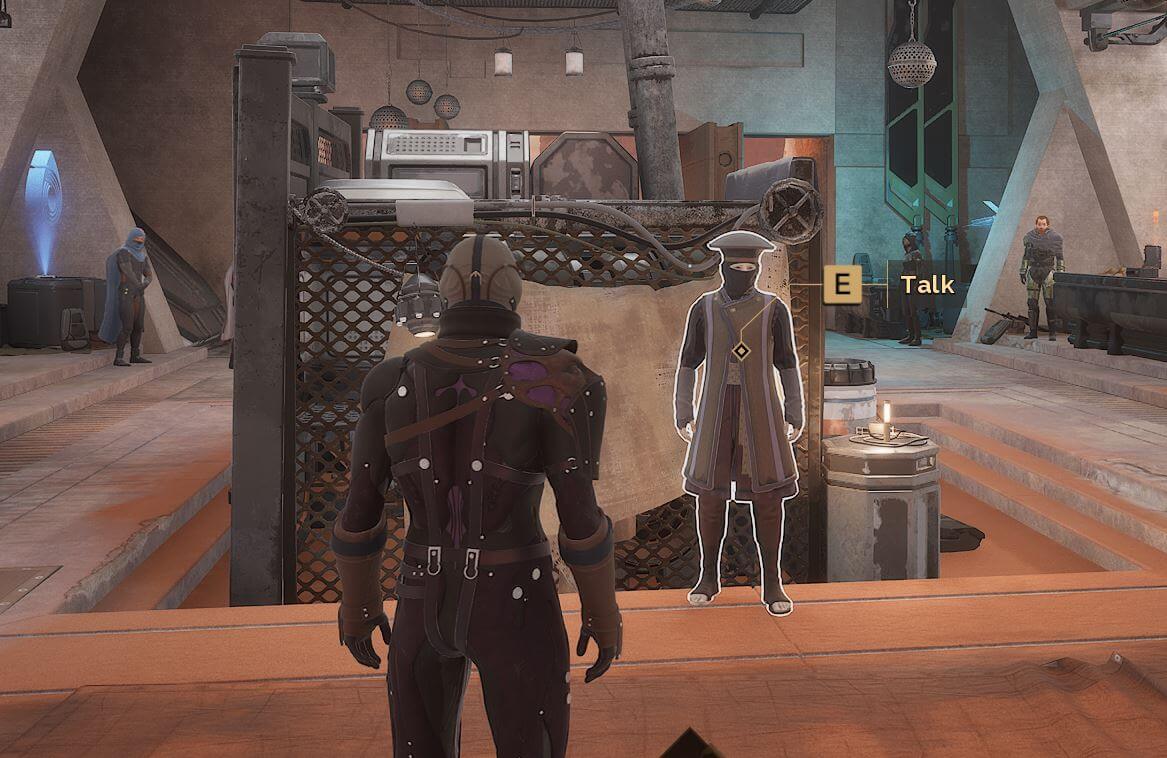
Speak to the Trader who's the first NPC right in front of you when you enter Pinnacle Station. This next part of the quest chain is unusual. The Trader will provide you with a separate contract to complete called 'Lab Cleanup' before he'll give you the 'Tleilaxu Eyes' you need.
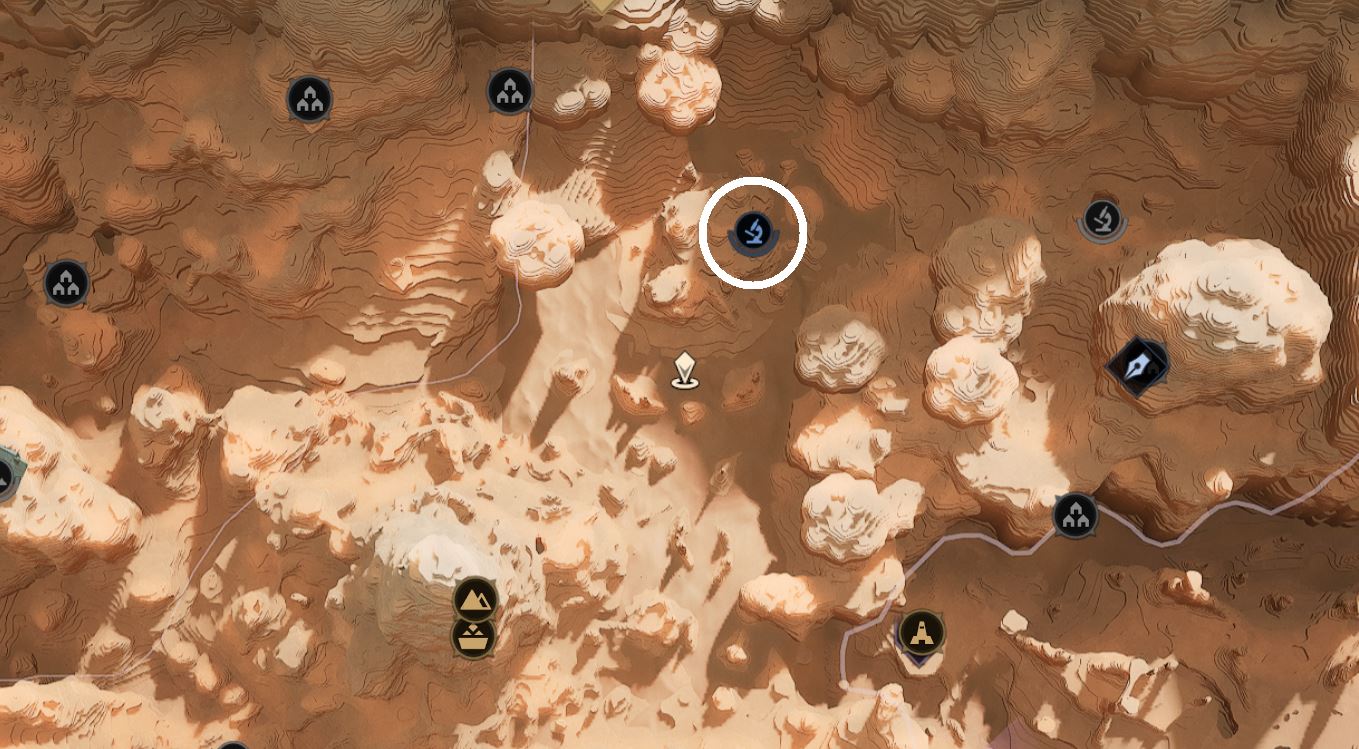
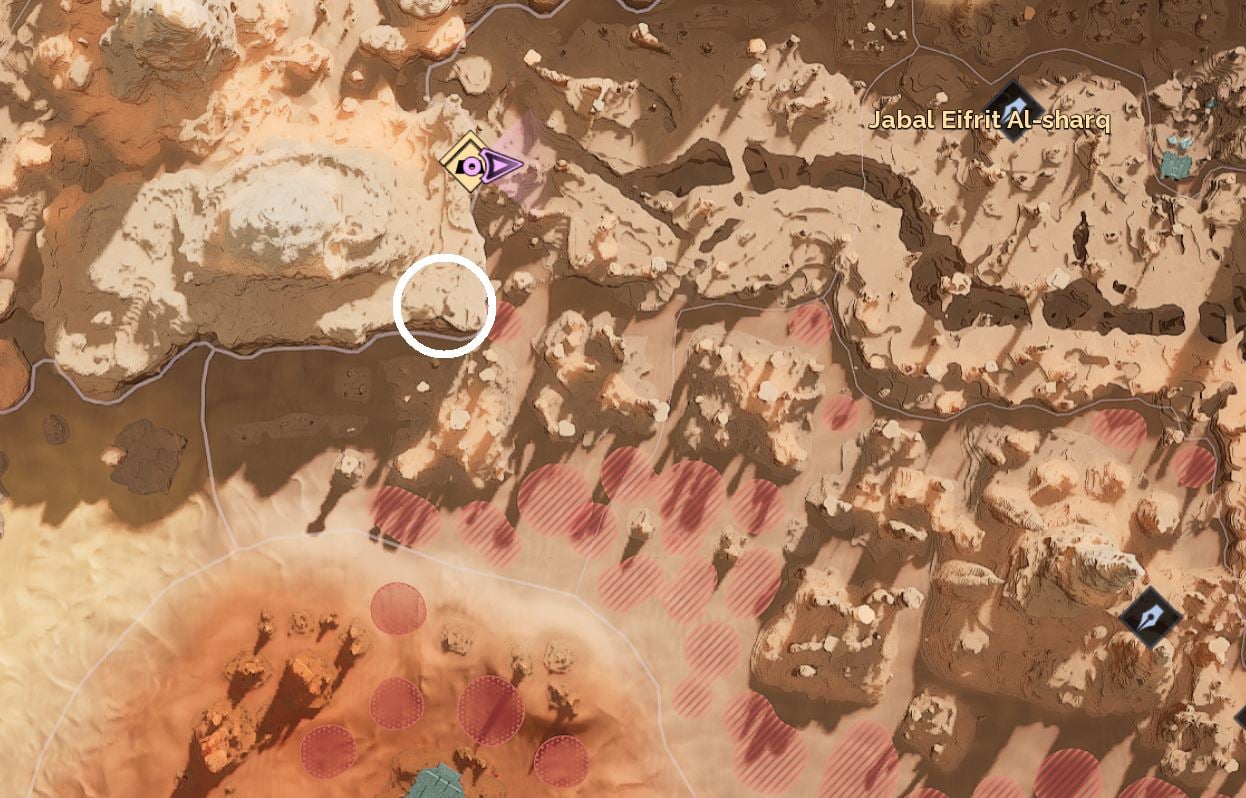
For the Lab Cleanup contract, we're hading to Testing Station 17, just a little northwest of Pinnacle Station. There's 4-5 enemies outside the entrance to the Station including two snipers, you can kill them or just run past.
Once you get inside, just beyond the entrance and down the stairs you'll encounter three 'experiments'. These are quick melee enemies but they are not shielded so just kite and shoot. Once they're dead you can head back to Pinnacle Station and turn it in to the Trader who will gives you the Eyes.
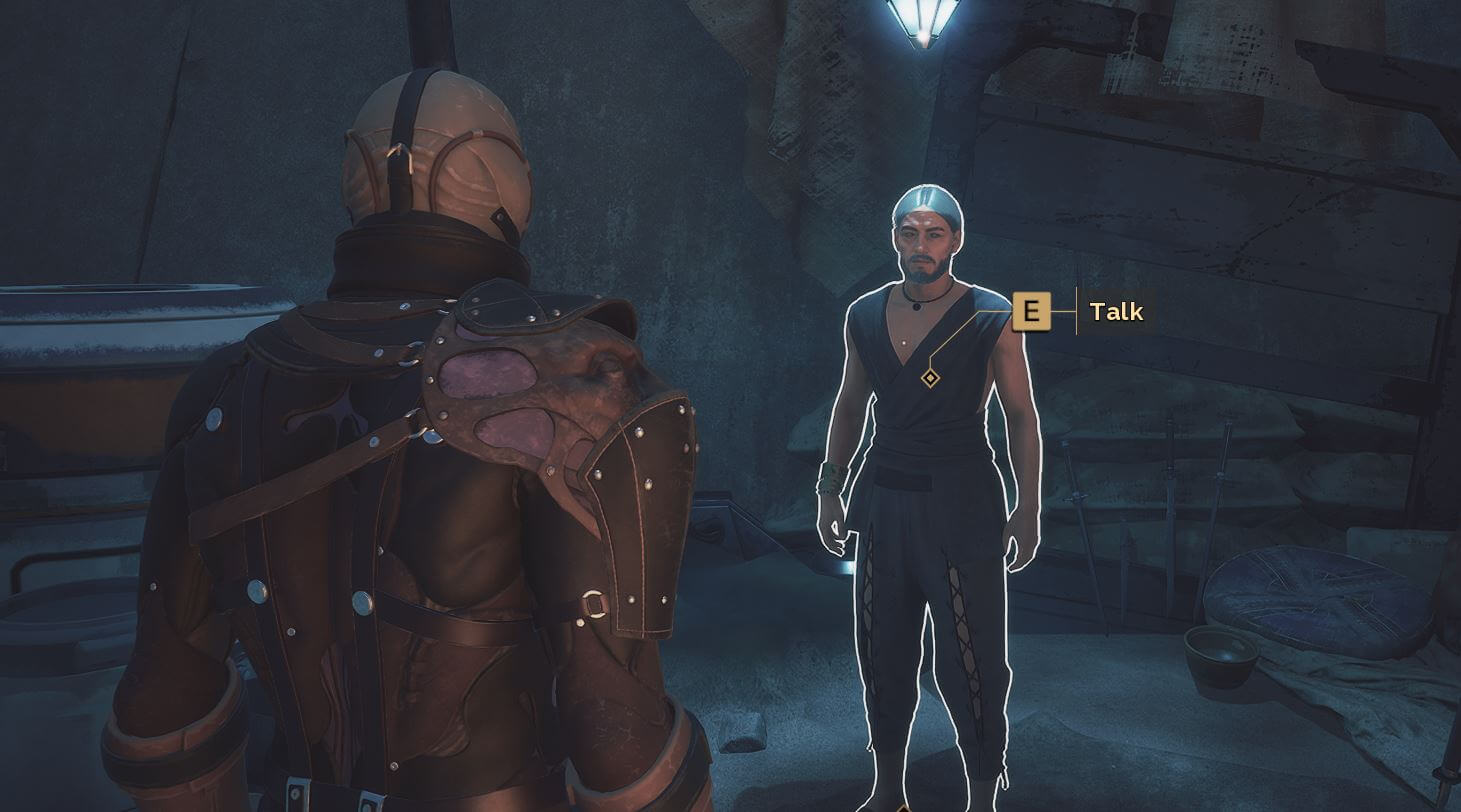
Finally, head back to Harko village and give him the set of Eyes. He will insert the eyes and remove his blindfold. Speak to him again to accept Quest 4, it will be the second dialogue option you need here.
Pro Tip: If you choose to continue to clear our Testing Station 17 after eliminating the 'experiments', take note that some areas of the Testing Station lock you in and require you to kill the enemies in the room before you can proceed. Take care if undergeared.
Quest 4 - Art of the Sword
IMPORTANT: This quest will require you to spend around 9 skill points to get the Swordmaster abilities you need to use to complete it. If you don't have these available you can respec but it does have a 48h cooldown.
We've reached the quick & easy quest that every class has where you just have to practise some class-specific skills (except for Bene Gesserit, that one is brutal). Head back to Hagga Basin, anywhere and by any method is fine.
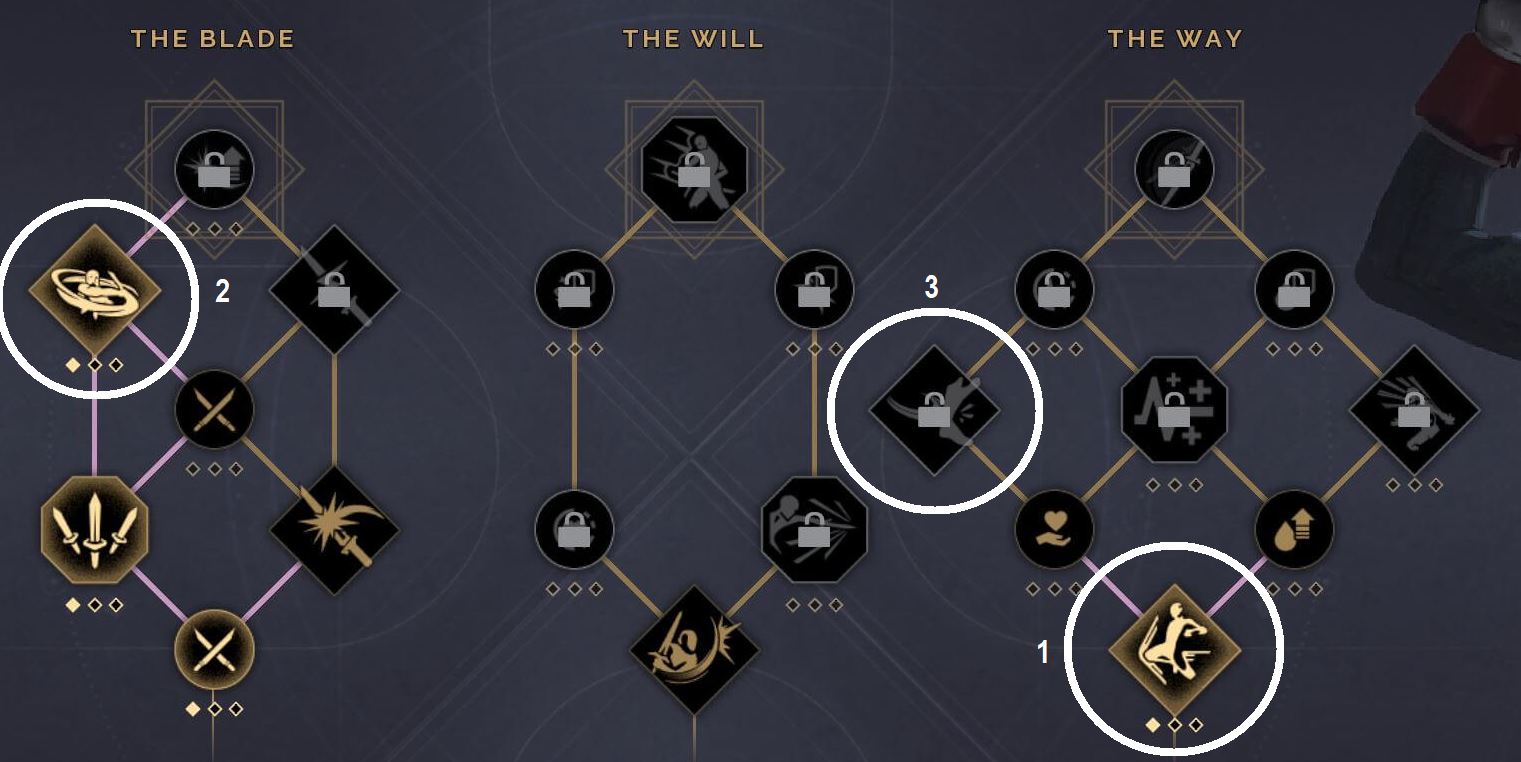
Once there we will need to perform three skills three times each, starting with Knee Charge, then Eye of the Storm and finally Crippling Strike. These skills don't need a target so just do them wherever you land.
Head back to Seron and turn it in the quest. Speak to him again to take Quest 5, again you'll need to speak to him a couple of times and it's the second dialogue option.
Quest 5 - Forged in Dishonor
IMPORTANT: This quest requires you to learn a schematic and craft a sword that requires some fairly some high level components. You will need a Weapons Fabricator and some mid-game crafting materials including Aluminum Ingots, Carbide Scraps and a Large Blood Sack which itself also requires a Survival Fabricator.
This quest leads us to Hellios Gate which is near Pinnacle Station in the Eastern Shield Wall. If entering from the Overworld, come in from the north, otherwise fast travel to Pinnacle Station. We're here to meet up with no other than Duncan Idaho himself.

Head up the stairs at the back of the building (either side) and then follow the quest icon to him. He's going to give us a schematic (it will enter your inventory) which you need to learn. Then you need to craft the item.
Most of the materials are fairly easy to obtain but the Large Blood Sack, Aluminum Ingots and Carbide Scraps might be challenging if you are tackling this quest early on.
Once you've crafted the item, take it to Saron and that will complete Quest 5. Speak to him again, second dialogue option, and take Quest 6.
Quest 6 - The Last Stand of Saron Varlin
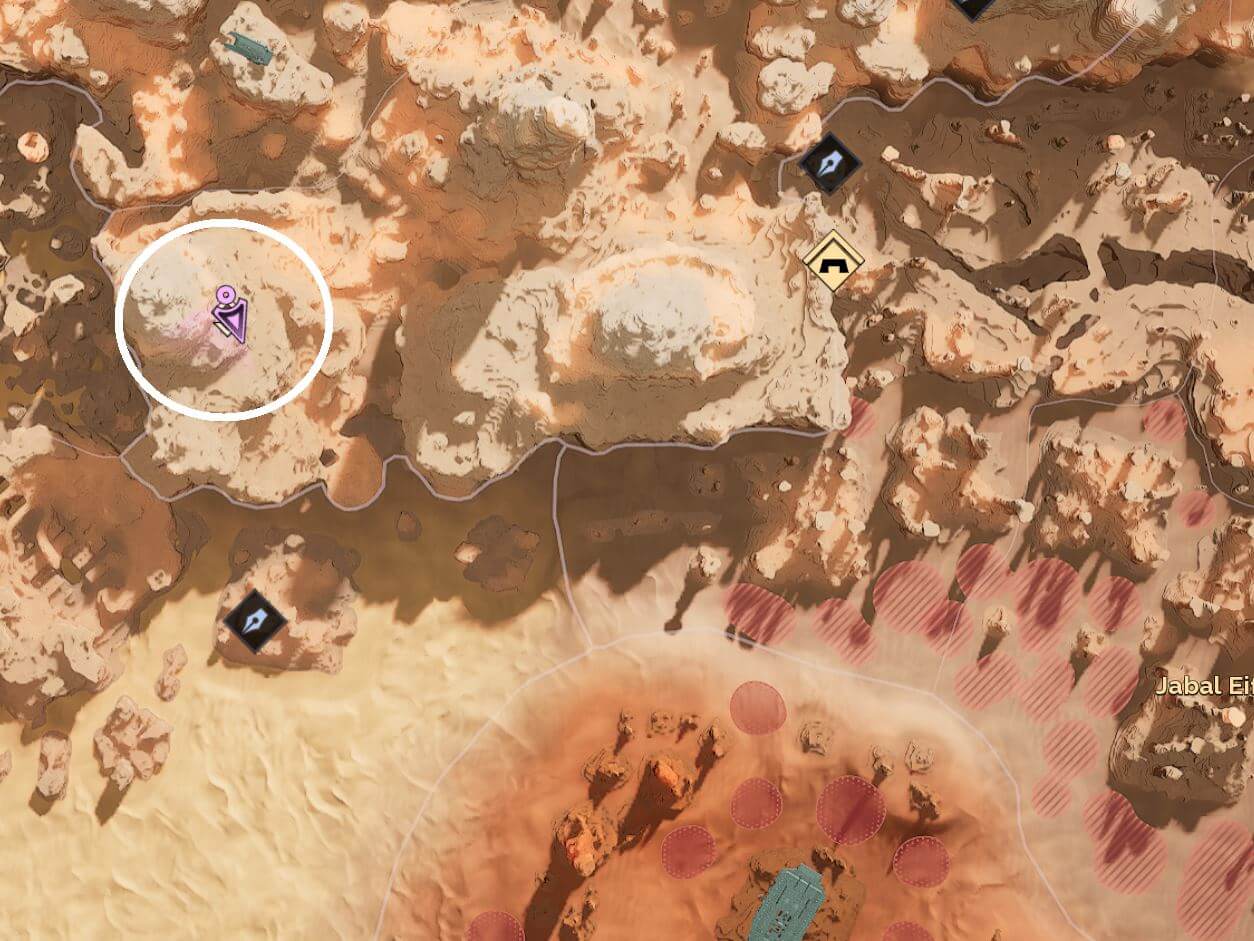
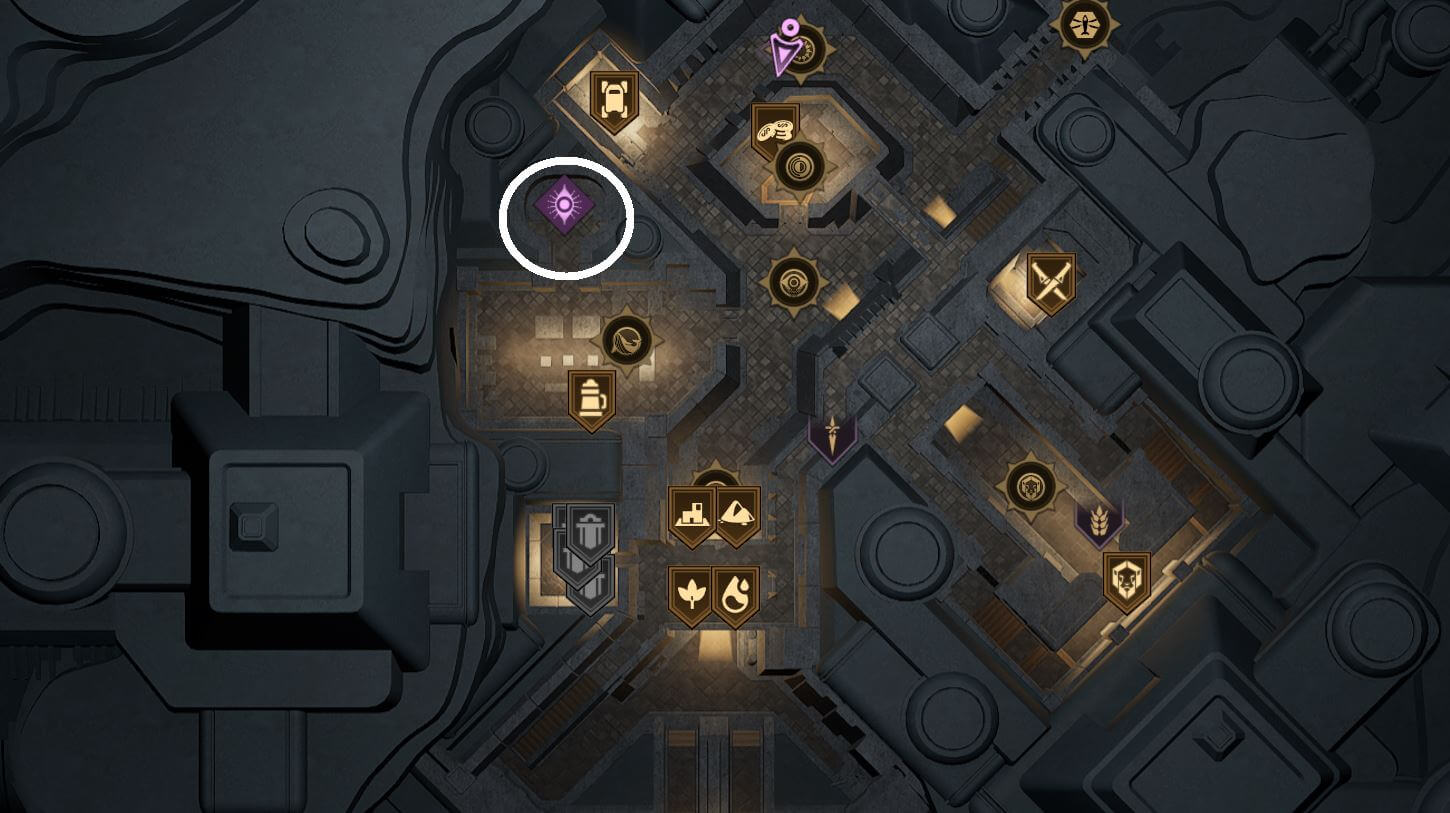
Head to Hannivar's Bar in Harko Village again to speak to Elara Duek in the back room, she didn't show on the minimap for me so I'll drop a reminder of her location below.
Head back to Saron and if you want to complete this quest as quickly as possible, just choose the dialogue options that dissuade him from taking the duel, "you've proven yourself already..." etc.
Surprisingly that's all there is to this quest, you're done! You will get a pretty awesome sword as a quest reward here that actually has almost the same amount of damage as Plastinium sword! It electrifies enemies upon a successful parry too. Definitely one of the better class quest rewards.
You'll also receive the Swordmaster Archetype Armor Set and the Swordmaster Archetype Armor Variant.
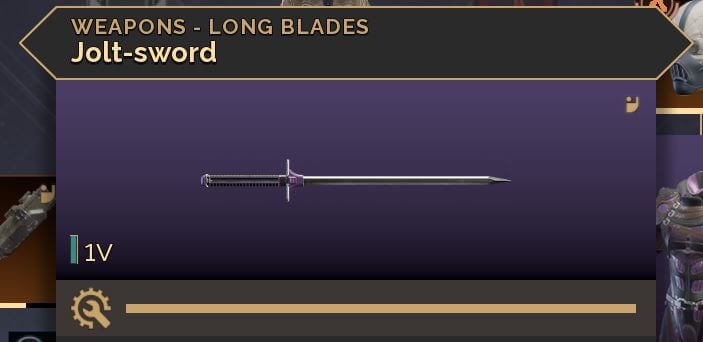
Now that you've unlocked the Jolt-sword, check out our Samurai Melee Build which makes perfect use of it.
Hope this helped! We also have full Advanced Trainer Quest Guides for every other class: