The Mentats in Dune are walking supercomputers, capable of storing, processing and relaying vast amounts of information. They are also adept in the arts of assassination including the use of the terrifying hunter seekers.
In Dune Awakening, the Mentat class is more of a support role and focuses on Mental Calculus (passive armour + weapon buffs), Assassination (poison, headshots, hunter seeker) and Tactician (group play support abilities)
If you want to learn advanced skills as a Mentat that you will need to progress through the Advanced Trainer quest line. We're here to help.
Rewards: Completing the Mentat Quest Chain will reward you with a powerful Unique Spitdart Rifle, The Mentat Archetype Armor Set and the Mentat Archetype Armor Variant.
IMPORTANT BEFORE YOU START:
- The final quest will require you to have a Radiation Suit which is an Aluminum (Mk4) item. I don't want you to get to the end of the entire quest chain and be like oh this sucks I can't finish it!
- As with all of the Advanced Trainer quest chains, it'll go a lot faster if you have an ornithopter.
- If you are doing all of these back-to-back then make sure you have a Blood Extractor, Blood Bag, Radiation Suit and (not essential but recommended) a Light/Torch in your inventory.
- You will need to spend about 10 skill points in the Assassination Tree for Quest 6! Easy to do if you have a respec available but if you've respecced in the last 48 hours and don't have enough skill points, this might be a blocker.
Quick Links
- Quest 1: First Blood (Basic Quest)
- Quest 2: Calculated Calamity
- Quest 3: An Olive Branch
- Quest 4: Cataloguing Defectors
- Quest 5: Bloody Results
- Quest 6: The Price of Rejection
- Quest 7: Untwisted Questions
Quest 1: First Blood (Basic Quest)
IMPORTANT: This quest is going to ask you for 100x Plant Fibre and 40x Iron Ore as soon as you get to the quest giver, so if you have it in your base storage, take it before you leave!
If you didn't take Mentat as your primary class then we start here, at the basic quest to unlock the skill tree. Head to Riftwatch, the Harkonnen base at the very bottom of the Hagga Rift and speak to the Mentat Trainer Samin Moro, you can't miss her as she's standing at the front of the base as you approach.
She'll ask you for 100x Plant Fibre and 40x Iron Ore. If you don't already have it with you, it's super easy to farm from the rocky areas around The Anvil just west of you in Eastern Vermillius Gap. Give her the items and then move west to Suk Alusus.
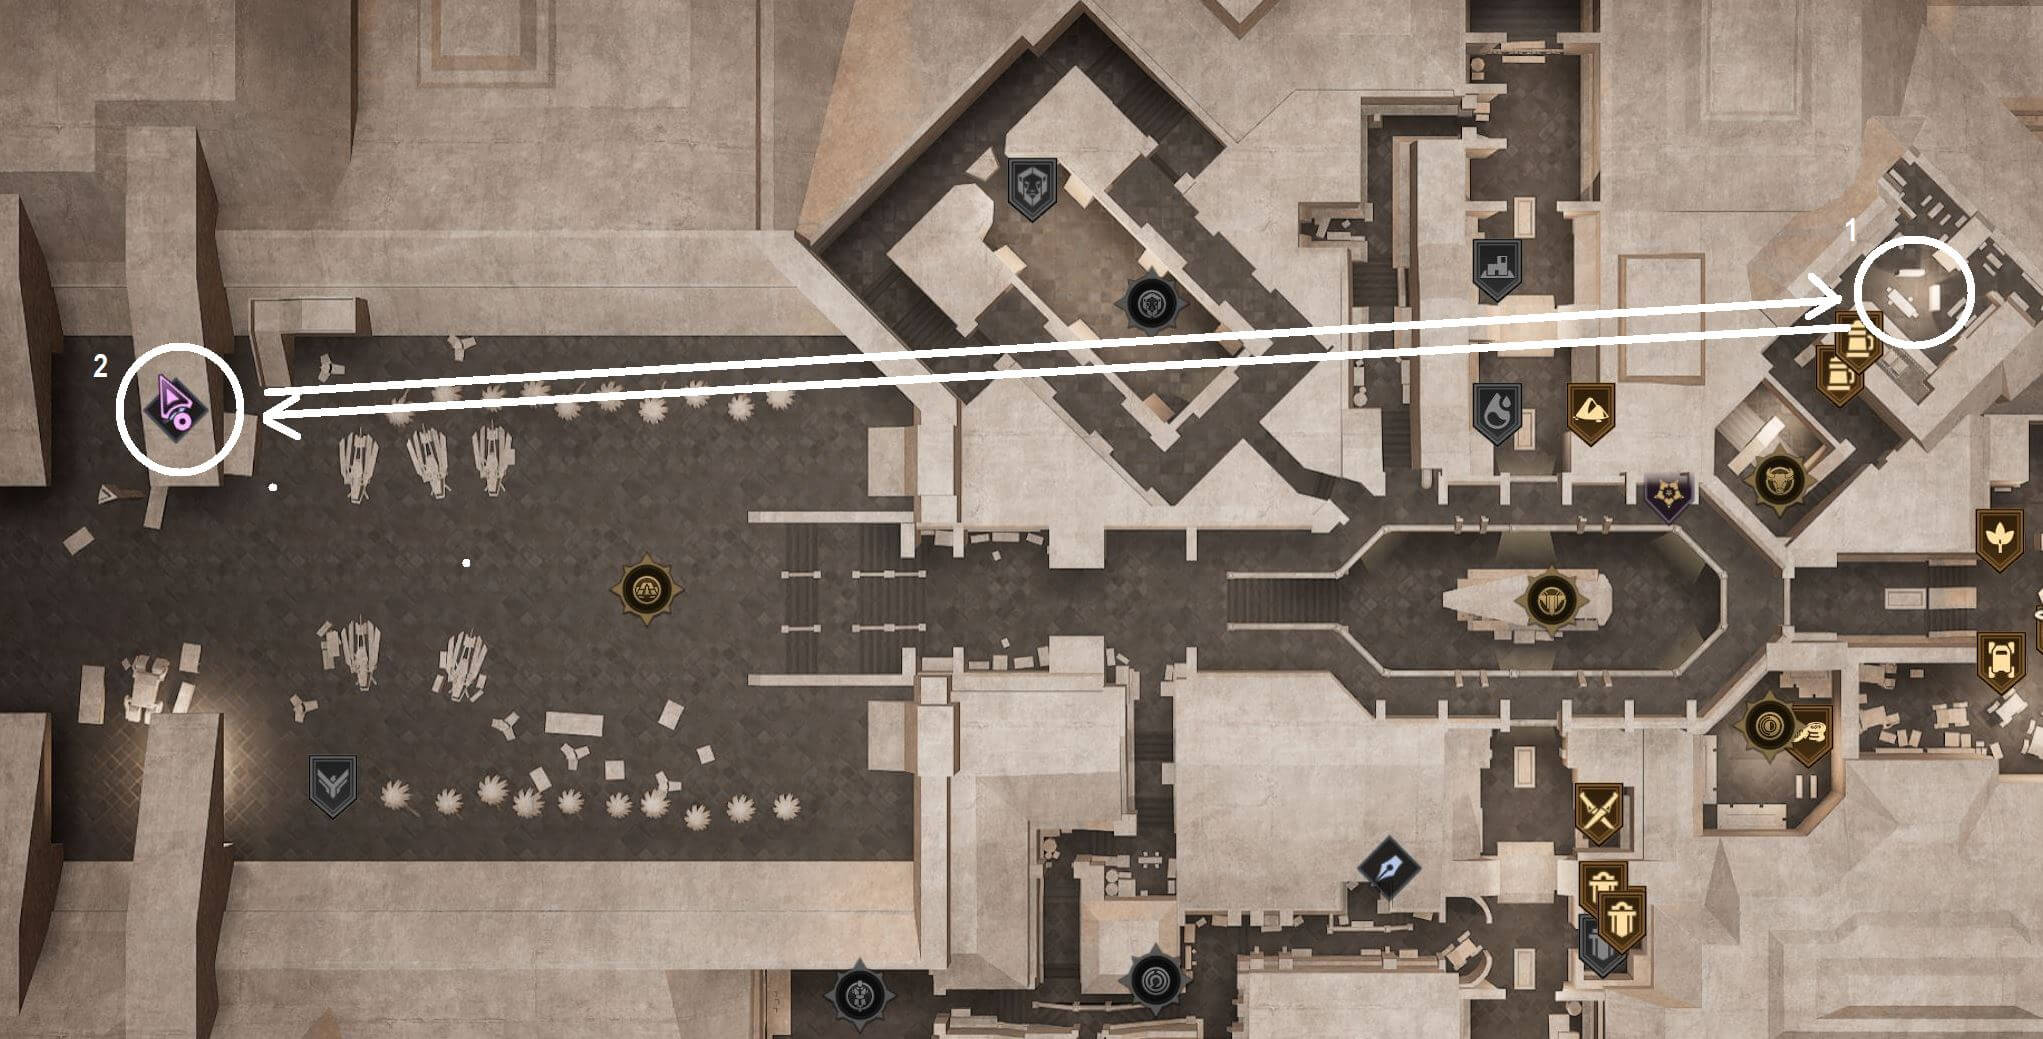
Head into the market from the north entrance and grab the ID band in the first large room, look left and you'll see the unlocked door. Head through and plant the poison in the container just left when you enter. There's a hidden room with a rare chest just beyond that room, through a hidden tunnel in the top right corner of the room. You'll have to climb to reach it.
Head back to Riftwatch to hand in the quest and you're done - time to move on to the Advanced Training!
Quest 2: Calculated Calamity
To start our Advanced Mentat Training we need to head to Arrakeen to meet Zayne De Witte, the Advanced Trainer. If you're doing these quests back-to-back, the fastest way to do this quest is to fast travel to Arrakeen from the Anvil (because the next part of the quest will take you back to the Anvil) but if you want to save the Solari and you have an an ornithopter, fly straight east outside the world map and get there that way.
Zayne's waiting for us inside the Salusan Bull Bar, on the bottom floor near the back.
Zayne wants us to head to the Anvil for an interrogation. Easiest way to get there is to pay the 700 Solari to the Fast Travel ("Taxi Service") near the entrance to Arrakeen or if you have your ornithopter, just fly back into Hagga Basin from the east side. Speak to the Mobula Gang member inside the Anvil to complete that step.
Next interrogation target is back in Riftwatch (déjà vu I know). He's standing outside Riftwatch near the ground level on the east side. Speak to him to complete the second interrogation step.
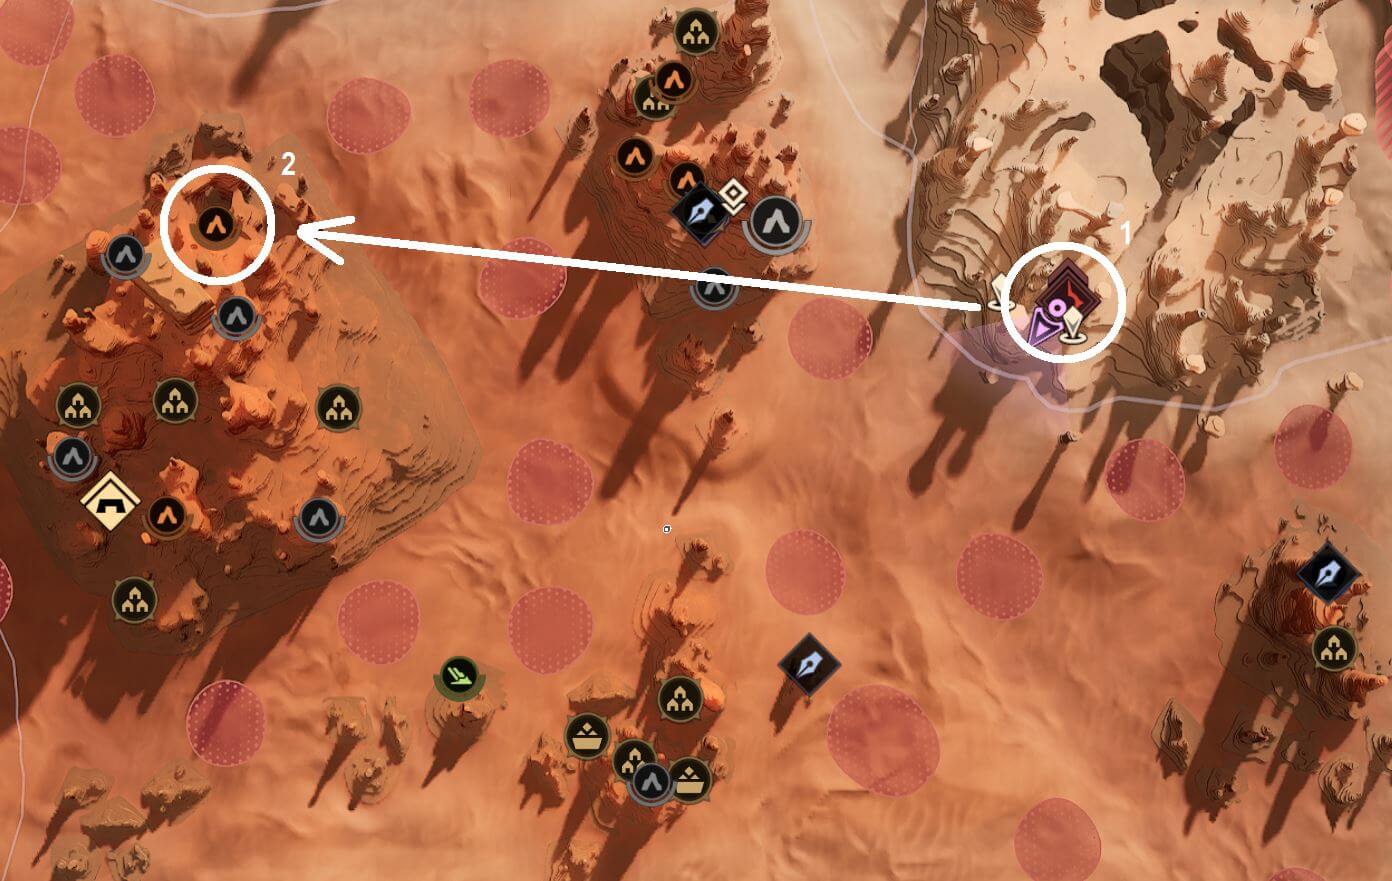
Now we're heading to the Mobula Gang Base a bit further away at 'The Sweep' which is an enemy base just inside Jabal Eifrit Al-janub. Head there and then you'll need to do the following:
- Find information on other bases (interact with the item just before you enter the main building)
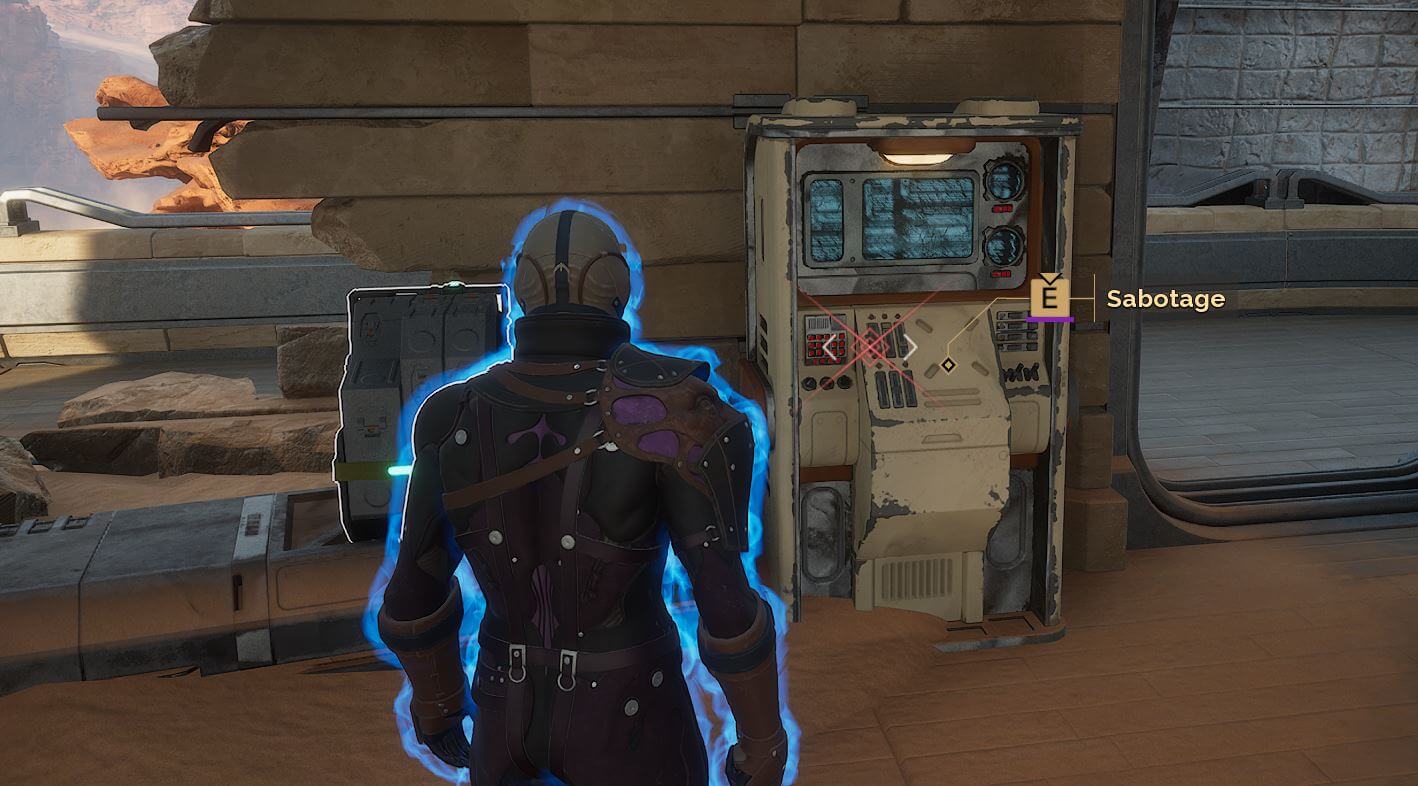
- Sabotage the generator (outside the main building to the right)
- Sabotage the vehicle (down the back behind the main building)
Check your map icons for these, they're super easy to find.
Next we have to head to Chattel Passage, another enemy base just northeast of our location. This is also super simple, enter the large, main building and grab the Minimic Film, then head just a few meters further into the ground floor of the building to sabotage the comms unit.
Finally (phew, long quest) head back to Arrakeen to turn it in.
Quest 3: An Olive Branch
Are you ready for the easiest Advanced Trainer quest in the game?
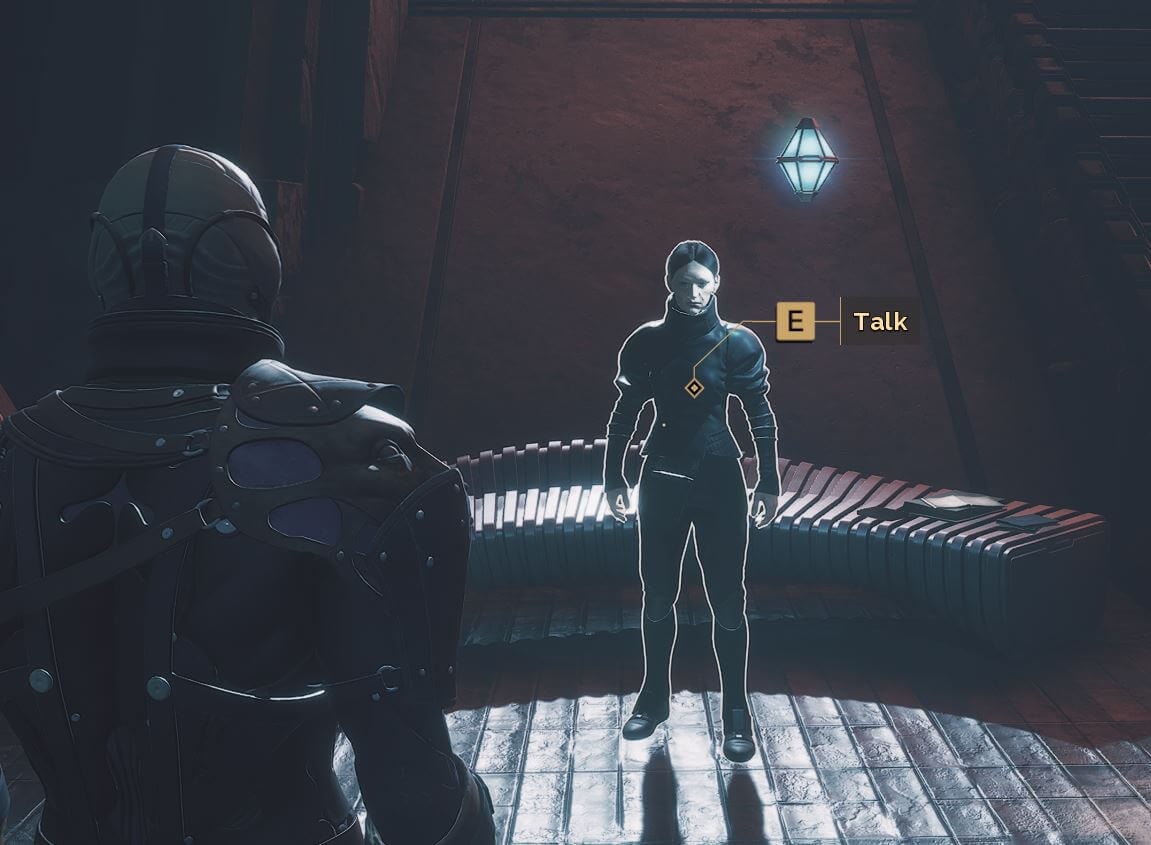
Accept the 3rd quest from Zayne, who will ask to you to take the Film to Thufir who is at the west-most point in Arrakeen, on 'Residency Approach'. Hand it in to Thufir, return back to Zayne and... you're done!
Note: we've received feedback that if you are a member of the Harkonnen Faction, you might instead need to visit Piter de Vries in Harko Village instead of Thufir. If so, just go via Overworld or Fast Travel, he should be in the tunnel at the entrance on the right.
Quest 4: Cataloguing Defectors
IMPORTANT: This quest will require you to extract blood using a Blood Extractor and a Blood Bag. Don't be like me and ensure you have both equipped before you head there.
For this quest we're going to be heading back to Hagga Rift, and specifically the Arctus Cavern. This is quite a high level zone and is in a tricky area within the chasm of the Hagga Rift, so be warned! Doing this one without an ornithopter will be a lot more challenging.
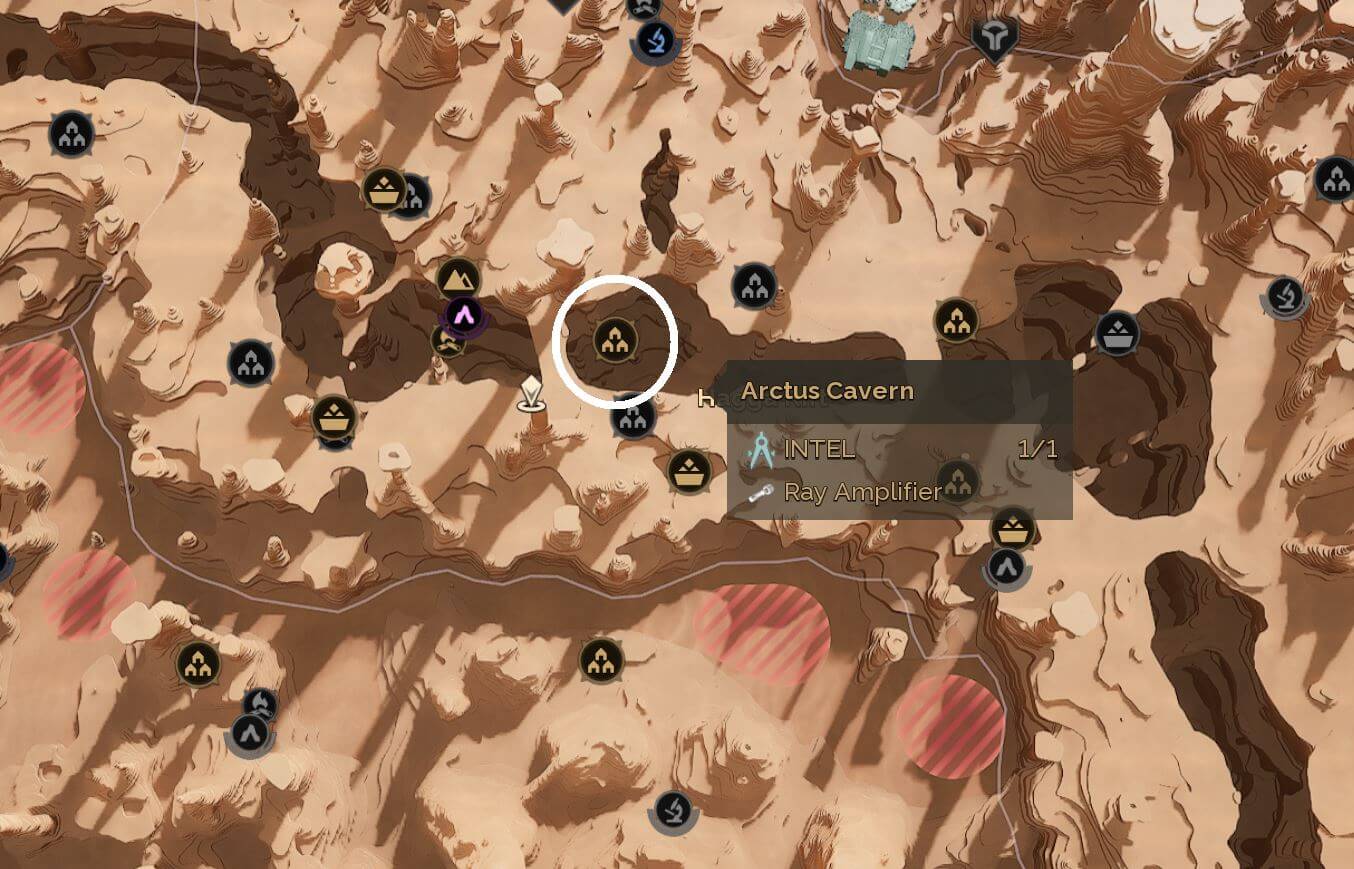
Pro Tip: We actually noted Arctus Cavern as an excellent place to farm Ray Amplifiers in one of our other guides so try and pick some up while you're here!
Head down into the cavern, which is on one of the lowest levels of Hagga Rift and kill some of the enemies within the camp then extract their blood. I think you need 5,000ml total. After that, you'll have to head downstairs and kill the Leader. It's pretty straightforward.
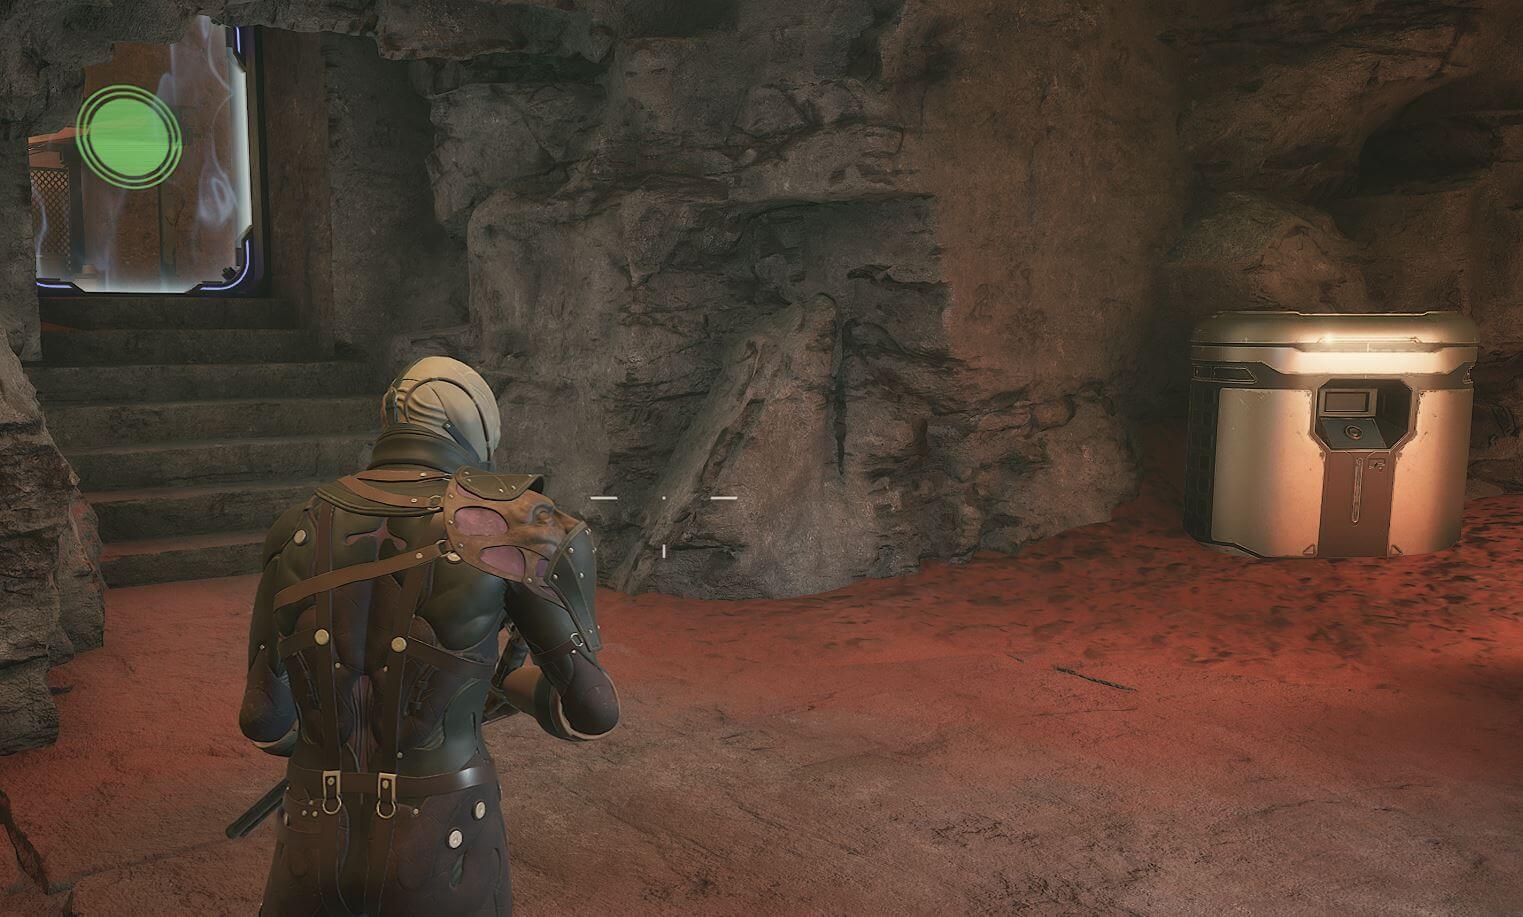
Unless you are really struggling here, we'd really recommend grabbing the ID band and unlocking the room with the rare chest. The locked room is just left as you enter and when you are facing the locked door, the ID band is in a room directly behind you. Turn around, run to the other end and enter the room to grab it. Those Ray Amplifiers are super useful!
Turn the quest in to Zayne in Arrakeen.
Quest 5: Bloody Results
This quest is literally a rinse and repeat of Quest 3. Speak to Zayne, then go speak to Thufir in Arrakeen and then return to Zayne, complete the quest and accept the next contract.
Note: we've received feedback that if you are a member of the Harkonnen Faction, you might instead need to visit Piter de Vries in Harko Village instead of Thufir. If so, just go via Overworld or Fast Travel, he should be in the tunnel at the entrance on the right.
Quest 6: The Price of Rejection
IMPORTANT: This quest will require you to use Solido Decoy, Hunter Seeker and Poison Mine which requires about 10 points in the Assassination tree of Mentat. Ensure you have enough points available to do this before you start the quest!
This next quest is going to take place in the Passage of Artemis which is pretty much right at the top of the map in the Western Shield Wall. Either travel from the Pinnacle or enter the Overworld from north, northwest.
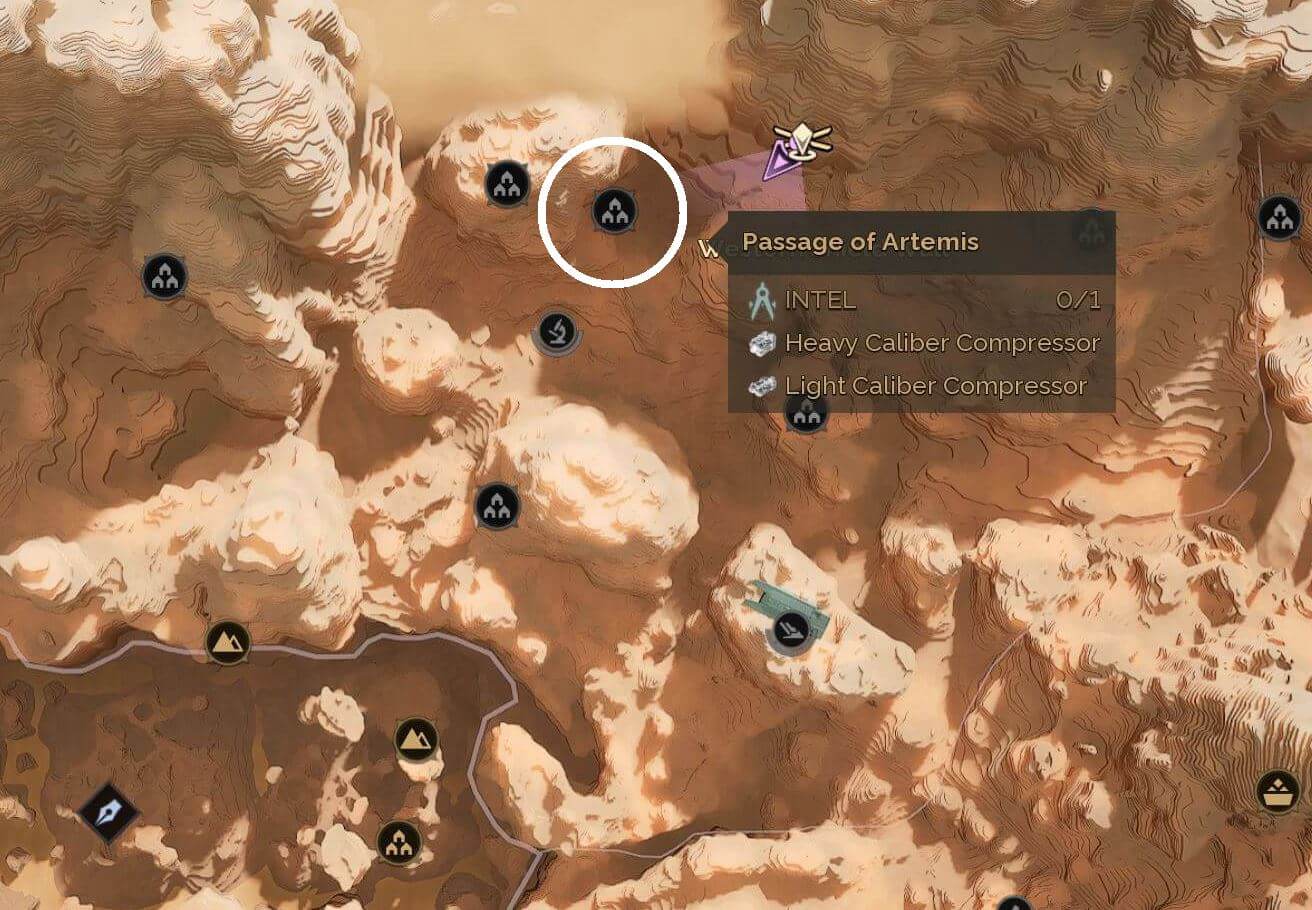
Be careful, this quest is in a PVP zone. Leave highly valuable items like your vehicle outside of the zone in a PVP area. Try and find a good hiding spot when deploying the hunter seeker.
First of all head just head to the Passage of Artemis and then drop the Solido Decoy when prompted - super easy. Next, find a good hiding spot near where the icon on the map is telling you to go and deploy the hunter seeker. You'll notice that the vent you want to fly into is highlighted white. Once inside, you'll notice a yellow outline of an enemy that you will want to fly into using the Hunter Seeker dash action button (Q keybind by default).
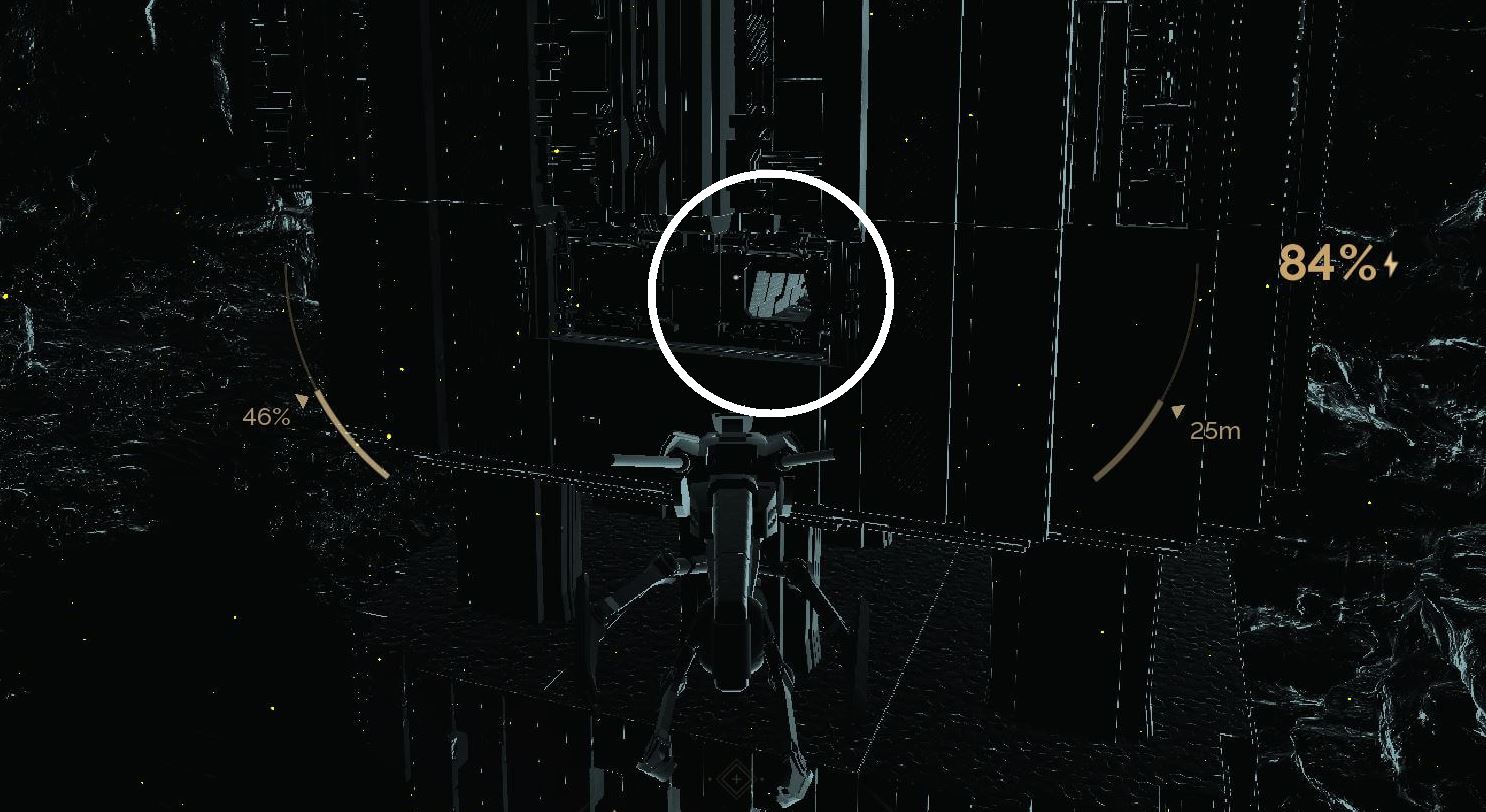
I'm not sure what I was doing wrong but the first two times I couldn't see the enemy at all and then the next two times I felt like I did it properly but got no quest credit. I aimed for the head on the attempt that it actually worked so I think you might need a headshot with it.
Finally just place a poison mine down literally anywhere and return to Zayne to complete the penultimate quest. Speak to him again to take the final quest.
Quest 7: Untwisted Questions
IMPORTANT: This quest will require you to have a Radiation Suit and it's strongly recommended that you also bring a light/torch, although you can grab one from a dead NPC when you enter from the south of the wreck.
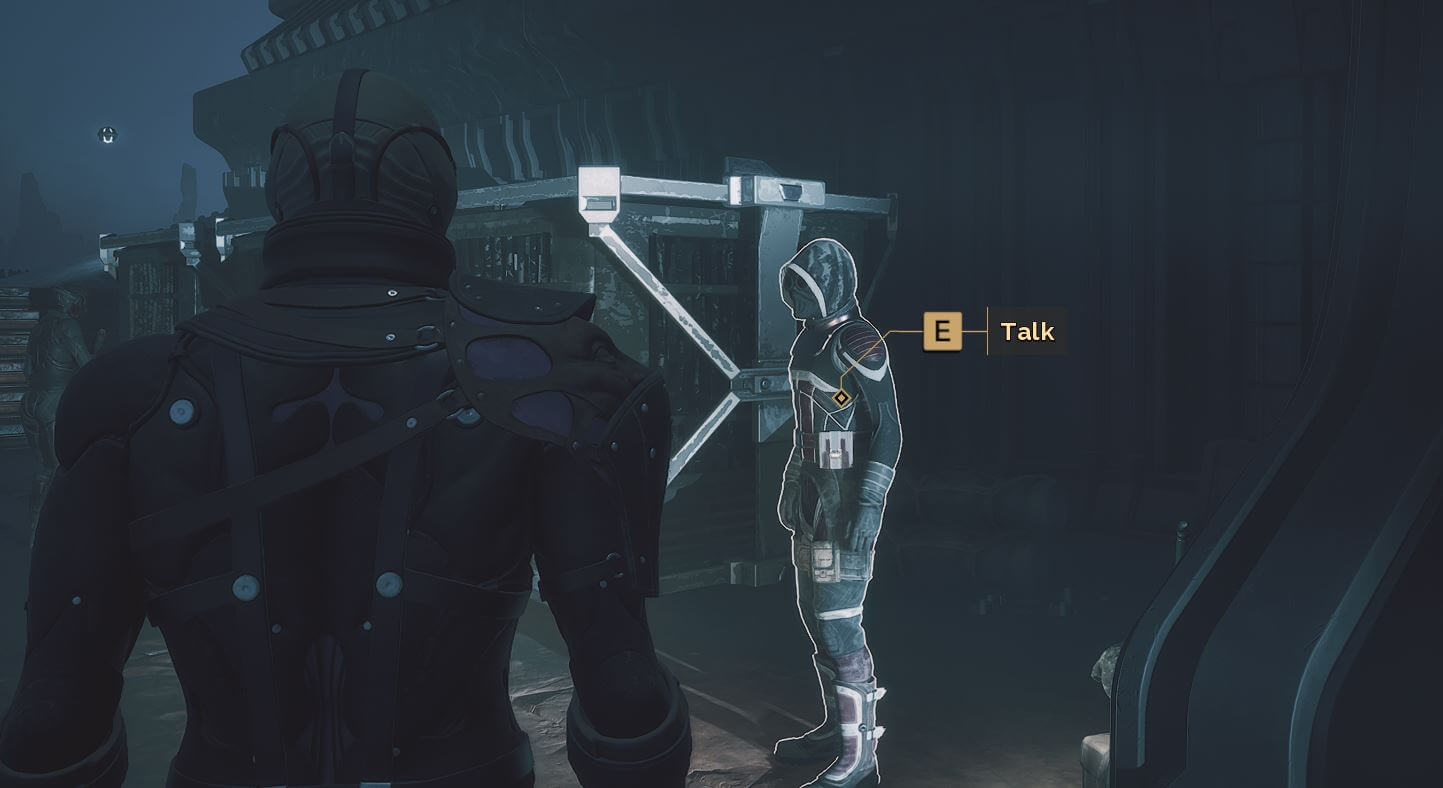
Head to the Pinnacle (enter north from Overworld or just fast travel there) and speak to the first NPC you see as you enter.
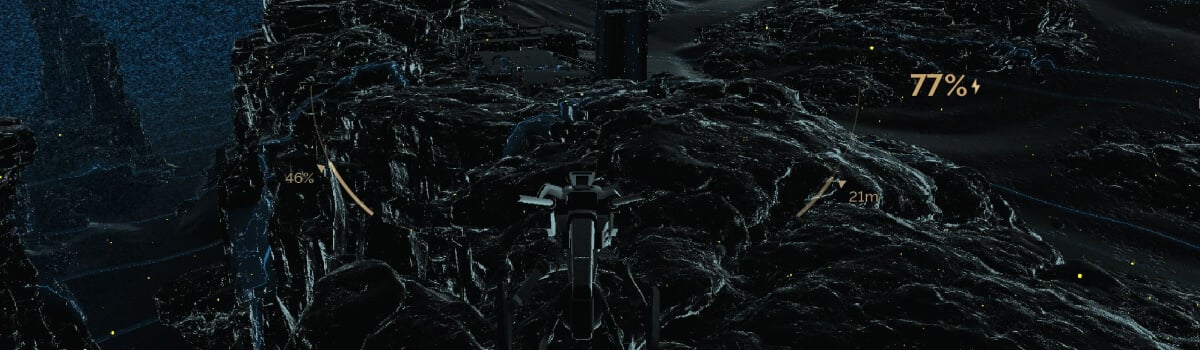
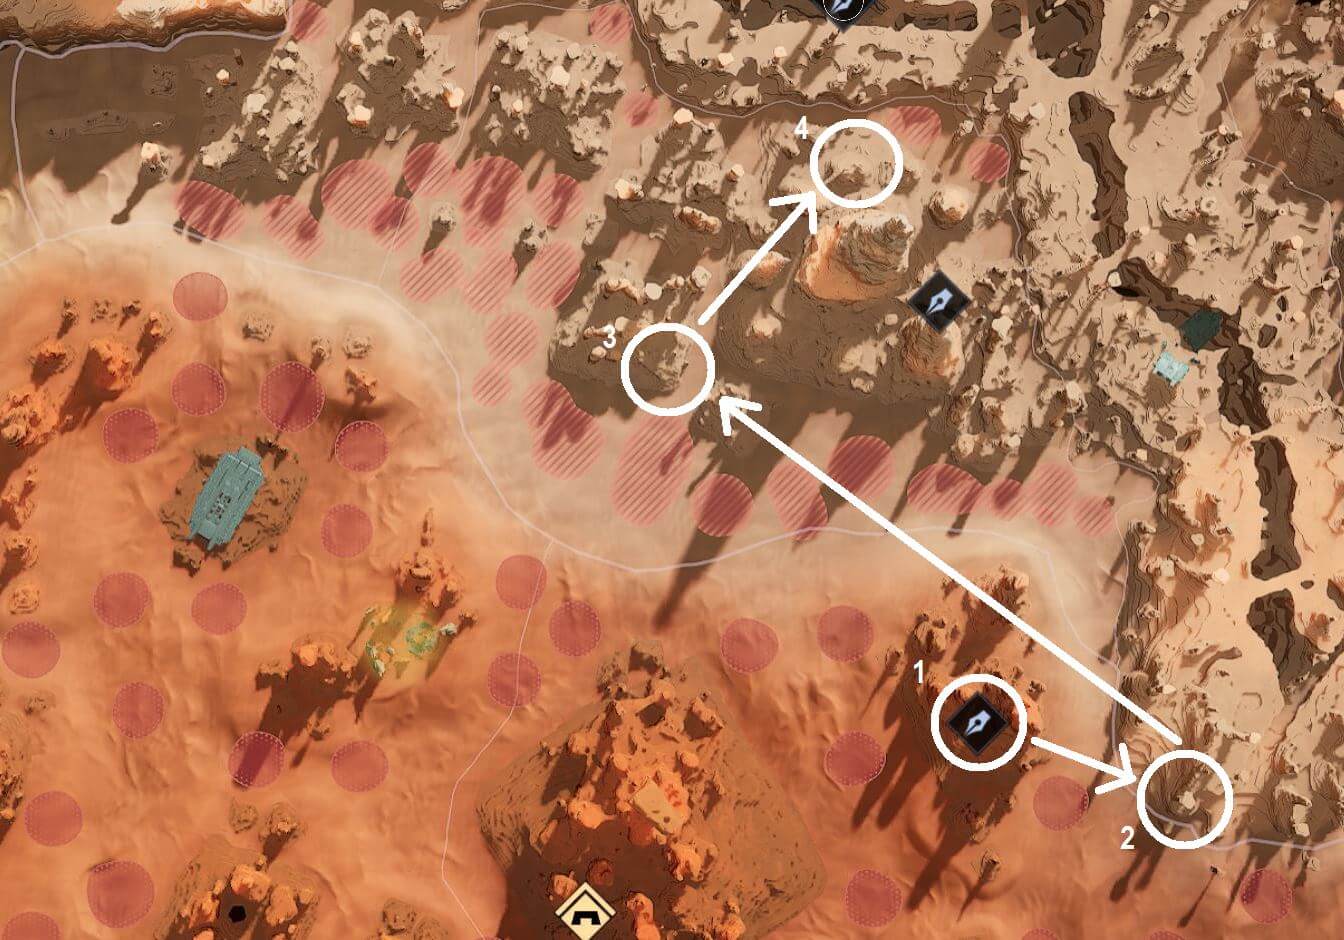
Next we need to head to the Sheol, the southwest region of the game, and you can enter southwest from Overworld or if you don't have an ornithopter, Griffin Reach Tradepost is closest. Time to equip your Radiation Suit because this place is dangerous! The wreck is, as shown in the image, is pretty much in the centre of Sheol.
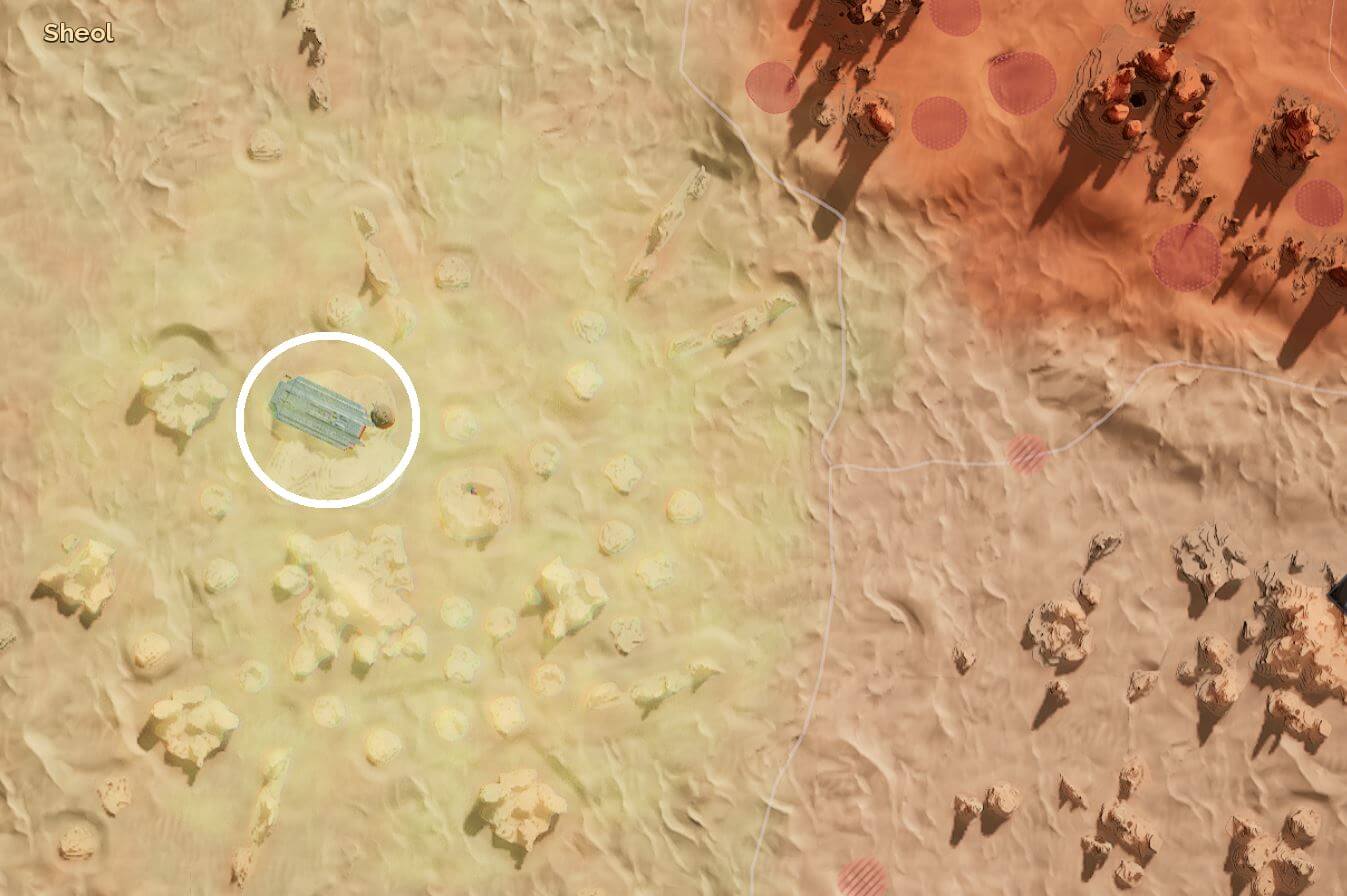
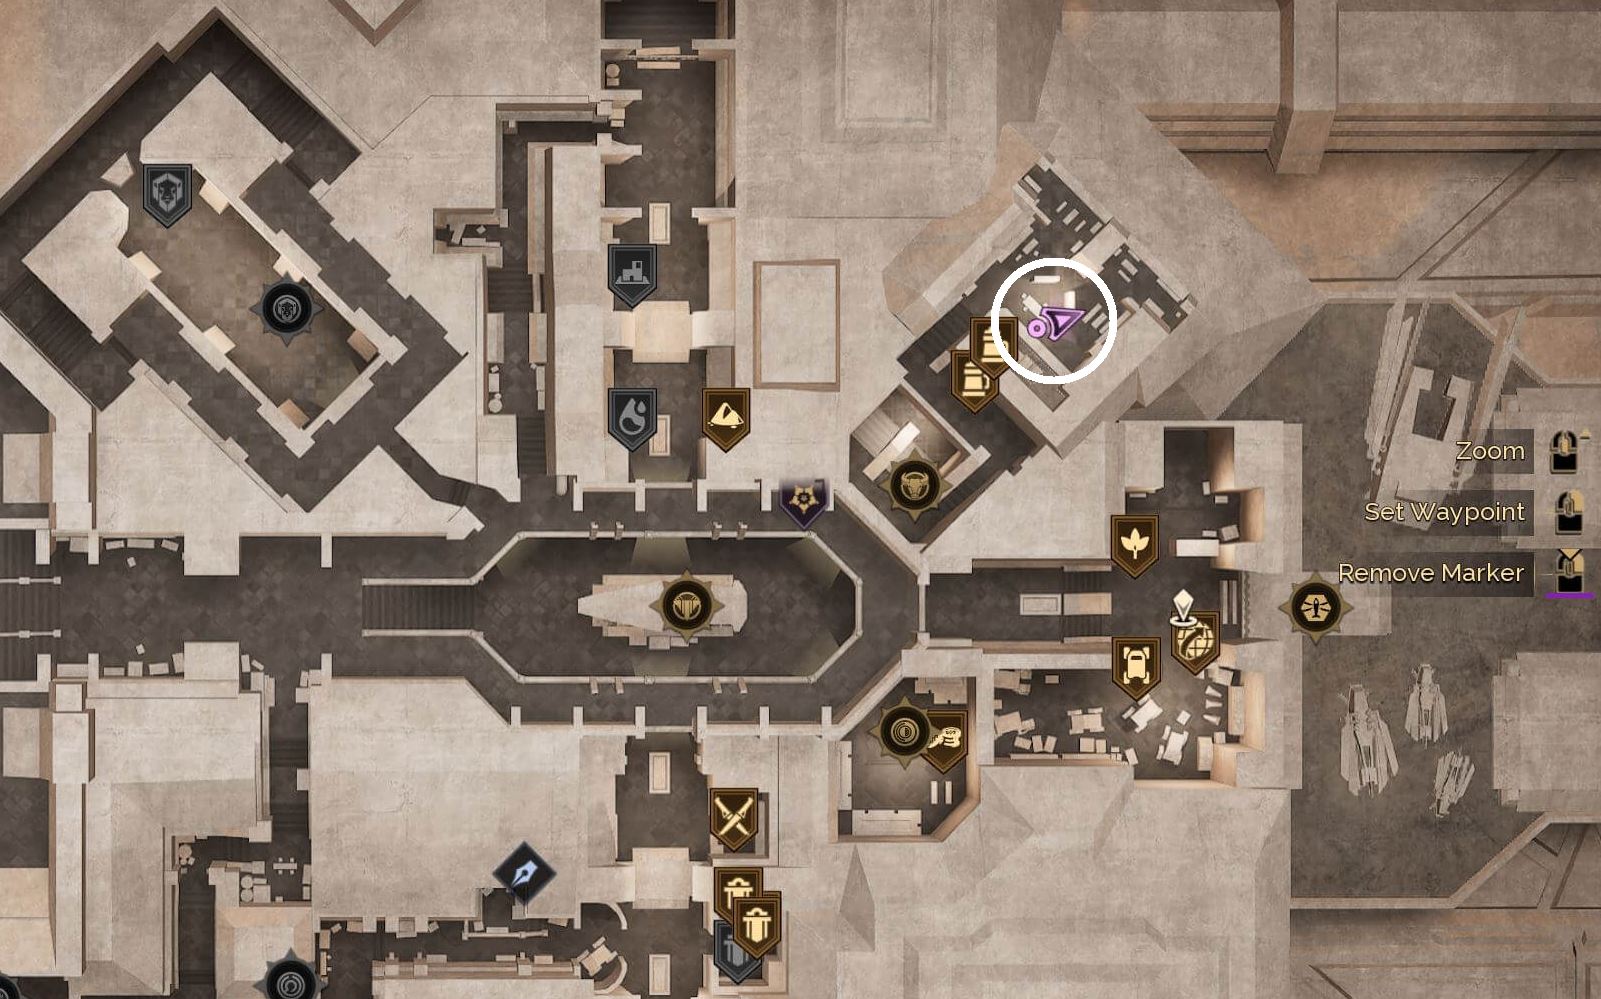
It's a huge wreck and quite difficult to navigate. Drop your vehicle outside of the PVP zone and then enter and make your way into the heart of the wreck where you will find the locked door requiring an ID band. In that same room is the item you need (check the map icon when you are in that room to navigate to it easily).
If you're brave and not about to be fried to a crisp from radiation poisoning then there's valuable loot inside the wreck if you want to find the ID bank and complete it or just loot the chests. Otherwise, hightail it outta there and head back to Arrakeen to turn the quest in to Zayne, closing out this quest chain.
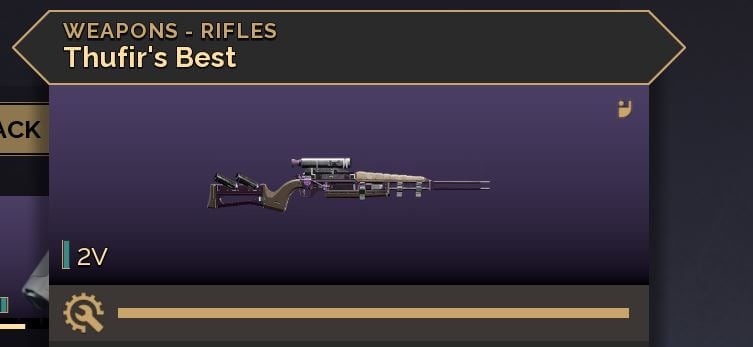
Zayne will reward you with a powerful sniper rifle (Mk5/Duraluminum tier quality), the Mentat Archetype Armor Set and the Mentat Archetype Armor Variant.
Hope this helped! We also have full Advanced Trainer Quest Guides for all other classes: