Testing Station No. 136 is one of five new 'Challenge Mode' Testing Stations to appear in Dune Awakening's Chapter 3 instalment. These Testing Stations are repeatable at increasing difficulty levels (up to 100), with higher levels awarding more powerful weapons, armor and Augmentations.
Testing Station No. 136 is the 'Fire' station where players will have to deal with a whole bunch of flamethrower enemies and a pyromaniacal final boss. Currently, this is one of the easiest Testing Stations to complete solo, with all of the final boss mechanics being fairly easy to deal with.
- Length: ~20 Minutes
- Difficulty: Easy
- Challenge: 2x Lock-ins + Boss
Read on for a simple-to-follow walkthrough of the Testing Station, including the map/layout and detailed boss guide.
Quick Links
- Testing Station No. 136 Layout
- Testing Station No. 136 Walkthrough
- Testing Station No. 136 Boss Guide (Masano The Burned)
- Testing Station No. 136 Loot Table
Testing Station No. 136 Video Guide
Prefer watching rather than reading? No problem, check out our video guide below!
Testing Station No. 136 Layout
The following image shows the layout of Testing Station No. 136.
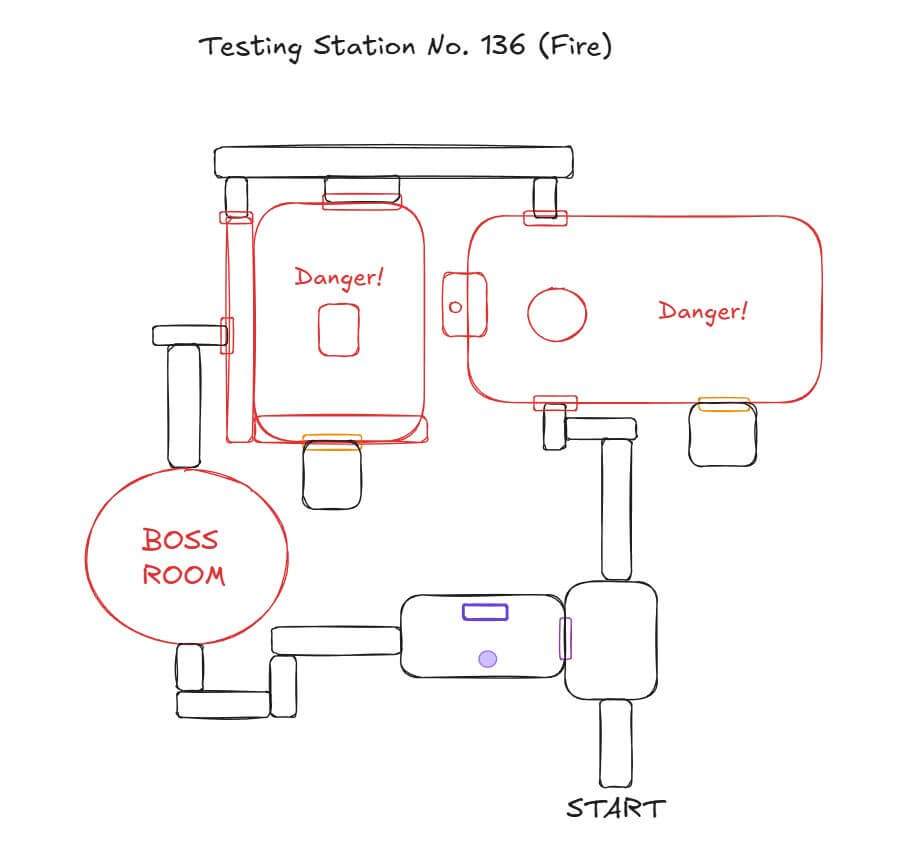
Testing Station No. 136 has one of the shortest and simplest layouts to navigate, with no traps, puzzles or other non-combat mechanics to deal with.
Testing Station No. 136 Walkthrough
Preparing For Testing Station No. 136
Before we begin, you'll want to ensure you come well prepared for the challenge, especially on harder difficulties.
Make sure you have:
- Responsive Planar Suspension Belt (for boss final phase)
- Bandages and/or Medkits (though you can also find many inside)
- Gear that has decent durability
- Sufficient water in your Literjon to stay optimally hydrated for Stamina buff
- Cutteray for optional loot rooms
For pushing higher difficulties and optimization also consider:
- The Forge armor set (for Fire Mitigation)
Note: Fire Mitigation is definitely not required as you will only make use of it if something has gone wrong.
Section 1: Up To And Including First Lock-in
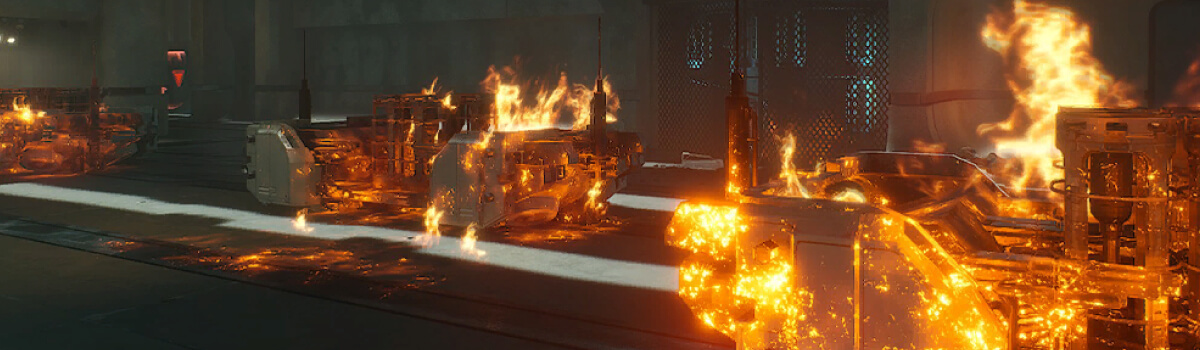
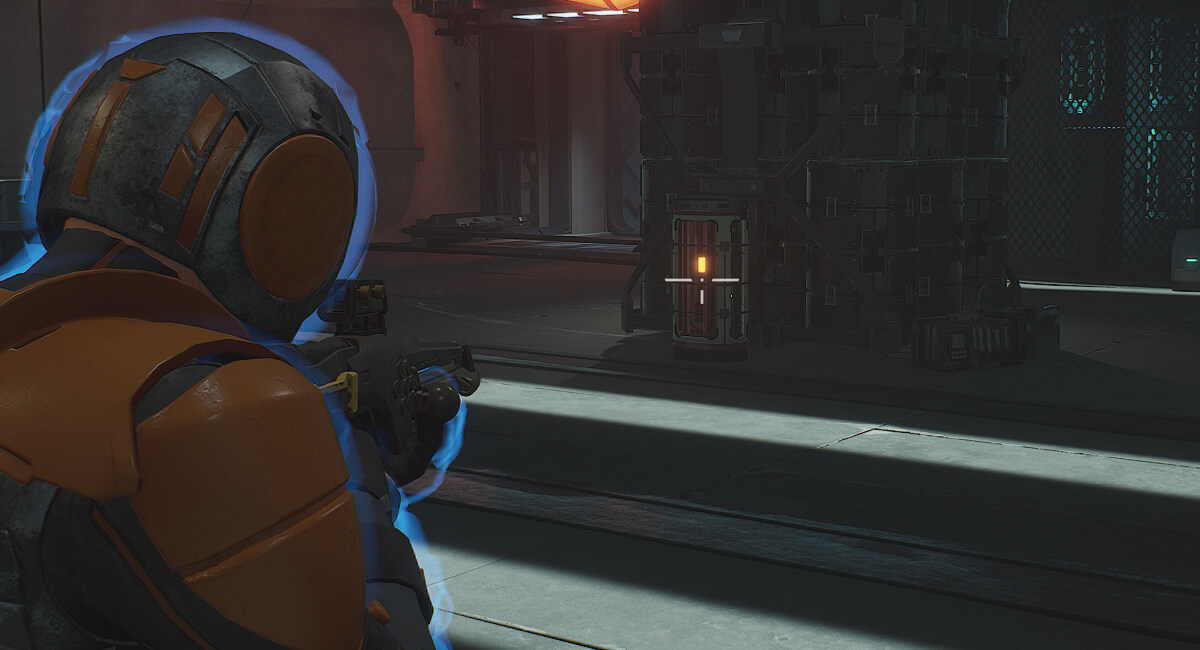
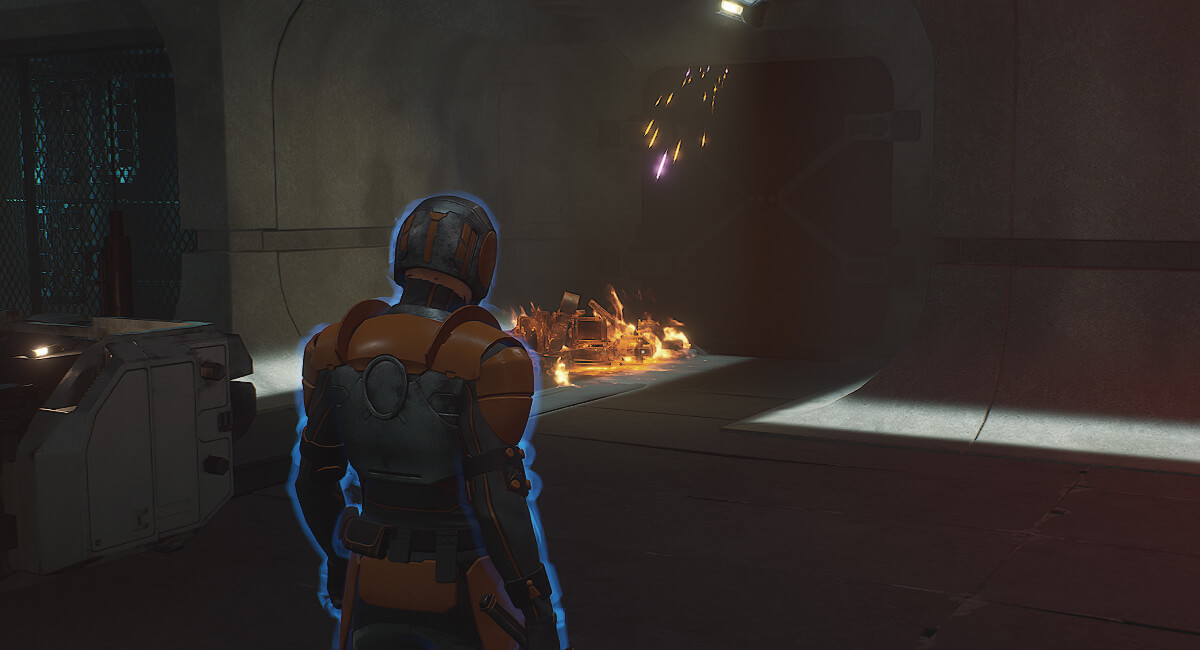
Head down the stairs and continue right through the corridor at the end of the room, turning left when you see the fiery wreckage on the ground. Suspensor-jump over it and proceed through the corridor to the first lock-in.
The lock-in encounter is pretty short and simple - you'll encounter a group of three when you enter, one melee, one unshielded trooper and one heavy flamethrower enemy. Clear them and you'll fight two additional waves of the same.
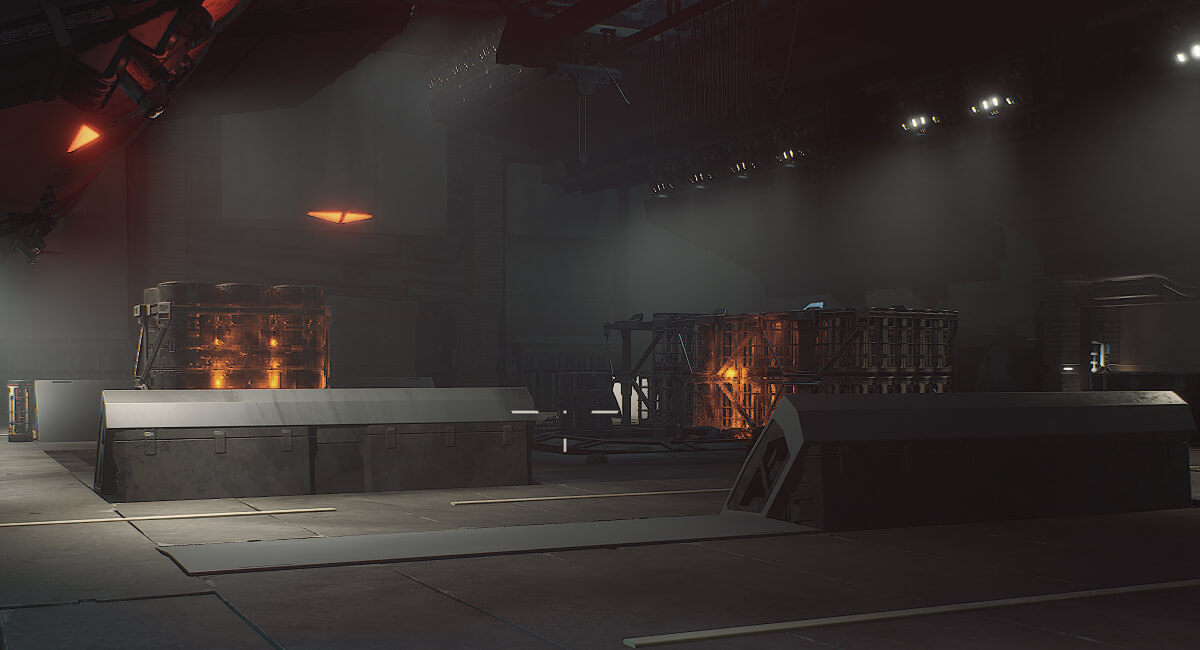
The room is huge and contains a bunch of explosive canisters you can shoot to inflict environmental damage, if you wish. Just be careful as they have a huge blast radius!
On the left side of the room there is also a button you can press sitting between two consoles which blows up the crates in the next lock-in room. It's mostly for fun and won't have a big impact on the next encounter.
There is also an optional Cutteray-locked door right of where you entered which has a bunch of chests with some great resources & materials.
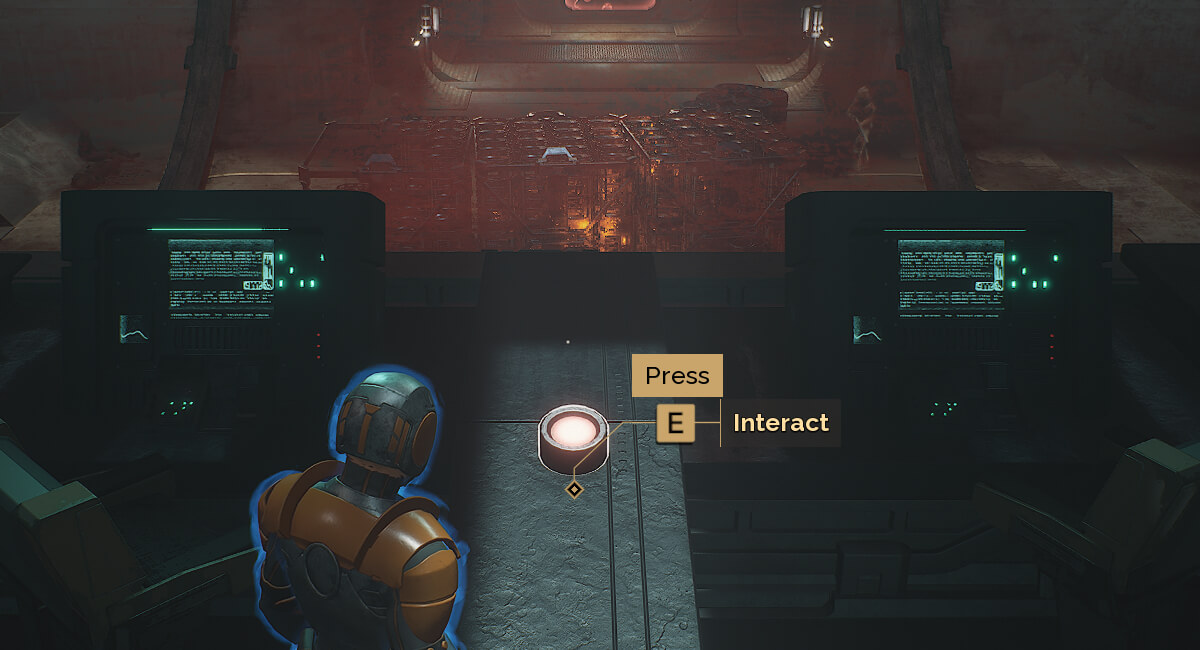
Once you are finished, head through the now unlocked shield door (opposite the door you entered from) and make your way downstairs for the next lock-in.
Section 2: Up To And Including Second Lock-in
Head into the second lock-in for a slightly longer but no more difficult encounter than the first. You'll encounter two enemies when you enter, then two waves or three, a wave of two and finally another wave of three (2, 3, 3, 2, 3).
There's also explosive canisters in this room and plenty of space to play around with.
Tip: Heavy Flamethrower enemies will start using their flamethrower even when they are massively out of range, dropping their shield and exposing them to ranged attacks.
There's another optional Cutteray-locked door at the back of the room once you clear the waves, with more materials, ammo & healing kits etc inside.
When you are ready, proceed through the now unlocked shield door on the right side of the room (from entry) and you are now ready to face the final challenge: Masano The Burned.
Testing Station 136 Boss Guide (Masano The Burned)
Overview
Masano The Burned is one of the simpler fights in terms of the number and complexity of the mechanics, and once you have the abilities down you will find that it is more a test of patience than anything else.
The key to this encounter is continuous movement, especially when you are playing solo.
Phase 1: Basic Abilities
In Phase 1, Masano only has one ability which is to launch Fireballs at you. These projectiles are pretty slow but quick enough that you will want to keep running to avoid being hit, taking your opportunity to strike when she is reloading.
Masano launches Fireballs in salvos of 3-5 shots, repeating, so you don't have to wait long to strike.
Phase 2: Death From Above (+ Adds)
Masano takes to the air, launching ~20 fireballs at you at rapid speed. You will want to just run around the perimeter of the room to avoid this mechanic completely.
Tip: Listen out for the 'clicking' sounds that accompany each Fireball.
One shielded melee add will also spawn in this Phase, so deal with them as soon as it is safe to, between Masano's abilities.
Phase 3: Homing Fireball (+Adds)
Phase 3 is the same as Phase 2 with one additional mechanic: Homing Missile. Masano will launch a homing missile at you which will follow you, exploding if it makes contact. You can simply shoot this missile out of the air as soon as Masano launches it. There's a voice line and an animation that accompanies each launch so just pay attention and prepare to shoot it down.
Again, you'll have one more shielded melee add to deal with, so dispatch it as quickly as possible in this Phase as well.
Phase 4: Floor Is Lava
Phase 4 contains all of the mechanics of the previous phases, but also adds one new mechanic: Floor Is Lava. Masano ignites the entire room, meaning you need to get off the ground, and stay off the ground, until the fire is extinguished.
Your best friend for this phase will be the Responsive Planar Suspensor Belt which will allow you to hover above the ground, out of danger of the fire. Just keep in mind you will still need to dodge all of the other mechanics while airborne!
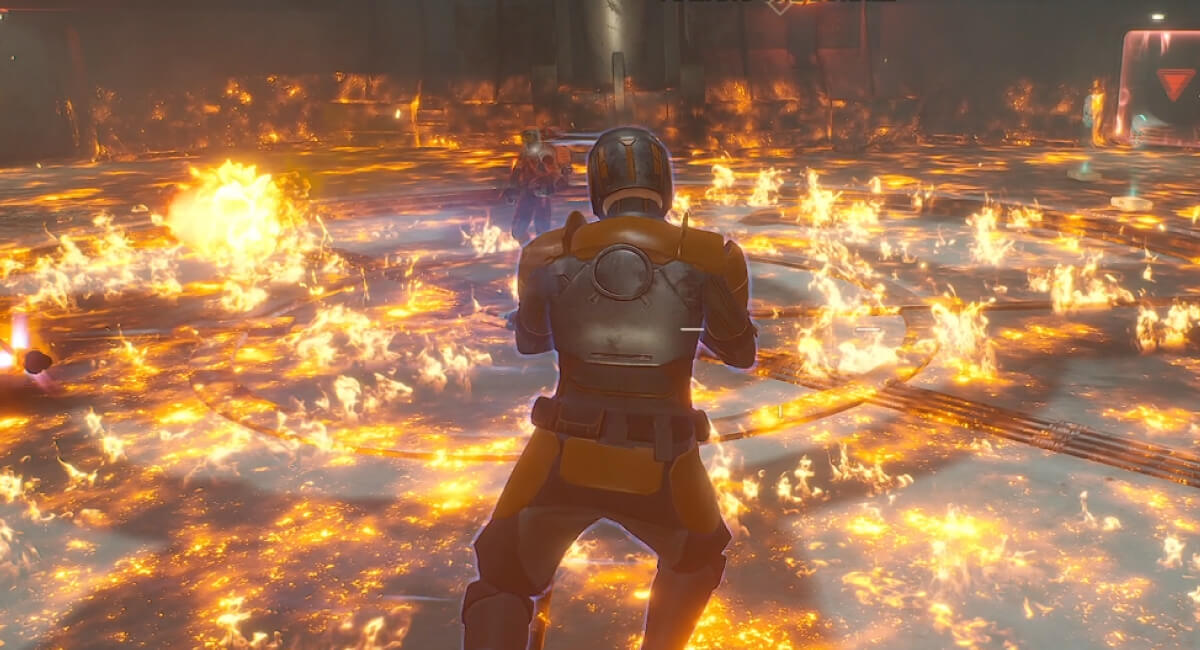
The good news is that there are no additional adds in this Phase, so just repeat what you have been doing in the prior phases - run and gun when you can.
Testing Station 136 Loot Table
Congratulations on completing Testing Station No 136! Check out our Testing Station No. 136 information page for the full loot table!