The ‘Secrets of the Past’ quest/contract is the final set of quests for the Lost Harvest DLC. It will task us with working for Elara Tuek again and heading to two Testing Stations.
For ‘Secrets of the Past’, we’ll be doing some robot deconstruction and taking down a lot of enemies in Testing Stations. This quest is the final part of the Lost Harvest DLC quest chain, following on from 'Lost Within', 'Boosting the Signal' and 'No Trespassing'.
Note: We’ve started in Testing Station 60, but you can do it in either order.
Before we start
- An Ornithopter is highly recommended to the travel required
- Come prepared for quite a lot of combat
- Cutteray is required for a few doors later in the quest
Secrets of the Past

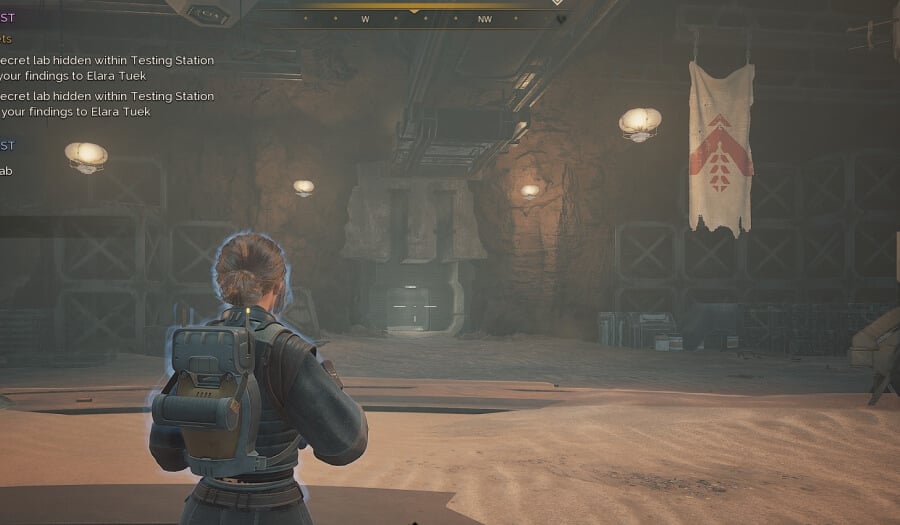
For this quest, we need to head to Testing Station 60 and 163 to gather information for Elara Tuek, encountering some rogue AI and taking what we find back to her in Harko Village. You can tackle the Testing Stations in either order.
Testing Station 60
Head to Testing Station 60 first; you can see the location on the map above. Go to the very bottom of the pit and look for the door to the north, shown below.
Testing Station 60 is one of the more unique locations, and the first area is massive. Follow the path till you come to the first large area, you’ll find the ID Band on the left side of the room with the terminals.
Note: This area has two terminals, which the enemies will use to send for help. If you are not careful, this can be a tough situation.
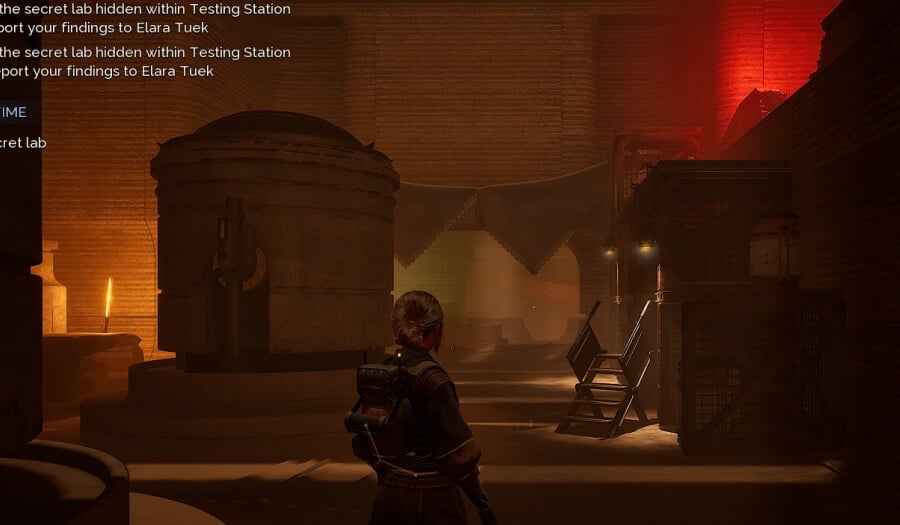
Head to the higher level of the same room and jump over the boxes to get to the next area. Again, this is another large area which will see you fight multiple times.
Next, you’ll end up in the first area, but now the large security door is unlocked. Again, this section is full of enemies. Fight your way to the staircase and go up, take the first path at the top of the stairs. The direction of the marker does give you a hint that you’re going in the correct direction.
Once you get to the next area, jump out the glass window shown above and head to the left. Head down the path and into the instanced door location of the lab.
Note: Do not go through the security door, or you will get stuck in a “boss” encounter before you can leave again.
In the first room, loot the ID Band; there is a small bit of lore on the table next to the ID Band.
In the next room, taking a left and using your Cutteray will get you some loot and a brief ambush. To progress, head to the top left side and find the staircase down. Follow that until you get to a large red room with a security door.
The ID Band is found on your left side, which will open both security doors. The one to your right is full of loot. Head to the second security gate to continue. Here you will find a Cutteray door to your left with some ammo and healing. To continue, follow the path till you get to the flashing light with a “jump scare” enemy. From here, head up and along the path to go back down into the next section.
There is some loot in the room with the “chair”; otherwise, head to the jammed door and open it.
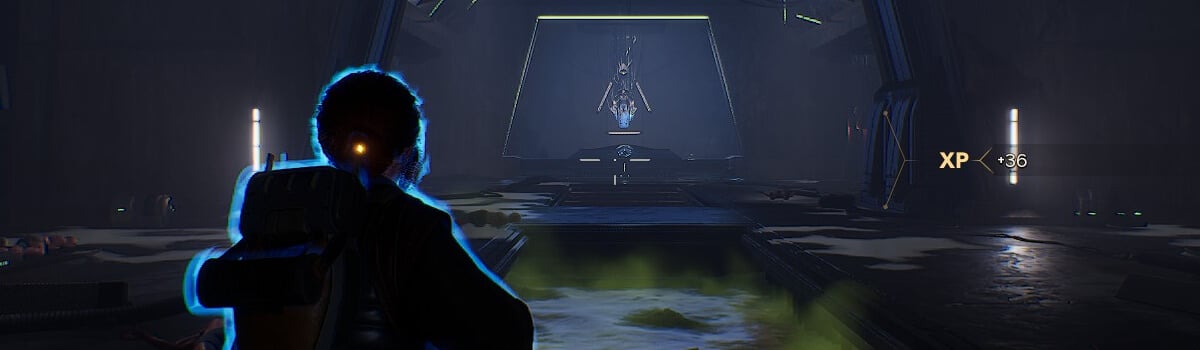
This section acts as a sort of boss fight; you’ll need to deal with waves of enemies who come at you pretty quickly, but are all melee. Good mobility and a Turret can be very helpful. Each pod will spray gas before it opens, so you can plan ahead.
Take the Sphere from the console and loot the ID Band. The exit is behind you to your left. Getting out of the Testing Station is just a case of going the way you came in.
Testing Station 163
Note: The Secret Lab is found fairly early on in the Testing Station. You do not need to complete the entire facility.
Following the path to the lowest point, when you arrive at the section shown above, jump off the ledge to the lower level. Then head to the left-most room, where you will find the Purple ID Card shown above. Here, you want to head down the stairs shown in the image to get us to the Secret Lab.
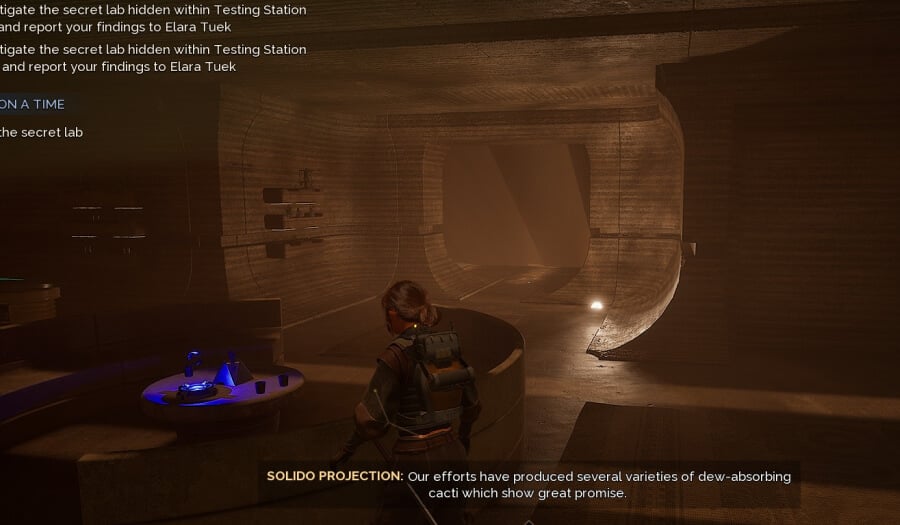
In the first room with the projection (Pal), head left and listen to the Recording device. This will reveal the passcode. Then, speak with the projection to enter the passcode, unlocking access to the room behind.
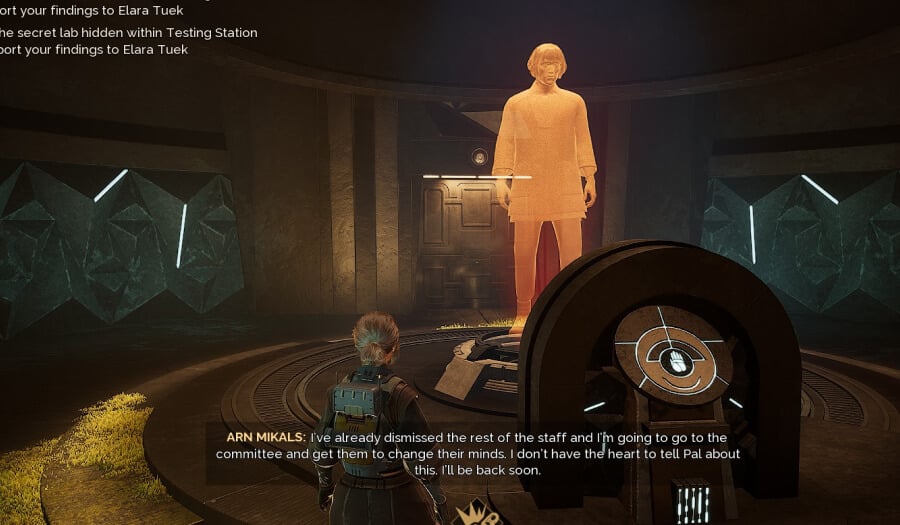
Now we need to complete Sir Arn’s simulation. The simulation is pretty simple, loot as much ammo and healing as you can, as the enemies are fairly simple to kill.
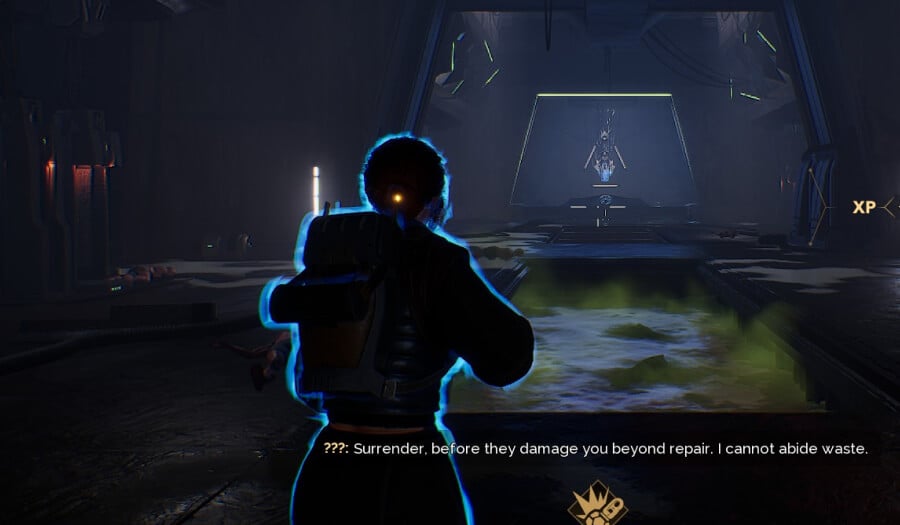
Once you get to the final chamber, head to the bottom and hack the panel shown above, and deactivate Pal. Head through the newly unlocked door to fight the AI. It's a fairly simple fight, just wait out the fire attacks, and once all the enemies are dead, destroy one of the three weak spots that open up. Do this three times, and the fight is over. We have no images of the weak points because we did the fight without Healkits, and it was too hectic.
Once the fight is over, head out, loot the Rare Container and decide what to do with Pal.
Once that’s done, head back to Harko Village and speak to Elara Tuek.
Once completed, you will have completed the Lost Harvest DLC. To play the Act 3 story, check out our Act 3 Walkthrough.