Once you arrive at Scholastone proper after completing the Head to Scholastone quest, you will finally meet up with the Dean of the Institute. We are then tasked with helping Octavius with his experiment.
As with many main story quests in Crimson Desert, this one requires us to do some puzzles. These are not all that hard, but can be a little tricky to understand at first glance.
Gate to the Otherworld Quest: Activating the Void Device
After being introduced to Octavius by the Dean, we will need to wait till the next day. To do that, simply "wait" using the prompt, and a new day will start, and we can begin to help. Approach him and wait for him to explain his experiment.
To begin, we need to unlock the experiment by heading downstairs. There is a set of stairs on the side of the dome, as shown above. Follow these down until you find the "Hatch" on the wall and interact with it.
This puzzle is how we will open the dome. We need to light up every section of the box. Each tap will create an "L" shaped pattern. To complete the puzzle, follow the listed order below:
- The Middle tile
- Top left
- Bottom right
- Top right
- Bottom left
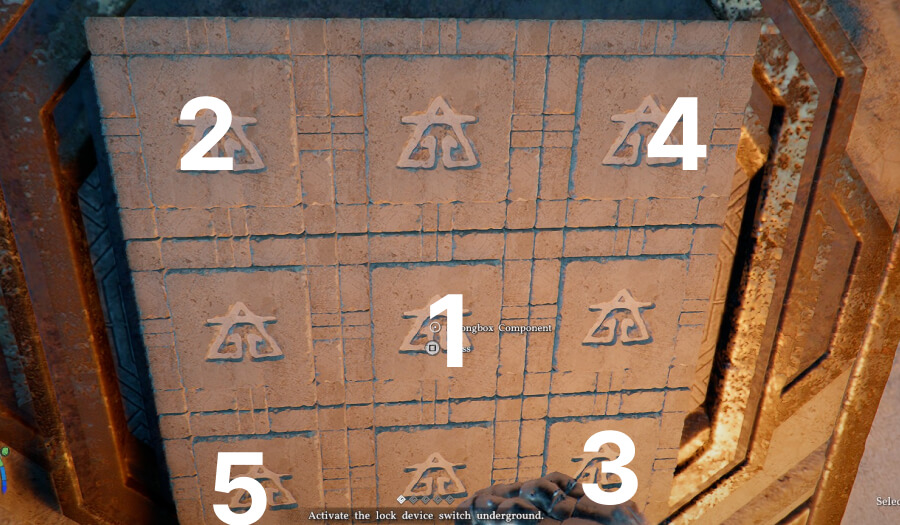
Once that's done, the puzzle will open, and you can interact with the device to activate it, starting a cutscene.
Insert the Batteries

Head back to the Dome above where we started, using the same staircase we used to come down. Now use the Axion Force skill on each of the Blue Batteries and place them inside the pillars that were around the Dome. Once they are placed, use Force Palm to hit them into the slots.
Note: The cubes only need to be in front of the gaps before you Force Palm them; they won't "slot" into place with just Axion Force.
Do this four times, and Octavius will begin the experiment.
Gate to the Otherworld Quest: Tenebrum Boss Fight
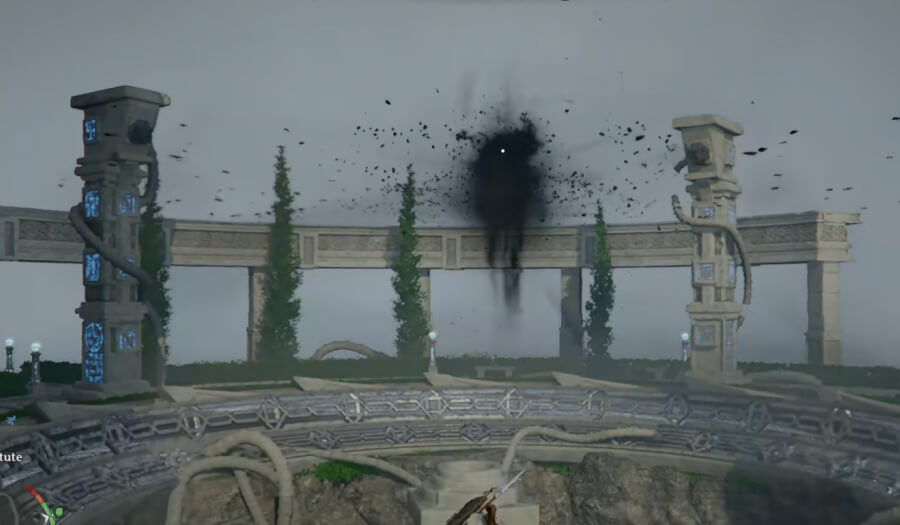
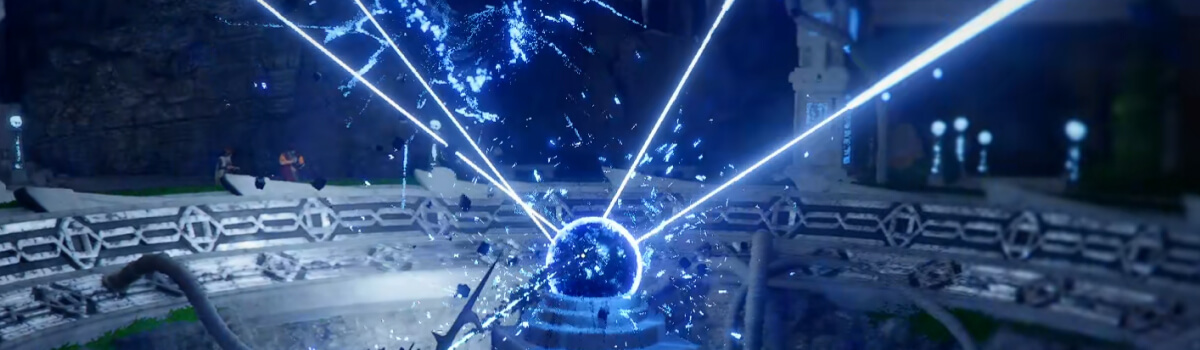
Shockingly, the experiment will go wrong, and Octavius will need your help. Use your Axion Force to 'remove the unstable core', which is the large glowing orb in the middle. Place Axion Force over it, and then "Control" the orb, pull it on to dislodge it from the holding in the middle.
This will trigger a cutscene, which will lead to the next phase, which is a fight with Tenebrum. You'll need to use your Blinding Flash ability (L1 + R1/ RB+LB/ CTRL + Left click) to defeat the boss. Some tips:
- Stand behind the pillars to avoid the boss's damage.
- When the boss goes to the middle of the arena and does the charge attack, fly into the air and Force Palm it quickly (you can see the central position in the image above)
- You will take damage from the explosion, so heal up quickly
- Repeat three times to defeat the boss
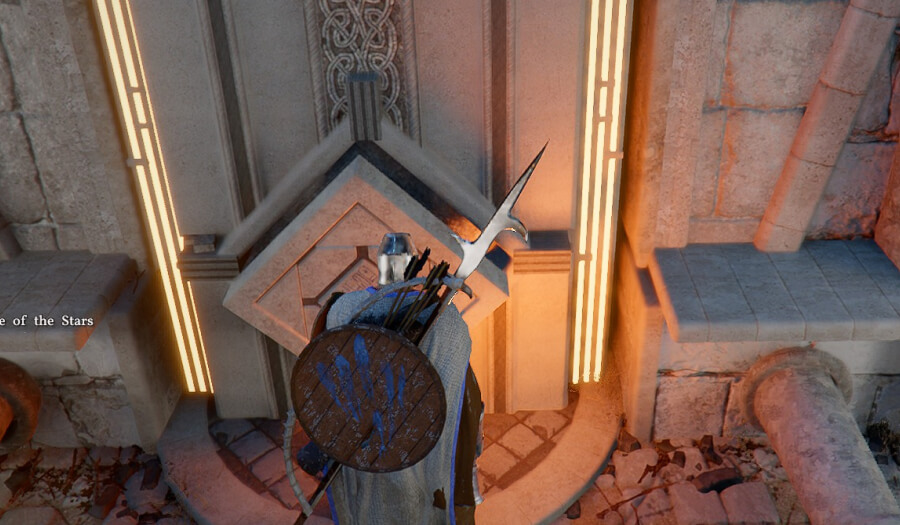
Once Tenebrum is defeated, the quest is complete, and you can move on to the next quest in the chain, Spire of the Stars, which also takes place in the area. This is also a good time to claim the nearby Bell Tower.
Spire of the Stars Puzzle
After the Gate to the Otherworld, we are thrust into the next part of the Scholastone quest.
This puzzle requires us to find the three doors and open them, revealing an Engraved Stone, which you need to loot. These doors are marked on the map with a purple square. There are two on the right, and one on the left.
Now head back to the main room and insert the three Engraved Stones into the consoles' missing stones. This will send the Stones above the console higher up the platform.
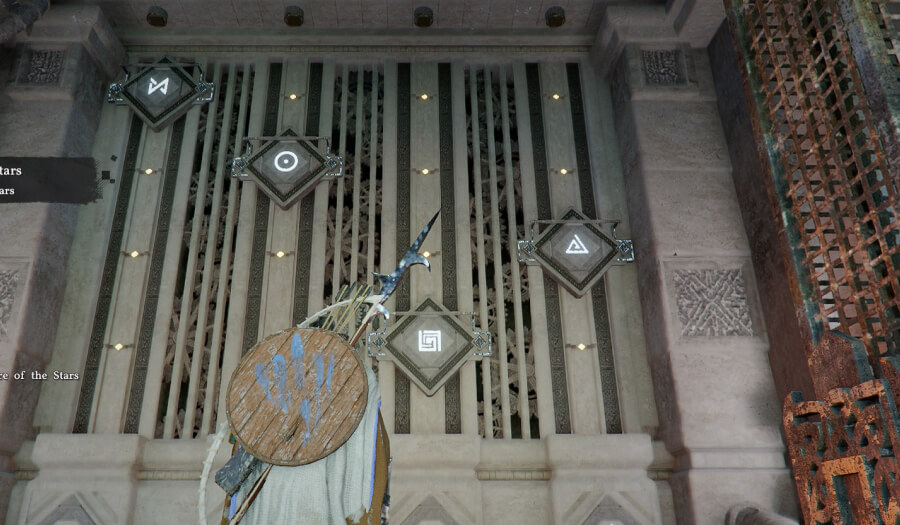
Now you need to move these Stones into the correct place as shown above. The pattern is as follows:
Reading from left to right:
- Left: Leave at the very top
- Second Left: One spot down from the top
- Third from Left: All the way to the bottom
- Fourth from Left: One above the bottom
Once that's done, the lift will start to move up and take you to the top of the spire.
Obsession and Madness
Note: Once you enter the rift and are at the towers, activate the fast travel point. This means you can return if you fall down.
The final part of the quest will see us enter the Abyss and connect several towers to allow us to move across the space.
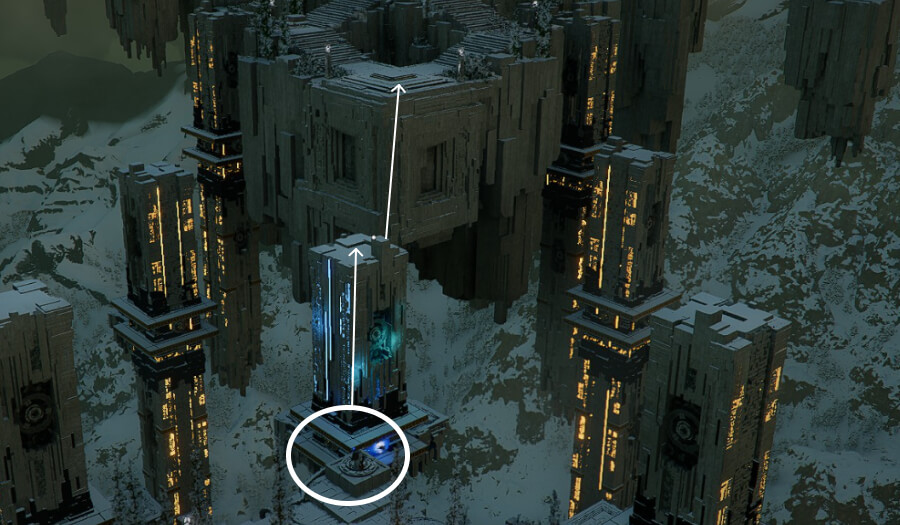
There is an easier way to get across if you want to just skip through, which we outline below:
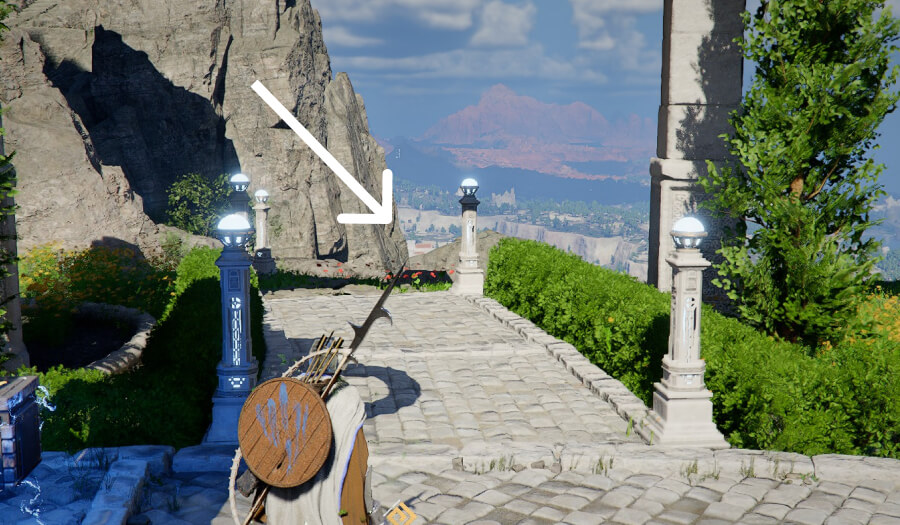
- Stand on the very edge of the platform (circled in the image above)
- Now, jump and use Force Palm (R3/middle click) 3 times to gain air and then glide to the platform shown with the arrow
- On this platform, go to the highest point and do the same thing again, aiming for the platform shown by the second arrow
- Head to the top of the new platform and use your Force Palm jump again on the mechanism to activate it
A short cutscene will now play, setting up the next major part of the story. For now, head back to Howling Hills Greymane Camp.
Note: If you have not already, this is a good chance to ring the Bell Tower located here, just head south from the location where you had the conversation with the Dean.