
The Reed Devil is the first major boss fight in the game, and for many, it will be the first one they get stuck on. Fear not however, as we have your back.
The Reed Devil is part of the main quest chain, but actually getting to the fight is a bit of a pain. The fight is located in the Reedwin Valley, but you have to do a lot of work to get to him. Before you go into the fight, being prepared is the key, as this is a three-phase fight. For defeating the Reed Devil, you will receive an Abyss Artifact for your trouble.
Pre-Fight Preparation: The Abyss Cresset
This is a tough fight, so preparing is key. Not only ourselves, but also some map preparation.
- Secure a fast travel spot: There is an Abyss Cresset spot near the Reed Devil's arena. This gives you the chance to restock before the fight, or if you fail, use it to come back after restocking.
- Food and gear: Make sure you have decent gear. A good source early on is the Blacksmith in Hernand Castle, who sells a really nice set of armour. It's also well worth stocking up on lots of food to help you get through the fight.
- Refine weapons and armour: While at the Blacksmith, look to improve the gear you have for an extra edge.
- Skills: Health and Stamina are key in fights like this, especially Stamina, as the Reed Devil uses a lot of fast attacks. Keen Senses level 2 is also a great skill, allowing you to parry his attacks, which is how we managed to defeat it.
- Sword and Shield: The shield is the most stamina-efficient way to block damage, and the Reed Devil does a lot of very fast attacks.
Combat Strategy: Phase 1
Yeah, Reed Devil is sadly a multi-phase fight, and it took us by surprise the first time. Our strategy for Phase 1 is summarised below:
- Force Palm: This skill is a game-changer early, as it lets you build up the boss's Stun Meter, breaking his guard and letting you land a lot of attacks.
- Keep your Distance: Slow and steady is the name of the game with the Reed Devil. His melee attacks are deadly, but he telegraphs them easily. Stack back, pick your moments.
- Kick: A good way to stop him from circling you is to use the Running Kick (triangle/Y).
- Spam Parry: In the first phase, when he does his flurry attack, spam Parry to force an opening.
- Finishers: Once you stun him, unload damage quickly using your finishers (LMB/RMB, RB/RT, R1/R2).
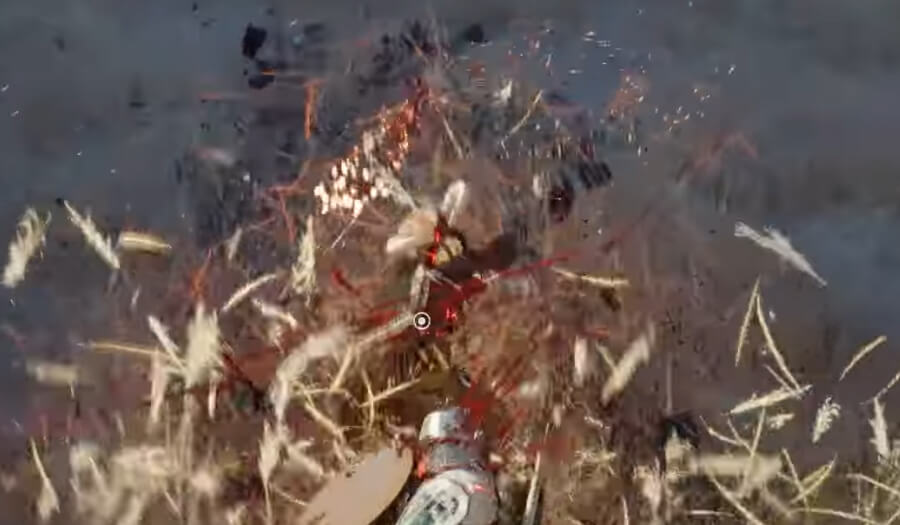
This is the flurry attack that you want to parry.
Phase 2: Dealing with Clones and Totems
In phase 2, the fight ramps up, with totems spawning and clones to deal with.
- Destroy Totems with Turning Slash: This is the "secret weapon" for this fight. Run to a totem and hold LMB/RMB, RB/RT, R1/R2. The charging frames for Turning Slash make it harder for you to flinch, and a fully charged hit will one-shot the totem. This stops you from having to deal with the clones while still taking out the totems.
- Ignore the Clones: Don't waste time fighting the copies. Keep sprinting and focus entirely on the totems to force the real Reed Devil back into the open.
- Dodge Red Attacks: When he fires red blades or performs the Swift Stab, do not attempt to block. Use your enhanced evade to move.
Phase 3: The Final Stand
- Avoid Range attack: Stay close, you need to avoid his range blade attack at all costs here.
- Stay close: He is much harder to lock down in phase 3, but you can still do the parry tech that we did in phase 1.
- Eat: Any hits that get through the parry, use your food to recover, and then go again.
And that's it for the Reed Devil. He's a really rough boss fight, but honestly, he taught us a very valuable lesson in making sure you have sufficient food!. If there is one thing you should take away from it, that would be it. Bring lots of food, too much food if you must. You can never have too much food.