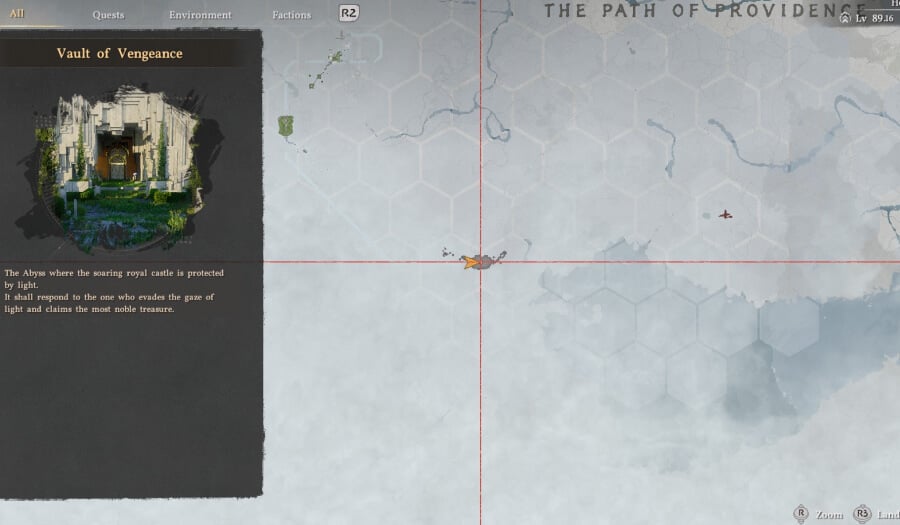
Here's how to solve the Vault of Vengeance Abyss Island puzzle in Crimson Desert, covering all four phases, the laser room, required skills, and how to claim the Abyss Artifact reward."
The Vault of Vengeance in Crimson Desert is a high-stakes gauntlet that tests your timing and agility. While the mechanical requirements are simple, the room is "inordinately deadly" due to high-damage laser barriers. This guide ensures you bypass the security systems efficiently to claim your rewards.
Read our other puzzle guides, including others in this chain, in our Abyss Island puzzle guide section.
| Category | Information |
| Rewards | Abyss Artifact, Fast Travel Teleport, Access to Courtyard of Precision |
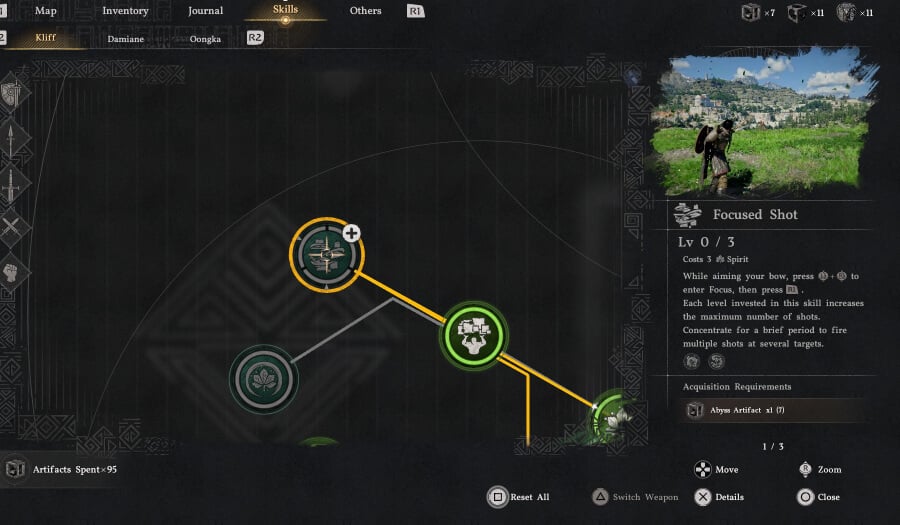
| Required Skills | Nature's Grasp, Axiom Force, Force Palm, Focus Shot, Flight |
| Required Quests | Spire of Stars and Secret Garden |
Essential Mechanics
You'll need all of the following skills to progress through the gauntlet:
- Nature's Grasp: Press F / Triangle + Circle / Y+ B
- Axiom Force: Hold L3 / Tab to aim, release to fire. (Can be upgraded to "Charge" plates).
- Focus Shot: Aim the bow with L2/LT/Q, then L3 + R3 / X, mark targets with R1/RB/ RIght Click , then release the bow to fire.
- Force Palm: Press R3 / Middle Mouse (Use while jumping for the final button).
- Flight: Press Square / Space in mid-air.
Phase 1: Breaking the Outer Barrier
Before entering the vault, you must drop the energy shield protecting the main door.
-
Sync the Blocks: Go to the north and south sides of the main platform. Use Axiom Force to grab the blue energy blocks and move them until they touch the cubes flanking the path to the vault. The left cube is slightly further away, beyond the flower patch to the left if facing the door.
-
The Crosshair Challenge: Approach the vault door. You will see two yellow crosshair buttons. Hitting one starts a timer (indicated by a blue light ring) so you must hit the second before the ring disappears.
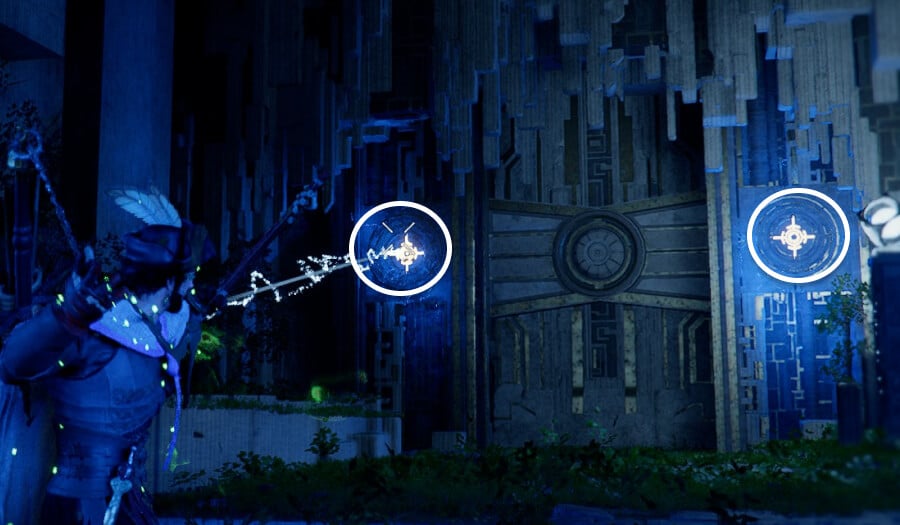
Pro Tip: Use Focus Shot to mark both buttons simultaneously. This allows Kliff to hit both in rapid succession, bypassing the timer difficulty.
Enter the Vault: Once unlocked, use Nature’s Grasp to raise the door manually.
Phase 2: The Laser Room
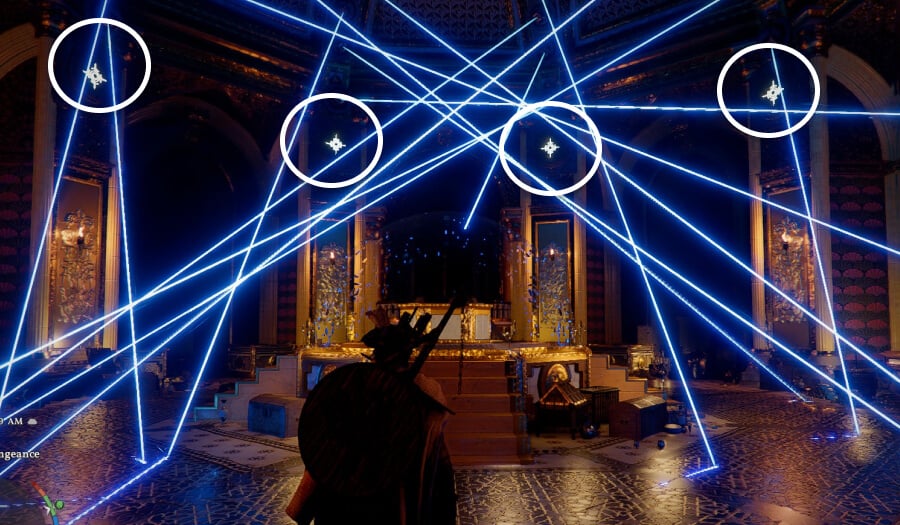
The first interior chamber is filled with lasers that will disintegrate your arrows upon contact.
- Targeting: Look toward the ceiling to locate four yellow crosshair buttons.
- The Shot: Because the lasers move, manual aiming is unreliable. Use Focus Shot to mark all four buttons.
- Timing: Wait for a clear window where the lasers aren't obstructing your line of sight to all four targets, then release.
- The Trigger: Once the buttons are hit, the lasers will dissipate. Collect the Golden Sword from the centre of the room to trigger the descent to the lower levels.
Phase 3: The Hallway of Death
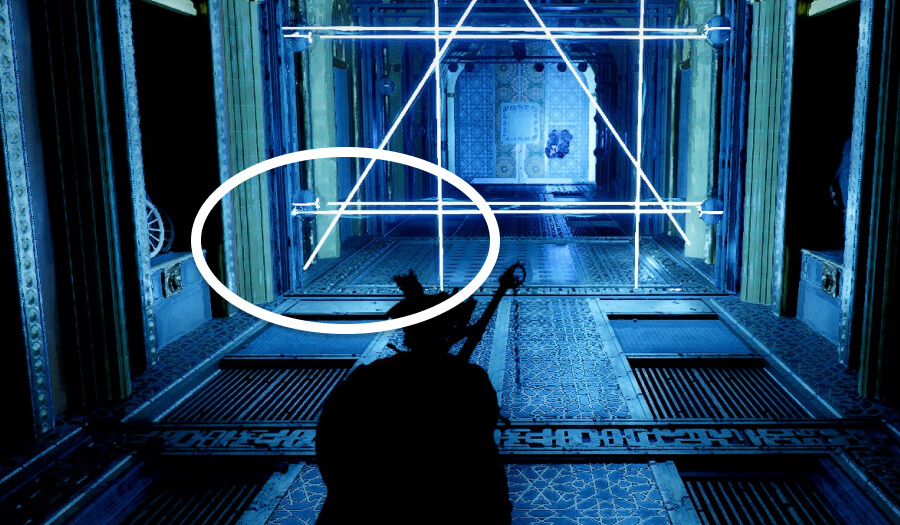
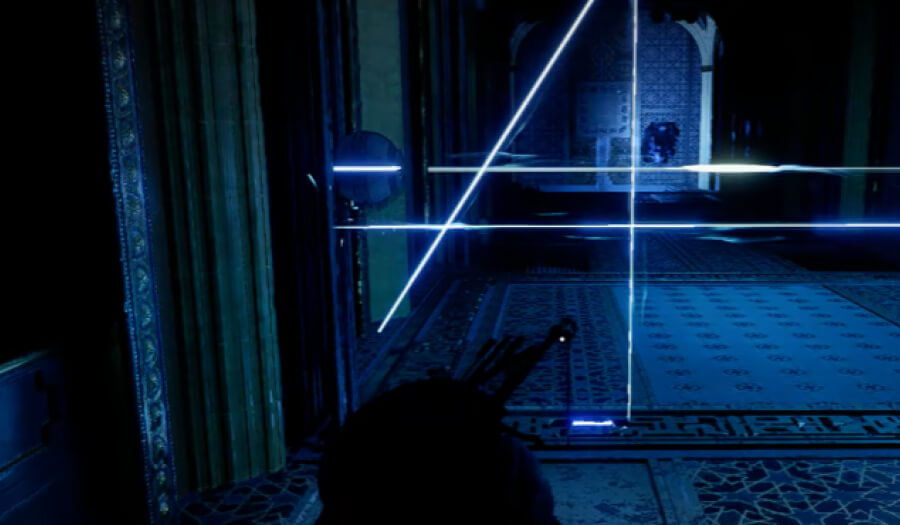
This section requires precise movement. Touching a laser causes a knock-back effect that can trap you in a "death loop" of cascading damage.
Move through the laser hallway slowly.
- Safety Zone: Sticking to the left side of the hallway generally offers more predictable gaps.
- Stance: Stay crouched and only advance when the laser patterns provide a clear opening.
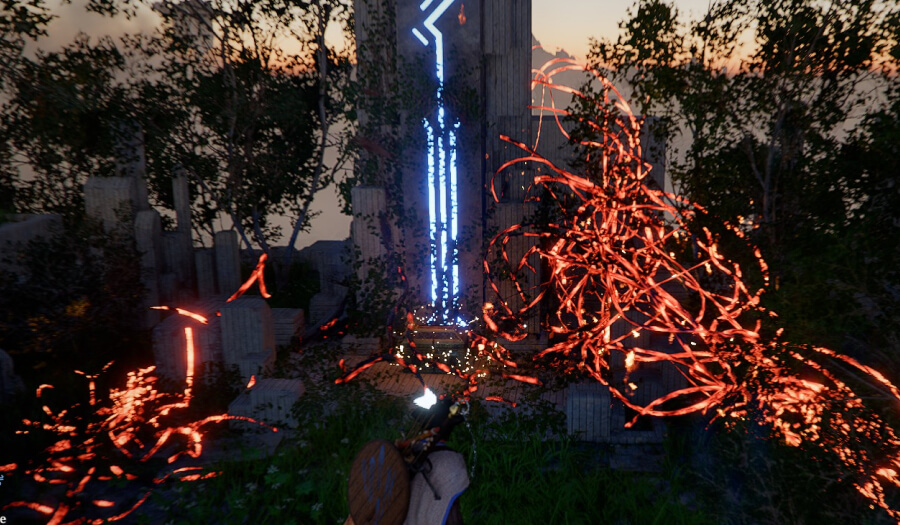
- Pattern: You can see the pattern just as we managed to make it through safely, shown in the right image above.
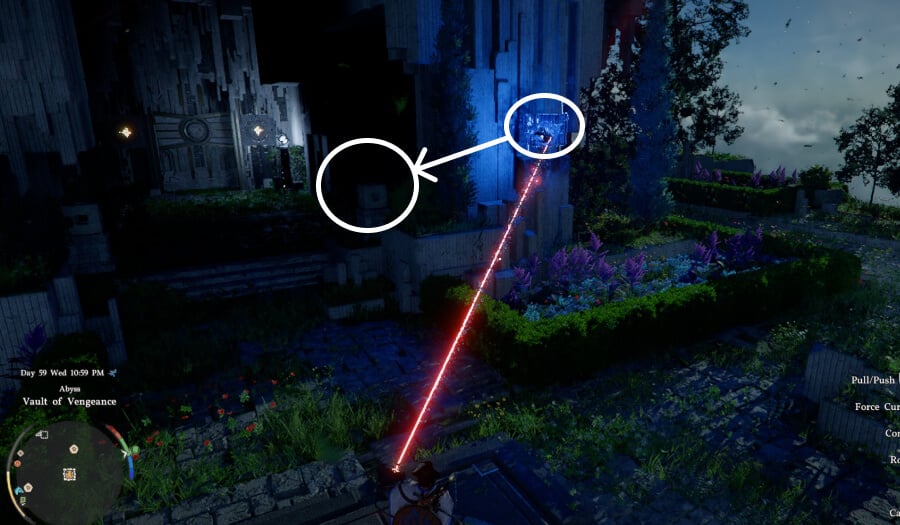
At the far end of the hallway, use Axiom Force to hover the floating plate in front of the wall unit and then use Force Palm or Force Current to slam the plate into the housing, restoring power to the upper mechanism.
Phase 4: Final Activation

- Topside Return: Head back to the upper level of the vault.
- Power Cell: Use Axion Force on the power cell to place it in the holder and either Force Palm or Force Current to lock it in place.
- The Main Device: Locate the large plate device and activate it using Force Palm (or a Jumping Force Palm).
Pro Tip: After you claim the Abyss Artifact, head to the left to a small altar and burn away the trees using your Force Light. Doing so allows you to claim a chest containing a Faded Artifact and the Swift 1 Abyss Gear.
Completion & Next Steps
Upon completion, the Vault of Vengeance Complete notification will trigger.
- Loot: Collect the Abyss Artifact from the altar.
- Next Destination: This unlocks the final chain in the current Abyss series: the Courtyard of Precision.
- Ultimate Goal: Completing this island brings you one step closer to infusing your attacks with Lightning via the Spire of Stars progression.
Check out our other content for more in-depth Crimson Desert coverage and expert tips.