Chapter 5 of Crimson Desert follows on from our adventures in Scholastone and sets up the banquet chain of events in Hernand City. The event kicks off with a cutscene that suggests a mysterious package is being delivered to the city.
The first job of the quest is for us to speak with Damiane, who is from Demeniss, where the guests are from. She has, however, gone missing, so we instead head to Hernand City to continue the quest.
- Kearush the Slayer Boss Guide
- Black and White
- Bloodwind Crowcaller Boss Guide
- Church Puzzle Solution
- Pillar of Radiance Puzzle
- Toward the Nest
- Crowcaller Boss Guide
Uninvited Guests
The first section of the quests has us discovering who the United Guests are, linked to the opening cutscene with the cargo. First, we need to help the guards tame the distressed horse.
To do this, chase the horse and "ride" it to learn how to tame horses. You will need to move in the opposite direction the horse is facing to fill the 'Taming Gauge'. A few notes to keep in mind:
- The taming gauge will fill in with yellow as you counter the horse's movement
- If you lose your grip, you will fail and have to start again
Once tamed, take the horse back to the stable.
Pro Tip: The horse seemed to just move forward, so pulling "right" as a direction ended up working for us.
Now it's time to attend the banquet. There is a bonfire outside. Use this time to make as much food as possible.
The Banquet - Defeat Kearush the Slayer Boss Guide
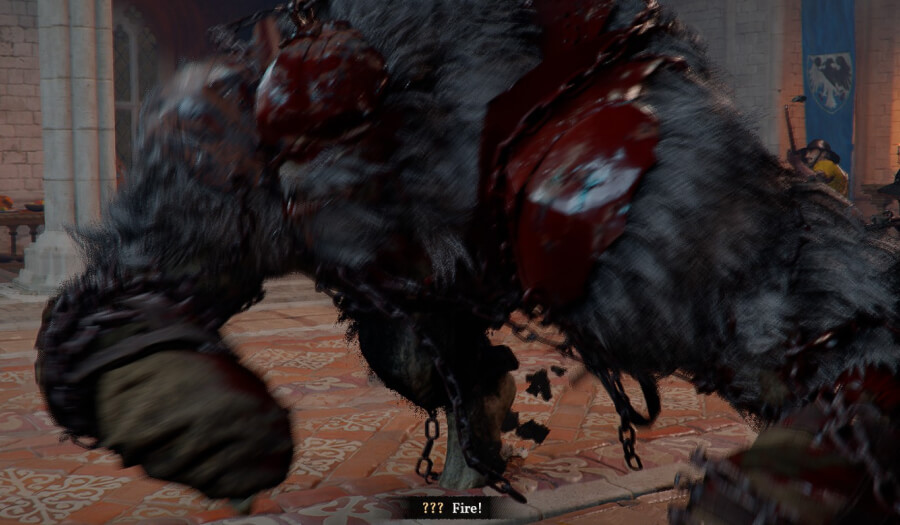
Kearush the Slayer is a three-phase fight, so make sure you manage your health/damage taken and use food when needed.
Phase 1 Strategy
- Use a sword and shield to block and dodge his attacks which are slow in this phase.
- After his combo, pump as much damage as you can, then hastily retreat.
- Keep your distance, blocking the entire time to avoid stray damage.
- Play slowly, doing most of your damage during the opening between combos, to avoid taking any unnecessary damage early in the fight.
Phase 2 Strategy
- Wait for him to climb up high and then attack him after he lands.
Phase 3 Strategy
- Kearush will get super aggressive, you can hide at the back of the room to avoid most of his combo.
- Attack him once he has done his combo, but get out early so you don't take too much damage.
Pro Tip: The "Back Hang" skill is amazing during this fight as it allows you to avoid most of the damage by staying high.
Once the fight is over, head out and speak with Damiane to start the next phase of the quest.
Black and White
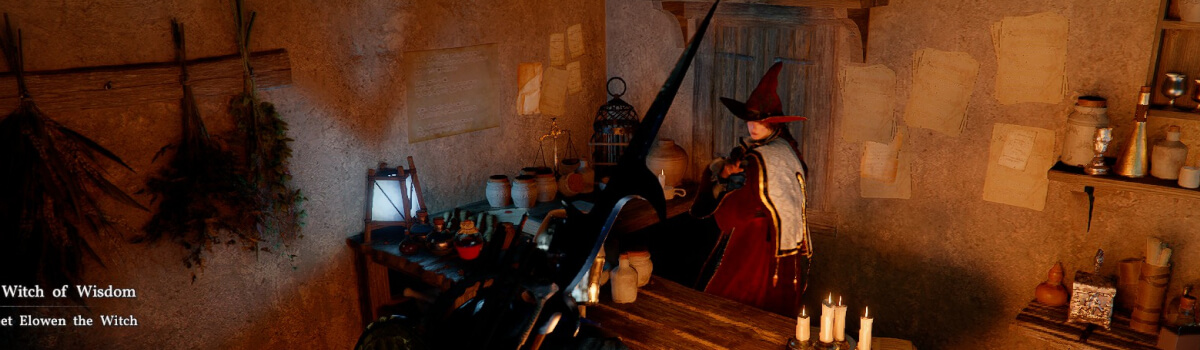
The Witch of Wisdom and Crowcaller
After speaking with Damiane, we are asked to read the letter, which suggests doing faction quests to progress the main story. The first of these is to find the Witches.
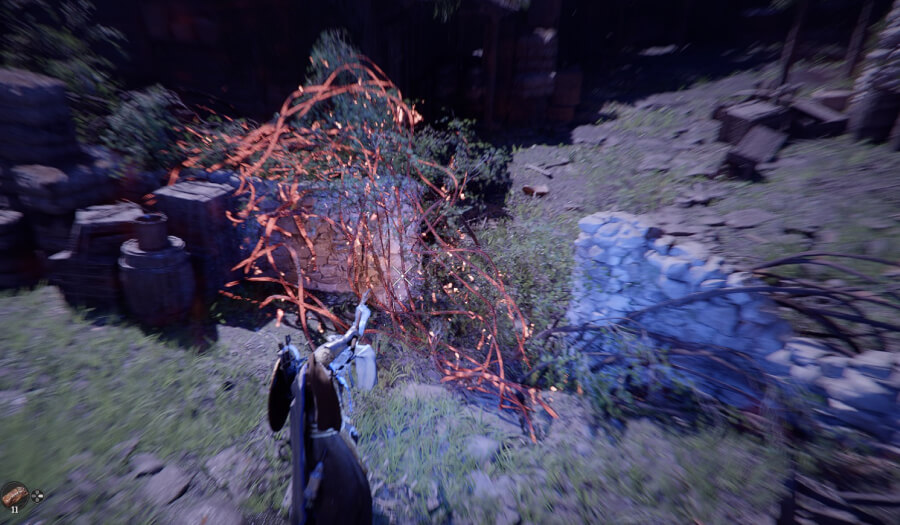
When you arrive, you'll have to deal with a few mobs outside. There is also a Sealed Abyss Artifact nearby. Kill the bandits and then make your way to the house.
Note: Use your Focused Light ability to burn away the harsh tree vines. This will also help you avoid traps.
Free the npc inside the house who will welcome you and thank you for saving her. You can now head to her location. It's also worth noting that this house has some nice items, like Timber on the ground.
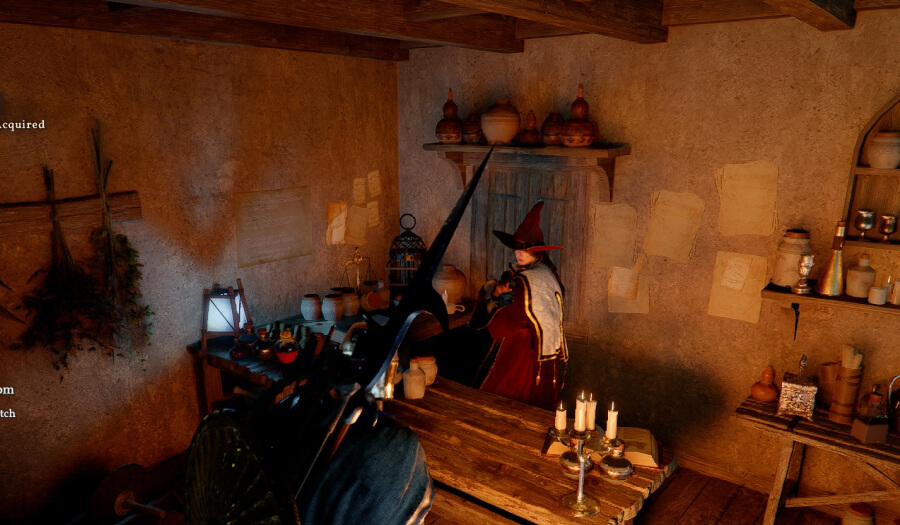
Once we meet the Witch, we will learn about Abyss Gear and recommend you take this chance to upgrade a few slots. Also note, she is one of the first vendors we meet that sells an Abyss Artifact. When she is done we need to travel back to Hernand to share the information.
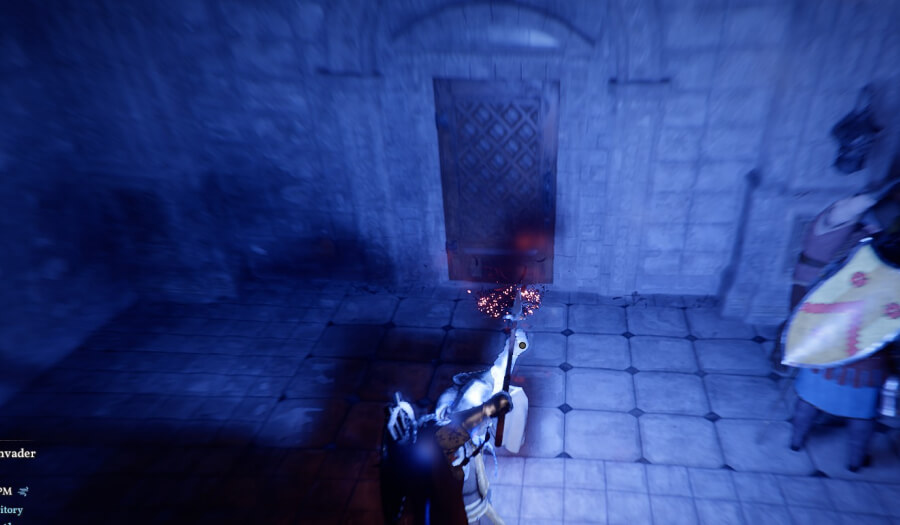
The guards will stop you and let you know that strange people have been spotted in the castle. It's our job to track them down. Head into the castle and go to the room where we first went through the Abyss Gate. Search outside the room to reveal the feathers shown above, then head into the room to discover a memory. Head into the Abyss and prepare for a fight.
Once that's done, head back to Hernand, either via the teleport or jumping off the Abyss Island.
Now head to the location in Hernand and deal with the Black Crow's men at Muckroot Ranch, which will introduce us to Crowcaller. His guards are strong, so dodge out of the fight early to avoid being swarmed.
Bloodwind Crowcaller
Here we will need to leave Hernand for the first time and head into the Deminiss region of the game. Head to the Church of West Demeniss, shown on your map.
Once there, we'll need to defeat a fair few guards to force Crowcaller to come out and fight. It's a fairly tough one-phase fight but just block and strike when you get the chance to. He'll leave once you do enough damage, allowing you to continue with the quest.
Secret at the Church
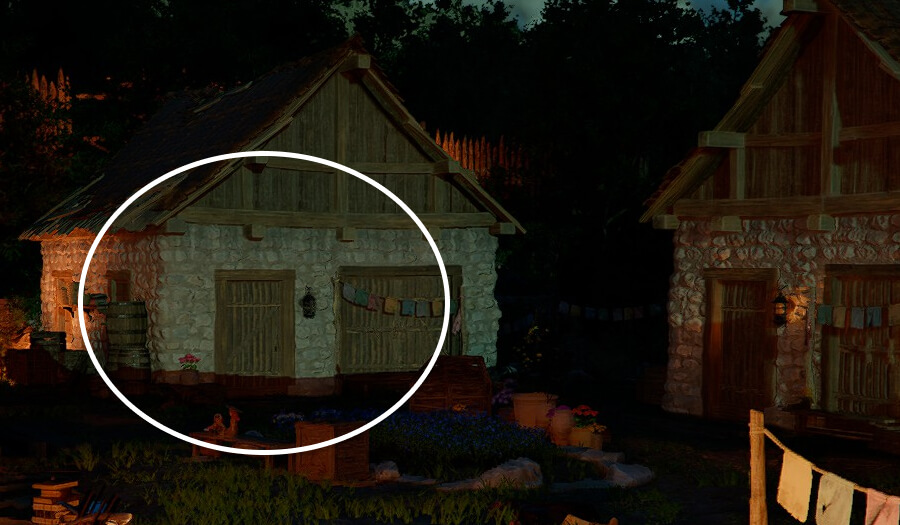
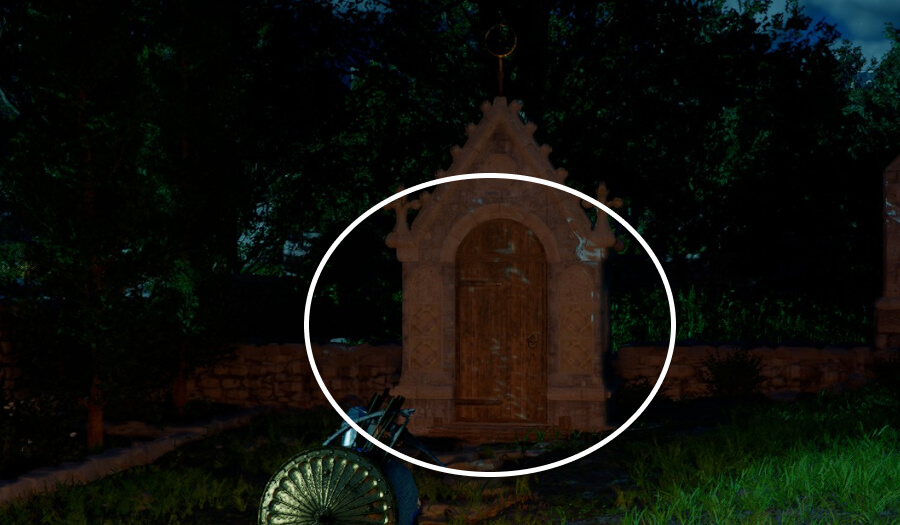
Our attention now turns to the Church and finding clues. Head to the right and to the location marked in the left image above. This will start a conversation with Abbess Marina, who will give us the key to find a relic. The relic can be found to the left of the Church in an outhouse (right image above).
Church Puzzle Solution
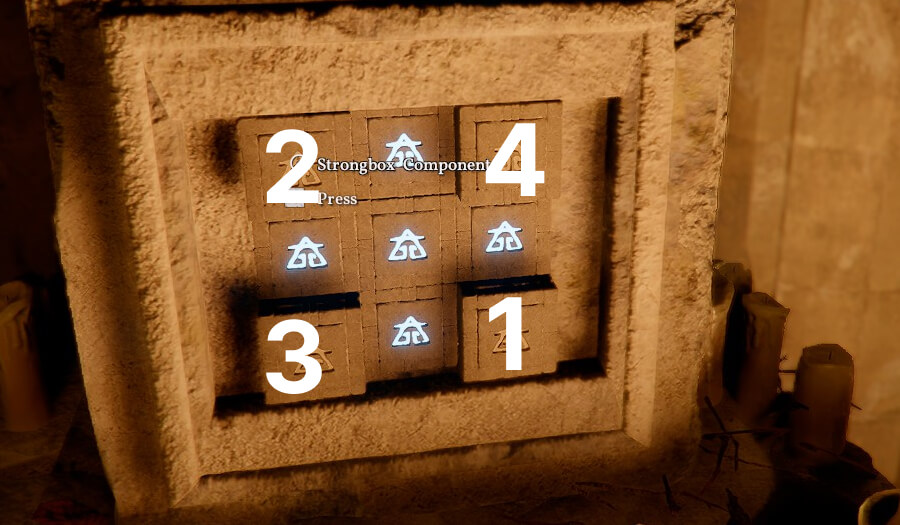
Head down the stairs and you will find the relic behind a puzzle box. The answer is shown below:
- Bottom right
- Top left
- Bottom left
- Top right
Once that's done, head back to the area where we fought the Crowcaller and place the Dagger of Radiance inside the Pillar of Radiance pedestal. This will begin another puzzle.
Pillar of Radiance Pedestal Puzzle Solution
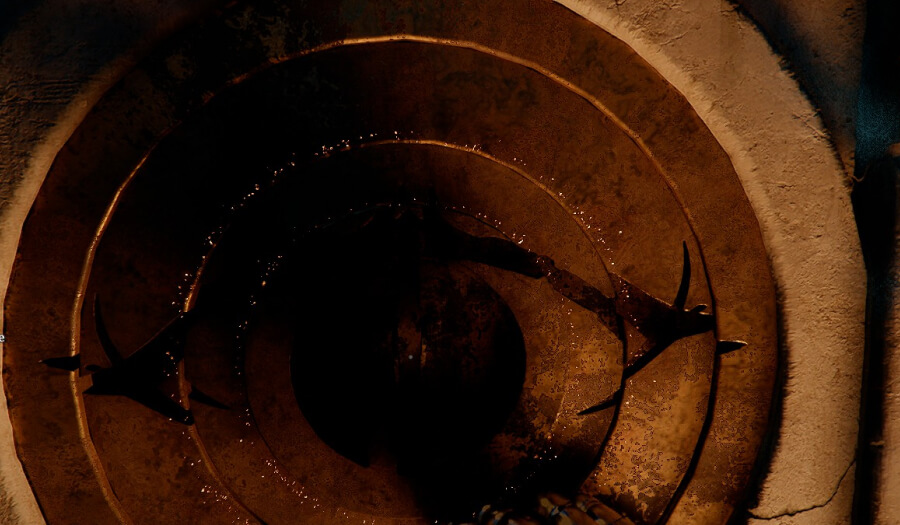
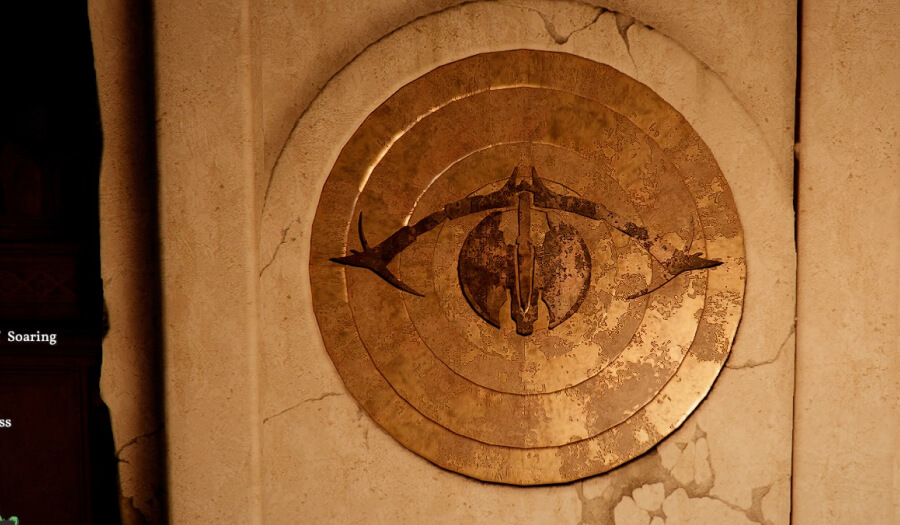
The left images shows the "sparkle" to show you have matched one of the layers correctly. The right image shows the correct solution.
This puzzle is fairly simple, as the game gives you hints as to when you have hit the right spot. We only had to move the two outer rings to complete the puzzle. Once that's done, we move on to the final part of Chapter 5.
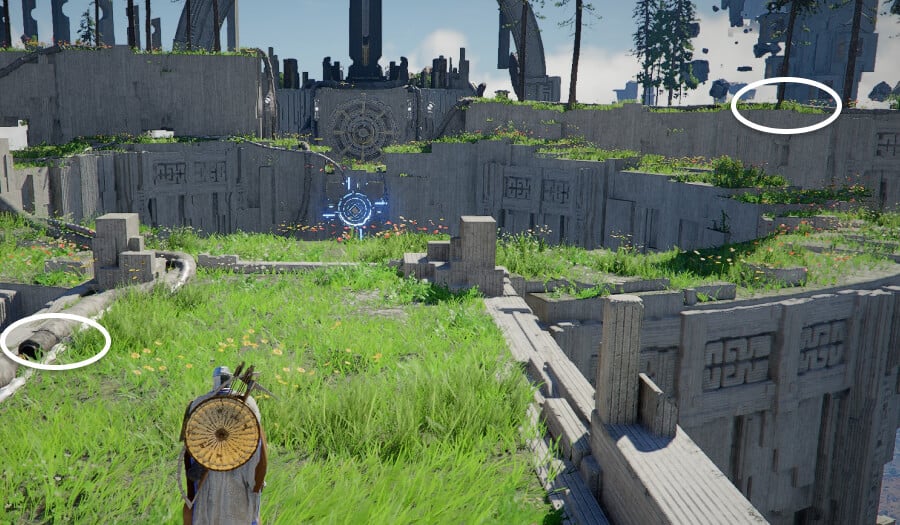
Toward the Nest
Head north from the last location towards the Spire of Soaring in the distance. The door is broken, so we will need to climb up to an entrance higher up. There are plenty of rest points on the way up, so take time to regain your stamina. Once inside, we'll get to our first puzzle.
Pro Tip: There is a boss fight at the end of this, so get food before. A good place to farm is north of the tower, as you can hunt goats and raccoons for meat.
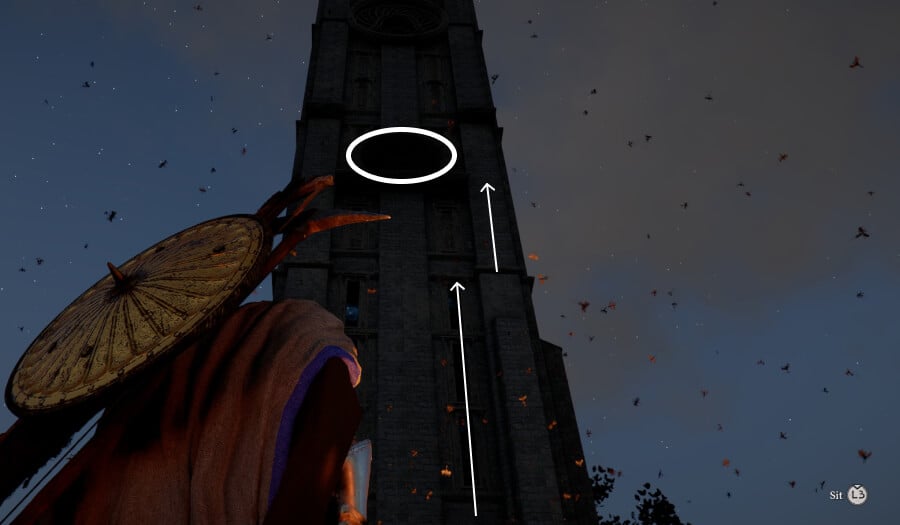
Climb up the levels with the windows at first. When you get to the ledge below (where the first arrow stops) change to the outer wall. With some clever movement, you can rest on the start of the second arrow. Use that point to get to the top.
Connect the Power
Here, you will need to move the blocks to make the power flow and have them connect via the middle. The image below will show you the pattern that you need to complete the puzzle.

Once you complete that, a lift will come up to confirm the puzzle is complete. Take that lift to the next floor, where the next puzzle will be presented to us.
Note: When the puzzle is done, the lift will go up without you, which is fine. Jump over the hole and activate your Crow Glide; the air will take you up to the next level.
Rotating the Block Puzzle
This puzzle is again fairly simple and requires you to connect the three points of the circular block together. You can see this below, but assuming the puzzle starts at the same point, two clockwise turns are enough.
Time to take the lift to the top floor now. This floor is on the Crescent Bridge in the Abyss, so make sure not to fall off!
Activate the Skybridge
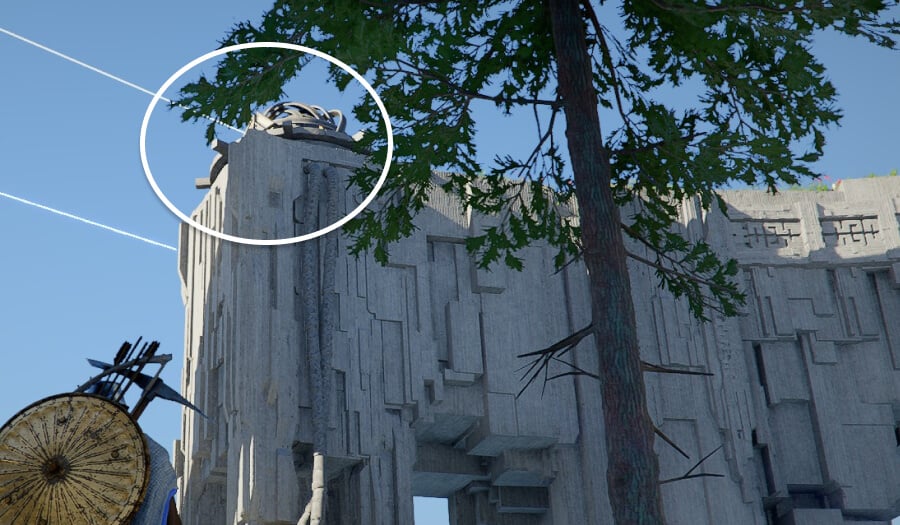

The left image is the location of the first beam we need to alter - head up here using your Force Jump. The right image shows how to connect the laser to the orange mark (to turn it blue).
Note: In this area, you'll see purple plants, which poison you and can easily kill you if you are not paying attention. If you do die, you will restart from the start of the Skybridge section with all progress wiped.
The way to complete the puzzle is explained below:
1. Power on the Spheres
Head up to the location shown in the left image (above where you start this part). You can use the sphere to gain height or use three Force Punches to jump up. Aim the beam at the orange panel (as shown in the second image above).
Now head over to the opposite side of the crescent and do the same thing again with the other beam and orange panel.
2. Fix the Cables
Now we need to cross over to the other side. Head to the middle orange beam on this side and get on top of it then use three Force Jumps again and glide over to the other side. Directly on your left as you land, you will see the broken cable. You can use your light sword to see them, or use the image below.
3. Activate the Control Panel
From here, you next need to climb on to the circle power sphere and Force Punch the central location. Then, move up to the next area and head through the arch on the right side. Use your Axion Force on the control panel and turn it till it turns blue.
Now stand over the air pads and use your glide to travel across the gaps. When you eventually reach the end, it's time for the boss fight.
Crow Brothers and Crowcaller Boss Guide
Time to fight the Crowcaller once again. The good news is that this boss fight is very similar to our earlier encounter with him however it will be another three-phase encounter and he has a lot more health now.
During the fight, using Grappling Skills in close combat works to slow him down, or Echo attacks to lay down as much damage as possible. As with all bosses, bring plenty of food for sustain.
Here is our recommended strategy for the boss fight:
Pro Tip: Crowcaller attacks fast if he lands a combo on you, and his crows will try to throw you off balance by hitting you before you attack. Keep your shield up at all times. If you land a hit, roll away to trigger a roll-counter.
- Using any spare skill points in Stamina here can help a lot.
- Grappling Moves (wrestling) are great to build up huge amounts of stagger to stun him and land a damage combo
- Larient attack (Square+X or X+A or F+Right click) will dish out serious damage
- Once you stagger him, use your heavy attack (with Echo) to destroy his health bar quickly
- During his dash attacks, jump in the air with a double or triple jump or Airial Force Palm to avoid his 3 attacks
- Alternatively, wait for your weapon to flash red, then roll a few times to a side to avoid it
- During the third phase, he begins to attack a lot faster. Use a shield and block as much as you can, and counter him with heavy attacks
- In our fight phase 3 was fairly easy, as he gave us so much time to attack him with very little in the way of counterattack
Once you have defeated the Crowcaller, you will begin Chapter 6 and start back at your camp. Use this time to stock up and enjoy your new rewards. The sword you receive as a reward from this quest is incredibly strong and pairs well with duel-wielding!