
Villari’s Prize is the second part of the Dune Awakening Lost Harvest DLC quest chain and follows on from the Boosting the Signal and No Trespassing quest chains.
The quest will task us with retrieving a listening device to get information about the whereabouts of Villari's package.
Before you start
- An Ornithopter is very useful for this mission due to the high volume of travel
- A Cutteray is required for a later part of the quest
- A fully automatic weapon is great for the final part of the quest
Finding the Listening Device
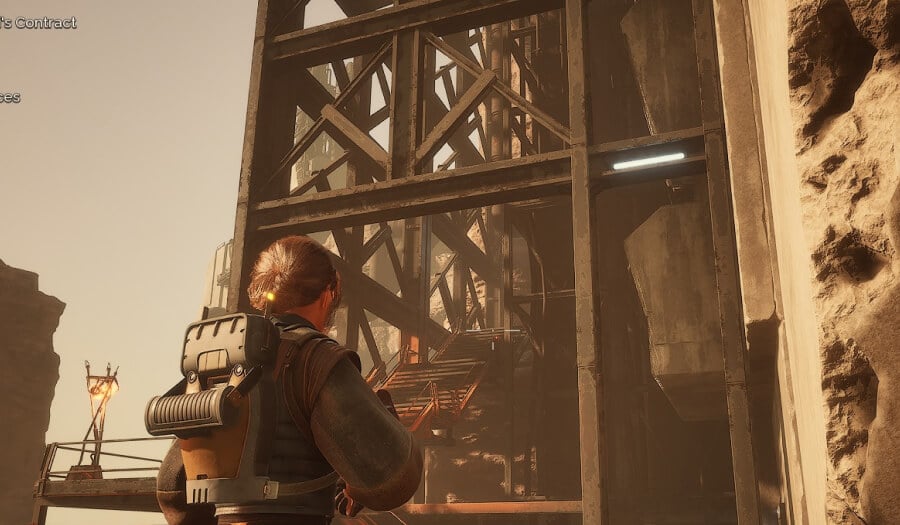
Step one requires you to pick up the listening device. Head to the marked location on your map, but make sure to grab the ID Band first shown above. Its location is directly below the room with the listening device. Once you have it, head up the stairs shown in the second image to enter the room.

Inside the room, loot the box next to the Ore Refinery to initiate some dialogue that gives us the information about planting the devices. We then need to head to three locations to pinpoint the whereabouts of the package.
Placing the Devices
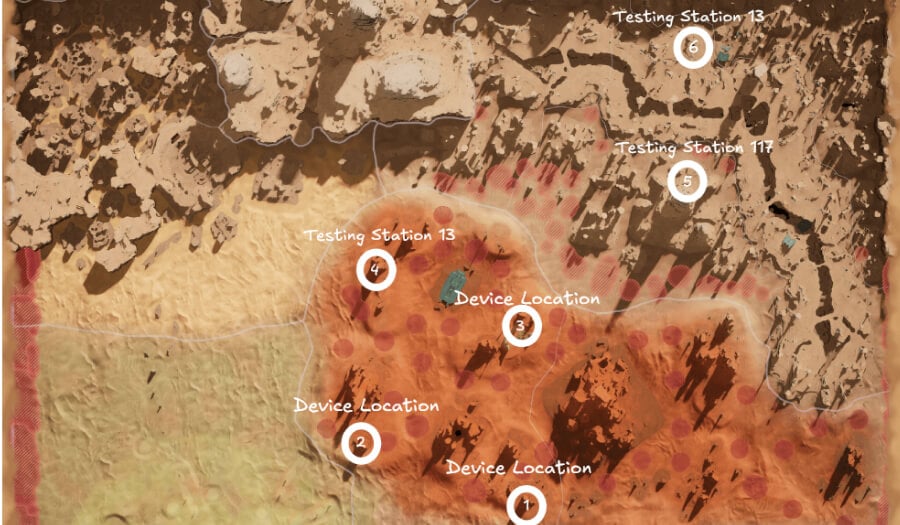
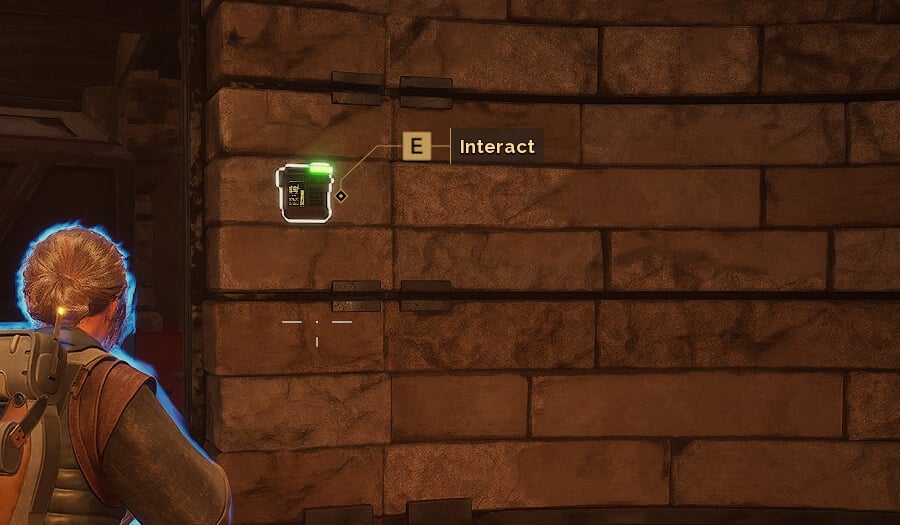
The three locations will see us triangulate a signal between three bases. Each of them is shown above in the order we will do them. You will find the spot by searching for a small device icon on a nearby wall, as shown below.
All three stations are fairly simple, especially if you use an Ornithopter. Just land on the highest point and kill everyone inside before placing the device. If you approach on land, just slowly work your way up till you reach the device. Alternatively, just sneak inside, place the device and run.
Pro tip: For those not flying, base three is right next to the radiation field, so make sure to be quick or go around it.
Once we’ve planted the three devices, it’s time to head into Testing Station 13 to retrieve the item.
Retrieve the item
Now we need to clear out Testing Station 13. When you enter the first hall, you need to go down to the lower level and head left to secure the first ID Band. Once you have that, stay on the lower level by going to the right side this time to collect the next ID Band. Finally, head back to the bridge level and go through the last security door.
Here, we need to fight the enemies in the room and loot the body in the room at the back. Sadly, the item is in another castle (Testing Station), so we need to start the next part of the mission.
Digging Deeper
We now need to head to Testing Station 117, shown above on the map.
Note: On this quest, we crashed to the desktop three times in Testing Station 117. It appeared that every time we hit a checkpoint in the quest the game would crash.
Testing Station 117 is a fairly simple layout. Once you get to the split, head right into the security room, clearing out the enemies and picking up the ID Band in the first area with enemies near the water tanks.
Head to the end and into the last security room to find the item we need to secure. This will trigger Kief Villari to call us again, and now we need to finish the job his team failed to complete.
Testing Station 29
Now it’s off to Testing Station 29. This will be marked on your map, though you will likely need to re-track the contract. You can see the location on the map at the start of the article.
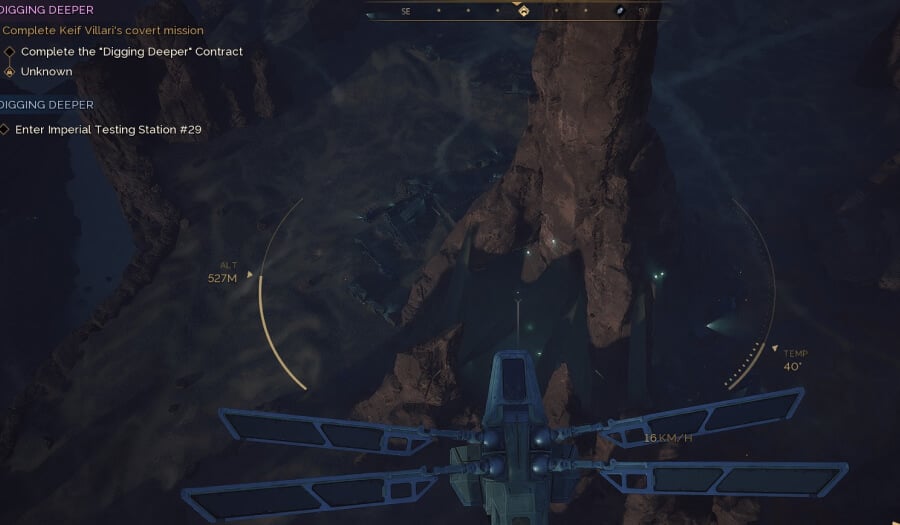
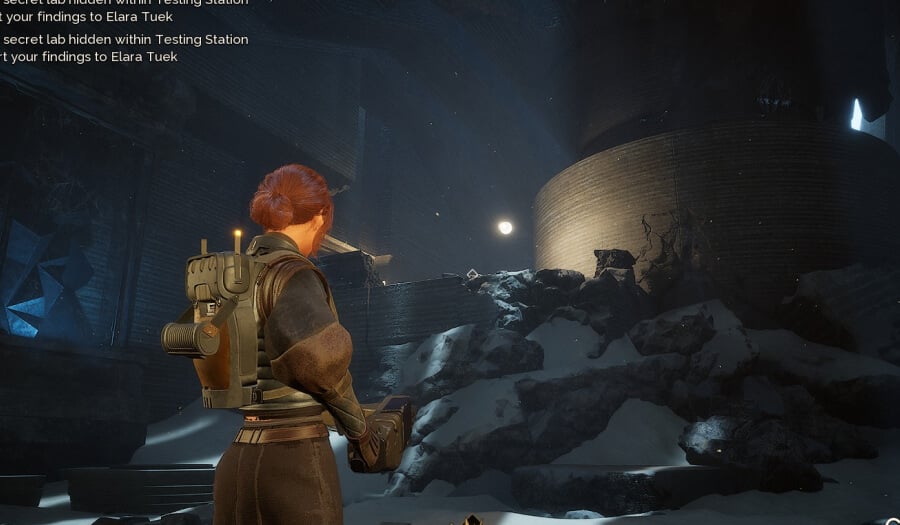
The best way to the Testing Station is to go down the crevice in the rocks shown above in the second image, then slowly make your way down to the Testing Station.
Pro tip: This Testing Station has lots of mines, so be quick to avoid them.
Head past the welcome Projection and hit a left at the first chance you get. At the end of that hallway, go right again. You’ll see the security door, which is locked on your left. Continue to follow the path right into a larger area with enemies. Here we’ll get the ID Band for the door we just passed.
Now head back to that door, clear out the enemies and head through the security door. The next room requires us to clear out all the enemies before we can proceed to the door on the right.
In the final area, we are greeted with a Rare Container, but for the quest, we need to head to the right to find the hidden lab. Pick up the Purple ID Band so we can get out, before turning to the right to open the hidden lab bookshelf (orange light). Go down into the new cave location in this room.
Find the Access Port
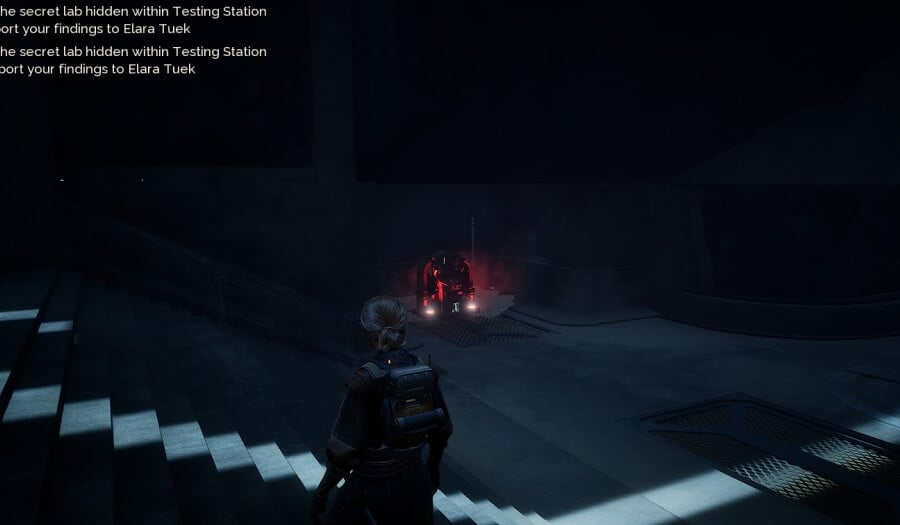
Head to the end of the cave, where you will find a door. Enter this to start an instanced location.
This section is fairly linear, so just follow the paths. The first Power Conduit is directly to your left and will require a Cutteray to open. Head down the stairs and to the left to another blast door that needs a Cutteray to open.
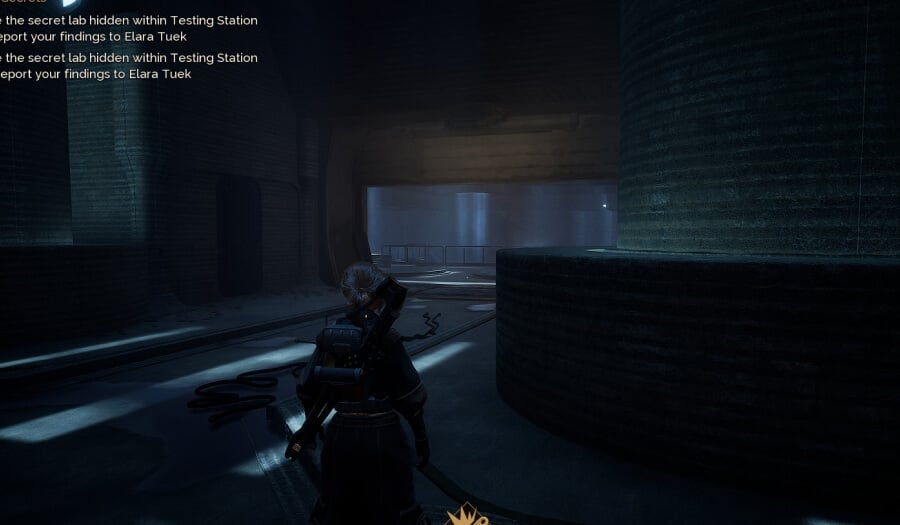
In the next area, move to the large open space and head towards the light (shown above), which leads to the next blast door. The next Power Conduit is to your left, down the stairs. Once done, open the next blast door.
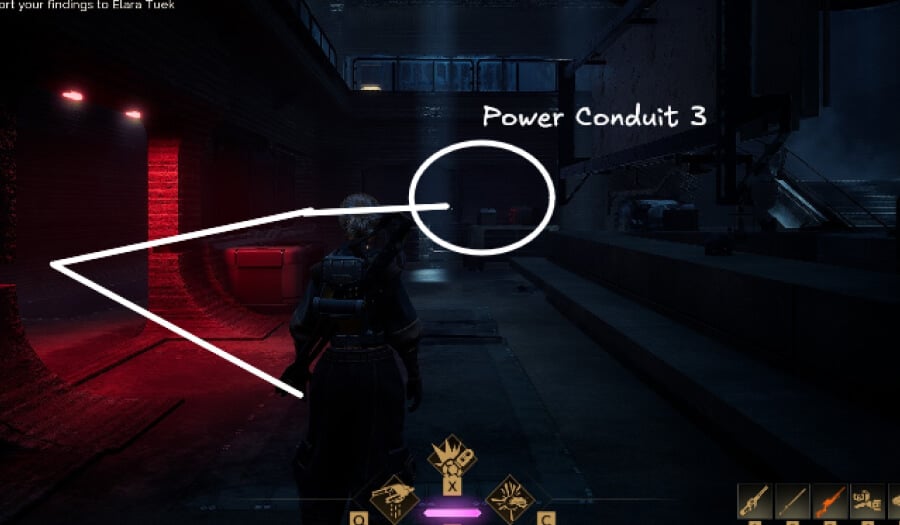
Once you reach the bottom of the stairs, you will see a long corridor with a path to the right with a flashing light (shown above). Head down this path. Drop down and turn around under the area you just dropped from. You’ll find the next power conduit in this small room. You can see below where it is in relation to you, having dropped down from the image above.
Eventually, you enter the final room, place the device and survive the ambush. A full automatic weapon is really good here, as is a Turret or good mobility. The enemies will die in one hit; however, the melee ones can overwhelm you fast, so be on the move a lot.
Head for the door, and make sure to pick up the ID Band alongside your Steady Treadwheel Boost Module Mk4 from the Rare Container.
Head out of the facility and back to the Testing Station, leave there and head to Harko Village.
Now it’s time to head to Harko Village and meet up with Elara Tuek. That is the end of this quest, head to your base in Hagga Basin to trigger the next step in the quest which will ask us to go straight back to Elara Tuek in Harko Village who will give you the quest ' Secrets of the Past' which is the third chapter of the DLC story.