Testing Station No. 89 is one of five new 'Challenge Mode' Testing Stations to appear in Dune Awakening's Chapter 3 instalment. These Testing Stations are repeatable at increasing difficulty levels (up to 100), with higher levels awarding more powerful weapons, armor and Augmentations.
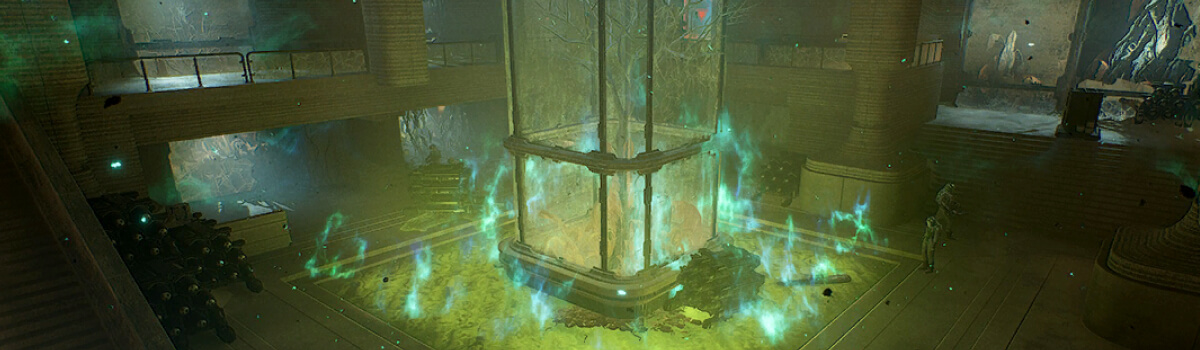
Testing Station No. 89 is the 'Radiation' station where players will have to deal with constant radiation poisoning while they navigate the challenges within. This Testing Station contains one of the most challenging bosses, thanks to an ever increasing army of adds you will have to deal with.
- Length: ~25 Minutes
- Difficulty: Very Hard
- Challenge: 2x Lock-ins + Boss
Read on for a simple-to-follow walkthrough of the Testing Station, including the map/layout and detailed boss guide.
Quick Links
- Testing Station No. 89 Layout
- Testing Station No. 89 Walkthrough
- Testing Station No. 89 Boss Guide (Lieutenant Aman)
- Testing Station No. 89 Loot Table
Testing Station No. 89 Layout
The following image shows the layout of Testing Station No. 89.
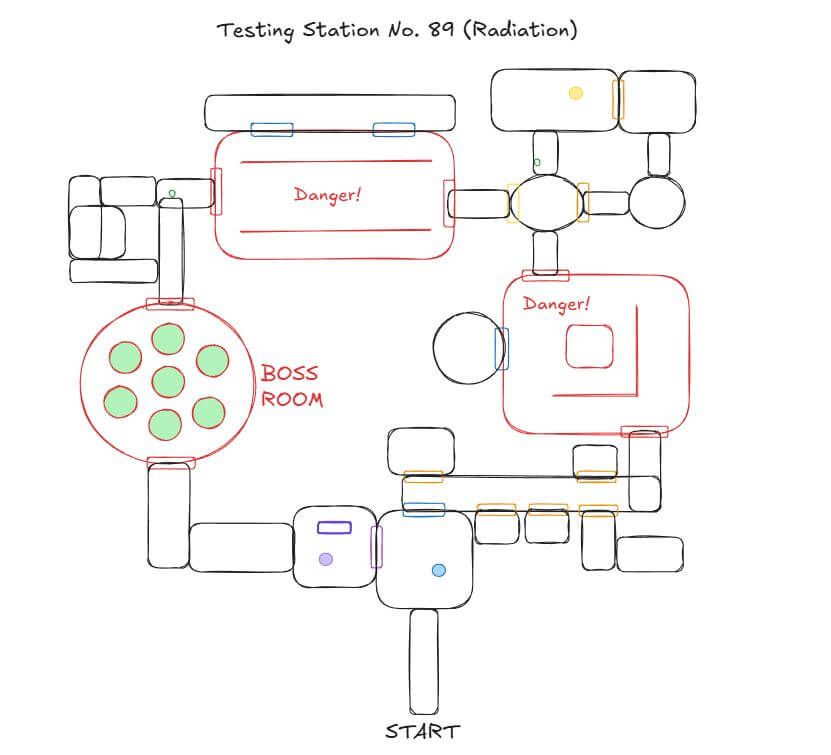
As you can see in the image above, the Testing Station has a fairly simple and linear structure with two lock-in rooms, and a final boss room.
Testing Station No. 89 Walkthrough
Preparing For Testing Station No. 89
Before we begin, you'll want to ensure you come well prepared for the challenge, especially on harder difficulties.
Make sure you have:
- Radiation Suit Mk6
- Cutteray for the many Cutteray-locked doors
- Bandages and/or Medkits (though you can also find many inside)
- Gear that has decent durability
- Sufficient water in your Literjon to stay optimally hydrated for Stamina buff
For pushing higher difficulties and optimization also consider:
- Iodine Pills (for boss encounter)
Section 1: Up To And Including First Lock-in
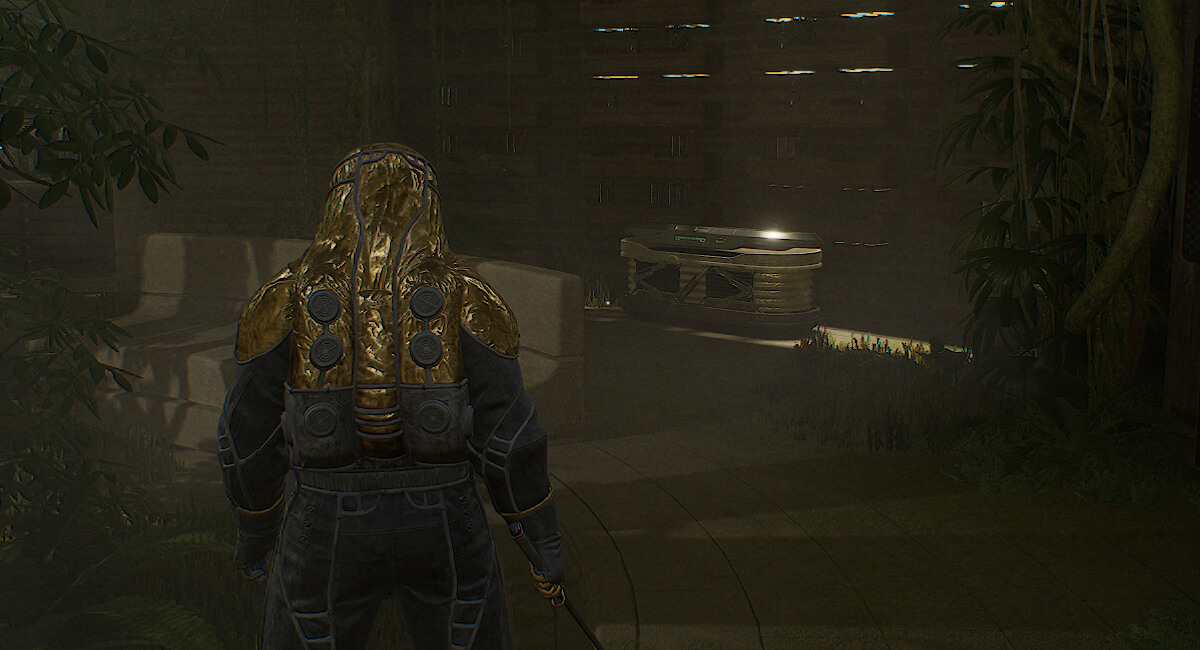
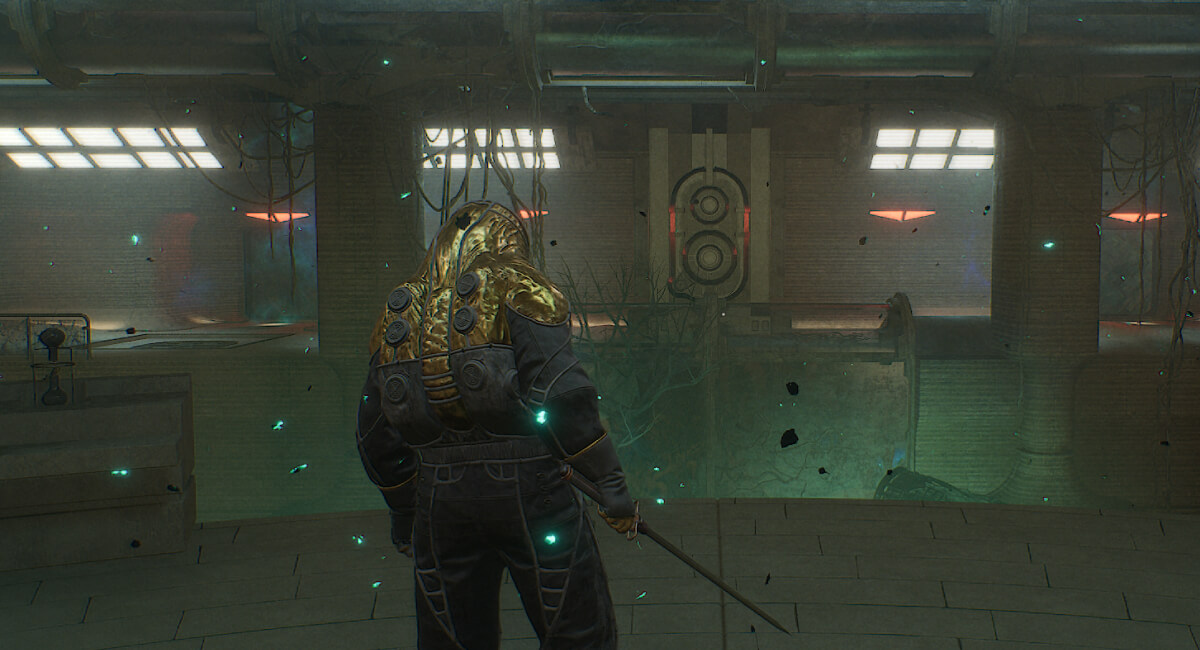
Head down through the entrance, grab the Blue ID Band and head through the first blue shield door.
There are several Cutteray-locked doors in the next corridor however only the first door straight ahead, and then the first and last door on your right, contain any chests to loot.
Head on through the shield door to begin the first lock-in. This one is super simple - just kill the two enemies in the room at the start, and then one additional wave with three enemies will spawn.
There's an optional room behind a blue shield door that we recommend stopping by as it has a medium chest with great resources & materials.
Section 2: Up To And Including Second Lock-in
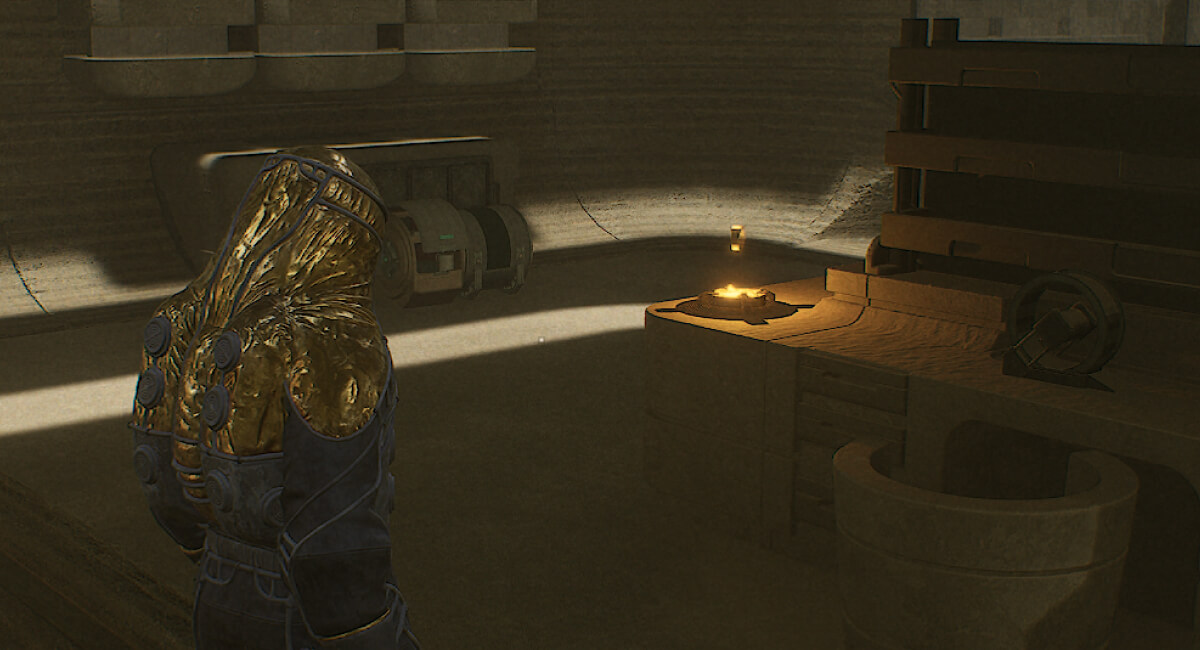
Enter the next room and progress through the Cutteray-locked door. Clear out the two enemies inside and then go through the next Cutteray-locked door to grab the Orange ID Band.
This will allow you to progress through the orange shield door and begin the second lock-in room. This lock-in room is probably the hardest/longest of any of the challenge mode dungeons, with 5 waves of enemies and about 20 enemies total.
The good news is that all of the enemies spawn from one side of the room (left as you enter on the upper floor). This means you can position yourself on the opposite upper floor and take your time dealing with them, peeling off the melee enemies etc.
Do beware however that the room is irradiated and so although you do have ample time, you don't have forever and on higher difficulties you will likely need to pop an Iodine Pill.
Once you've cleared the room, head through for the final encounter.
Testing Station 89 Boss Guide (Lieutenant Aman)
Overview
Aman is a challenging encounter that ramps up fast. It is probably the most gear-dependent Testing Station boss both due to the adds you will have to deal with, and the race against the clock before you are consumed by the radiation. There is also an area denial mechanic that reduces the playable space with each Phase but it is not overly consequential when playing a ranged build.
The most challenging part of this encounter is the enemy adds that spawn every 25-30 seconds. The number of enemies that spawn increases as the fight goes on, maxing out at two adds per summon.
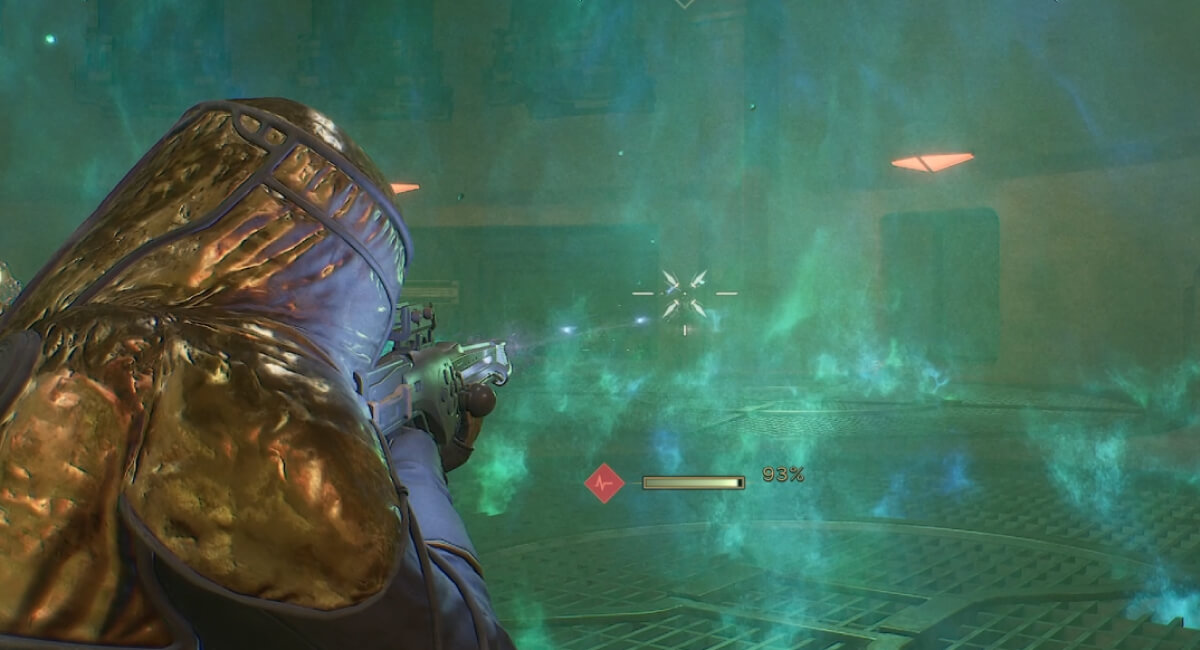
Aman's ranged attack is his weakness however. The speed of his projectiles are so slow that you can actually dodge them by walk-strafing while shooting, provided you have enough range. For this reason we recommend that you maintain a lot of distance to the boss and slowly work your way around the arena while shooting.
Phase 1: Basic Abilities
In Phase 1, you have the whole room to work with and the boss only has one real ability: Collapse Grenade. It doesn't really matter if you get caught in the blast of this, just dash away as soon as you get sucked in and stunned.
One enemy add will spawn every 25-30 seconds which we recommend you deal with immediately at range. The adds also have the Collapse Grenade ability.
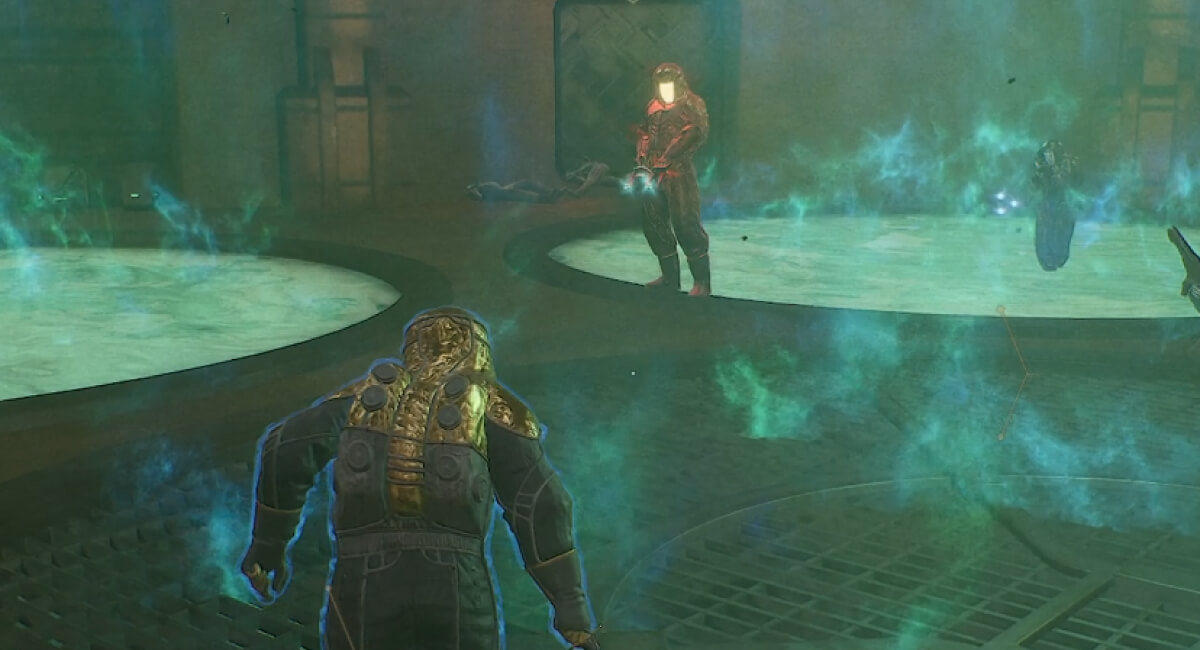
Phase 2: Two Radioactive Pits + 1-2 Adds
In Phase 2, two of the radioactive pits will explode, causing extreme radiation build-up if you enter them, even for a short period of time.
One to two enemy adds will spawn every 25-30 seconds which we recommend you deal with immediately at range.
Phase 3: Four Radioactive Pits + 1-2 Adds
In Phase 3, more of the same except an additional two pits will explode. He will continue to summon 1-2 adds.
It's this phase where things start to get a little bit spicy. You want to try and keep on top of the adds at least up until the end of Phase 3, otherwise you are going to become overwhelmed.
Phase 4: Six Radioactive Pits + 2 Adds
Phase 4 and Phase 5 are where things start to get unmanageable on higher difficulties. With two adds spawning every 25 seconds or so, it becomes really challenging to kill them both, and get boss damage in, before the next set of adds spawn.
For this reason, the strategy we use to kill the boss involves ignoring the adds from the start of Phase 4. Instead keep to the very edge of the room and circle it, taking shots at the boss very few seconds when it is safe to do so.
We recommend using a weapon like Seethe, Dunewatcher, Regis Disruptor Pistol etc which allows you to deal huge damage from a distance.
As the adds also spam Collapse Grenade, you can easily get caught in a chain of Collapse Grenades, chain-stunning you and leading to a quick death so make sure you sprint or dash out of the AoE.
Phase 5: Seven Radioactive Pits + 2 Adds
In the final phase, you'll continue to deal with two adds, but all of the radioactive pits will be activated, giving you less room to work with. By this point, your Radiation level is probably quite high too, so time is not your friend.
Continue to repeat what you were doing in Phase 4, ignoring the adds and taking down the boss from afar, dodging, ducking, weaving and diving to stay safe!
The bad news however... is that the fight is not over until you also kill all of the adds! Once the boss is dead, continue the same rotation of the room but this time, slowly picking off the adds one at a time. When the last add falls, your job will be done.
Testing Station 89 Loot Table
Congratulations on completing Testing Station No. 89! Check out our Testing Station No. 89 information page for the full loot table!