A Sign From Above is part of the quest chain that follows on from the Trail of Aql main story missions.
This is the first major quest that requires the use of an ornithopter. This acts a sort of “bottleneck” on who can do it, and stops people from going too early. The quest is interesting and adds more context to the story and world of Dune.
In this guide, we’ll break down the major steps of the quest, what key items look like and how to bypass some of the potential pain points. We also have a link to the first part of the Trial of Aql, with links to all other parts.
Things that will help you in this quest:
- Having a Cutteray tool with you is a MUST
- Must have an ornithopter
- Advised to bring medical supplies and water
- A personal light (this is crafted)
- A Radiation Suit - not required, but can help later
Also do note that you will be locked into this mission for about 45 minutes to an hour.
Quick Links
A Sign From Above Quest Guide
This quest follows the chain of quests started after the final Trial of Aql (Footsteps of the Freman). Those quests, in order, are: Black Market Tech, The Paranoid, The Glutton, The Next Target and Further Instructions.
The first part of this quest will be delivered via voice communication and will task us with recovering a Decoder from a crashed ship.
The first part of the quest is technically the hardest. We are tasked with “Reaching the Wreck of the Hephaestus” - a brief look at the map will reveal that we don’t have that on the main map. This is where the Overworld map comes in. Since Dune doesn't let you view areas of maps you are not in, it’s time to fly.
Get in your ornithopter, and fly to the closest map edge. You will be asked if you want to go to the overworld map, which you do. You will get a brief tutorial on the overworld if you are new.
Now, open the map with “M” and set a marker for the Hephaestus site. Follow the directions on your Ornithopter, and when you arrive, a cutscene will play out.

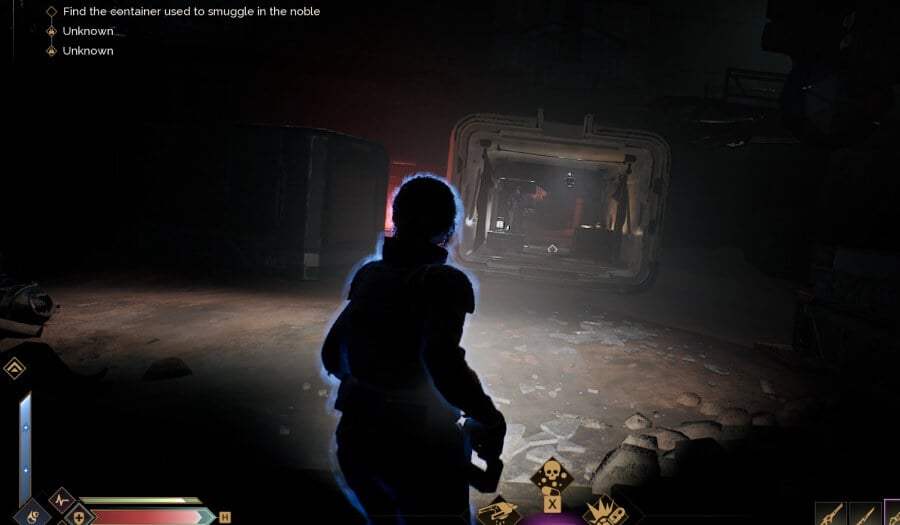
Find the Cargo Bay
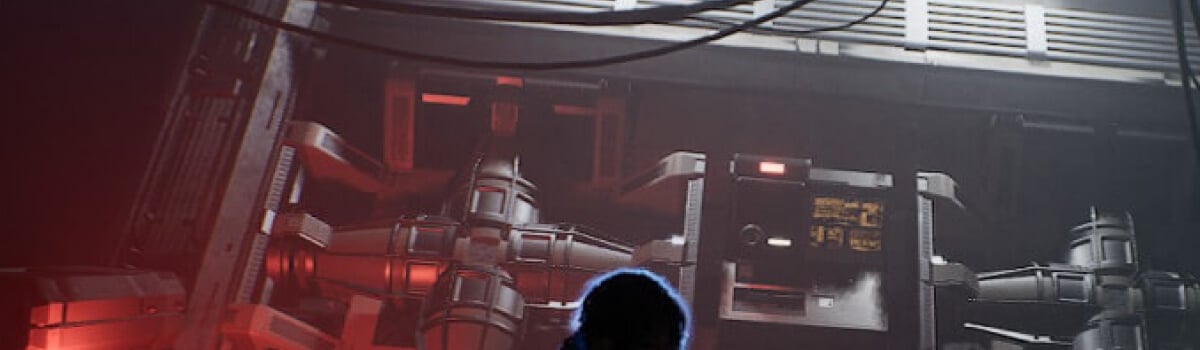
The first part is pretty simple, travel through the initial parts of the ship, cutting open the doors and killing the enemies on the Ixian ship. Once you reach the large room with the cargo containers, you’ve reached the cargo bay. Listen for the screams, and open the container. It will be the first one as you enter, shown above.
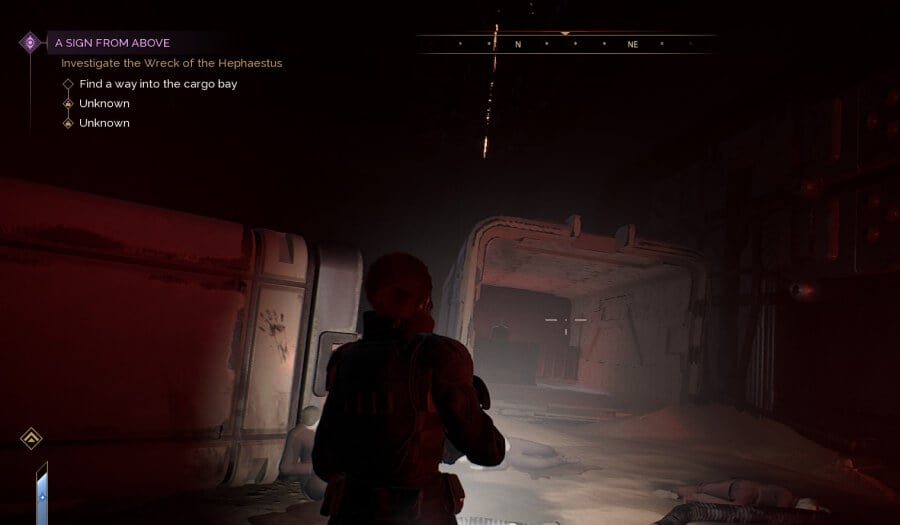
Inside is a man who is not looking so hot. Though his friend is doing a lot worse. From this point, we will find out that we need to open the shields, which requires an eyeball. There are two options here: ask the man in the container nicely to borrow his, or use one from a nearby dead body, as shown below.
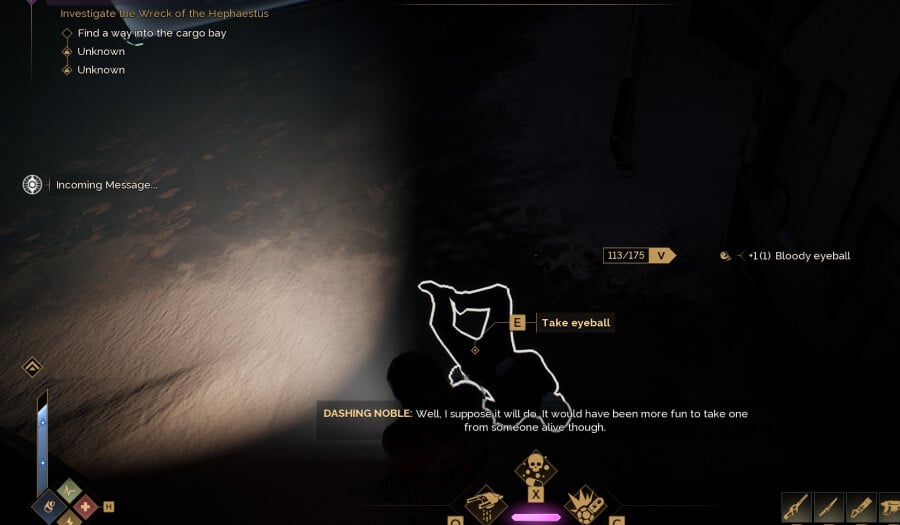
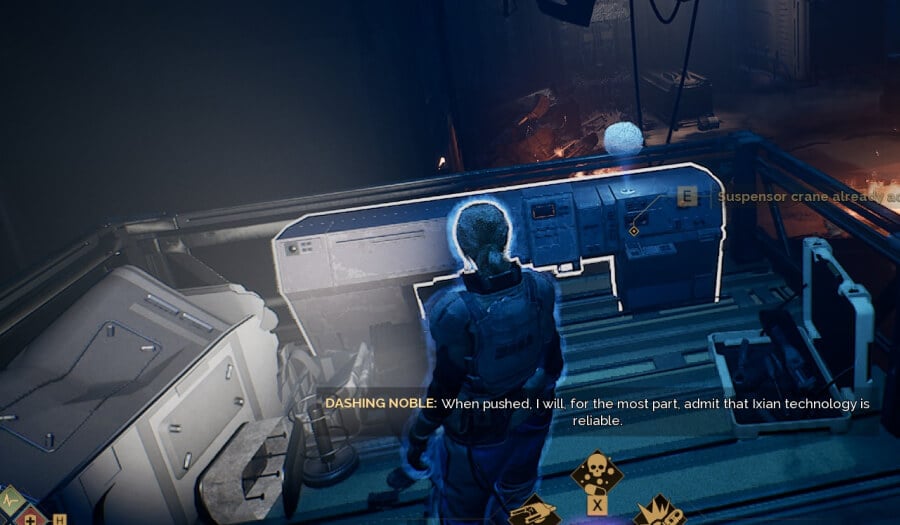
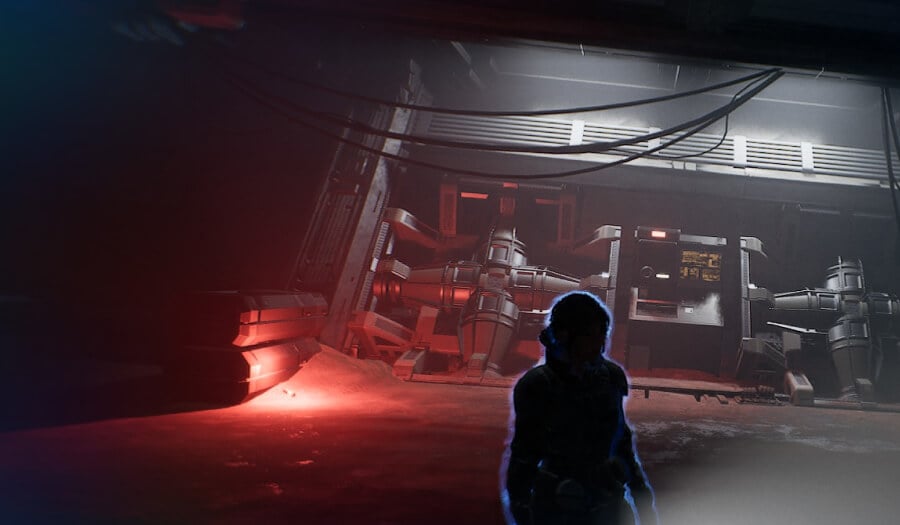
With your new eyeball, you can open the shield doors. This will then lead us to having to survive an attack until your “dashing noble” friend powers on the cargo bay. Once he does, you will get an overview shot of the room, ending with a look at a control panel that is up in the corner of that room. Power it on, and the crane will lift up a container so you can get through.
Note: At this point, put on the Radiation Suit if you brought one
Travel through this section, killing anything in the way. You will need to clear out all the enemies for the next step of the quest to trigger. When it does, you will need to open the cargo containers until you “Find the noble.” Once you do, you’ll get some context lore as you click on the three objects in the container.
To the Bridge
Now we need to make our way to the bridge section of the ship. That’s the cockpit, rather than a bridge between two locations. This section is fairly long, sending us outside to kill more enemies as we reach the cut-off section of the ship.
When you do, our friend will meet back up with us as he looks for his princess. He helps us bypass the shields, but we get left on the other side.
We need to go and override the security, which has us open up an electric panel. We then need to remove the Fuse Capacitor from the other boxes. Again, the cuttery tool is required for this.
Note: This section is a bit weird - removing the panels doesn’t feel like it counts as “remove the fuse capacitor.” Technically, it’s a specific one we are looking for; they just all look the same. The correct and final one, is directly opposite the shield that we got stuck behind.
Once that’s done, we need to find another panel, and kill more enemies this time to turn the power on to help the noble. Once we finally get to the bridge, we need to find what we came for. The Ixian Decoder. You’ll find this on the bridge, on one of the “map” tables shown below.
Now that is done, the mission is over from a guide's point of view. Enjoy the story context and escape the ship. Head back to Hagga Basin, and the quest will be completed with you next to your ornithopter.
The next part of the quest will see us head back to Elara Tuek in our hunt for “Water Fat.” In the meantime, if you want to complete each class's advanced trainer quest line, you can find links to all of those in our Advanced Trainer Location guide.