
Raid Setup
Introduction
Fight Style: 2 Target Cleave fight for the most part
Recommended Setup: 2 Tanks / 4 Healers / 13+ DPS
Useful Utilities: Dwarf Racial (Stoneform), Mass Dispel (Priest), Tiger’s Lust (Monk), Blessing of Protection (Paladin), Cauterizing Flame (Evoker), Stasis (Preservation Evoker)
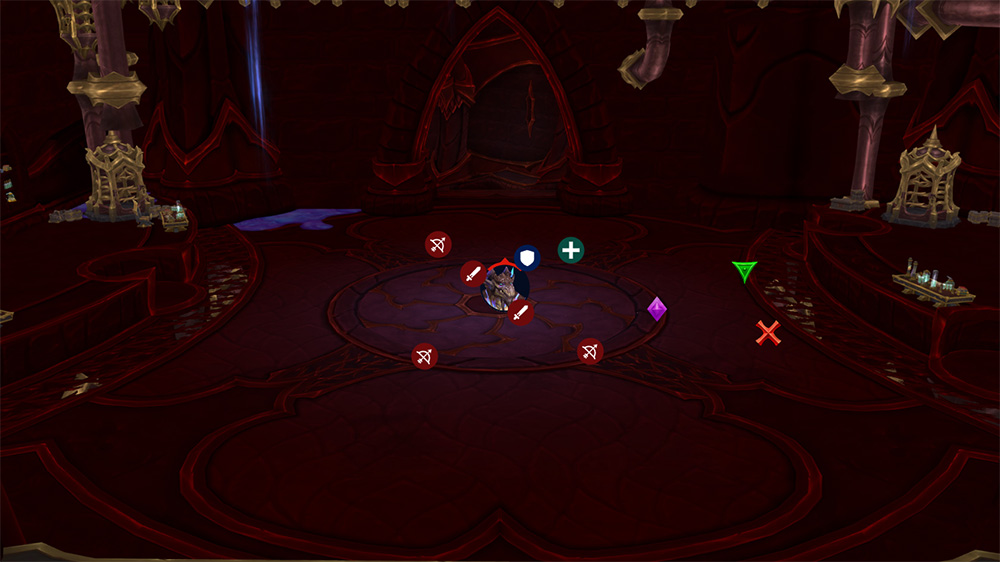
![]() Awakened Note for Season 4 of Dragonflight.
Awakened Note for Season 4 of Dragonflight.
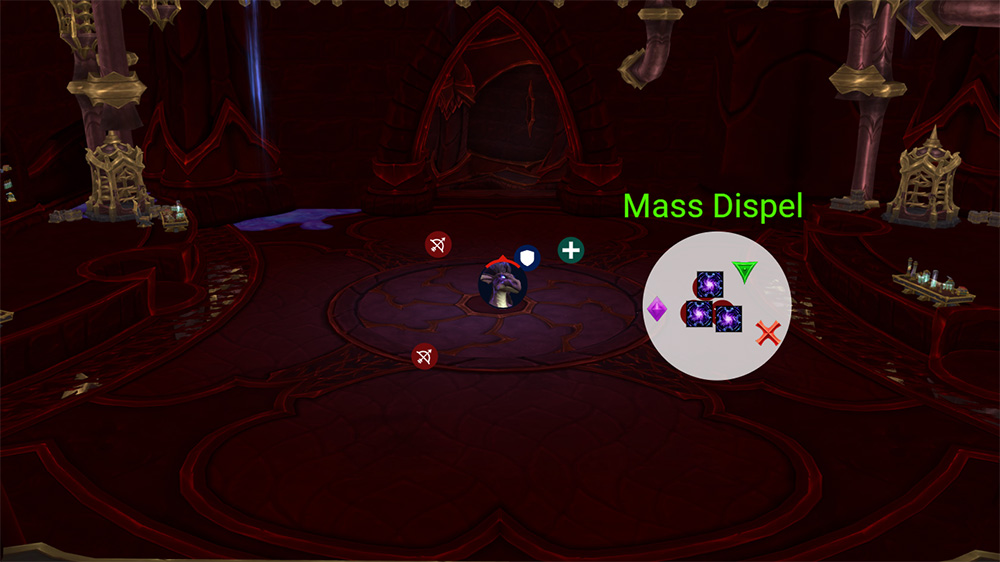
Due to recent changes to increase the Mass Dispel cooldown, you will need to set a single target dispel rotation to dispel everyone, or use a Revival raid cooldown when there are more than 4 needing to be dispelled.
Easy Mode
General
- Use Hero/Lust and all cooldowns when Thadrion (2nd Boss) joins the fight.
- Focus on killing Neldris first
- Kill Thadrion 2nd
- Tanks need to avoid unnecessary raid damage by keeping their Infused Strikes DoTs to around 4-6 stacks and reset in-between boss abilities
- Dodge ground based boss abilities (swirls etc.)
Neldris
- Avoid getting hit by Rending Charge unless it’s targeting you
- Remove all Bleeds if possible
Thadrion
- You will always Dispel all players affected by Unstable Essence at once, check the strategy section for more info on that.
- Once Dispelled, kill all the orbs
Rionthus
- Kick the ball away from Rionthus (Temporal Anomaly) by running into it
- Fly-over Breath ability will kill you! Dodge.
Mechanics
Strategy
Mechanics Breakdown
The Main change compared to Heroic is that now whenever a boss reaches 50% of his HP, a new boss will join the fight. This happens in a set order and will stop once you have defeated both Neldris and Thadrion.
Boss Order:
- Neldris
- Thadrion
- Rionthus
Positioning
Set 3 markers of your choice to the side of the room. Those will be used for Rending Charge and Unstable Essences Mass dispel.
![]() Awakened note: Due to recent changes to increase the Mass Dispel cooldown, you will need to set a single target dispel rotation to dispel everyone, or use a Revival raid cooldown when there are more than 4 needing to be dispelled.
Awakened note: Due to recent changes to increase the Mass Dispel cooldown, you will need to set a single target dispel rotation to dispel everyone, or use a Revival raid cooldown when there are more than 4 needing to be dispelled.
Players should get used to spreading around the room, as it will help you deal with Temporal Anomaly easier later in the fight and frontals by Neldris won’t force everyone to dodge and have downtime.
Pull the boss and use only small DPS cooldowns (max 1 minute cooldowns).
Have the 3 players that get Rending Charge each go to one of the markers at the side of the room and get charged by the boss. Make sure nobody else is standing in between the boss and the markers to avoid getting unnecessary bleeds.
TIP: If you have a Preservation Evoker in your raid, we suggest you remove the first set of Bleeds with Stasis. The Evoker needs to use their Cauterizing Flame in combination with Stasis, by doing so you will remove all 3 bleeds when they are applied.
You should get a total of 3 sets of Rending Charges, you should aim to skip the 4th as it may become tricky to remove it.
Assign spells like Paladin’s BoPs and Evoker’s Cauterizing Flame for each set of Charges. Players can and should immune them, as well as removing them via the Dwarf Racial.
It's generally fine if one player still has the bleed, as it's not problematic to heal. You just want to reduce the total amount of bleeds out in the raid and slowly remove them as the fight progresses and abilities come off cooldown.
The boss should hit 50% health around the 1 minute mark. Wait for Thadrion to spawn and stack them up; as soon as they are stacked, pop Hero/Lust and all your DPS cooldowns and nuke the bosses. Your main priority target is Neldris, as you want to kill him before the 4th Rending charge.
Neldris will go down fairly fast and Thadrion will also hit 50% health soon, which will get Rionthus to join the fight. Your main focus target is now Thadrion, as you want him out of the fight as soon as possible.
By this time you should have one Unstable Essence debuff out in the raid. We recommend waiting for the first Thadrion Violent Eruption cast before the first dispel. Have your healers spot heal the player and they should use a personal defensive just to be safe.
When the Eruption is finished, the player should go to the middle of the 3 makers and get dispelled. The first one is just 1 orb, so have your ranged DPS cleave it down.
Now wait till there is around 8 seconds left on the deep breath timer, then Mass Dispel the players on the markers and start killing the orbs whilst dodging the breath.
Note about the Deep Breath: This ability is always bated towards the largest clump of players, meaning you will always know where the first and second breath are going to be.
After the breath, you will have a second Violent Eruption cast incoming, DO NOT DISPEL HERE.
Pop defensive personals and raid cooldowns and just survive the Eruption. Players affected by Unstable Essence need extra attention, as they will have fairly high stacks here.
The moment the Eruption is done, have them go to the markers and do another set of Mass Dispels, Single Dispels or Revival.
Move the bosses on top of the orbs and AoE everything down.
At this point, you should have Thadrion dead, and another Breath incoming.
Do the same thing as last time, dispel around 6-8 seconds before the Breath cast, kill orbs and dodge the breath. After the breath is done, you have another set of dispels, wait until 6-8 seconds before the next Breath and dispel again. This is basically on repeat till the end of the fight.
As all of this is happening when you spawn Rionthus, you also have to deal with Temporal Anomaly orbs.
Those Orbs simply fixate on the boss and need to be knocked away by stepping into their path, they cannot reach the boss as it applies a large shield on him (Evokers will love it though).
Have your entire raid hit the balls constantly, never exceeding 2-3 stacks per player.
Note: The boss will NOT consume the orbs when he is doing his Deep Breath ability. This is the perfect moment for players to stop hitting the balls and reset their stacks. Just make sure the boss does not pick up a ball instantly as he lands at the end of his Deep Breath.
The boss is still killable if he eats up to 2 orbs, but if it's more than that, it's going to be really hard to survive until the end.