Introduction
Hey everyone, and welcome to the Algeth’ar Academy dungeon guide for season 1 of Midnight! In this guide I’ll be going over the abilities of all the trash mobs and bosses throughout the dungeon, as well as how I recommend you handle them. I’ll be focusing on the mythic and M+ versions of the dungeon, but most of this article will apply to both normal and heroic difficulties as well. I’ll also be including my recommended, PUG friendly route via the Mythic Dungeon Tools addon for anyone interested.
Some background on myself, my name is Tactyks and I am an avid M+ player, achieving the 0.1% M+ title numerous times on 5 different specs, as well as competing in The Great Push in season 4 of Shadowlands. I also create M+, Raid, and tank guide content on my YouTube and Twitch channels, so be sure to stop by and say hi!
Important Abilities
New: Try out the Mythic+ Dungeon Ability Tracker to filter for specific abilities within Algeth'ar Academy!
Ability TrackerAlgeth'ar Academy Mythic+ Dungeon Route
If you are using the Mythic Dungeon Tools (MDT) Addon, you can import our PUG Friendly Route for the Mythic+ difficulty of Algeth'ar Academy below.
Algeth'ar Academy M+ Dungeon Route: https://wago.io/ompWq50xd
Video Guide
Dragonflight Stat Buffs
After using the jump platform to enter the Academy, you’ll see several different groups of Dragonflights who will give you a stat buff for the duration of the dungeon if you talk to them. You can only have one of these buffs active at a time, but each player can pick their own and you are able to change your buff later on if you wish, so choose whichever is best for your spec.
The stat buffs are as follows:
- Black Dragonflight: 5% Crit
- Bronze Dragonflight: 5% Haste
- Blue Dragonflight: 85 Mastery Rating
- Red Dragonflight: 5% Versatility
- Green Dragonflight: 10% Increased Healing Taken
Overgrown Ancient Trash
Vile Lasher
- This mob is immune to CC
- Vile Bite targets the tank, watch your stacks and use defensives or bleed cleanses as needed
- Detonation Seeds (Detonation Seeds) spawns a swirly under every player, make sure to avoid these
Aggravated Skitterfly
- Tanks be aware of the stacking Agitation buff and Soothe if possible
- Darting Sting targets a random player, try not to be too far from the pack so these mobs can be efficiently cleaved
Overgrown Ancient Boss Fight
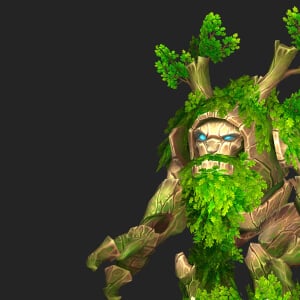
Try to stay stacked as a group, then move together around the boss during the Germinate channel to spawn adds close together in cleave range.
Swap to the Ancient Branch add created by Branch Out, keep the Healing Touch cast it has interrupted, and stand in the Abundance circle it creates on death to cleanse your Splinterbark bleed debuff.
At 100 energy the boss uses Burst Forth to activate any dormant Hungry Lashers, tanks make sure you pick them up and have players rotate poison dispels on them to remove the stacks of Lasher Toxin as they stack up quickly. If needed use stuns, slows, or knockbacks to make it easier to kite these mobs.
Tanks should also watch out for the Barkbreaker cast, as this also has a physical damage amp debuff which is very dangerous if any Hungry Lashers are alive.

Crawth Trash
Guardian Sentry
- This mob is immune to CC
- Storm Slash targets the tank, use a defensive if needed
- Deadly Winds targets a random player, spawning a tornado that you need to avoid
- Make sure to run out of or line of sight the Expel Intruders AoE
Territorial Eagle
- Peck targets the tank and applies a stacking bleed, use a CC to stop casts and kite or use a bleed cleanse to clear stacks
Alpha Eagle
- This mob is immune to CC
- Gust frontals towards a random target, sidestep out of this effect
- Beware of the Raging Screech AoE hit and enrage, and tanks be ready to use defensives if you have high stacks of Peck
Crawth Boss Fight
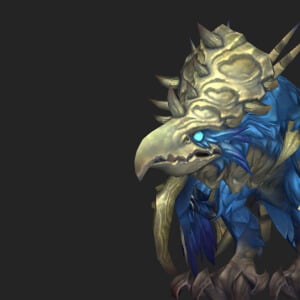
Tanks make sure to have a defensive up for every Savage Peck hit and DoT, noting that this effect is NOT considered a bleed in Midnight.
All players should be ready to avoid the random target Overpowering Gust frontal, plus in general you’ll want to stay loosely spread to not splash damage from Deafening Screech, using group defensives or healing cooldowns as needed to keep players healthy for the DoT this applies
At 75% and 45% health the boss will begin casting Ruinous Winds, which can only be interrupted if players grab 3 of the balls that spawn around the arena and throw them into either the Fire or the Air goal, each of which does a different effect that persists for the rest of the fight.
I recommend throwing your first set of balls into the Goal Of The Rushing Winds to trigger Gale Force, spawning patrolling tornadoes around the platform and winds that push you back, while also creating Motes that players can grab for damage.
At 45% you’ll instead score on the Goal Of The Searing Blaze to trigger Firestorm, where you get a 12s damage amp on Crawth immediately, followed by pulsing damage and circle spawns that you need to avoid for the remainder of the encounter. If possible save damage cooldown or bloodlust for when you score on this goal.

Vexamus Trash
Corrupted Manafiend
Spellbound Battleaxe
- Tanks beware that these mobs deal passive bonus arcane damage due to their Spellbound Weapon buff
Arcane Ravager
- Vicious Ambush leaps towards the furthest player, use a defensive if needed and stay close to the pack so this mob can be efficiently cleaved
- Immediately after charging, the Rift Breath frontal will be aimed at the tank, be sure to sidestep out of this effect
Arcane Forager
- Vicious Lunge targets a random player, be careful of this burst damage in packs that have multiple of these mobs
Unruly Textbook
- Monotonous Lecture channels on a random player, use an interrupt or once the channel starts you can use a CC or Magic dispel to end it as well
Vexamus Boss Fight
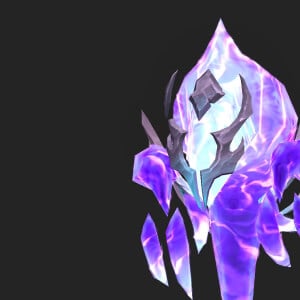
Arcane Orbs spawn in sets of 5 around the edge of the arena, make sure to spread out and soak these before they reach the boss, as its difficult to soak more than one per player without an immunity due to the Oversurge debuff they apply.
Arcane Expulsion aims a frontal at the tank, point this away from your group and use a defensive for the hit.
Mana Bombs targets 3 random players, use a defensive if needed and if possible move towards the outside of the room to drop puddles out of the way.
At 100 energy the boss casts Arcane Fissure, beware of the push-back and initial hit, otherwise just make sure you’re avoiding the 3 circles you drop underneath your feet.

Echo of Doragosa Trash
Algeth'ar Echoknight
- Astral Whirlwind spawns an AoE under a random player, be ready to move out of it
- Arcane Smash does a large party hit, watch your health and use a defensives if needed
Spectral Invoker
- Mystic Brand debuffs a random player, prioritize interrupting this spell
- Arcane Bolt targets a random player, use spare interrupts on this cast
Echo of Doragosa Boss Fight
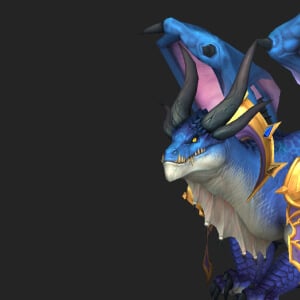
On pull the boss immediately casts Unleash Energy, so make sure everyone is topped before engaging and pull the boss towards the entrance of the room to avoid the 2 Arcane Rifts spawned by this ability, which occasionally shoot out orbs of Uncontrolled Energy for you to dodge.
Getting hit by any ability in this encounter grants stacks of Overwhelming Power, which causes you to form an additional Arcane Rift underneath you at 3 stacks, so be mindful of this and put them in good positions if you can.
Energy Bomb targets a random player, loosely spread to avoid cleaving your allies, and be ready to use a defensive if this overlaps with the random target Arcane Missiles hit as this can easily combo someone.
Power Vacuum pulls all players to the boss, tanks make sure she’s positioned so players don’t get pulled onto a rift and use movement abilities to escape the AoE. Tanks should also watch out for the Astral Blast casts, using a defensive if needed and standing in a good spot to drop a rift if they already have 2 stacks of Overwhelming Power.

