Control Resonant has tough bosses scattered throughout the map. In each area, you can solve puzzles leading to a fight against these Resonant bosses, with one example being the Collective, which can be found tucked away somewhere in The Park.
The Collective isn't just sitting in some building waiting for you like the Dancer, though. Instead, you'll need to complete a puzzle that reveals where this Resonant can be found and then use your abilities (including your newer shift/wall running ability) to defeat The Collective in battle. Everything you'll need to know about where to find the Collective in Control Resonant and how to defeat it in battle has been included in the guide below.
Quick Links
- How to Find the Collective in Control Resonant
- How to Beat the Collective in Control Resonant
- Which Power Should You Pick After Beating The Collective?
How to Find the Collective in Control Resonant
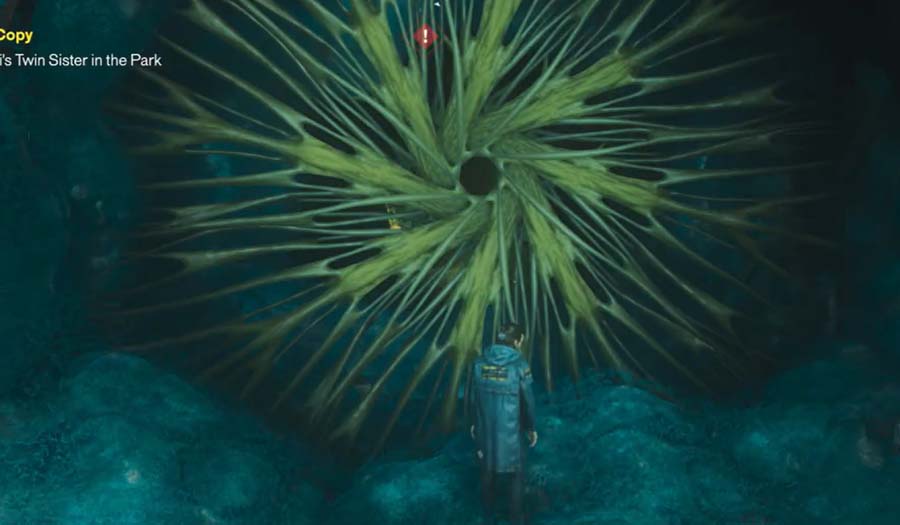
To find the Collective, you need to complete the quest at The Park that has Dylan track down and eat four pieces of Delicious Mold.
The first piece of Delicious Mold can be found inside the remains of the Cafe by the sinkhole. For each Delicious Mold you devour, your connection to the strange gate at the bottom of this sinkhole will strengthen.
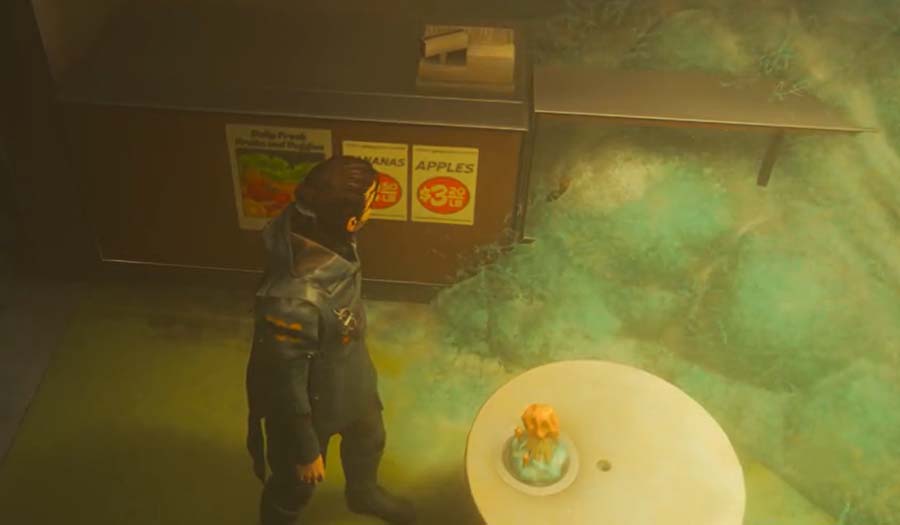
The remaining Delicious Molds can be found at the Gym, the Minimart, and the Pizzeria. Once Dylan has consumed all four Delicious Molds, he will connect with the entity linked to the Park mold, revealing that a Resonant is lurking behind the mysterious gate underneath the Cafe. Return to the sinkhole where you found the very first Delicious Mold, and travel through the gate once you feel ready to face this mold-ridden boss, The Collective.
How to Beat the Collective in Control Resonant
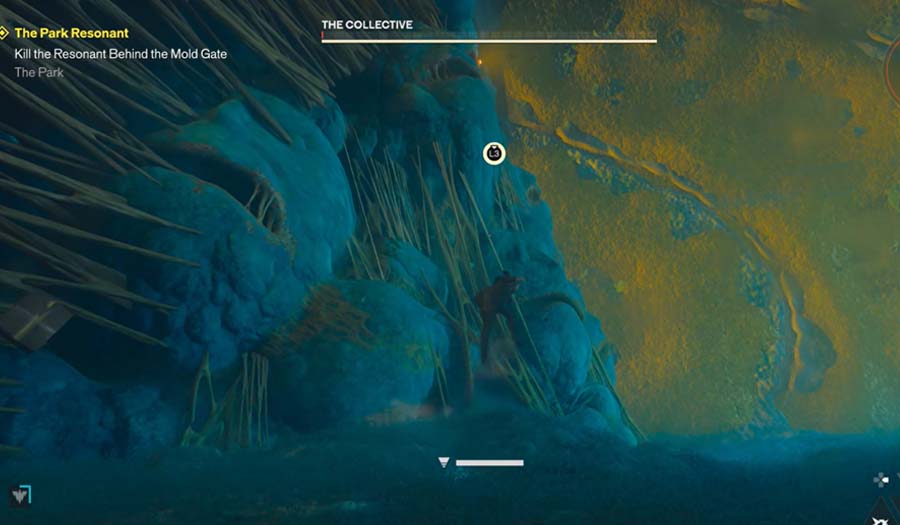
The Collective works as...well...a collective entity across three different arena planes - who would have guessed? On the main plane, The Collective's "head" can be found. On the other two planes, additional mold enemies and giant tentacle arms will spawn.
The main hazards to watch out for during this fight are the acidic mold projectiles, which will be thrown from the tentacles and minions towards you. Some of these attacks can even hit you from across the planes.
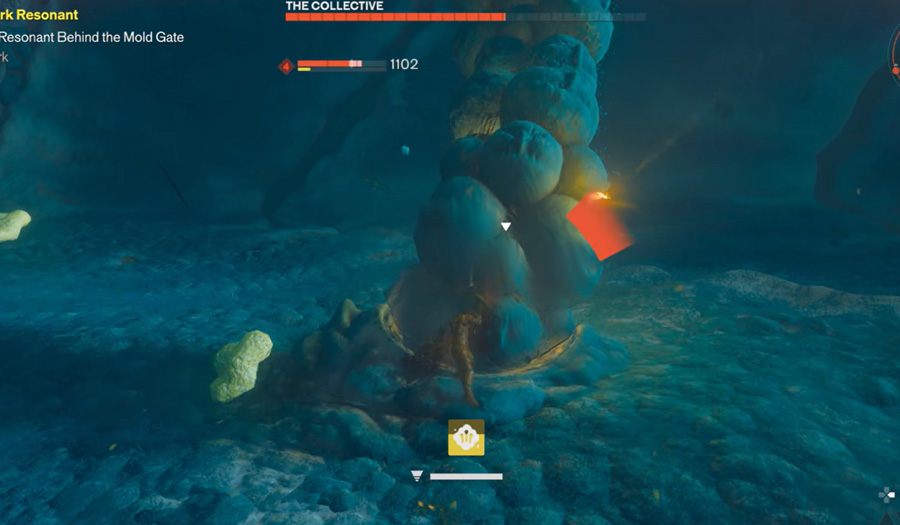
The tentacles themselves can also hit you with powerful slam attacks if you move into the close range to combo them. Use your traversal abilities to jump up and over these slams, and always be prepared to keep on the run, weaving dodges along the way across all three arena platforms.
You need to take down all tentacles before you can get really impactful damage done. Use your shift ability to rotate across and run between all three planes. Once they are down, return to the main plane, and The Collective will now have some inflated creepy eye-mouth-socket-things, as seen in the screenshot below. These are points of weakness, so attack them with your weapon to deliver some heavy hits.
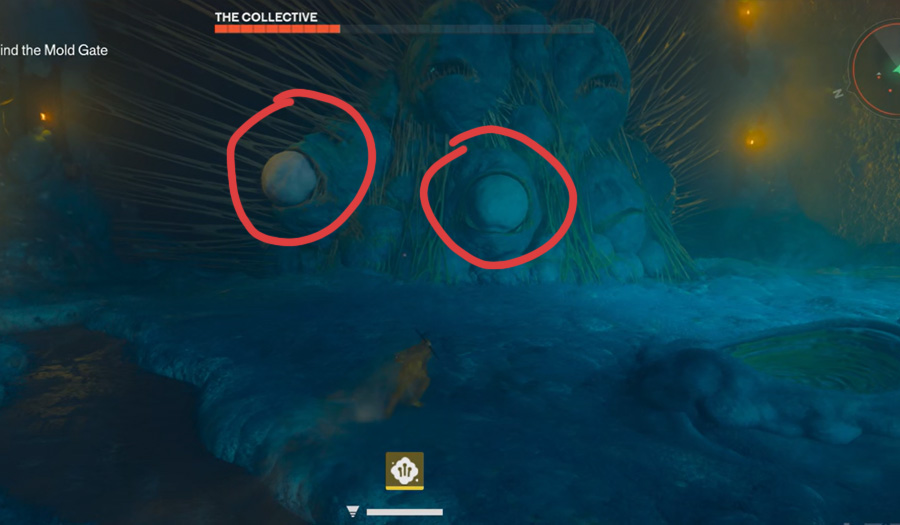
The Collective will basically rinse and repeat this battle rotation, so make clearing the tentacles your first priority, and then follow up with delivering focused attacks to the weak points until you manage to wither The Collective all the way down to low health.
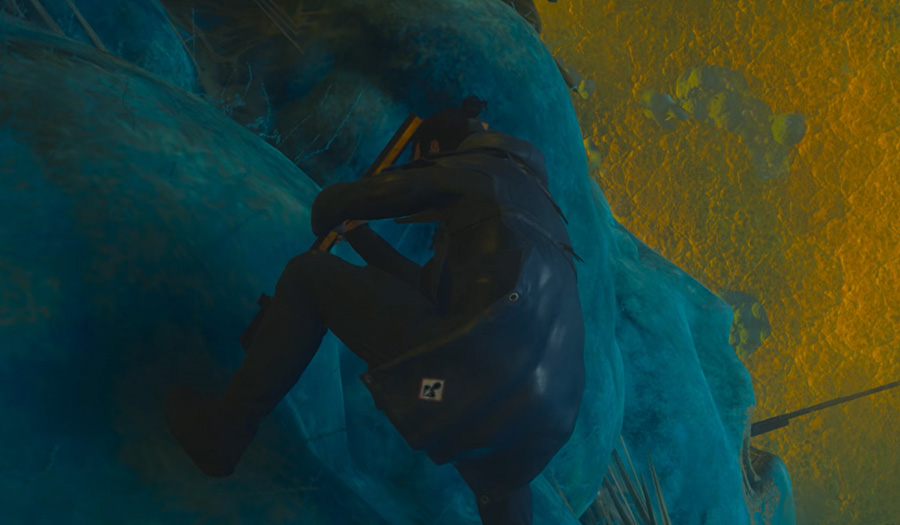
Once you get this boss low enough, you will get a prompt enabling you to falter The Collective, killing it off for good.
Which Power Should You Pick After Beating The Collective?
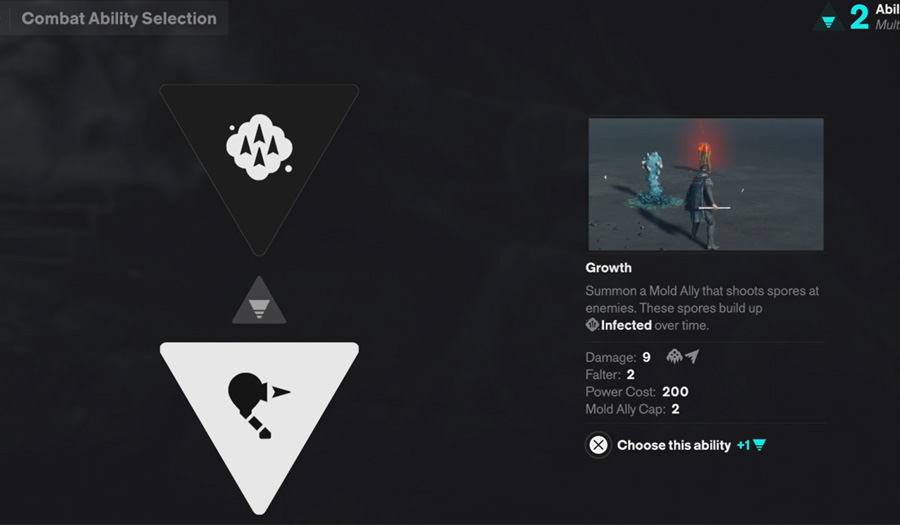
After defeating The Collective, you will be able to select one of two new power options. These options are listed below:
- Spore Burst: Rapidly fire mold projectiles at a target, building up Infected. 16-158 damage, 2-16 falter, 200 power cost.
- Growth: Summon a Mold Ally that shoots spores at enemies. These spores build up Infected over time. 9 damage, 2 falter, 200 power cap, 2 Mold Ally cap.
The best choice will be dependent on your playstyle and build, as they both offer a different angle.
Growth can be deployed to apply chip damage to enemies and help you wither down large groups faster. If you did not take the other deployable minion (Volatile Anomaly) from The Artist, then I recommend that you take Growth.
This is merely because having something else to not only help apply damage, but for the enemy to focus on, other than yourself, comes in incredibly handy. It can also be very strong if you have both of these deployable minion abilities attached, and it comes in particularly useful if you're running close-range weapons.
On the other hand, Spore Burst is a strong projectile burst fire for the close-to-mid range, dealing solid damage if you accurately hit a single target. If you've got a mid-range or ranged build, then Spore Burst may work as a nice fit, offering a powerful hit of damage that you can weave in between combos.