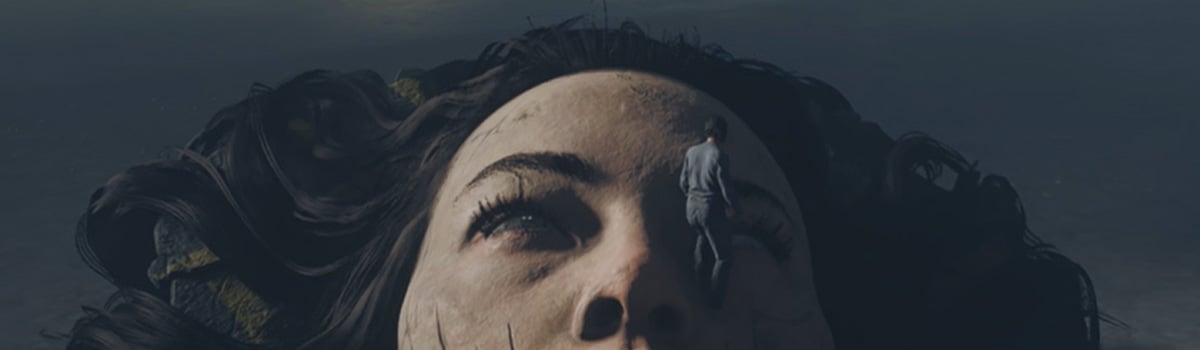
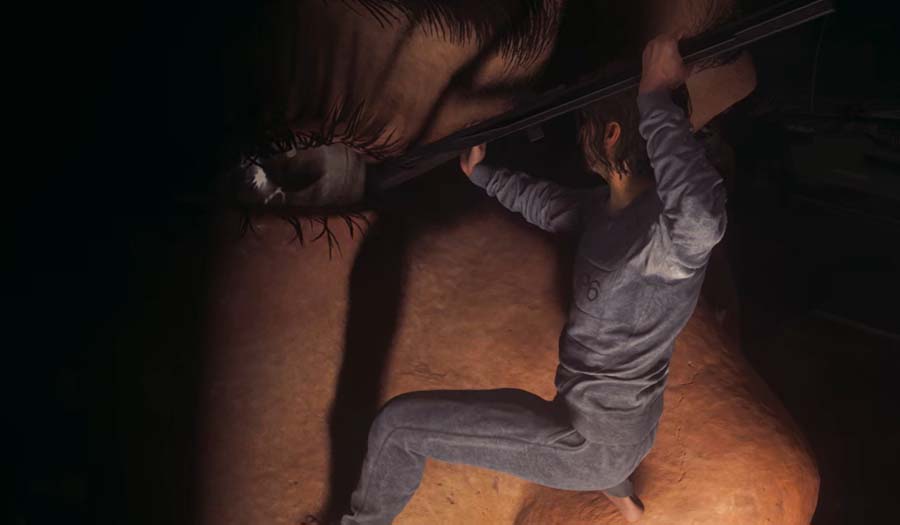
In Control Resonant, the Artist is the very first Resonant boss you encounter when exploring the first memory of Jesse. This fragmented face is complete with random pieces of city debris and traffic, and comes paired with an intense series of attacks compared to standard foes. If you're looking to easily take down your first boss of the game, this guide has you covered with a complete breakdown of The Artist's attack patterns, some easy points to focus on, and opportunities to get bonus damage in - here's how to beat The Artist in Control Resonant.
Quick Links
- How to Beat The Artist in Control Resonant
- Which Ability Should You Choose After Beating The Artist?
How to Beat The Artist in Control Resonant
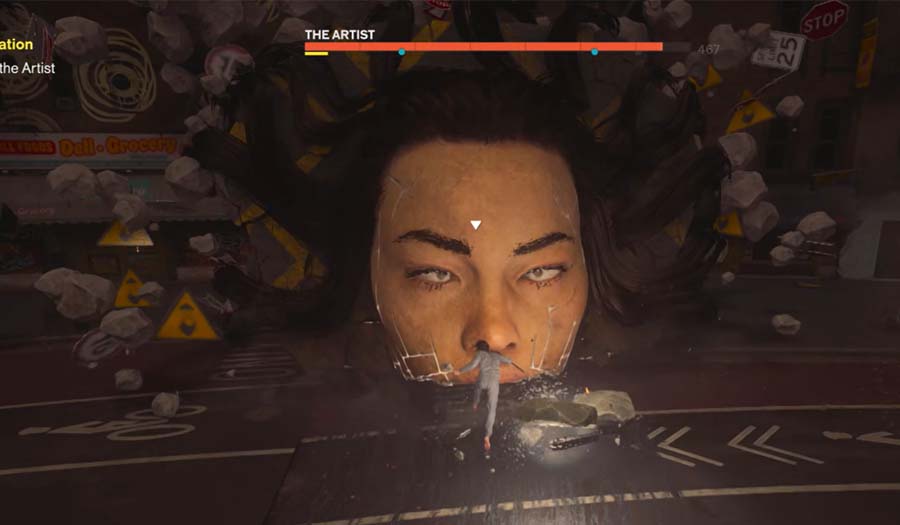
In Control Resonant, The Artist is the first Resonant you will need to defeat. This fight occurs naturally during the stage where you're encountering a fragment of Jesse during your first quest with Zoe.
The Artist will start by charging up some stones and hurling them towards you in a scattered pattern. If you close the distance fast enough, this can be a really good time to get some early damage in, as you can jump and hover above the stones and get a few hits on the top of the Artist's head.
You'll also need to watch out for The Artist's close-range attack, where the creature manifests two giant stone pillars to swing and crash into the ground.
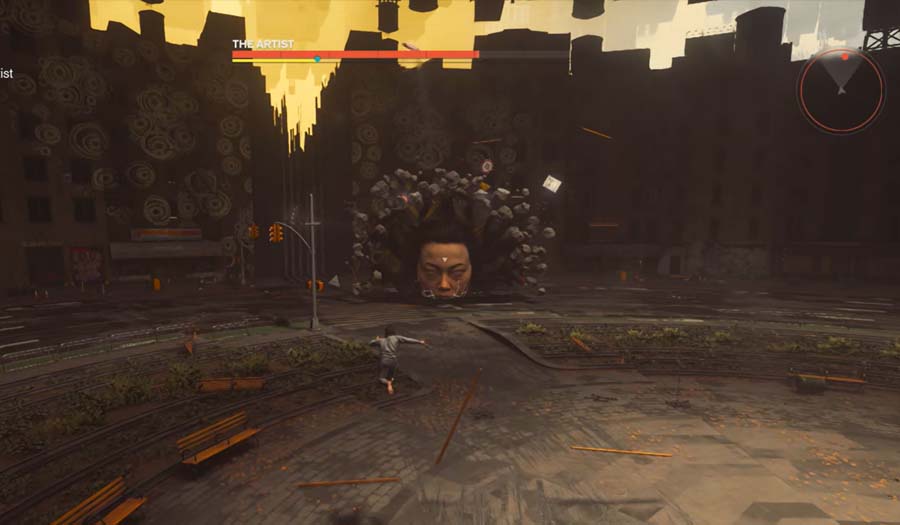
If The Artist creates distance between the two of you, then it will start hurling projectiles towards you. This could be signs that fling towards you like ninja stars, vehicles that are thrown your way to deal heavy damage, or the scattering rocks from earlier. And those stone pillars make an appearance at melee range again.
Once you wither down The Artist's health enough, it will start to float up into the sky and cause several pieces of stone terrain to rise up alongside it. After a moment, The Artist will then hurl these stone chunks at you two by two, dealing huge damage if they hit.
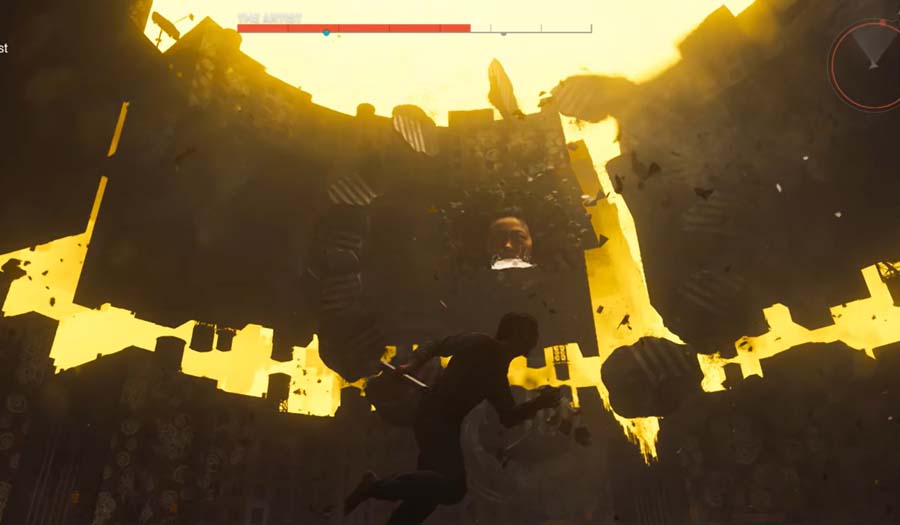
However, there is actually a way you can interrupt this stage of the fight completely, skipping the need to dodge these incoming stone slabs. As they begin to rise, react quickly and jump on top of one. Once it takes you to maximum height, use it to propel yourself upwards and dash towards The Artist in the sky. All you need to manage is one hit on the Resonant, and it will drop everything, cancelling the charge-up time.
Continue the process throughout the remainder of the fight. The main thing is getting into melee range and then spamming your attack as much as possible when there is opportunity. As long as you can time your dodges appropriately, you shouldn't have many issues withering it down.
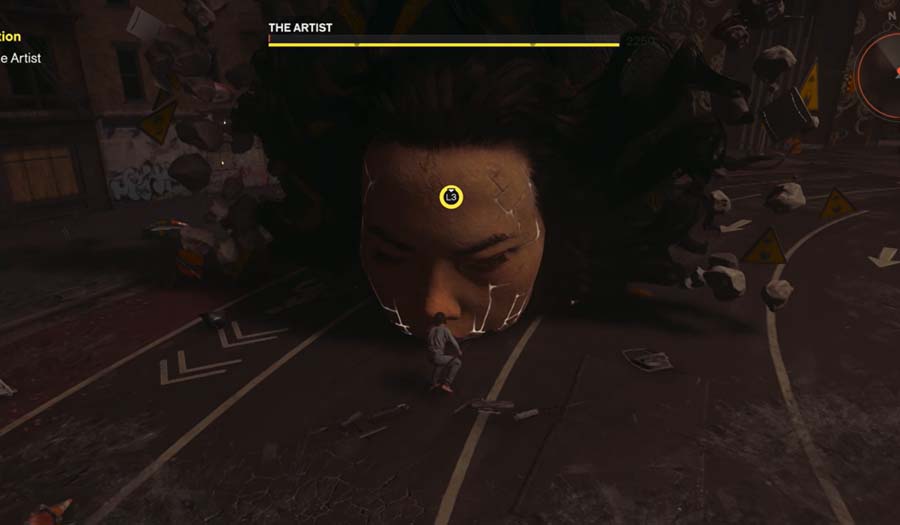
Eventually, you will get a prompt when The Artist's Falter bar is full, enabling you to grapple towards the creature and deliver the killing blow.
Which Ability Should You Choose After Beating The Artist?
After defeating the artist, you will be able to select one of three choices that will bind a new ability to your L2/LT button. Here are the choices available:
- Barrage: Sends projectiles hurtling towards a target.
- 60-180 damage, 12-36 falter, 400 Power Cost.
- Shield: Shield absorbs damage. Its durability is equal to the power meter. Dodge with Shield to Shield Bash.
- 100 damage, 60 falter, 180 Shield Bash power cost, 150 activation cost.
- Volatile Anomaly: Summon an ally that can be thrown and detonated. Does more damage if the ally has low health.
- 15 projectile damage, 150-350 explosion damage, 5 projectile falter, 25-180 explosion falter, 300 power cost, 120 throw power cost.
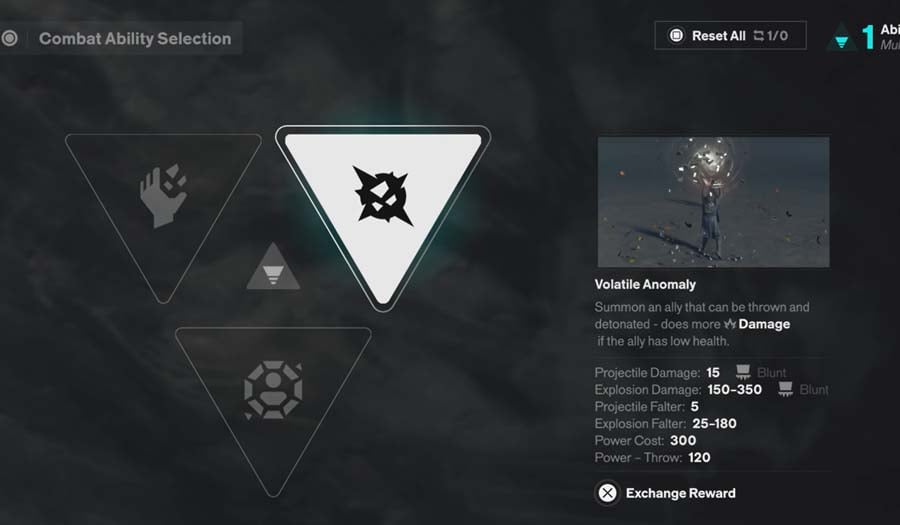
If you have opted for a melee range build thus far, then Volatile Anomaly is the best choice. It will provide you with a mid-range option, as the minion can perform chipping damage on enemies and will chase the closest target. It has a low damage output but can help apply falter and wither down health before finally casting the explosion to finish foes off.
You can simply cast it, let the minion take pressure off while you continue chaining your close-range combos, and then detonate the explosion to secure final blows. It essentially takes the pressure off larger swarms a bit, especially if you use the Strike Aberrant Form.
On the other hand, if you have the Glaive or Cleave Aberrant Forms, then those are already much better at hitting multiple targets and chewing your way through waves as opposed to heavy single-target damage. For this reason, Shield is often a nice pick. It lets you absorb incoming damage on a whim and deliver a shield based on a perfect dodge, increasing your survivability in combat.
Barrage is not a bad option, though, as it offers another strong attack with some decent range. The reason Shield has been recommended over it above is merely that it far outweighs Barrage in terms of long-term utility.