
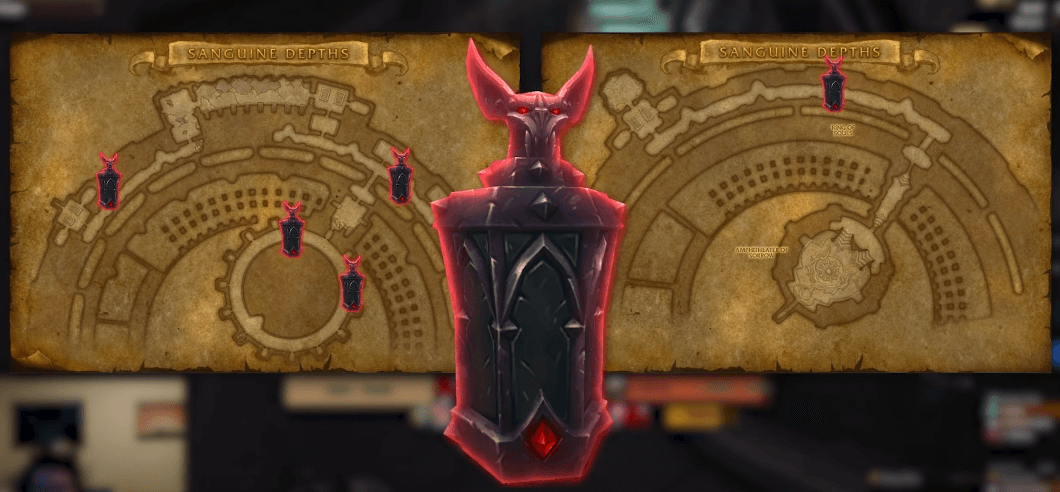
1. Venthyr Canisters
Venthyr players in Sanguine Depths will have access to canisters around the dungeon that they can click on to activate. When clicked, a zone will appear around the canister, granting the group a stacking damage buff when mobs are killed inside of the zone.
This buff will grant you 5% per stack, capping out at 10 stacks. Truthfully, the location of these canisters are not the most convenient, with only the last one in the final Gargon Gauntlet corridor having an easy way to cap out stacks without the tank having to go out of their way to pull extra trash into it.
2. Kryxis the Voracious
The first boss of Sanguine Depths is a lot harder on Tyrannical than people give it credit for. It can be a struggle for healers to keep up with the healing requirement as you go higher in key levels.
The group can help with a simple change in positioning. By having your tank pull Kryxis slightly away from the exit gate, your group can move towards the gate when the boss casts Severing Smash which causes players to spawn the living essence (blue orbs).
This positioning opens up a lot of room for the tank to kite the boss away from the orbs. Because they move slowly, your healer has more time to recover the group's health from the smash and control collecting the orbs at their own pace.
3. Executor Tarvold
Executor isn’t a particularly easy boss either, with a combination of high burst damage required in order to kill the Manifestation adds quickly as well as the high healing requirements to cover for any overlaps of Castigate and Manifestation spawns.
The rotating beams can often get overlooked as a result of the intensity of the rest of the fight but by simply moving the boss slightly down the corridor you can make it a lot easier to deal with. Starting on the inside of the corridor, it becomes very simple to alternate sides of the corridor as each beam passes. Eventually this will become almost robotic, allowing you to focus harder on the rest of the encounter.
4. Grand Proctor Beryllia
On this boss there is often a fight for fragment of radiance orbs, especially when multiple melee are involved. However, something that isn’t often known is that at least one orb always spawns right under the boss. A general rule on this boss is to take 3 orbs to be safe, or 2 if you have a defensive cooldown you can use for the explosion. As a melee, by simply moving forward, you can find yourself with enough orbs a lot faster, while maintaining higher uptime on the boss.
5. General Kaal
The final boss of the dungeon has a rather nasty bleed which she casts on 2 random players. This bleed effect comes after a wicked rush she makes towards each target, doing an AoE ability when arriving, hitting anyone close by and inflicting the bleed.
With enough distance between yourself and the boss, you can quite simply sidestep the dash, or move away to avoid getting the bleed altogether. The rest of the damage in this fight is easily avoidable and the bleed is the most stressful part for the healer, so removing this mechanic as often as possible by simply moving away from it is a huge help. The dash can also be parried and dodged.