Coming in with a resounding bang echoing glowing critic reviews and abundant fan praise, Doom: The Dark Ages has fans of both the series and FPS games as a whole shaking with excitement. From gamers to streamers, everyone’s trying their hand at the title. The general consensus seems to be that, apart from being quite a lot of good fun, the game is pants-soilingly hard.
Although there are plenty of difficulty settings to tweak, the game can also be a bit confusing at times. So, for those of you who like to spend more time butchering demons and less time consulting a rather unnecessarily rudimentary in-game map, here's the start of our Doom: TDA walkthrough series with Chapter 1: Village of Khalim.
A Warm-up Welcome
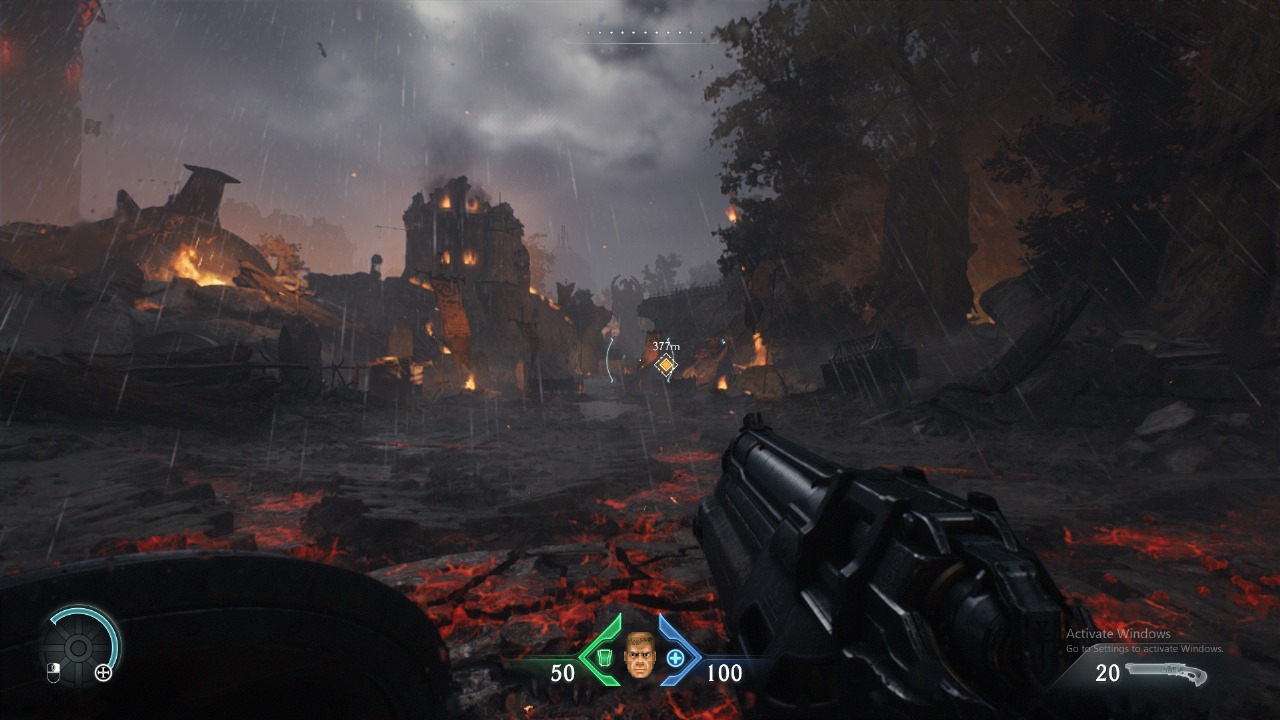
After the badass intro, you’ll start in the landing zone with nothing but your combat shotgun and trusty shield. Walk forward and dispose of the first few demons you encounter before you encounter a cannon that’s firing a steady flow of Imp projectiles. Put your shield up and run through the narrow path, past the cannon and turn left when you see the crashing aircraft. You’ll face some more minor enemies in an open area. After taking them out, look towards the wall on your left to see a climbable area. Dispose of the handful of enemies as you climb and move forward to a boarded-up entrance. Shield Crash through the boards and take out the Imp to get the next area open.
Replenish your health if needed and clear the area of enemies before proceeding to a Sentinel encampment of sorts. Proceed past them and follow the path to be presented with the Power Gauntlet. Walk through the gate that just opened and enter the house on the left. Once it’s clear, look on the wall to the left of the entrance and shield crash through it to find the first Secret Area of the level, wherein lies a Life Sigil and some armour.
Go back inside and look left to find a climbable wall. Once upstairs, look around to follow the path to a boarded-up window across a gap. Shield Crash through it from a distance and move forward to jump down into the courtyard below. Rid the area of demons and move towards the Blue Key you need to collect. You’ll end up in a smaller courtyard, and the boarded-up entrance there will only be open to being crashed through once you kill all the enemies.
Inside, parry the Turret’s green bolts to destroy it, then climb up the wall. After taking out the imps, move through the archway and meet your first Pinky Rider. Do away with the creature and jump up to the building with glowing red windows. Kill the cultists, grab the key, and Shield Crash out of there. Turn around, go back down the stairs, and look to your right to open the door to secret #2, which contains a toy imp. Do another 180, walk back into the main courtyard, and walk through the door with the blue key sign on it.
Deactivating Demon Doors

The next area will be the busiest one yet, and once you’re done with the destruction, the portal in front of you will close. Walk forward to rinse and repeat the process, and after the second portal closes, run to the right of the small tor in front of you and climb to the top to collect a Codex. Jump down and follow the jump pad towards the objective, where you’ll be greeted with your second ranged weapon, the Shredder. Shred the enemies that appear next and move to the far end towards the sea. You’ll see a small path below. Jump down and go into the cave to tick off the third Secret Area before coming back up.
Go up the path on your left and kill everything that moves to shut down the third portal, then follow the path across the wooden bridge to collect the Secret Key. Go back around and use the jump pad to cross the chasm, then follow the path and look to your left to open the door to the Secret Area and collect the Life Sigil inside. Upon re-emerging, go through the gulch on your right and make short work of the enemies there to close the final portal.
Beach Blockade
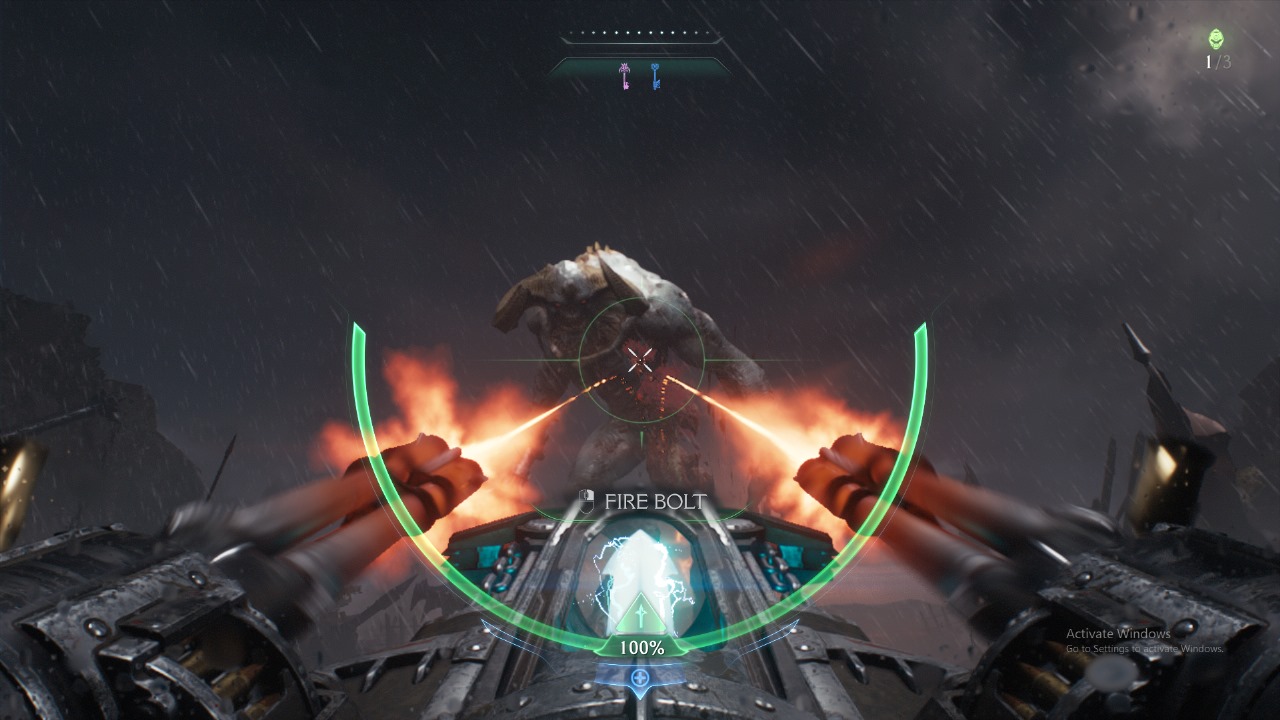
Follow the path towards the objective, and once you come upon a wooden fence on a cliffside, sprint jump across the chasm to find the fifth secret of the level, containing a weapon skin. Take the jump pad up, collect the health and armour and once again, make your way towards the objective. There will be plenty of armour on your way to the beach. Once you’re out in the open, you’ll see a Titan fighting a dragon. Jump down and ransack the area before moving towards the Turret objective. When you come upon the series of armour shards, turn right after collecting them, go up the wall, and collect the second Codex. Resume your journey to the Turret, and once you reach it, mow down the smaller enemies to make the Titan approach you. Hit it with a combination of primary and secondary fire, and it should go down without posing much danger.
With the chapter completed, sit back and enjoy the cutscene before reveling in your 100% completion stat. Feel free to check out our walkthrough of Chapter 2: Hebeth to get 100% on that level as well.