
Realizing Ahzrak still seeks the Heart of Argent’s true source, Thira performs a ritual to empower the Doom Slayer’s shield. However, before the Slayer can put his newfound abilities to use, Kreed betrays Thira. He leads Ahzrak to her, and the former kidnaps both Thira and Kreed upon learning that Thira herself is the power source. The Slayer, unable to stop it, turns to his last option — reawakening a forgotten titan known as the Old One to chase them into the demons’ homeworld.
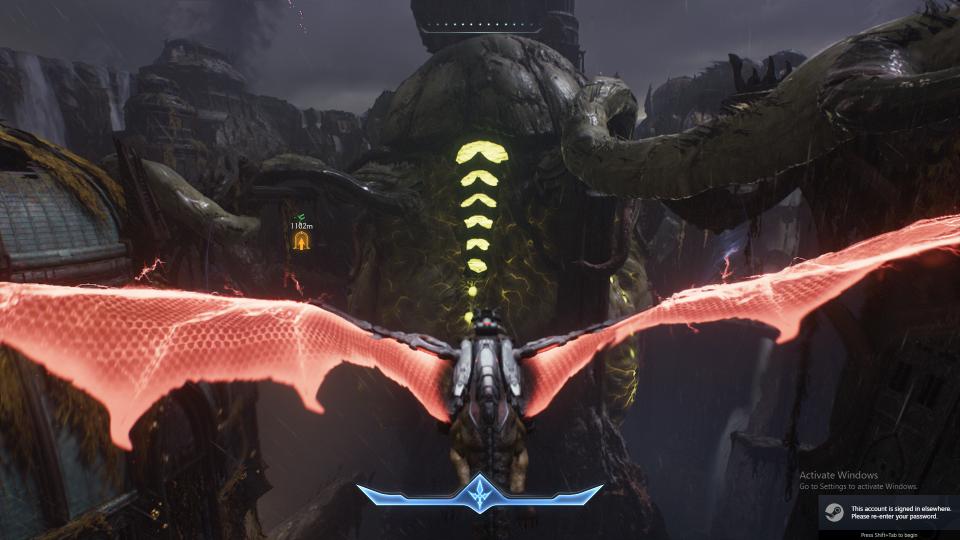
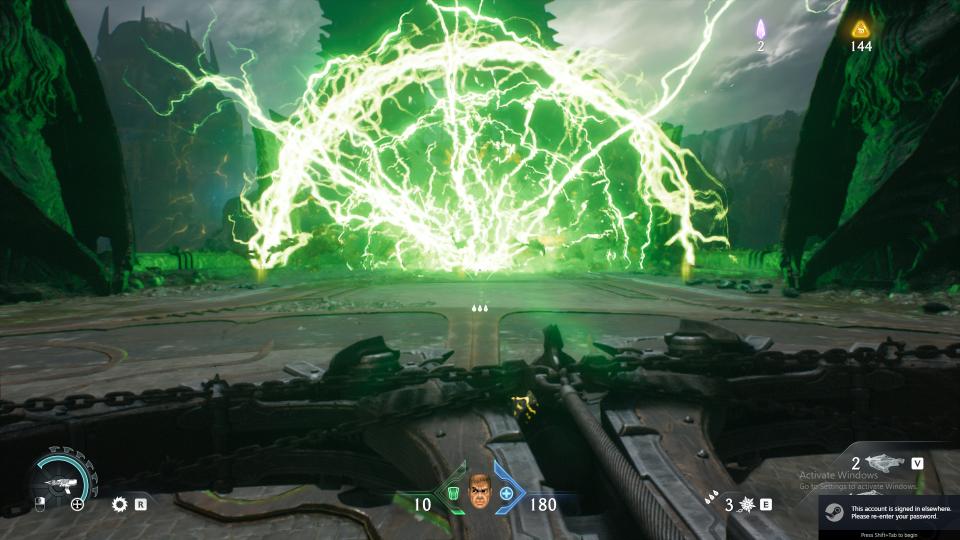
To break its bonds and unleash its fury, the Doom Slayer must dismantle the arcane architecture pinning it underground. The only way to achieve this is by deactivating three Stasis Emitters that anchor the prison field. With his dragon at the ready, the Slayer soars across a windswept beachscape below the Spire, targeting one emitter at a time.
Each emitter is located in a different fortified pocket of the map, requiring a landing, a full arena fight, and some environmental navigation. The first is lodged inside a collapsed fortress, the second buried beneath a lava-etched cliffside, and the third situated near a ruined citadel swarming with Hell Priests. Once all three are down, the ocean pulls back to reveal the titan’s skeletal prison. This is where this walkthrough starts — at the moment the final emitter goes offline and the real mission begins: freeing the Old One.
First Challenge: Facing the Komodo Champion
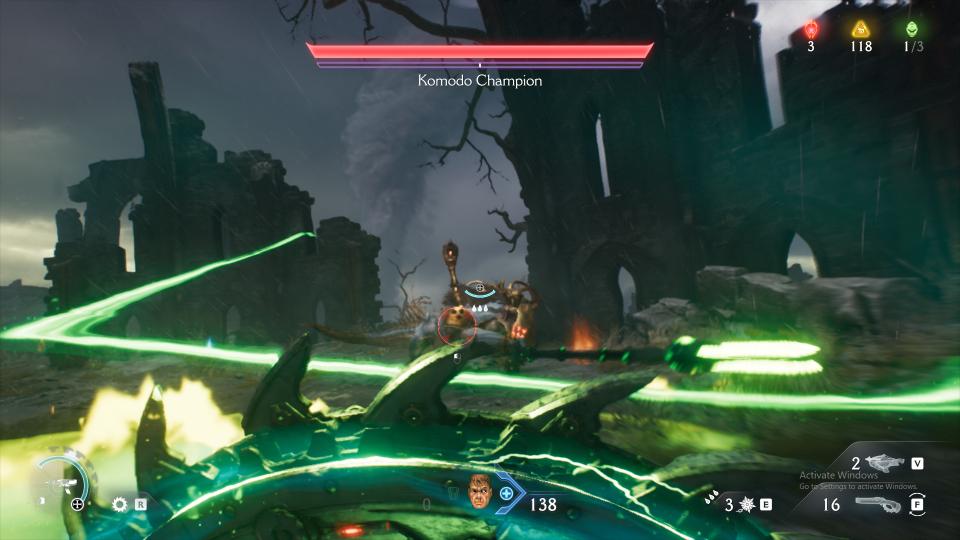
Before you can even begin dismantling the Stasis Emitters, the game introduces one of its toughest new enemies—the Komodo Champion. This powerful melee demon is a fierce foe who appears early in the level, testing your combat skills immediately after landing on the beach.
The Komodo Champion is unique in its blend of aggressive melee attacks combined with long-range projectile bursts. Its unpredictable moveset forces you to master parrying — timing your block perfectly to counterattack with your Flail for constant armor replenishment while getting in some shots with the Super Shotgun. For those who have unlocked the Rocket Launcher’s “Cannibalism” upgrade, this fight becomes a bit more forgiving, as it gives you a higher damage output at close range while also providing sustenance.
Taking Down the Stasis Emitters
Once the Komodo Champion is defeated, your primary mission unfolds. The emitters are scattered across the map, each nestled in a unique, heavily guarded area. Your dragon will be your main mode of transportation between these objectives, letting you fly swiftly from one emitter to the next.
Landing near each emitter triggers intense combat sequences where you’ll face waves of demons protecting the devices. After you clear them out, remember that these locations also hide several bonuses and secrets worth exploring thoroughly.
Two Important Doom: The Dark Ages Chapter 14 Secrets
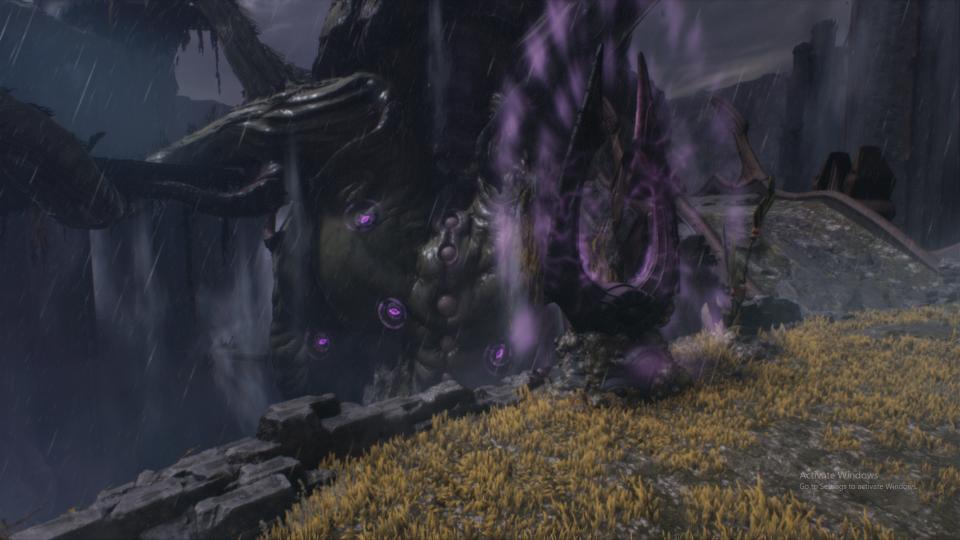
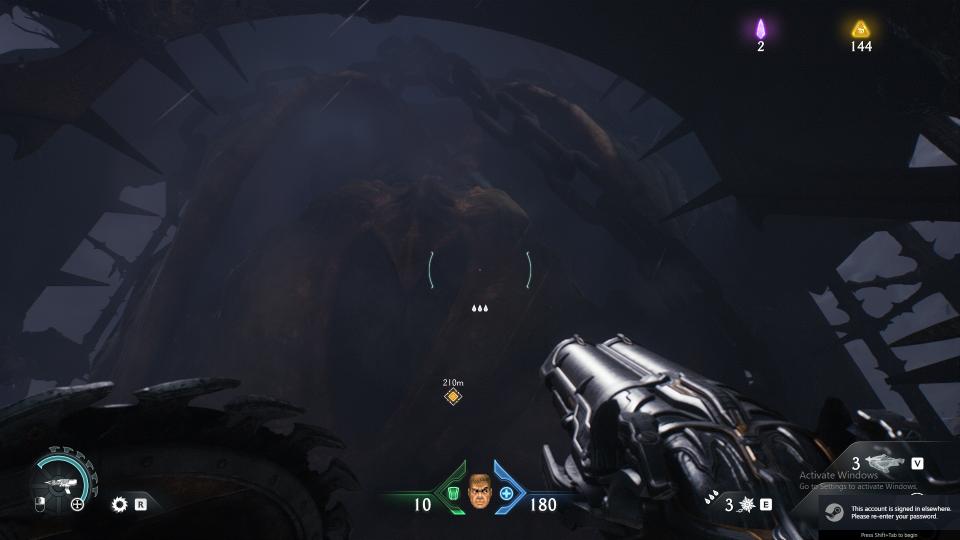
With the three Stasis Emitters successfully deactivated, the Old One’s is only halfway free. The titan remains bound by ancient and powerful enchantments that extend beyond the emitters’ control. The skeletal cage surrounding it is old and weathered, but still strong enough to keep the colossal creature confined deep beneath the Spire of Nerathul. Before you can even think about breaking the final seals that will release this behemoth, you’re given one last opportunity to explore the expansive battlefield from the skies, on the back of your loyal dragon. This is a great opportunity to pick up two hidden Wraithstones that are only accessible using your dragon.
First Wraithstone: The Sky Ruins
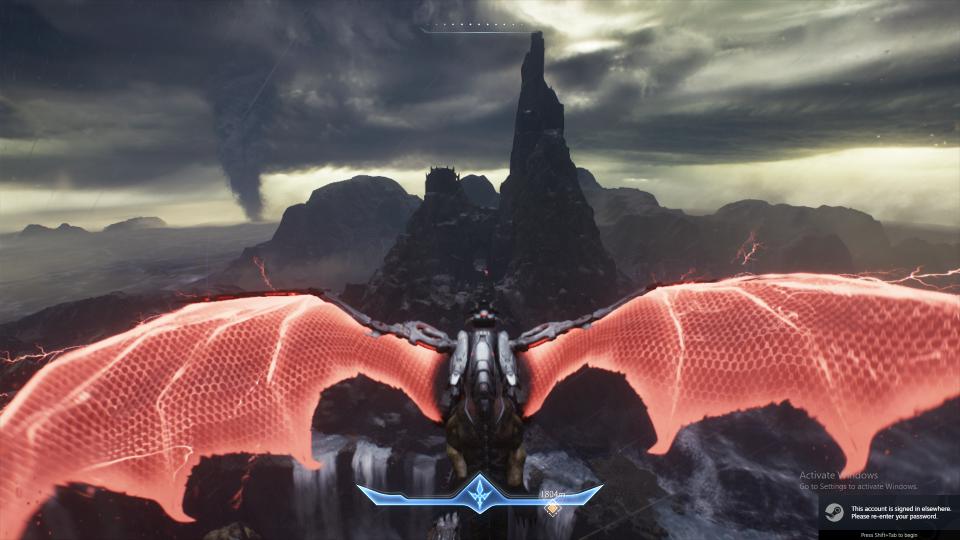
To find the first Wraithstone, soar to the highest peak on the map, where a ruined fortress-like structure can be seen. When you get closer, you realize it’s just a rocky outcrop that resembles a castle, broken and weathered by centuries. Approaching this area will immediately alert you to the dangers ahead—the place is guarded by a powerful turret Titan, which relentlessly fires upon intruders.

Once you land after taking out the Titan, prepare for one of the toughest mini-encounters in the chapter. You will face three waves of increasingly difficult demons here, culminating in a brutal showdown with a Cyberdemon. After this towering behemoth falls, the path to the Wraithstone opens.
Second Wraithstone: The Hidden Cave
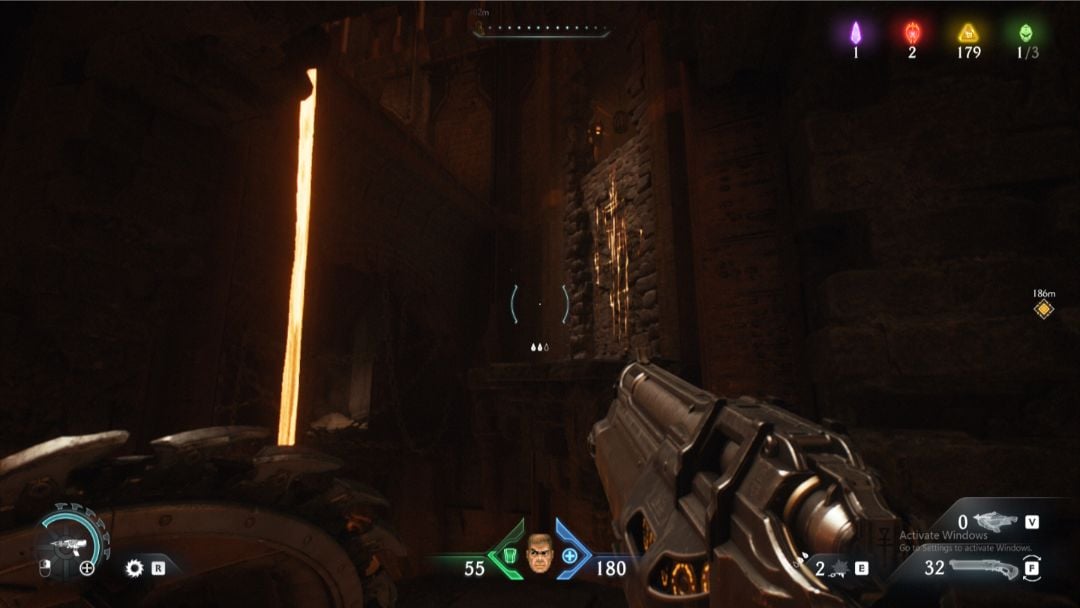
The second Wraithstone is far more concealed, tucked away near the landing pad that leads to one of the three stasis emitters. Look for a massive archway carved into the mountainside that leads into a secret cave. This entrance is easy to overlook. Inside the cave, you’ll be greeted by a swarm of aggressive Imps.
At the end of the cave lies the second Wraithstone accompanied by a special reward — a secret Rocket Launcher skin.
Retrieving the BFC and Final Boss Gauntlet
Once you’ve secured both hidden Wraithstones, your focus turns to the next critical objective: obtaining the legendary Ballistic Force Crossbow (BFC). This weapon, a medieval reinterpretation of the iconic BFG, is not just any powerful armament — it is the key to breaking the ancient titan’s bindings.

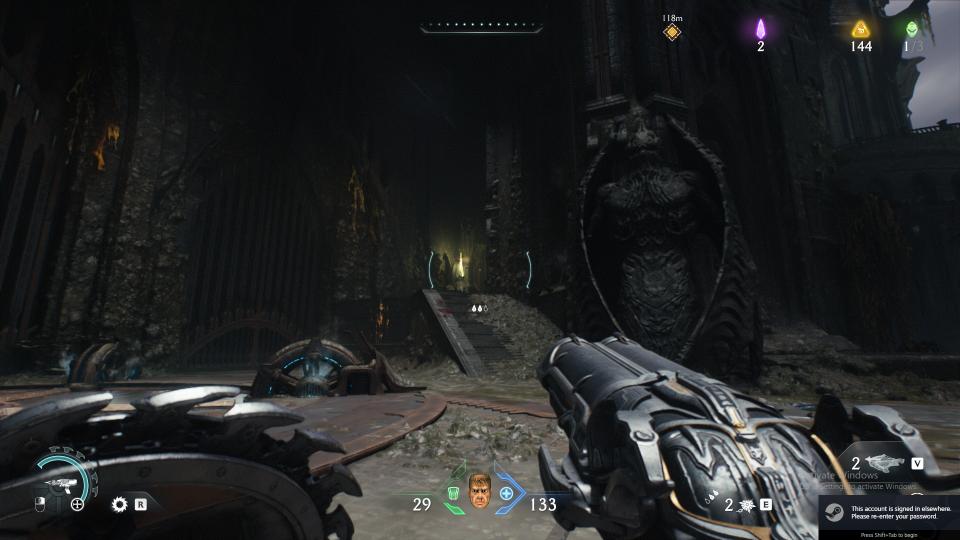
The BFC lies at the heart of the Spire, protected by a heavily fortified gate. The objective marker will tell you to go through it, but you will not find anything that opens the door. Instead, there is a staircase right beside it that will have soldier demons on it, indicating the right way. However, you can take an alternate route on the left of the gate that will lead you to a trail of gold, which will take you to the same place the staircase would have taken you. Whichever path you might have used, you will end up at a giant jump pad, which will take you to the next section of the level.
There is also a secret Revenant Toy stowed away on a platform nearby, so make sure to get that first. Then jump on the platform with more soldier demons and make your way to the final boss gauntlet of the level.
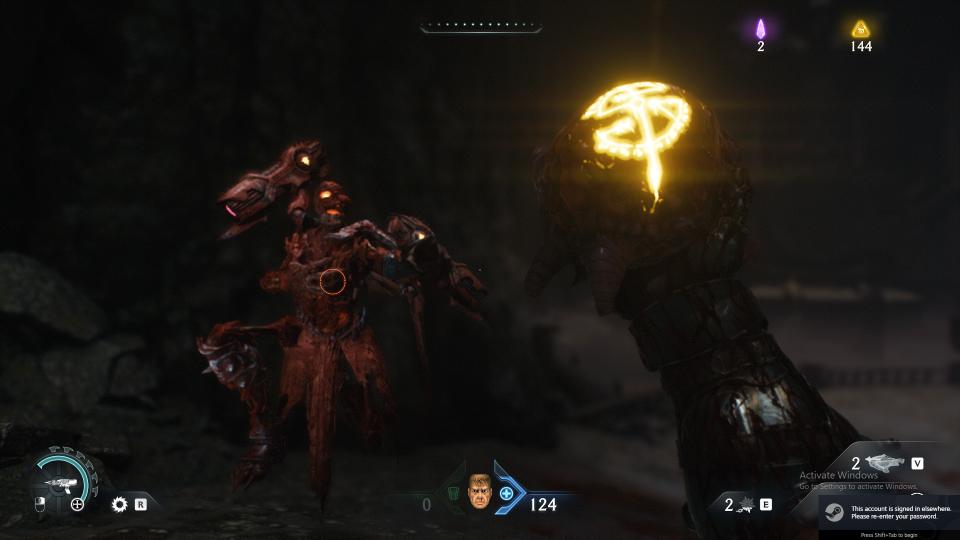
The first boss you’ll encounter is the Agaddon Hunter, with the infernal combination of the Komodo Champion paired with a Revenant Leader following immediately afterwards. Defeating the Revenant will give you a Demonic Essence for ammo capacity.
After an intense and exhausting battle, with these bosses finally defeated, the BFC will rise from its pedestal, ready to be wielded by the Doom Slayer.
Breaking the Bindings and Facing the Final Waves
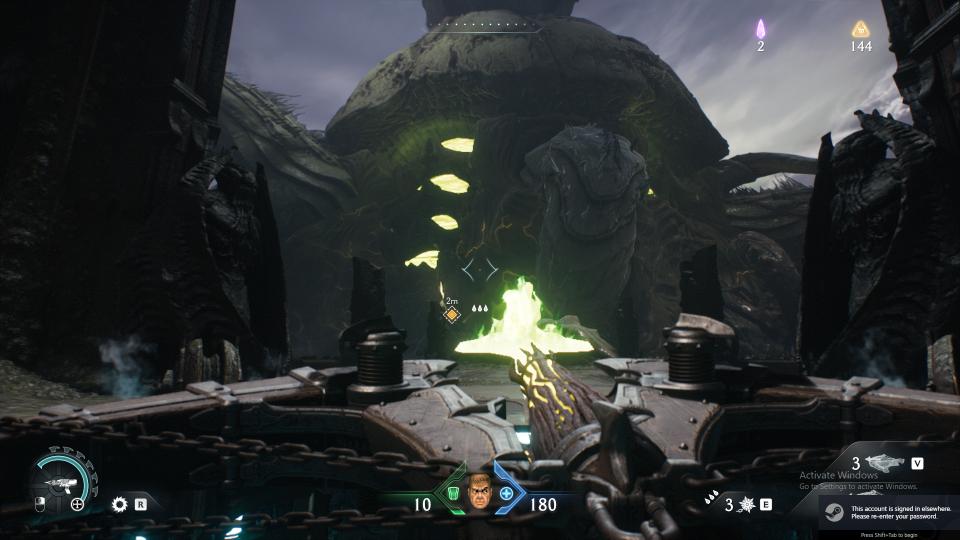
Armed with the BFC, the Doom Slayer’s mission shifts from precision combat to outright demolition. The Titan’s prison, an imposing and ancient structure, still holds fast despite the Stasis Emitters being destroyed. Now, the BFC’s overwhelming power is the only way to shatter the old, enchanted bindings.
The moment you fire the BFC and break the prison walls, you will immediately attract the attention of relentless waves of demons who seek to stop your progress. These enemies come in increasing numbers and strengths. But with the BFC on your side, this is child’s play, with each shot from it obliterating anything in its path.
Despite the spire collapsing, the Old One is still shackled in place. You have to go to the spire to break the chains holding the titan in place.
Delete armies of demons with the BFC as you ascend the collapsing Spire. Your ultimate goal is to reach the top of the Spire, where the Old One awaits in chains.
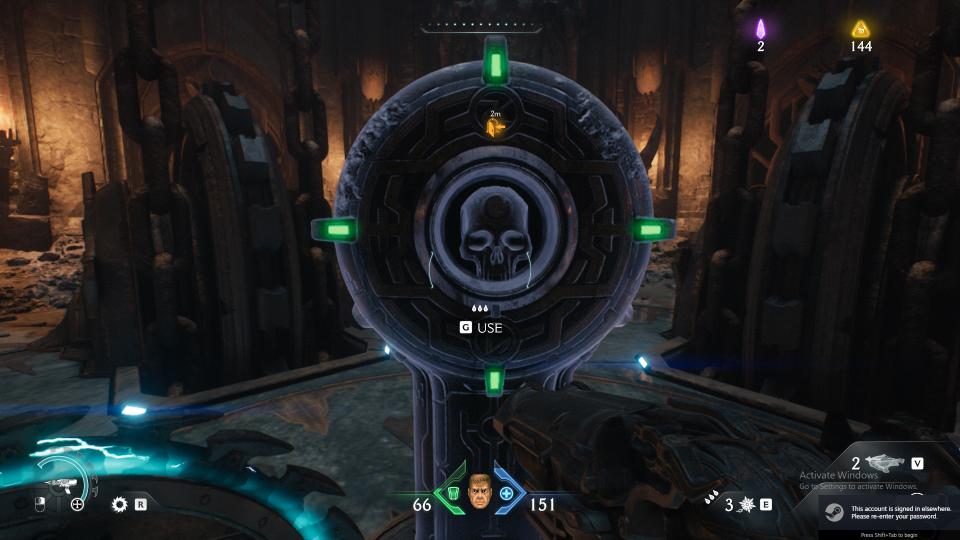
Once at the top of the structure, you’ll reach a platform that takes you back to the starting section of the level. Here, you’ll have the final switch that will release the gargantuan creature.
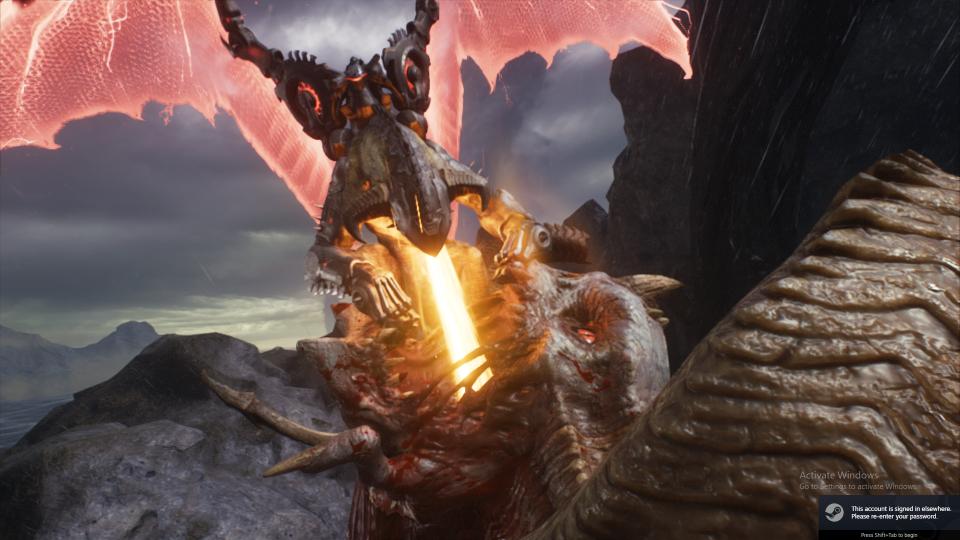
With the Old One free, the Doom Slayer hops on it and takes a ride to the dimension where Thira is held captive.