The final objective in Chapter 10, The Forsaken Plain, of Doom: The Dark Ages, titled "Power Up The Atlan," can be confusing to complete due to a lack of clear visual cues and misleading objective markers. This guide will walk you through the exact steps needed to finish the objective and wrap up the level cleanly.
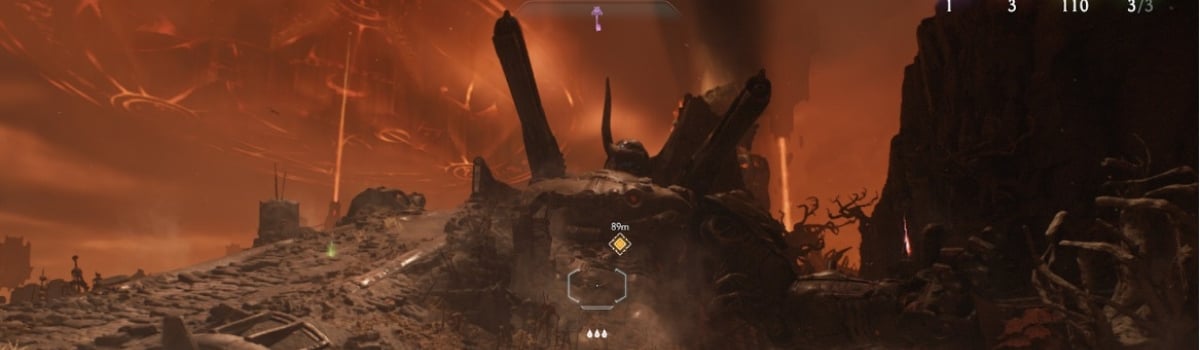
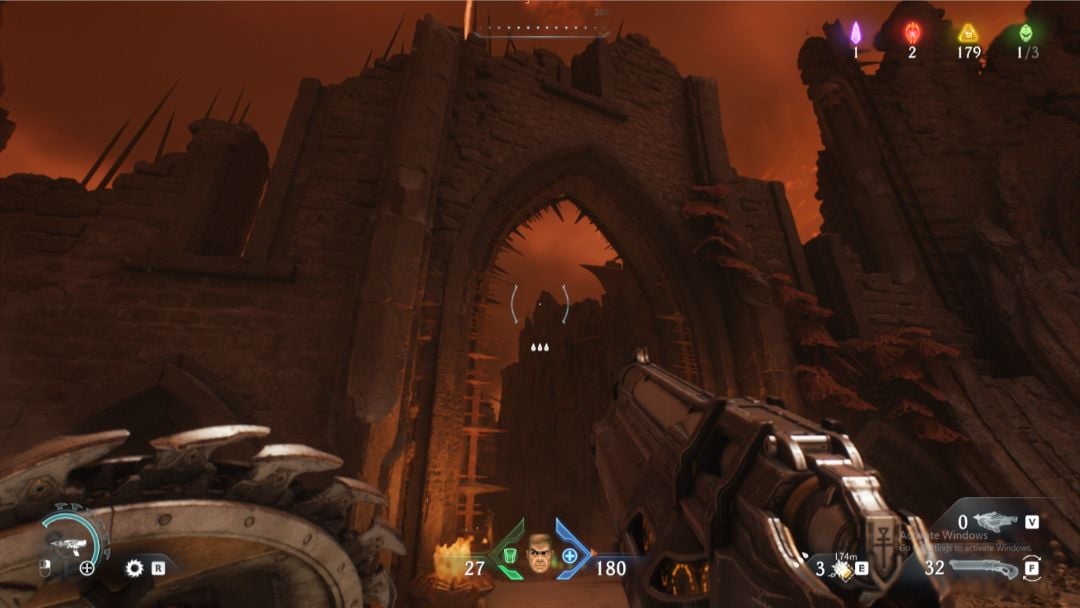
To reach this part of the level, you must first progress through earlier objectives, including breaching the front gate and pushing into the interior section of the Forsaken Plains. After this gate breach, you’ll encounter a large fallen Atlan. This area marks the beginning of the level’s second phase. At this point, you’ll notice a distinct path of armor pickups stretching along the Atlan’s outstretched arm.
After clearing the initial section of the map, your next task is to shut down two Hell Cannons, each protected by a boss encounter. Once both Cannons have been destroyed, you’ll be instructed to recover a power cell from another fallen Atlan, which lies deeper within the level. With the power cell secured, your mission updates with the new objective: Power Up the Atlan. From here, you’ll need to backtrack toward the original fallen Atlan you saw after breaching the gate.
Destroying the First Hell Cannon
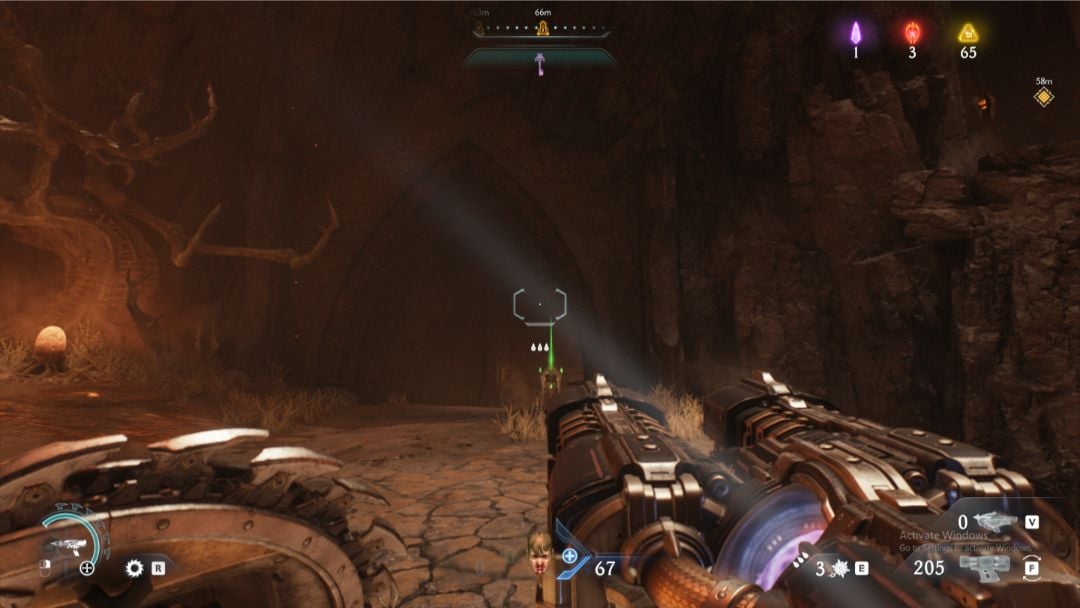
After breaching the front gate and clearing the initial enemy waves, your next task is to shut down two Hell Cannons. To reach the first one, move to the right side of the area, where the arm of the fallen Atlan hangs low. Head underneath it and you’ll spot a Ruby pickup on a platform above you.
To access it, hug the wall on your right as you pass under the Atlan’s arm. This will lead you into a Sentinel Shrine cave guarded by a horde of demons.
Clear out the enemies before interacting with the shrine. Within this cave, you’ll also see a smasher trap positioned between two flamethrowers. This environmental hazard is your key to reaching the Ruby. Once the smasher descends, quickly jump on top of it. It will carry you upward to the elevated platform where the Ruby awaits.
After collecting the Ruby, drop back down and continue heading right. You’ll soon reach a checkpoint, followed by a battle with a Mancubus Leader and his underlings. On higher difficulties, this can be especially challenging, as the fight includes up to four additional Mancubuses and several high-tier demons. Keep your mobility high and use terrain to isolate targets as needed.

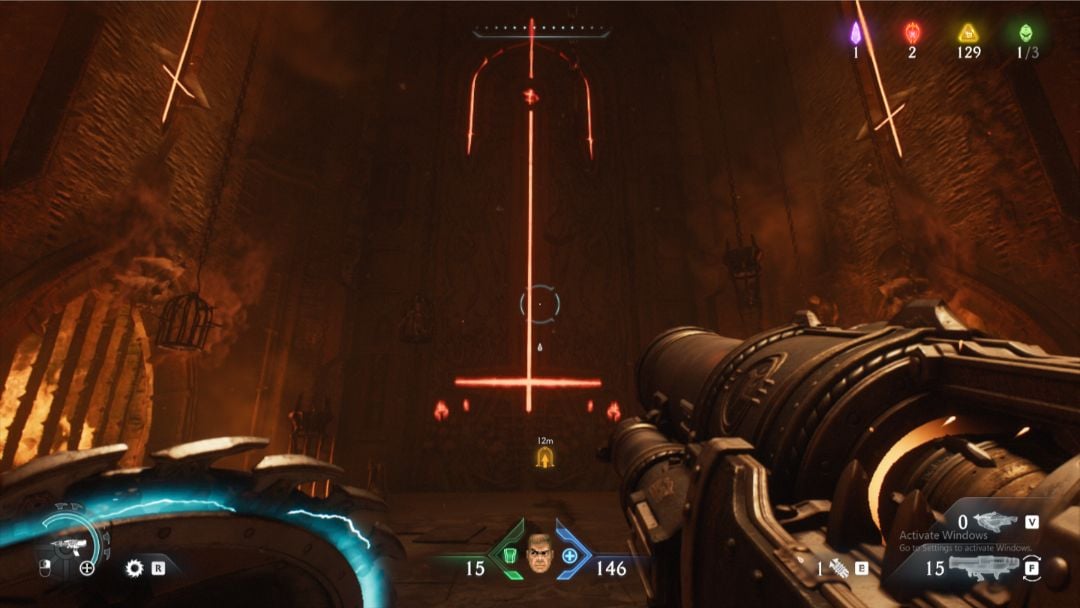
Once the Mancubus Leader is defeated, you’ll earn an armor upgrade. A jump pad will then activate, launching you directly into the Hell Cannon’s core. To destroy the cannon, Shield Charge into the exposed core and overload it.

Immediately after disabling the cannon, a new path opens up in the area. Proceed through it and you’ll encounter the first Gore Nest of the level.
Use a Shield Charge to trigger the encounter. This nest is guarded by a Revenant Leader who appears after surviving three escalating waves of enemies. Dispatching the Revenant completes the encounter and grants you a skull ammo upgrade.

Reaching the Second Cannon and Secret Key
Once the first Gore Nest is cleared, you can make your way toward the second Hell Cannon. Backtrack toward the main arena and look for a large stone archway on the opposite side of the area. This path leads directly to the second cannon.
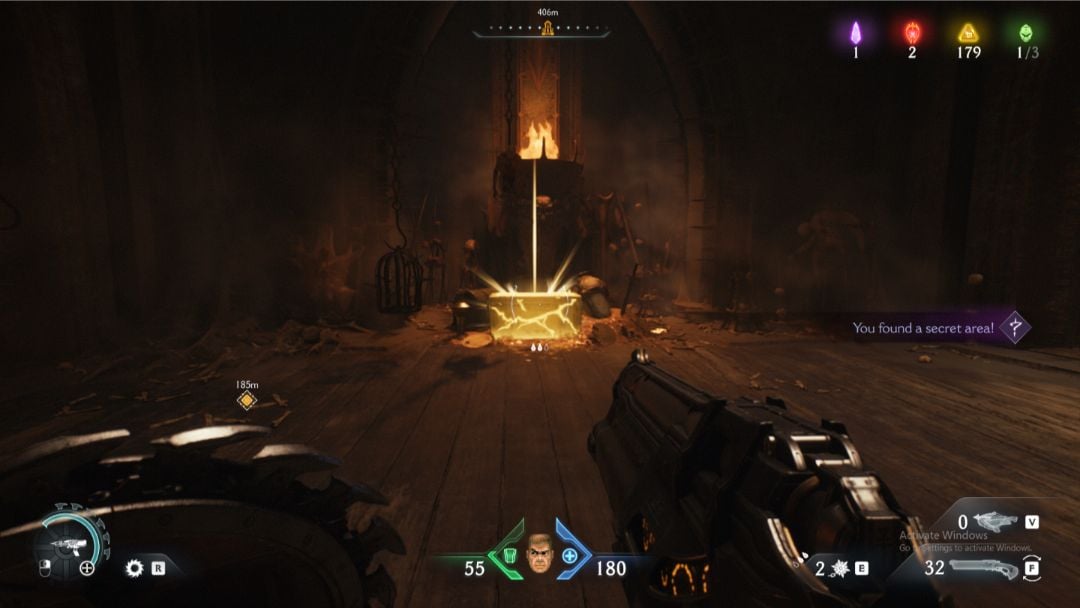
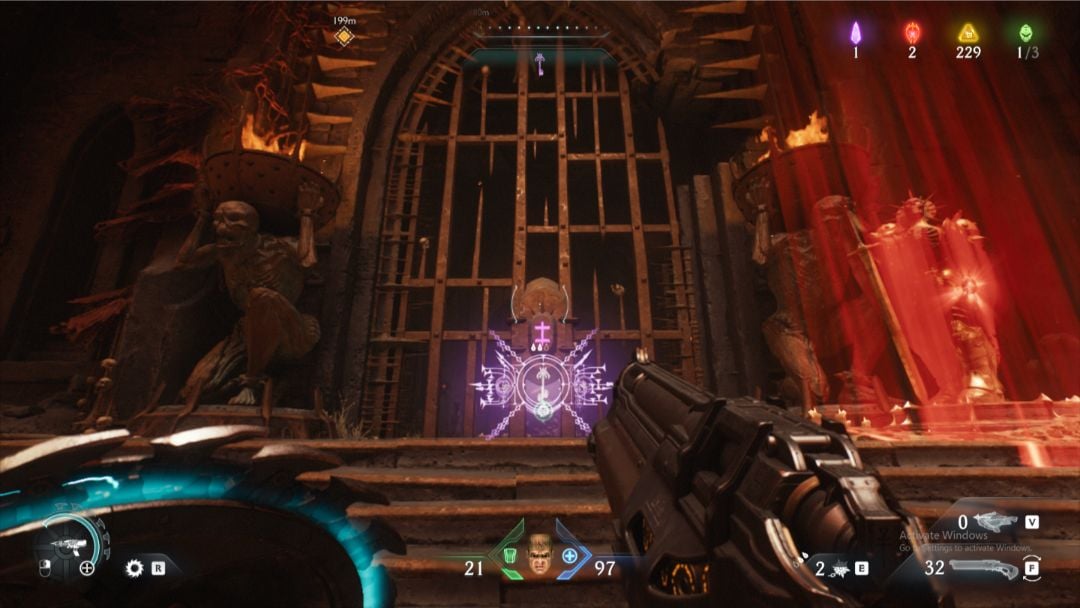
As you go through it, you will notice a bridge, at the end of which there is a Secret Key locked inside a cage on the far side.
Above the cage is a breakable gate—look up and use your Shield Throw to destroy it. Follow along the other side of the cage. Here, look upward again to spot a Green Flesh Node. Throw your shield at it to activate the launch mechanism, which will send you to the platform above.
Follow the trail of armor pickups and Gold pieces as you move around the upper structure. Eventually, you’ll encounter a Battle Knight ambush, which confirms you’re in the right area. Eliminate the Knight, then proceed to the broken gate from earlier.
Nearby, you’ll find a climbable wall that leads to a Gold Chest. Smash the chest to collect the gold.
After that, continue along the upper path until you reach the platform above the Secret Key.
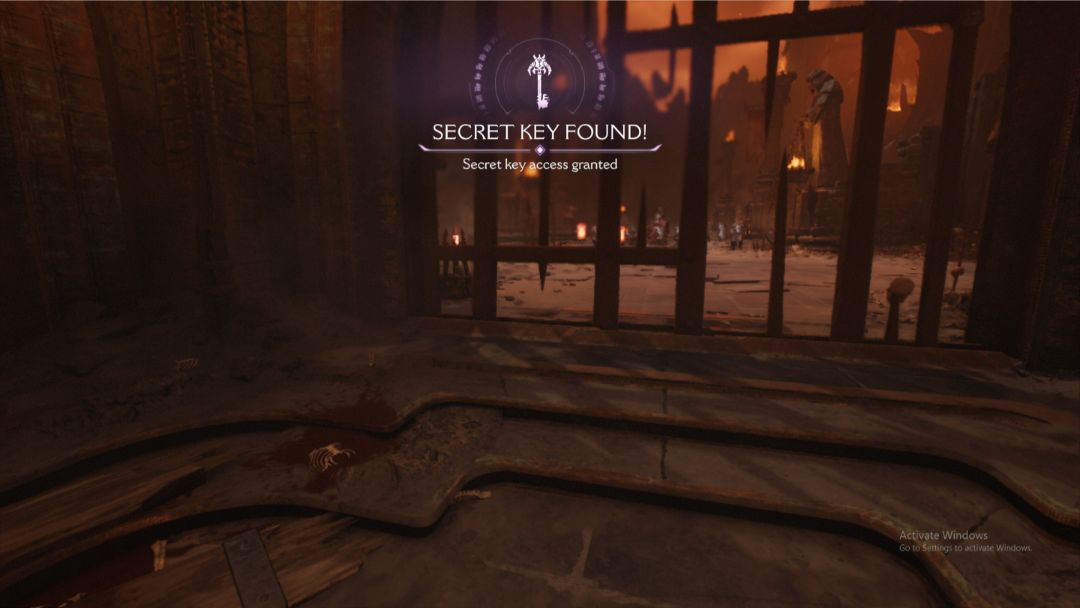
Drop down to collect the key and prepare for a heavy ambush.
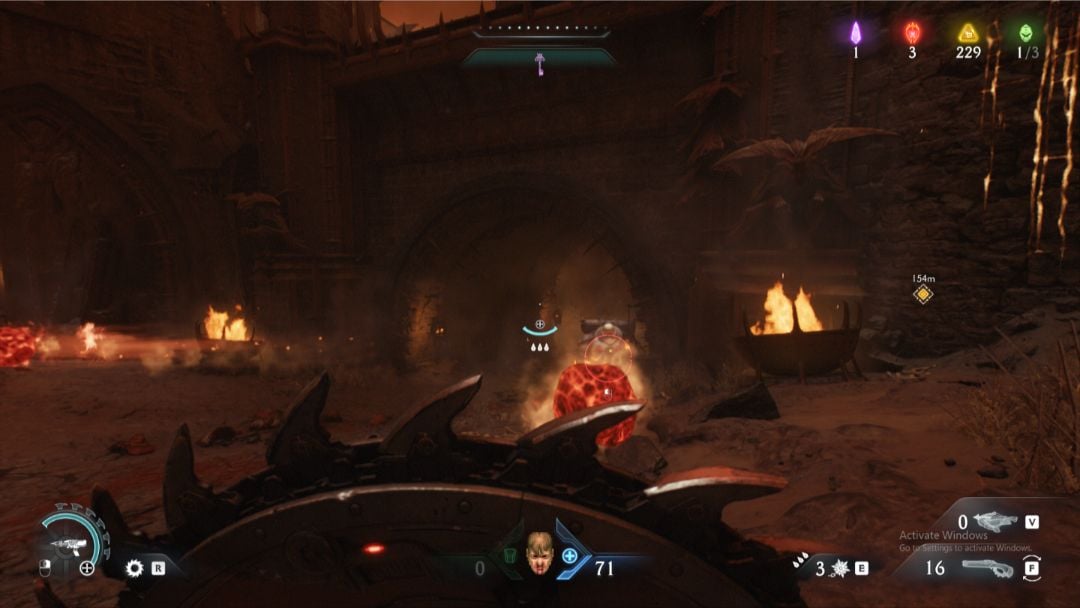
An entire demon army will spawn upon collecting the key, forcing a multi-phase combat sequence. Clear the enemies, cross the bridge again, and enter a tunnel leading toward the second cannon. Be prepared for a Mancubus jumpscare, followed immediately by another Mancubus blocking the exit. Eliminate both and continue forward to reach the second Hell Cannon arena.
Defeating the Cyberdemon and Acquiring the Atlan Core
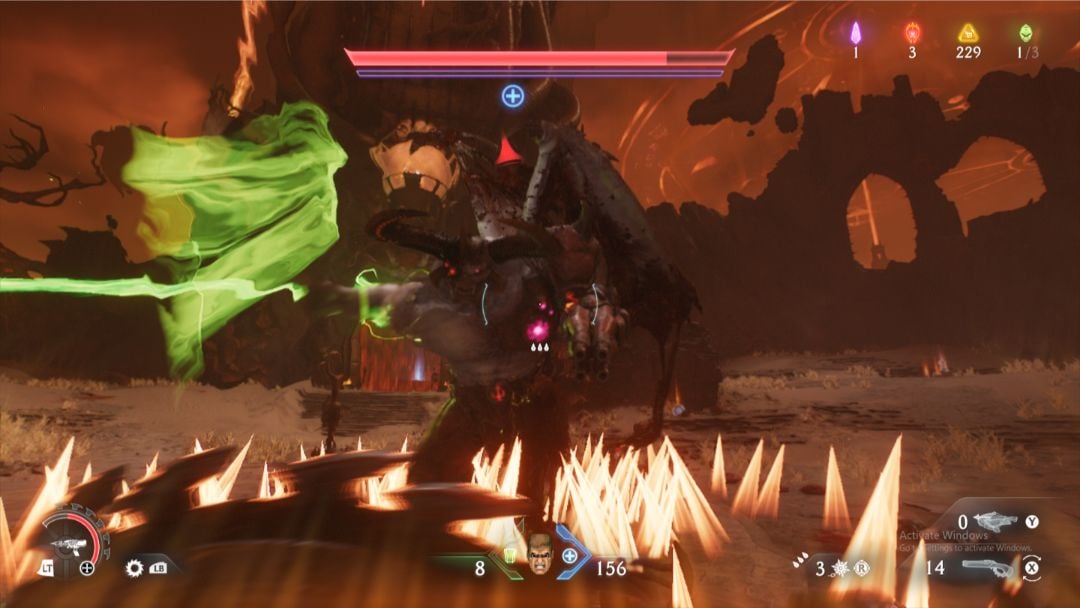
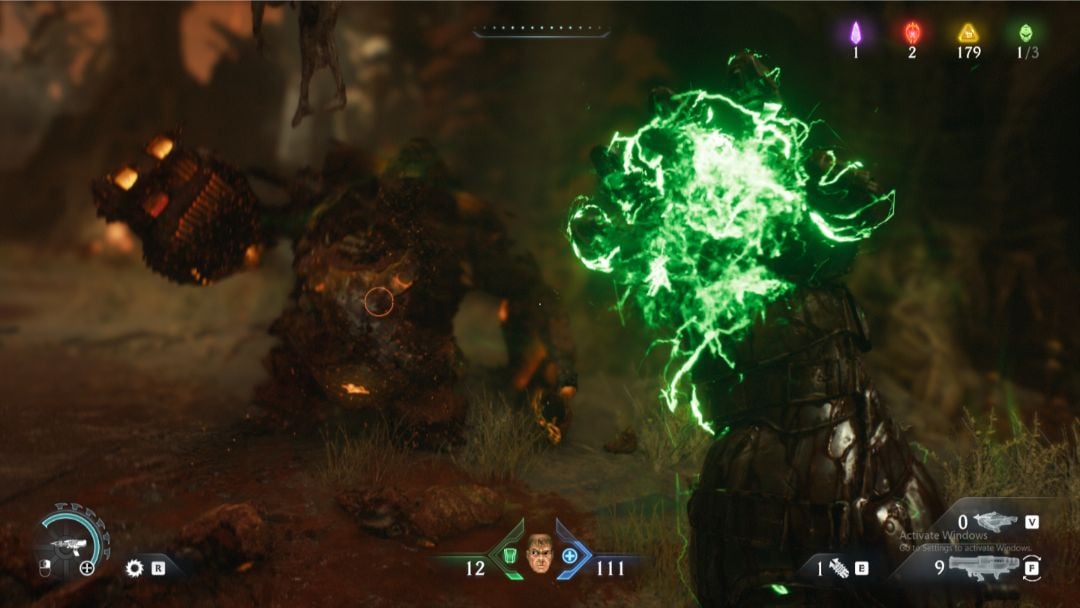
The second cannon is defended by a Cyberdemon Leader, who, like the previous boss, features both a morale and health bar. Clear the surrounding enemies to break his morale, then focus fire to bring him down.
Once defeated, you’ll earn a health upgrade and gain access to the second cannon. Use another Shield Charge on the core to destroy it.
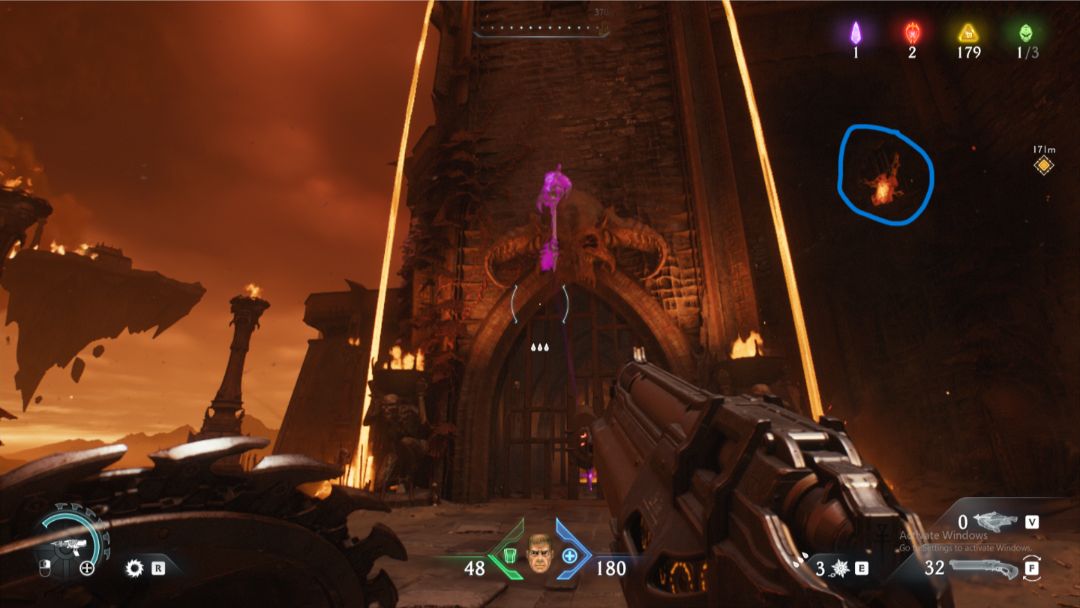
With both Hell Cannons disabled, a new objective is issued: "Obtain the Atlan Core". This power cell is located inside another fallen Atlan situated between the two cannon sites.
To reach it, use the nearby jump pad, which launches you across a ledge into a transitional zone.
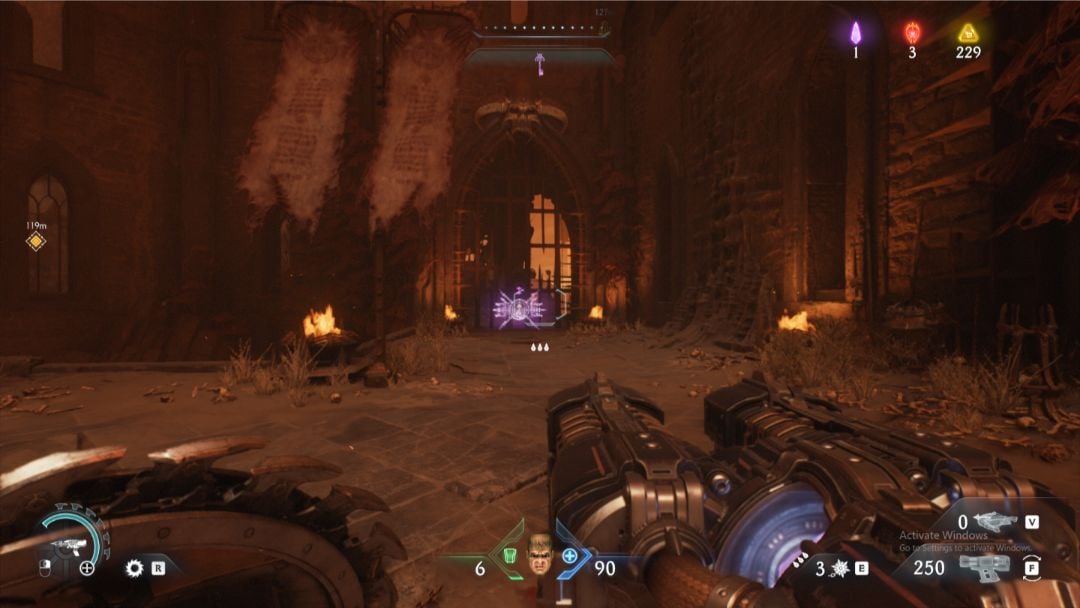
Proceed through an archway directly between the two destroyed cannons.
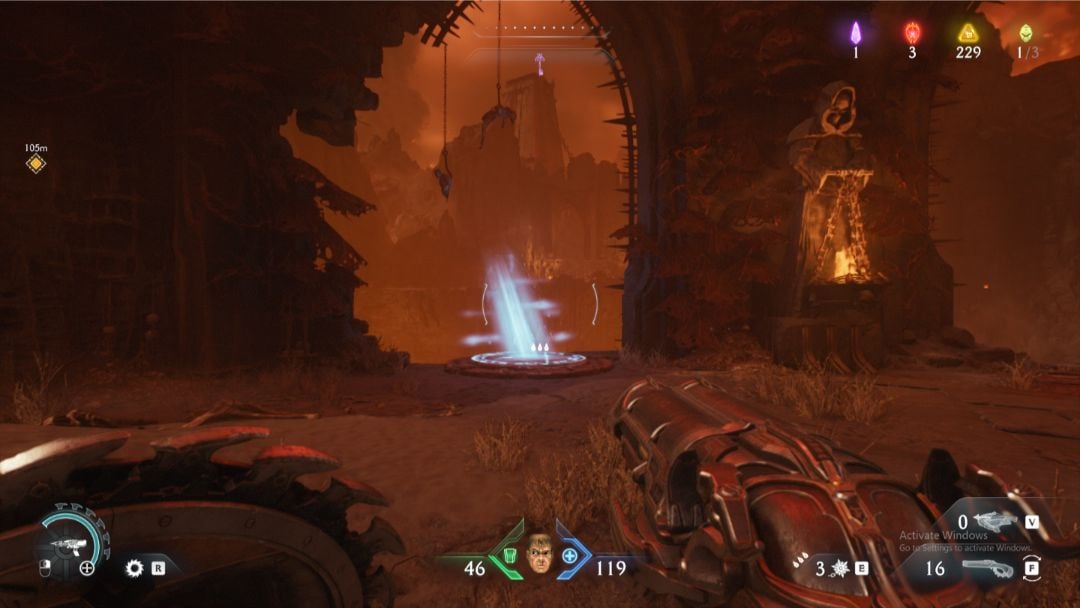
This leads to a Sentinel Shrine, guarded by several enemies. Clear them out to continue.

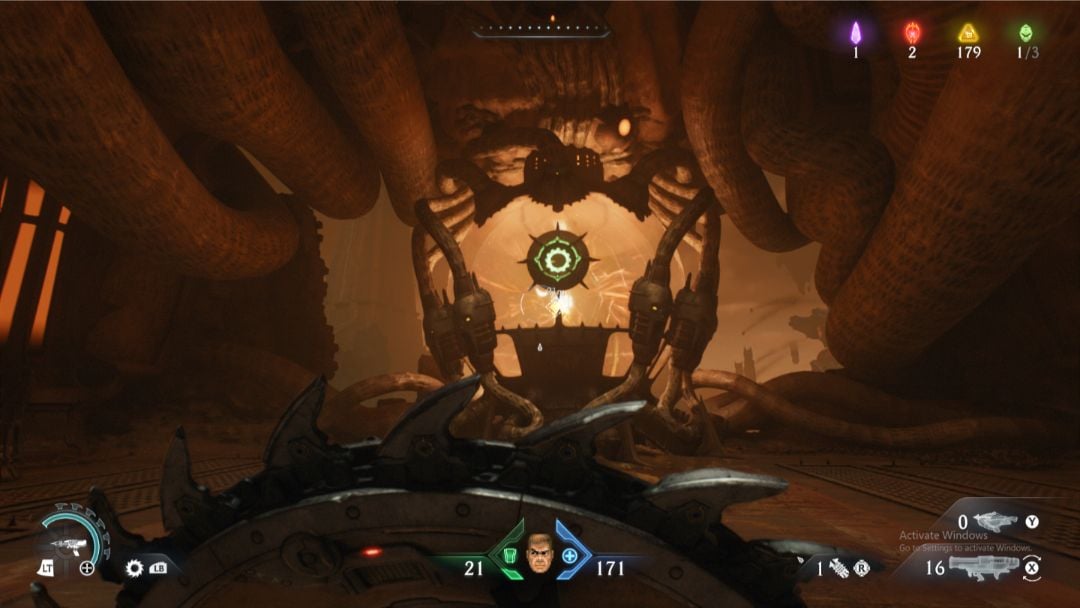
Behind the shrine lies a chamber housing the Atlan power core, but it’s protected by one of the tougher mini-encounters in the level.
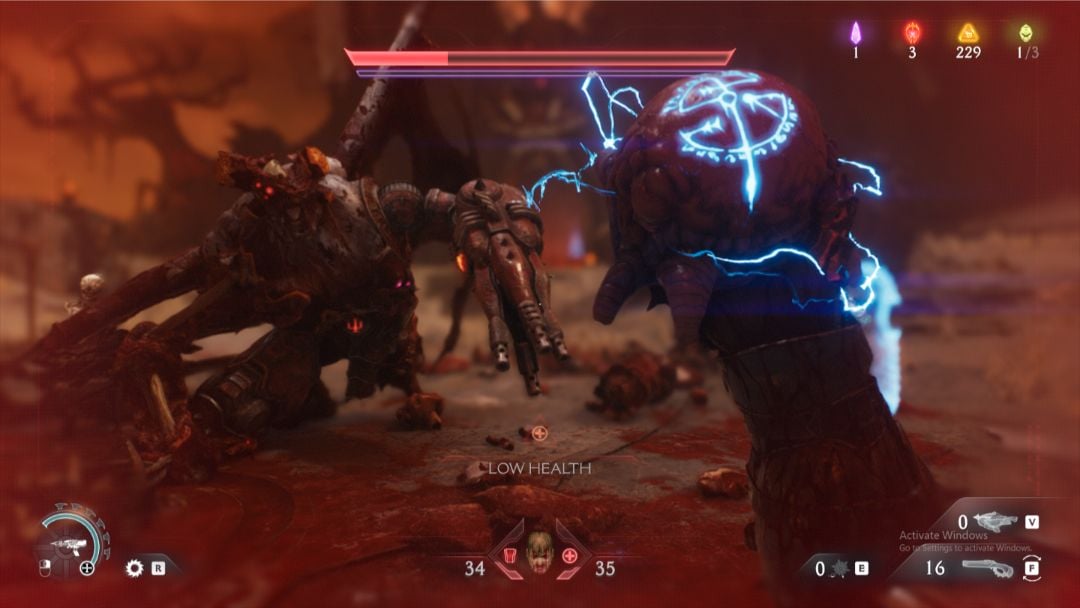
Expect multiple waves of demons culminating in a fight against a Vagary, supported by an Arachnotron. Focus on isolating the Vagary quickly—taking it down will finally reveal the core’s location. Interact with the core to pick it up and trigger the next major mission beat: "Kill Ahzark, Power Up Atlan."
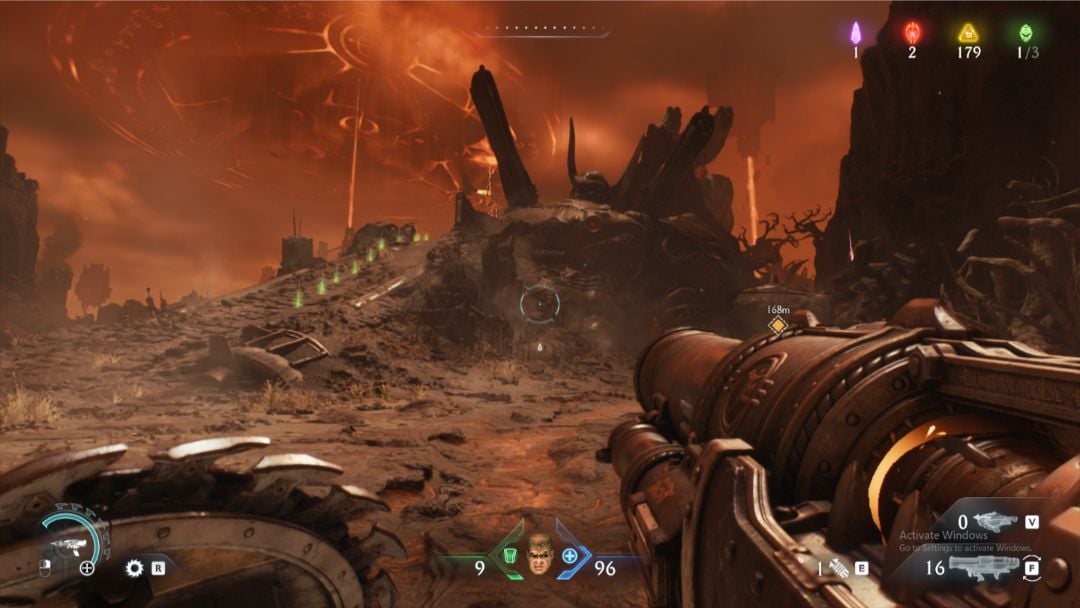
From here, your next step is to return to the fallen Atlan near the level's front gate—the one you first encountered after breaching the entrance at the start of the chapter. This will be a longer trek, but pay close attention to any secret doors you may have missed earlier. There are multiple hidden Rubies and a second Gore Nest tucked away near the entrance, offering worthwhile rewards if you’re aiming for 100% completion.
Powering Up the Atlan
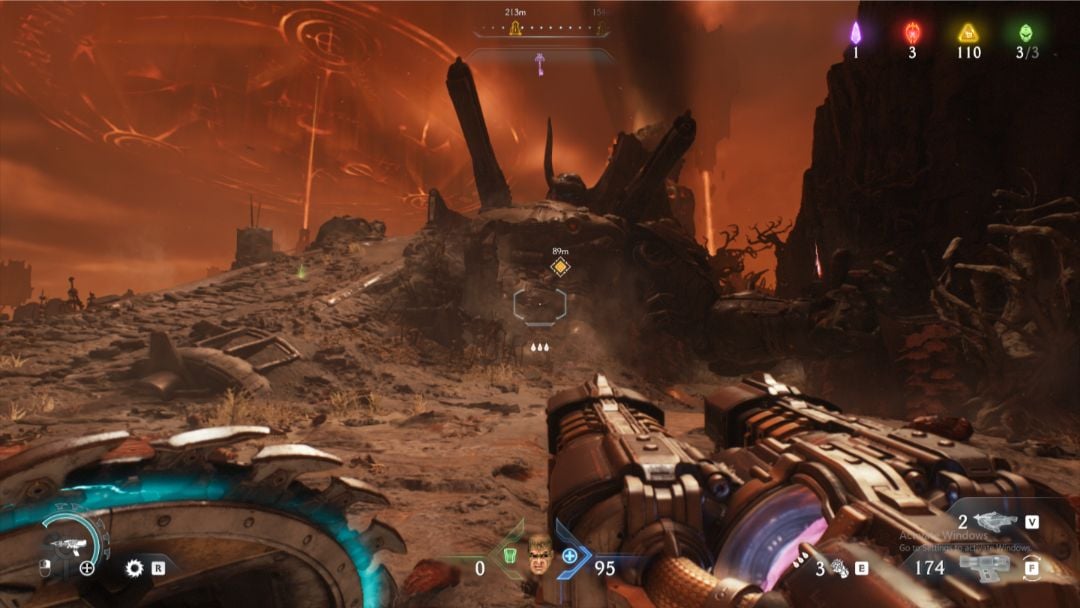
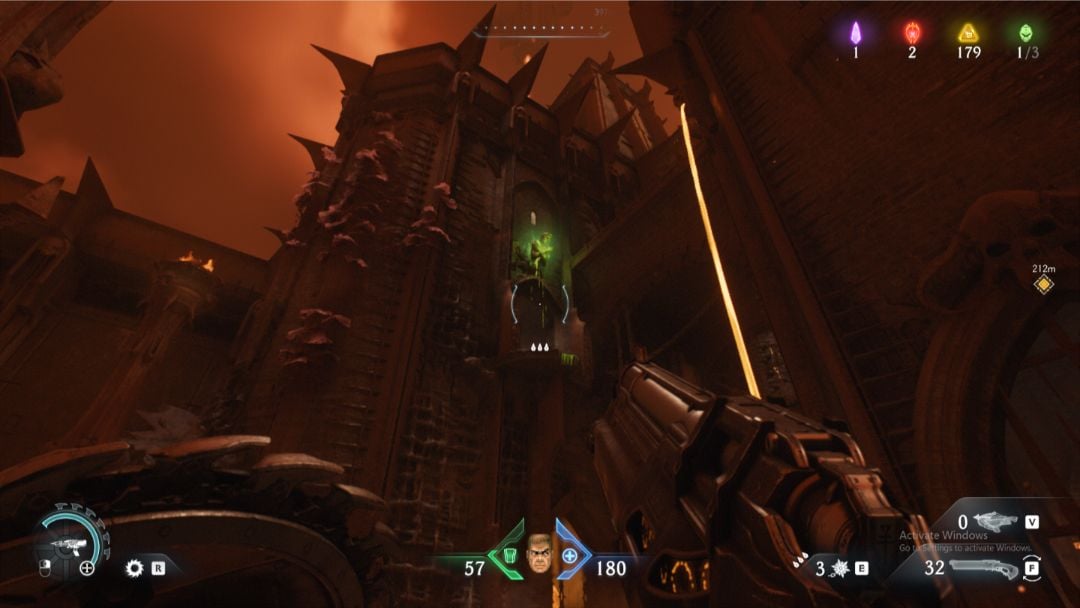
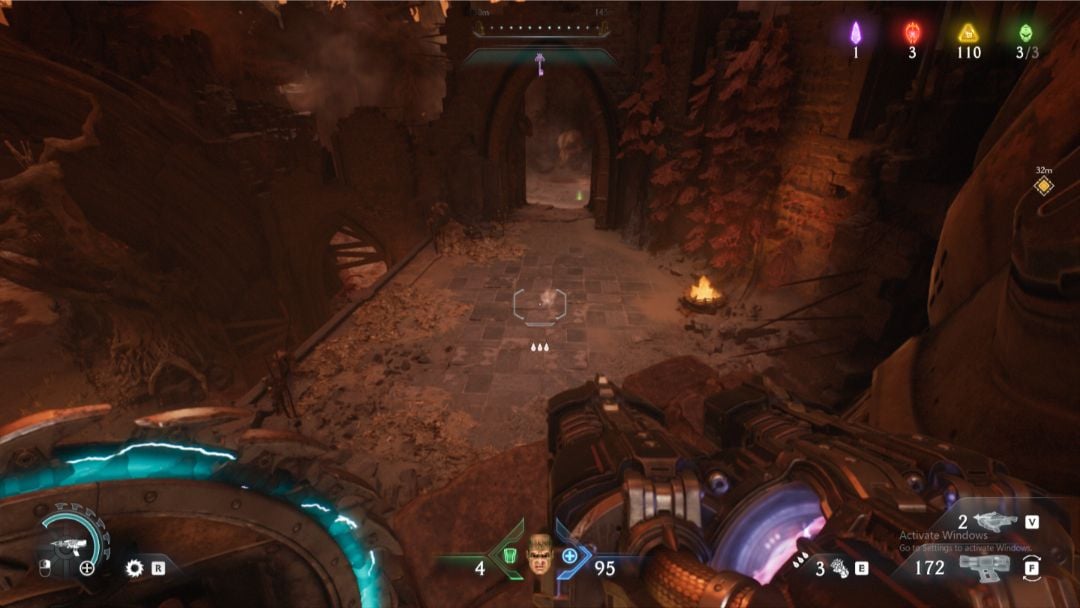
Returning to this earlier area, you’ll now face a more intense wave of opposition. Expect hordes of standard demons accompanied by two heavily armed tanks. This encounter is deliberately high-pressure, requiring solid resource management and strategic use of your heavier weapons. Once the enemies are cleared, make your way toward the Atlan’s arm—the one that previously had the armor trail—and begin your ascent.
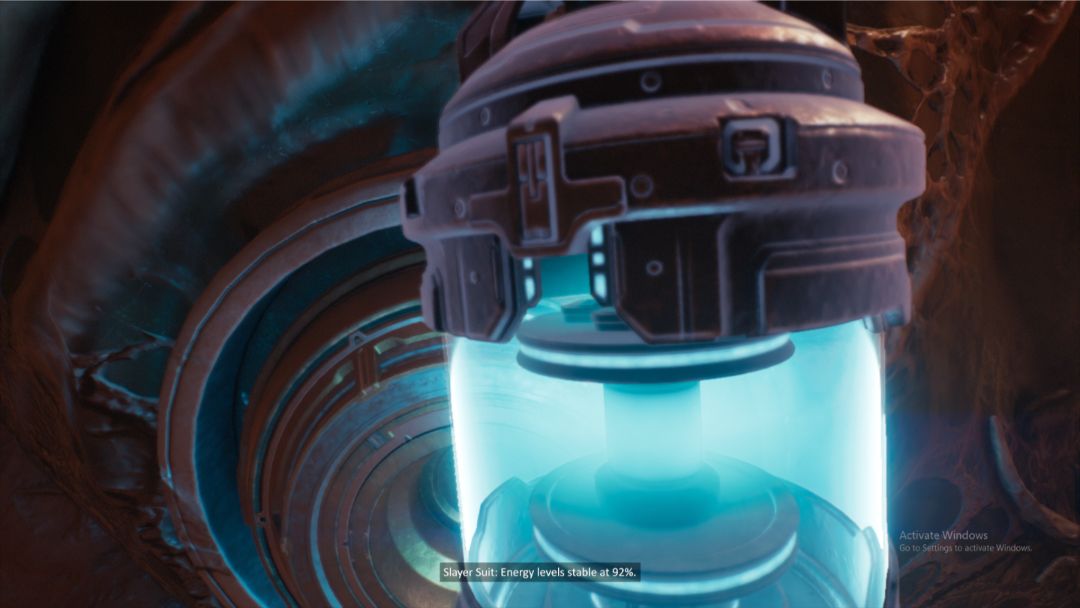
Climbing the Atlan’s arm leads you along a narrow, elevated path that winds upward toward the machine’s upper torso and head. Upon reaching the top, however, the progression becomes unclear. The objective marker indicates that you must proceed into the Atlan’s head, but there’s no visible path forward. This section causes confusion for many players, as it appears to be a dead end.
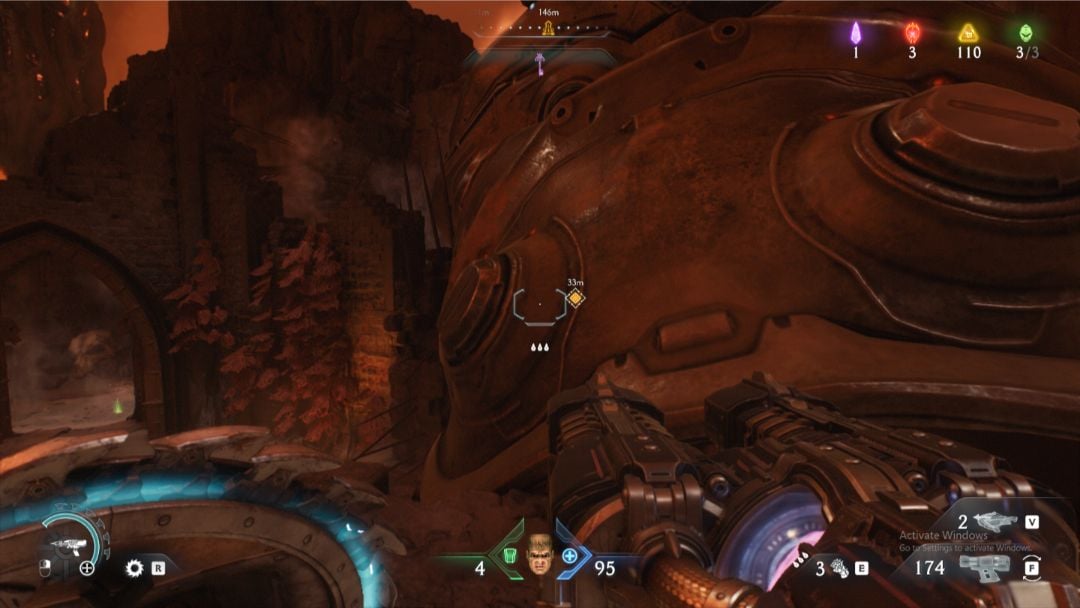
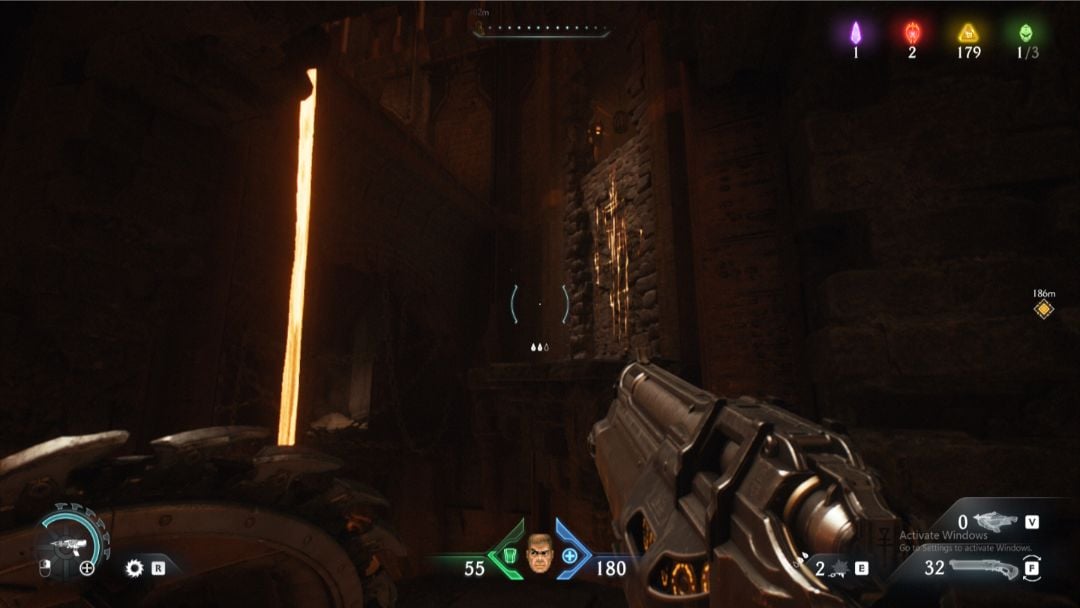
The solution lies just out of sight. From the top of the Atlan’s arm, instead of moving forward, look directly downward off the edge. There should be a landing right in front of you. This landing is key to continuing the objective and is easy to miss because it blends in with the rest of the level’s ground. Carefully drop straight down onto it. If you jump too much to the left, you risk falling back down to where you started and have to trek up the arm again.
Once on the lower platform, follow the path around the structure. A climbable wall is located just ahead. Use this wall to reach the final ledge where the Atlan’s power system is housed and will open as you approach it. Interacting with this station allows you to insert the recovered power cell and activate the Atlan, completing the objective and triggering the level’s end.

This section is easy to overcomplicate due to its unconventional level design and the lack of clear prompts. Many players lose time searching for alternate paths around the head or repeatedly falling off the arm, unaware of the drop beneath them.
Completing this objective not only powers up the Atlan but also marks the conclusion of Chapter 10. From here, you'll move directly into the next phase of the campaign, now equipped with your reactivated Atlan for whatever demonic forces lie ahead.