
From the moment you take on the big-headed beast known as The Artist early on in Control Resonant, it becomes clear that your experience will be punctuated by big fights against these grotesque bosses.
One of these bosses you will likely encounter early if you opt to explore Downtown first, is the Deserter Resonant, who can be found in the Patterned Factory.This boss is a tough one not only to fight, but to get to in the first place. So, to help you do that, here is our handy guide.
Quick Links
- Where Is The Deserter Resonant?
- How To Get To The Boss Room
- How To Prepare For The Fight
- How To Beat The Deserter
- Boss Rewards & Which To Choose
Where Is The Deserter Resonant?
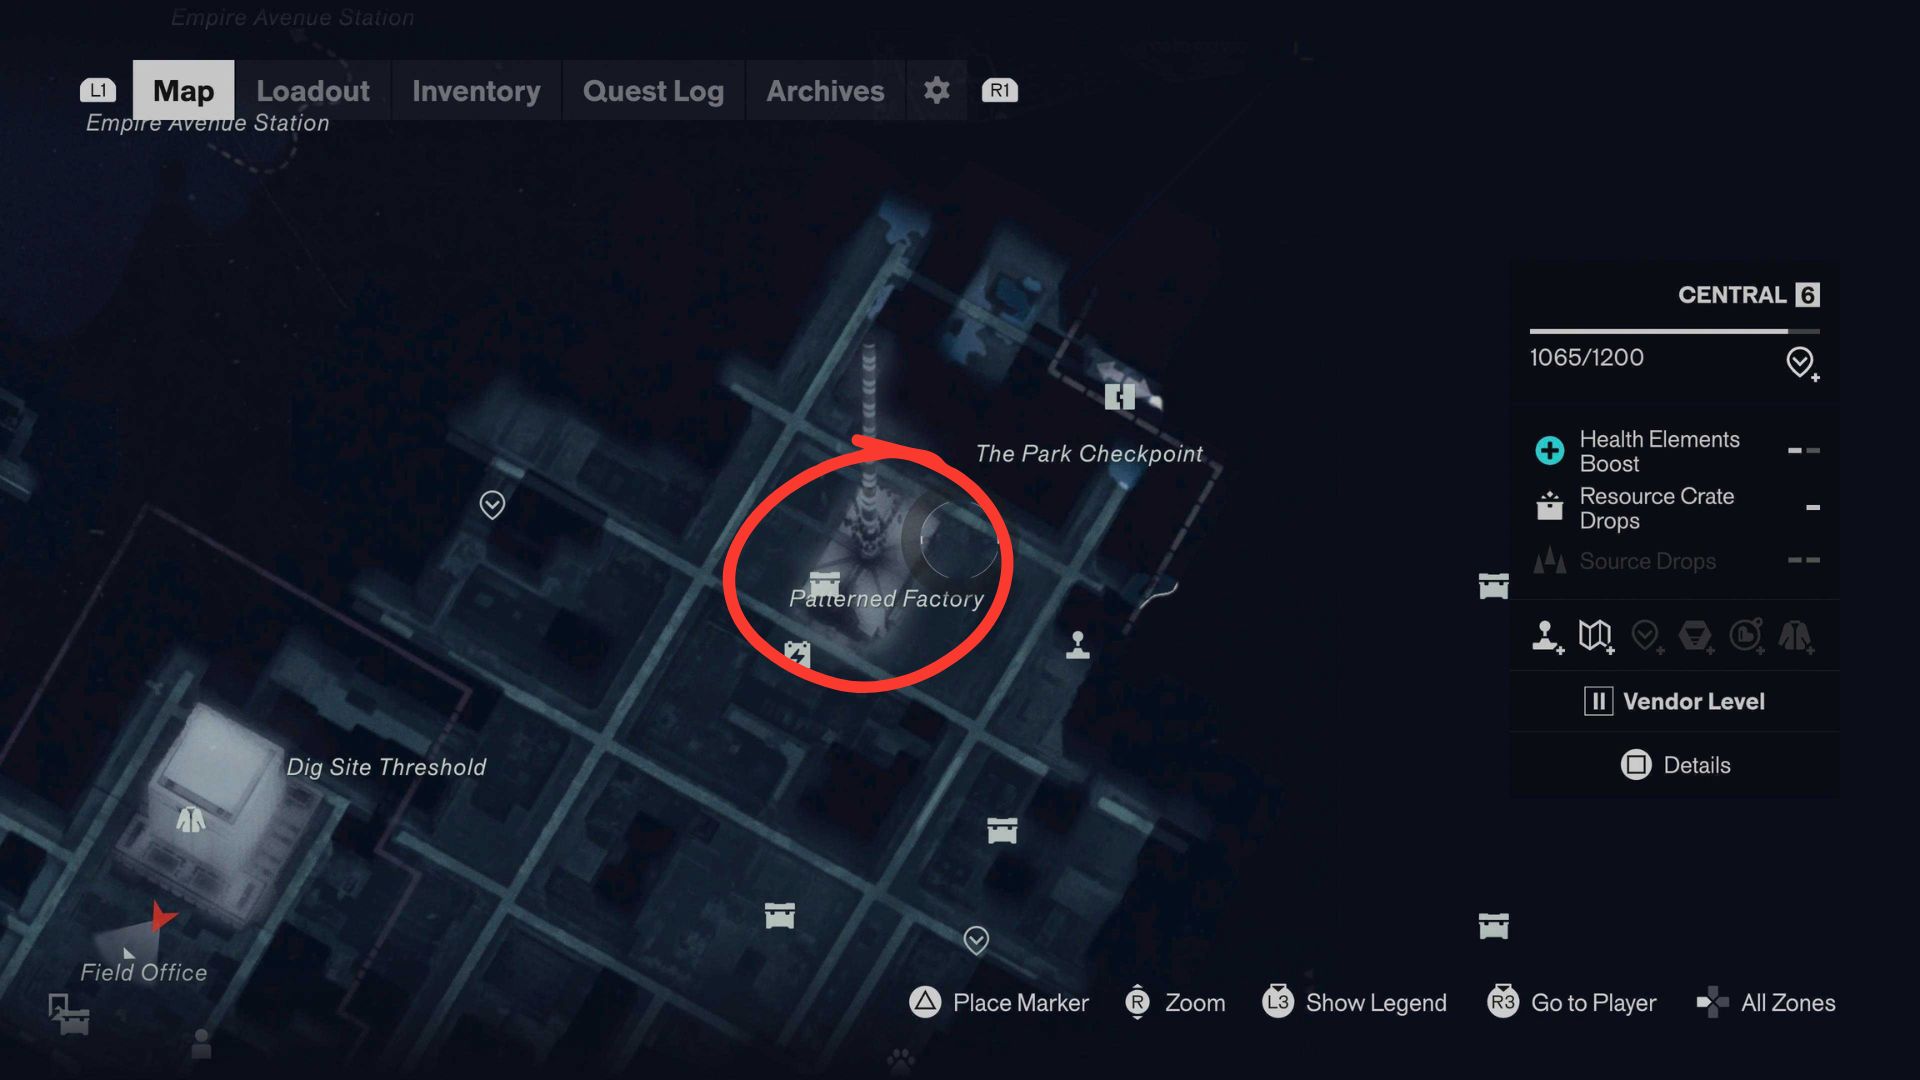
As mentioned, this boss can be found in the Patterned Factory, an area of downtown northwest of the Field Office, which is on the way to the Park Checkpoint.
The Resonant is inside, and to get inside this fiery cauldron, you'll need to head to a nearby pylon with some electrified cubes. Strike one, and then run to the right-hand side of the factory, where you will find a power conductor cube. Hit it, and you'll gain access to a room inside the factory.
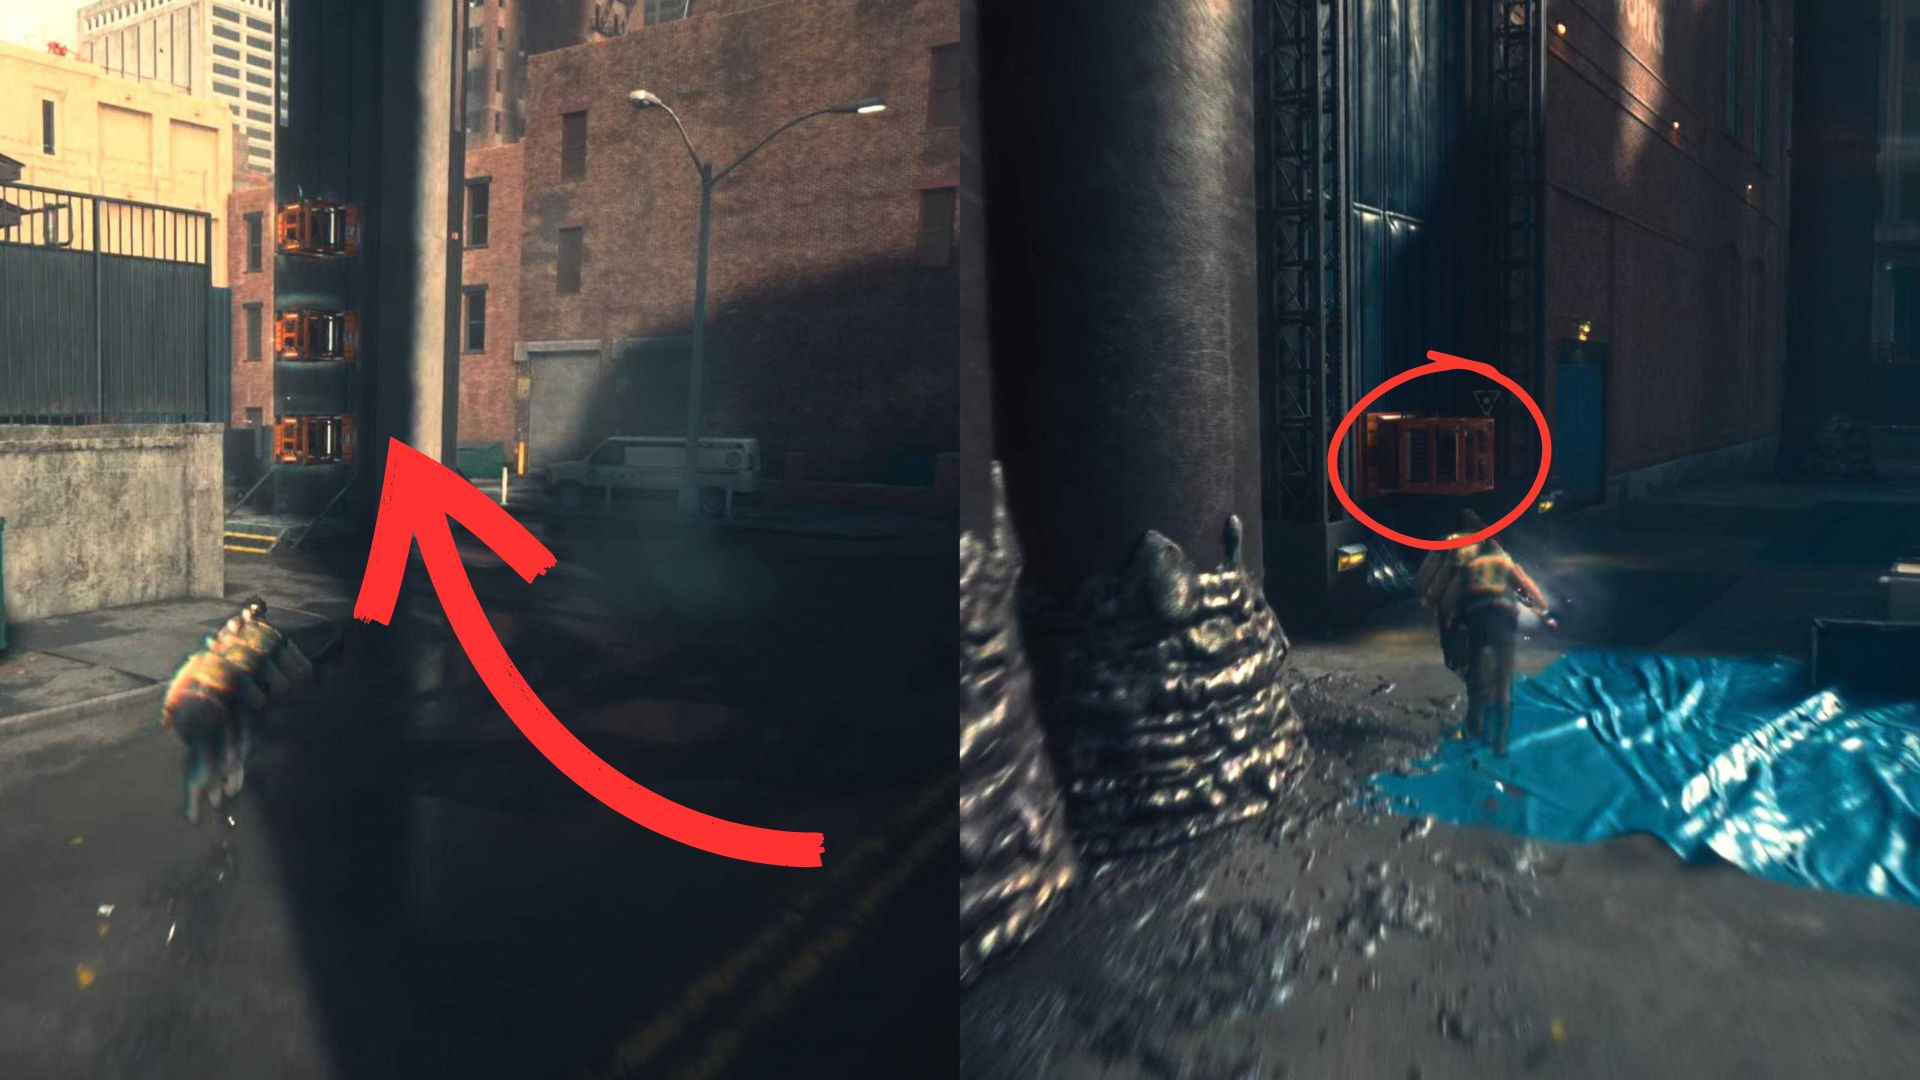
Clear the enemies inside, and then you can use a nearby elevator to head down into the heart of the factory.
How To Get To The Boss Room
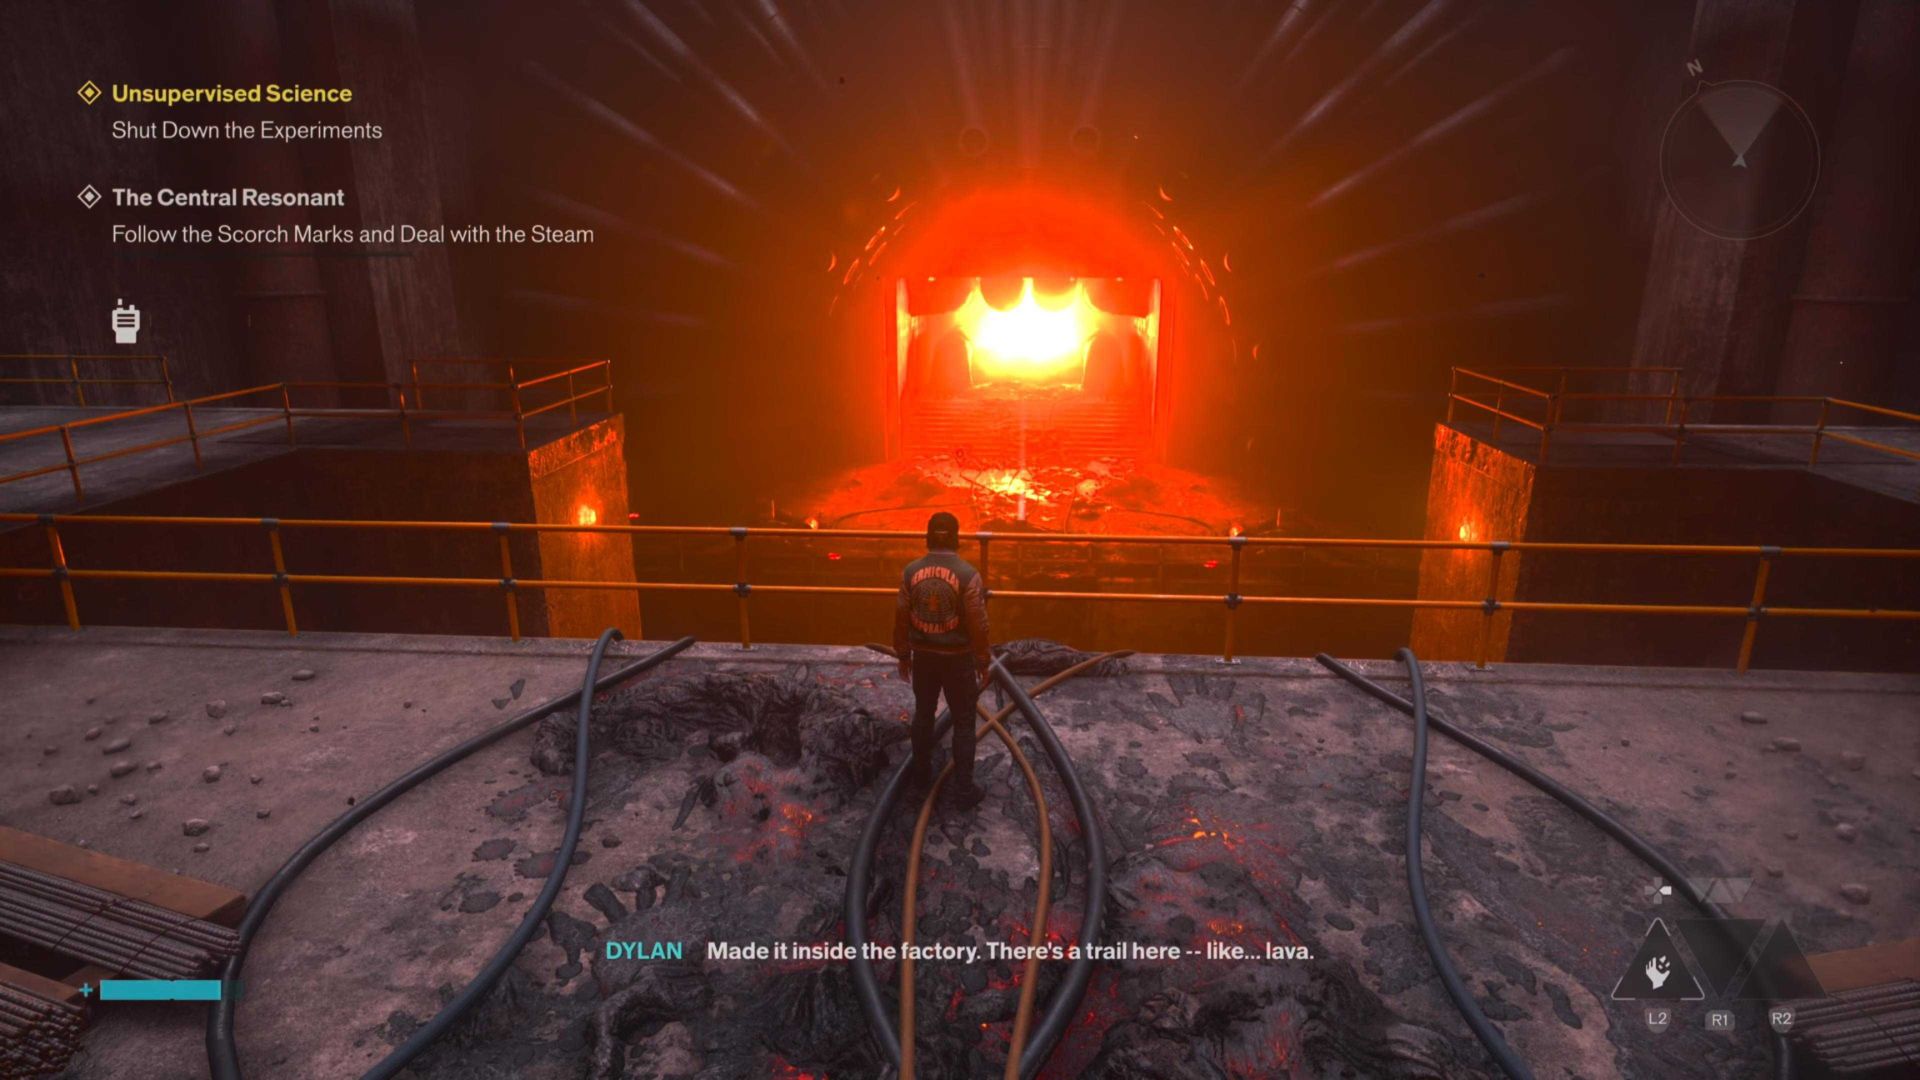
Once in the bowels of the factory, you'll come to a long staircase with an opening that is blocked by a constant flow of magma. Walk through and you'll die a violent death.
Your goal here is to investigate the two paths either side of the room behind the staircase, where you will need to find magma sacs, destroy them, and in turn, this will stop the flow of magma through the pipes, allowing you access to the boss room.
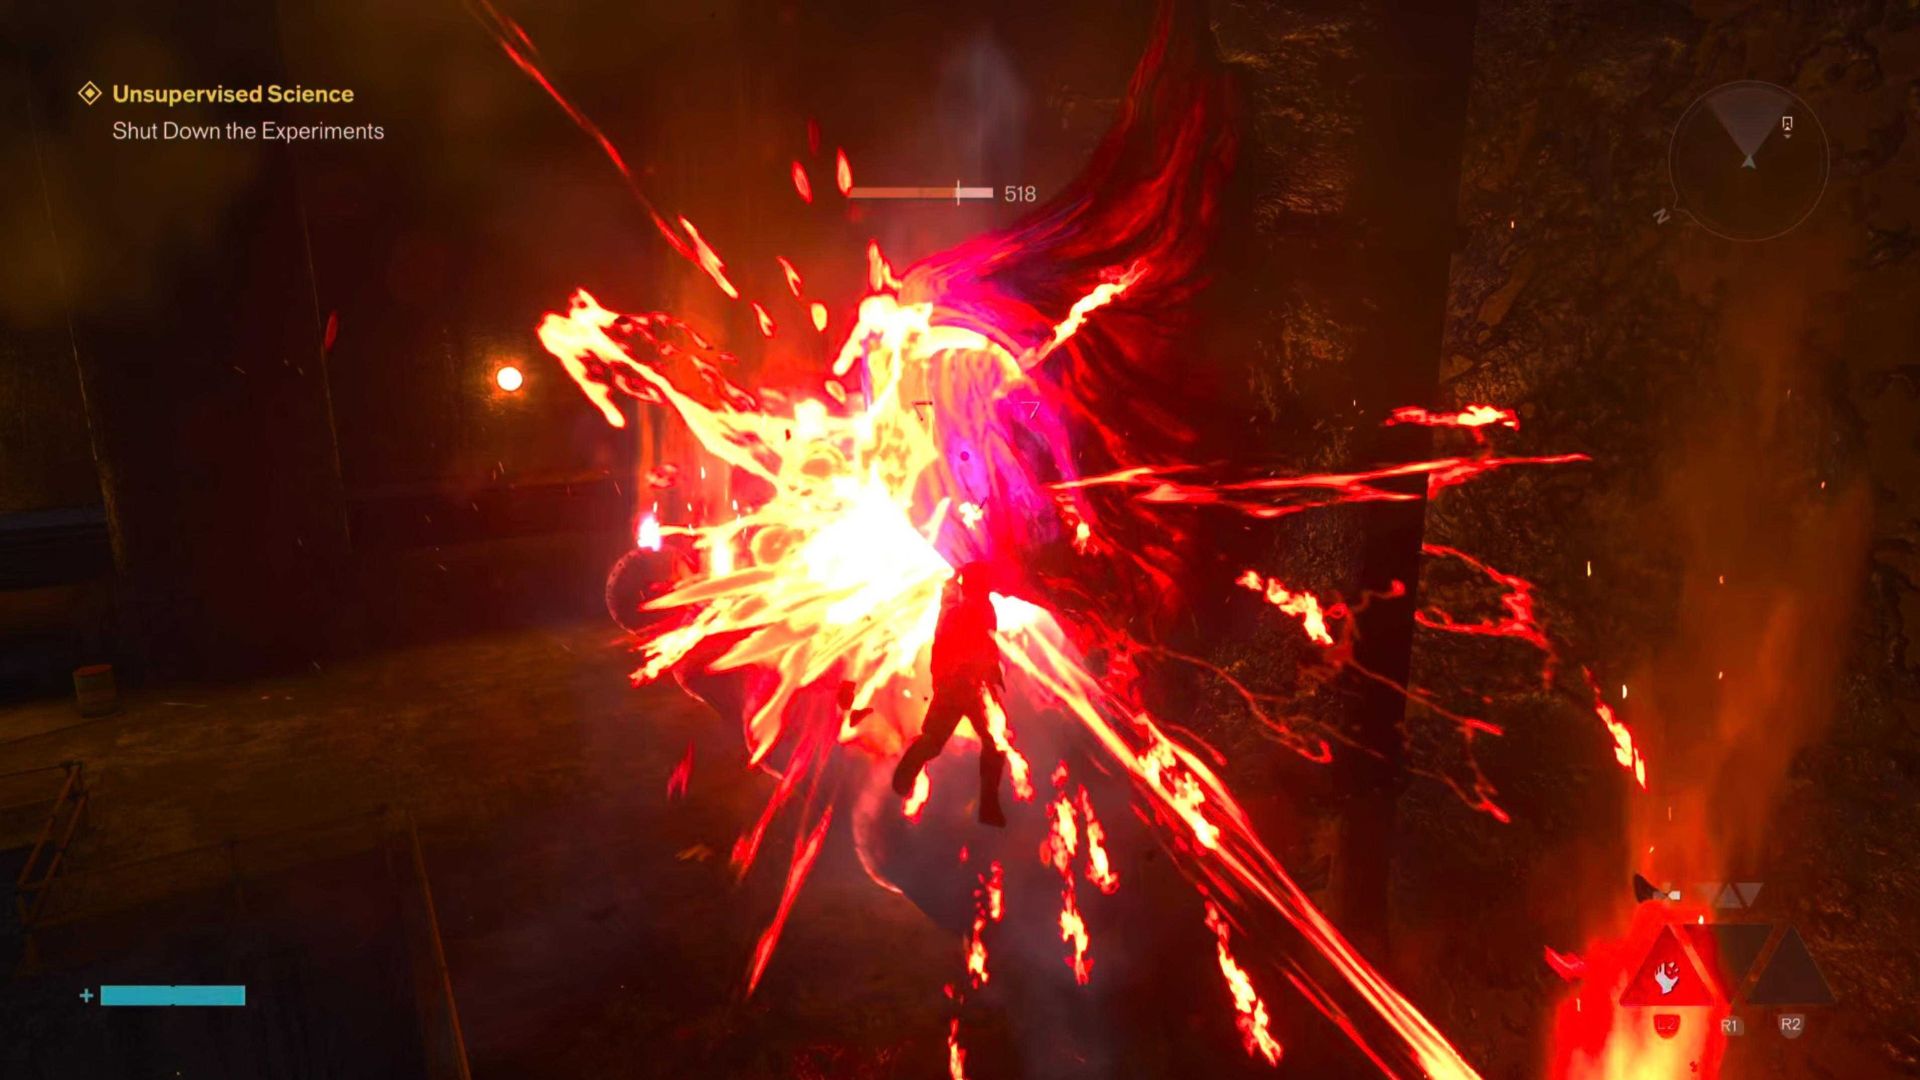
Along the way, you'll learn about Oscar Brook, a former FBC employee gone rogue, who has been living underground to get away from his old life. However, as you might have guessed, the cruel fate of becoming a Resonant was the only new life waiting for them down below.
How To Prepare For The Fight
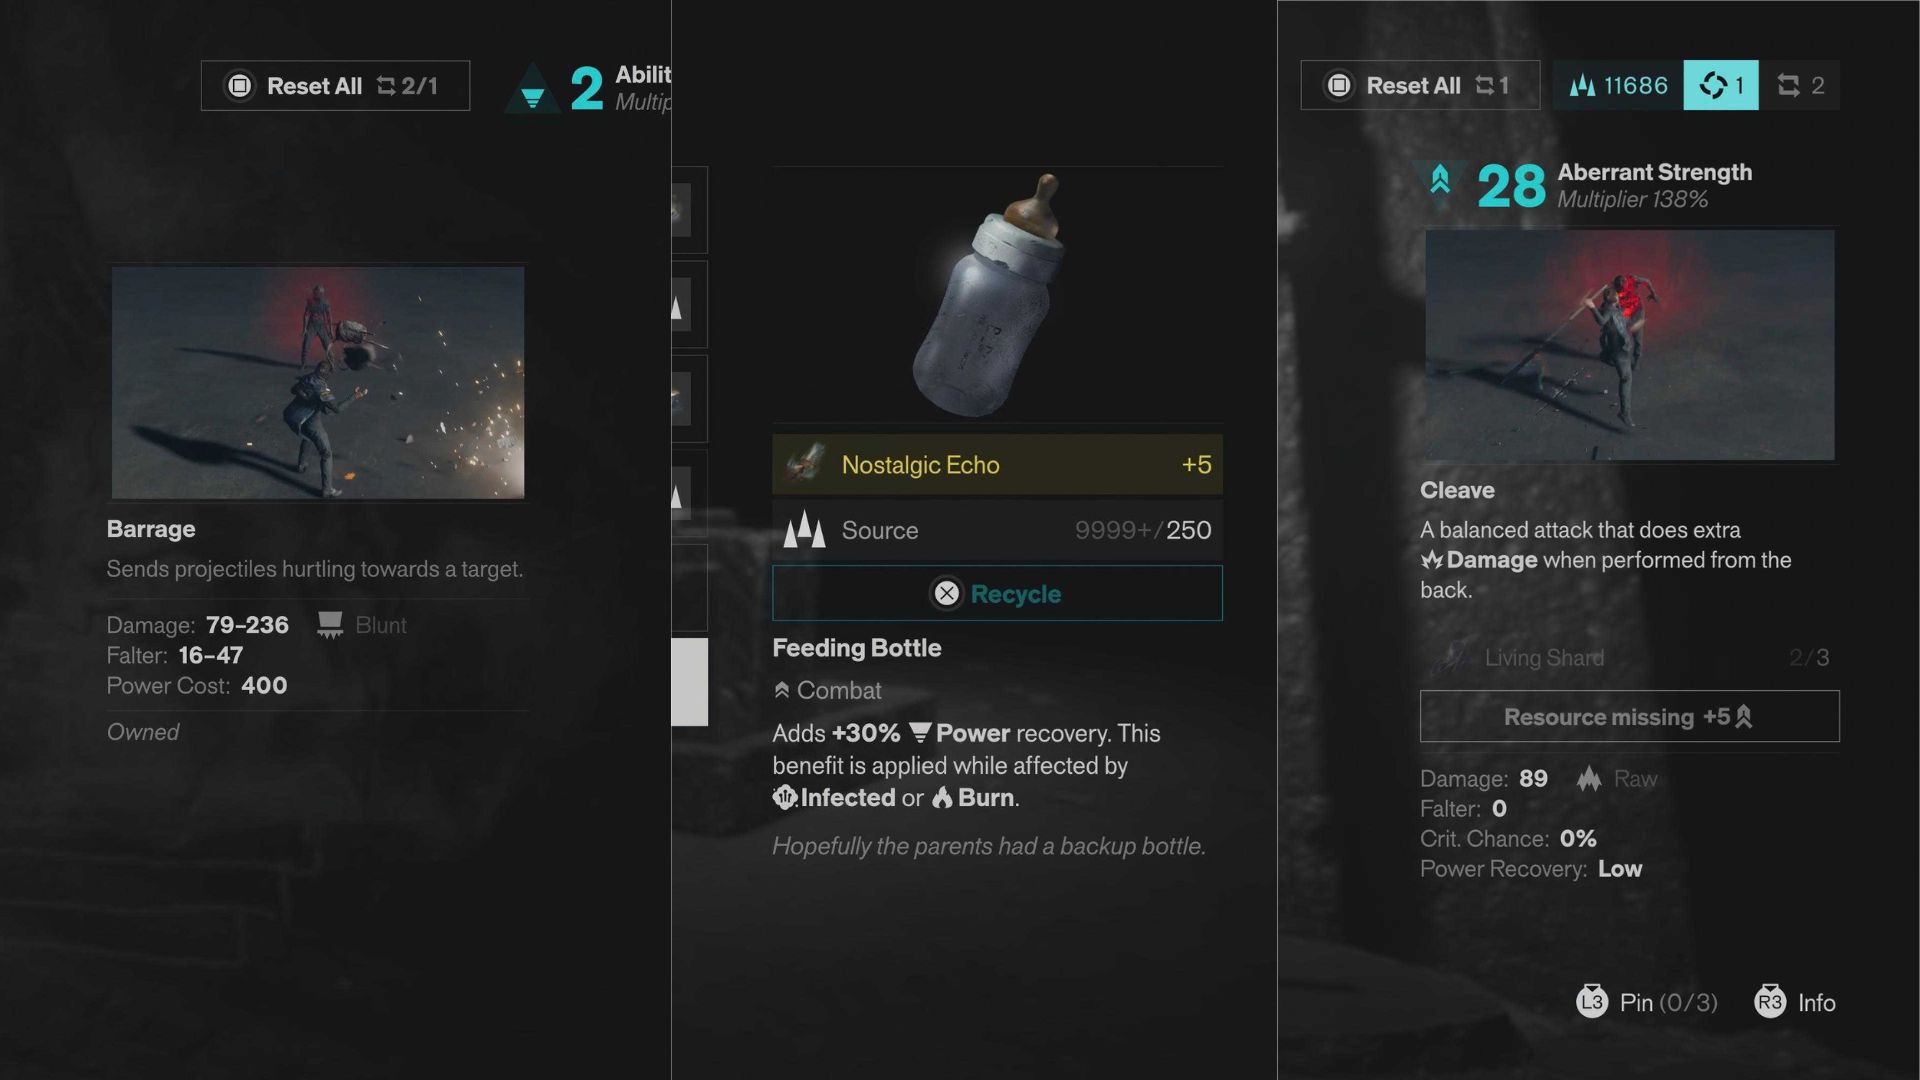
To prepare for this fight, you need to try and refine your early game build as best you can. We will assume that you'll either take this fight on first or second in terms of Resonants, perhaps after the Dancer fight at the latest.
So, we will be working with upgrades, items, and power-ups that can be feasibly obtained within Downtown, Central and the West Insurrection Zone. Here is how we would recommend you set up for this fight:
| Build Category | Recommendation |
| Minimum Level | 5+ |
| Recommended Aberrant Strength | 25+ |
| Aberrant Form — Primary | Cleave |
| Aberrant Form — Secondary | Drill |
| Aberrant Form — Combo | Concussive Beatdown |
| Aberrant Ability | Barrage |
| Artifacts | Badge 11-60, Practice Knot, Feeding Bottle |
The logic behind this build is to deal as much damage as possible to the enemy while they are incapacitated, and to make every individual hit count. While also being able to generate power, use ranged attacks when the enemy is on the offensive, and negate fire damage as much as possible.
How To Beat The Deserter
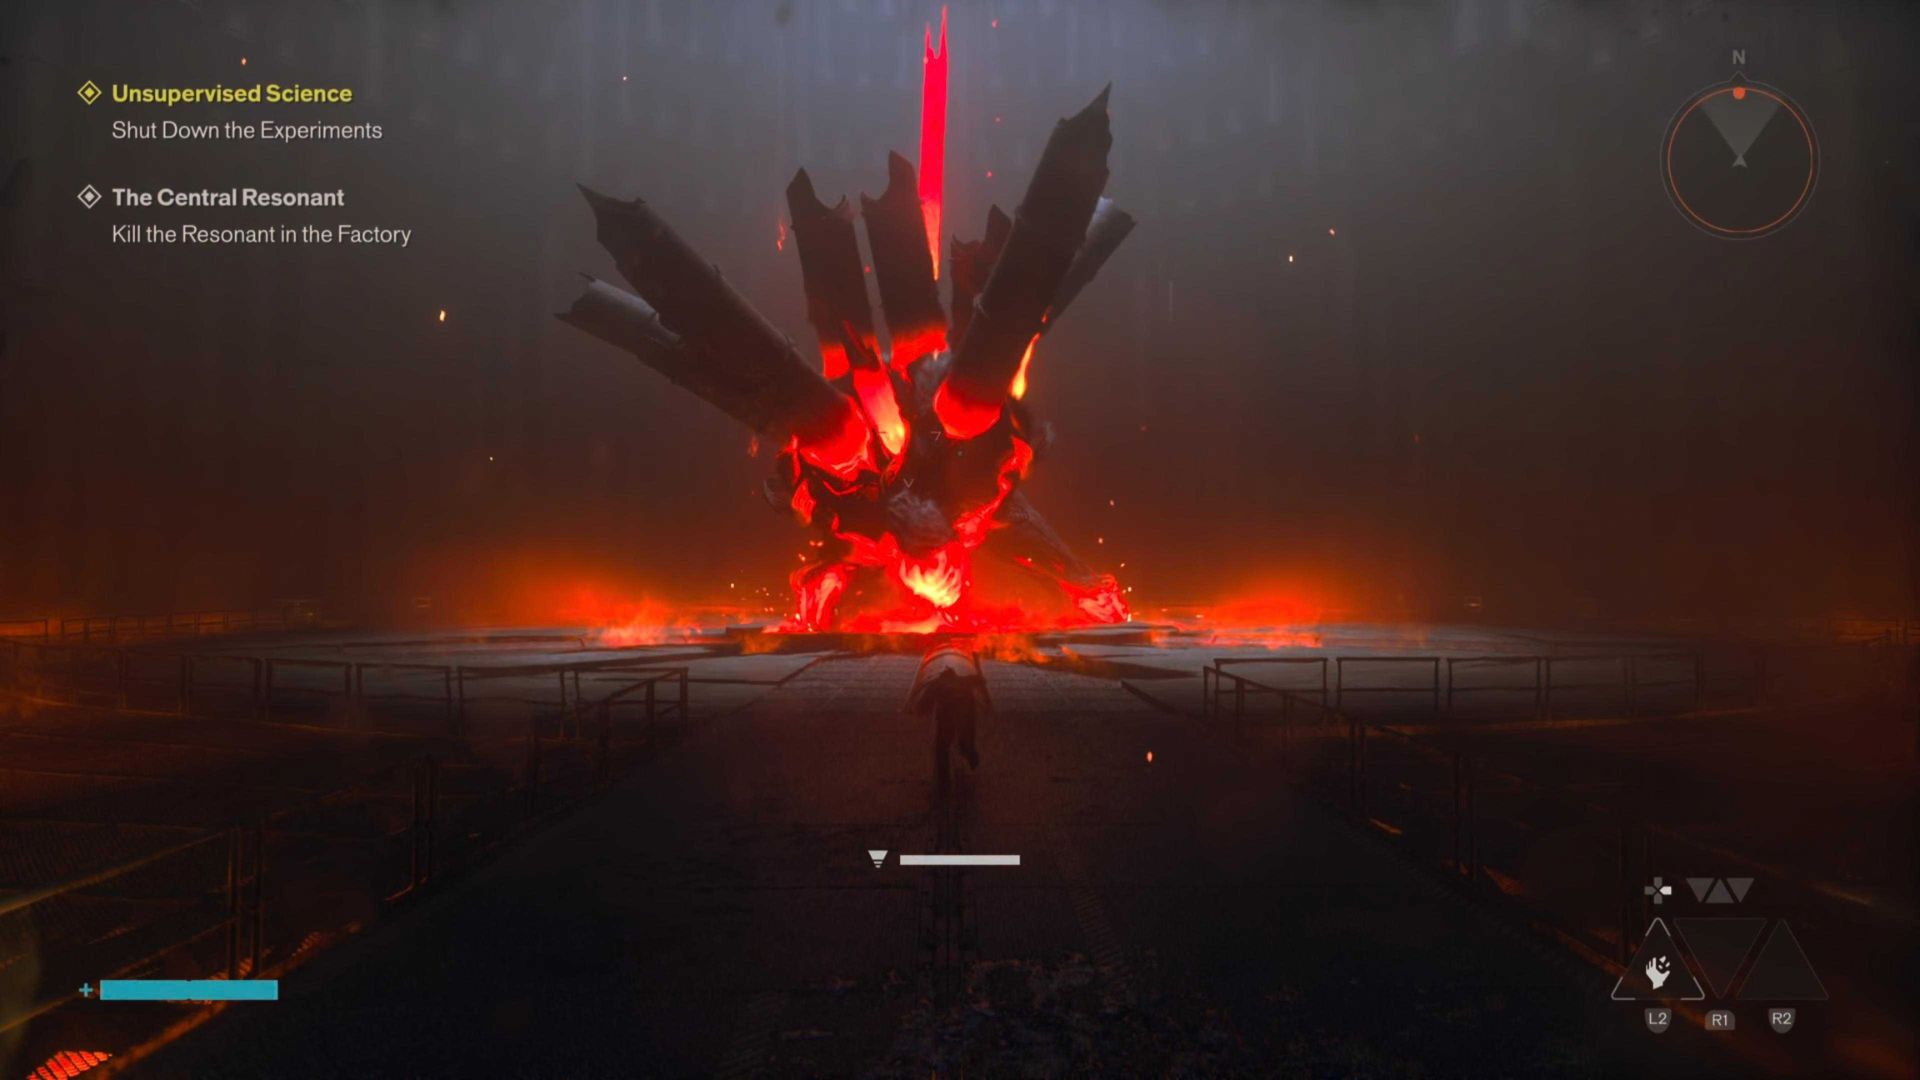
When it comes to fighting the Deserter, it really is a war of attrition, as this boss is quite easy to avoid, but they also happen to have one of the bulkiest HP bars you'll come across, and rely on status effects to wear you down.
The battle will usually start with the boss using a lava spew attack. This will follow the player, meaning the best course of action is to use Rush to run around the arena until the boss stops spewing lava.
At the end of every attack, the best thing you can do is get behind them, jump off the ground, and attack repeatedly. Then, when they retaliate, it's best to dash in midair to get away from any lava on the ground, and use Barrage from a distance to keep whittling down their health.
Another attack you need to be wary of is their falling attack, which will see them on their knees before falling full force in front of themselves. This is easily avoided, and presents a great chance to attack them while they are facedown.
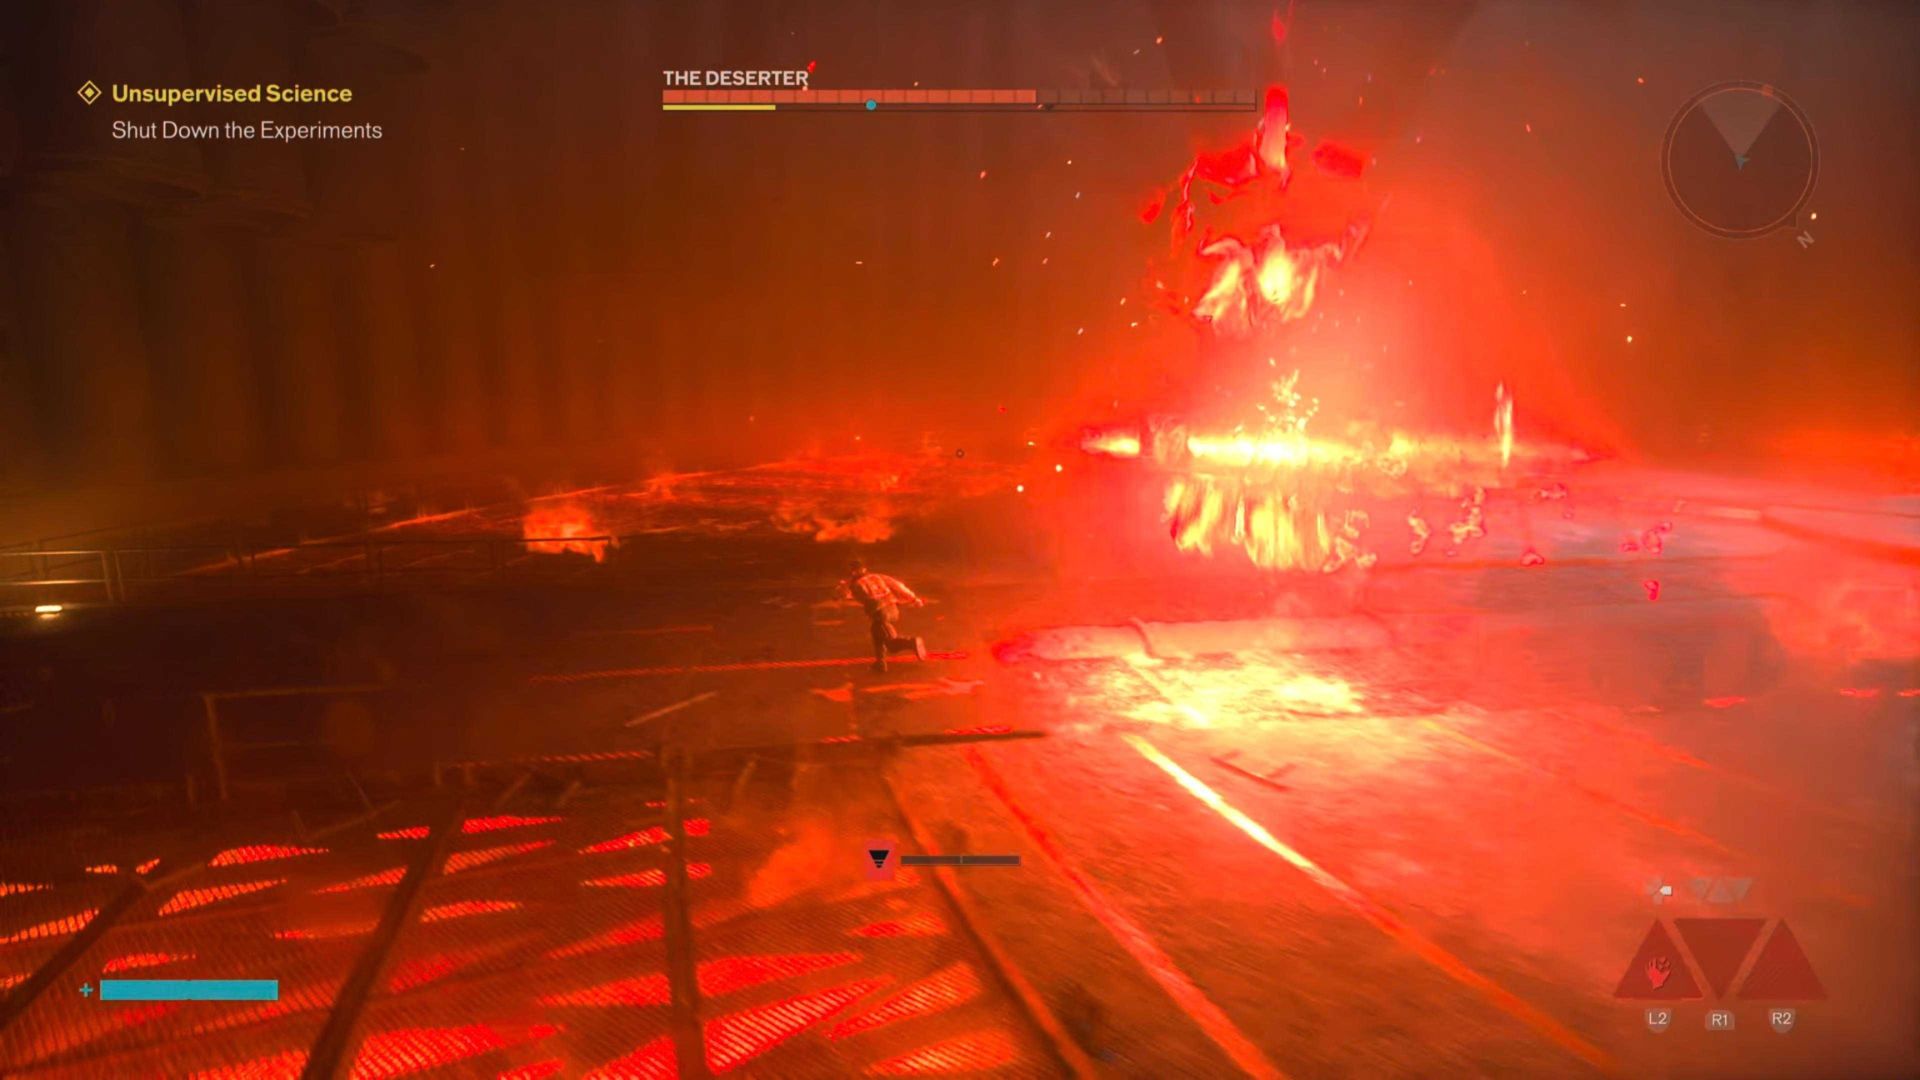
The fight changes ever so slightly after you reach their first HP refill, as they will gain a new attack, where they will launch fiery projectiles at you. They will launch three of these, and your ideal response is to avoid the first two, and then near-dodge the final one to deal additional retaliation damage.
They also gain a stab attack where they will stab two hot pokers at you if you're attacking them head-on. However, I found them to be wildly inaccurate, not to mention attacking from behind is preferred here, so this is less of an issue.
The final phase is where this boss really starts to turn up the heat. Quite literally. As they will create four magma sacs around the arena with a fire trail environmental hazard for each one. The only way to get rid of these is to destroy these sacs, so this should be your main priority as this phase begins.
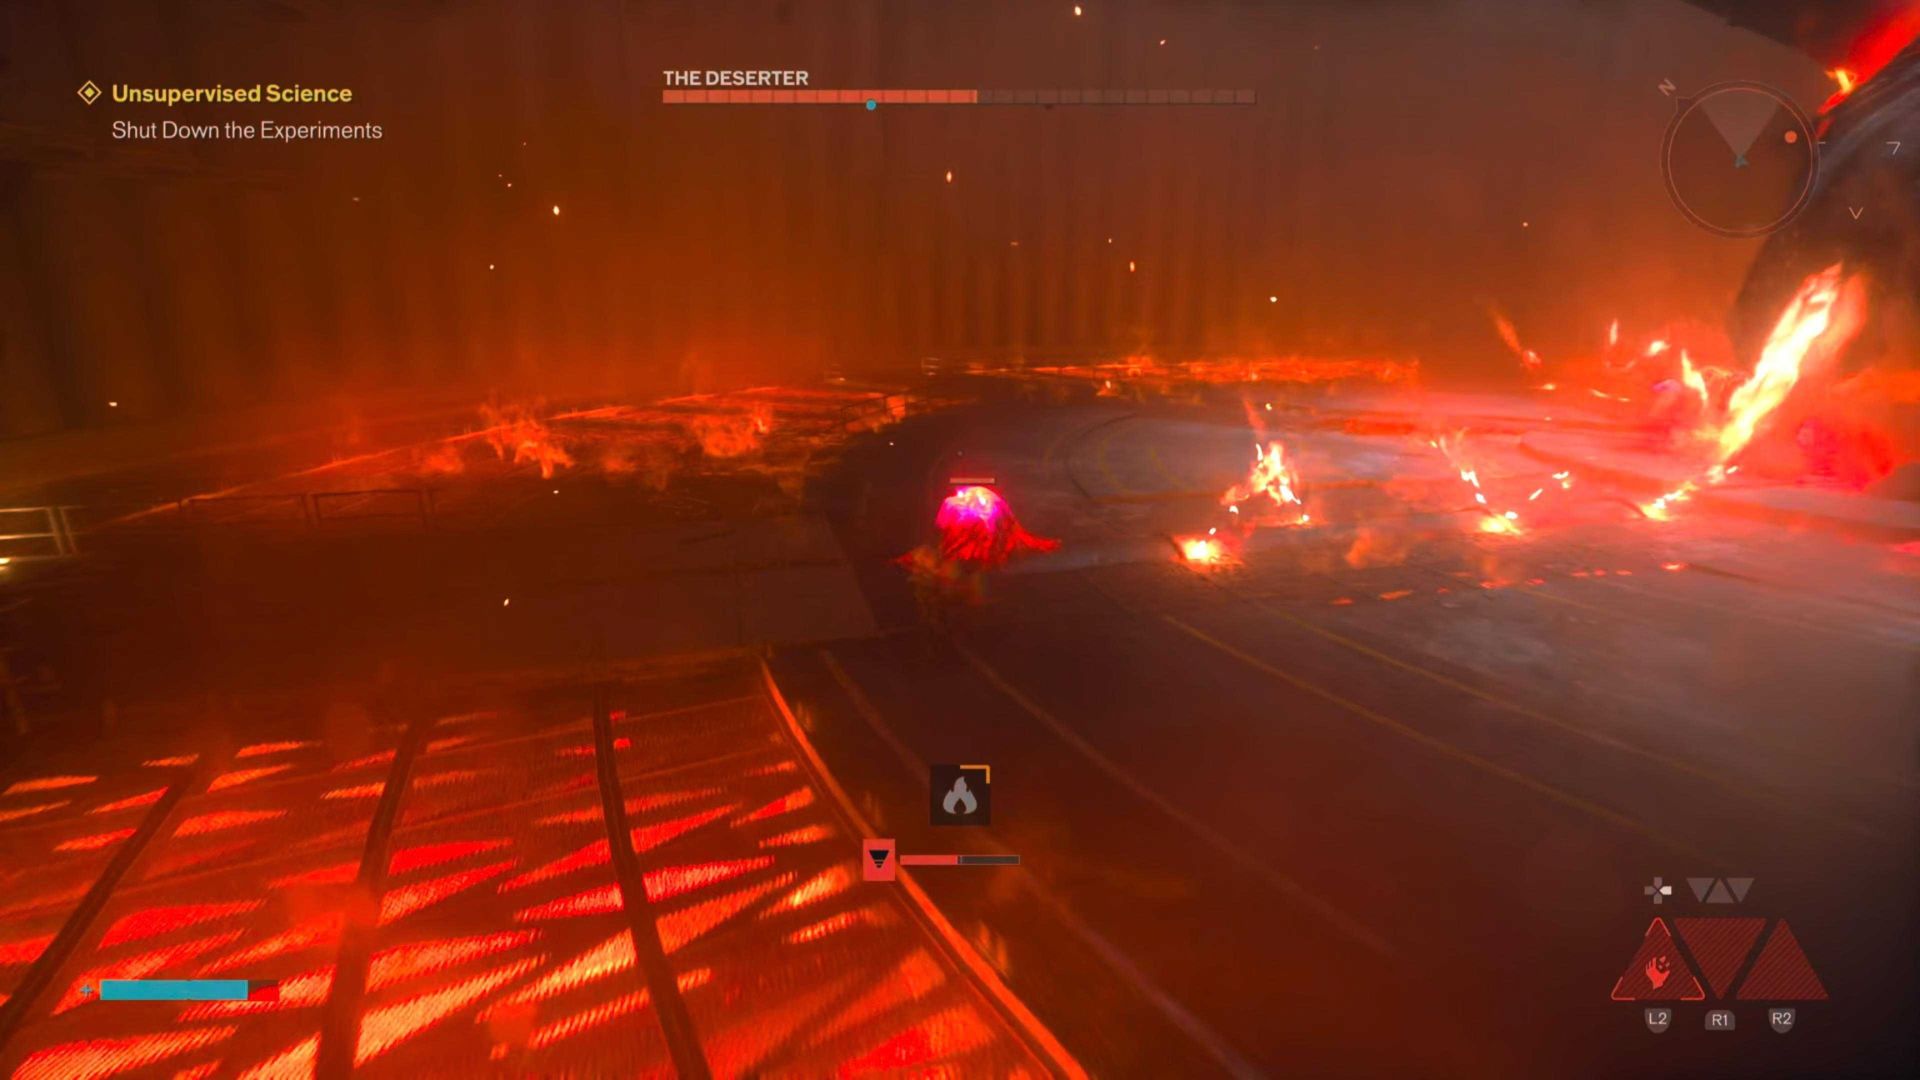
Because, here's the gimmick. The longer they burn, the more health they regain, and making this fight longer is not recommended, as it's a slog to begin with. Destroying them will chop his HP down significantly; if you're speedy, you won't have to deal with him any longer than is necessary.
Then after this, it's just about getting that HP bar down to zero, as The Deserter has no more gimmicks to throw at you. Provided you can do that, the win is yours.
Boss Rewards & Which To Choose
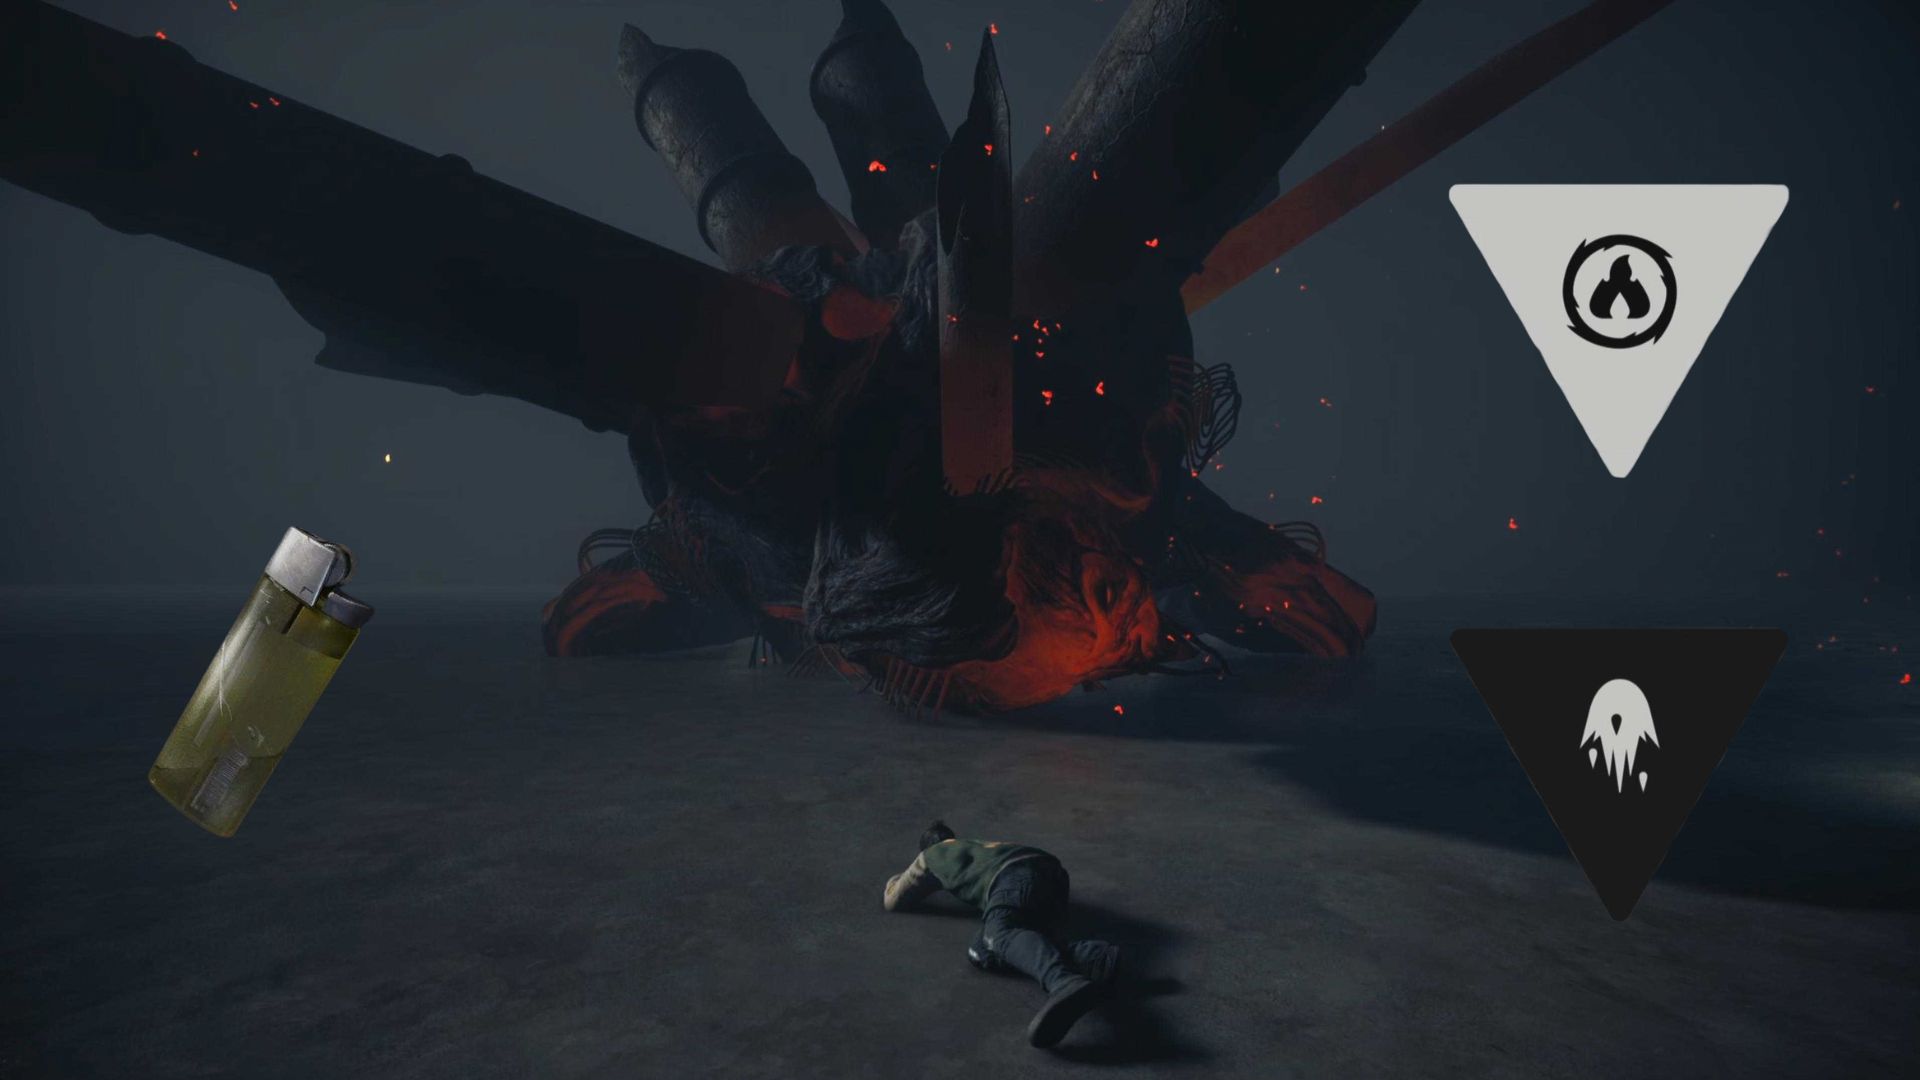
Defeating this boss will earn you a new combat ability, and you can choose between 'Ignite' and 'Inferno'
For scope, Ignite is a classic 'melee attacks inflict fire damage' ability. Which eats power per second it is active. Whereas Inferno is a gradual fire damage stacker. It depends on whether you have a big bonk or a DPS preference. But in my humble opinion, I feel that Ignite is the better option of the two.
Plus, you will also gain access to a new artifact to craft. The Lighter. An artifact that grants burn resistance.