Up to 84% Off VPN
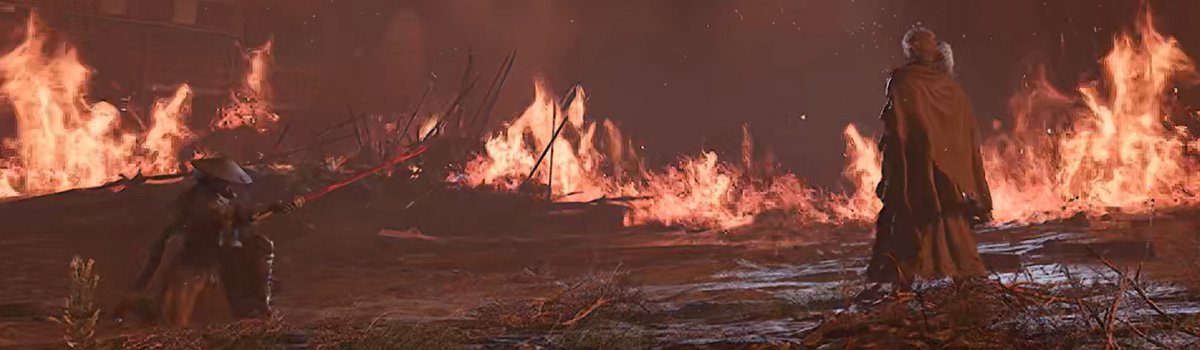
In Phantom Blade Zero, Long Pillars are optional bosses that can be faced as part of the Bloodline Awakening quest. As part of the quest, you will find yourself going up against a formidable foe known as the Gold-Masked One.
While he's an optional boss, he's very powerful and can quickly catch you off guard if you're not prepared. However, the quest is worth doing, and you get the bonus of some solid rewards along the way. If you're wondering how to beat The Gold-Masked One in Phantom Blade Zero, this guide has you covered with the best loadout, tips and tricks for the fight, and the rewards you can get.
Quick Link
- How to Find the Gold-Masked One (Long Pillar Location)
- Best Loadout for the Gold-Masked One
- Tips for Fighting the Gold-Masked One
- The Gold-Masked One Fight Rewards
How to Find the Gold-Masked One (Long Pillar Location)
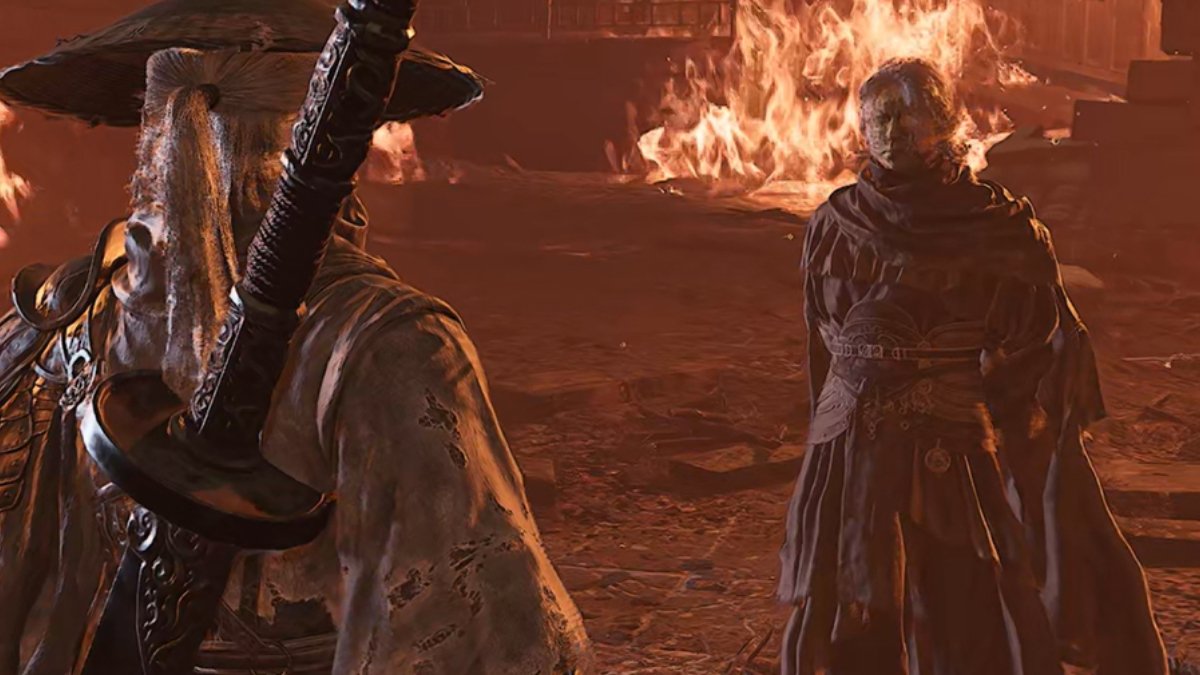
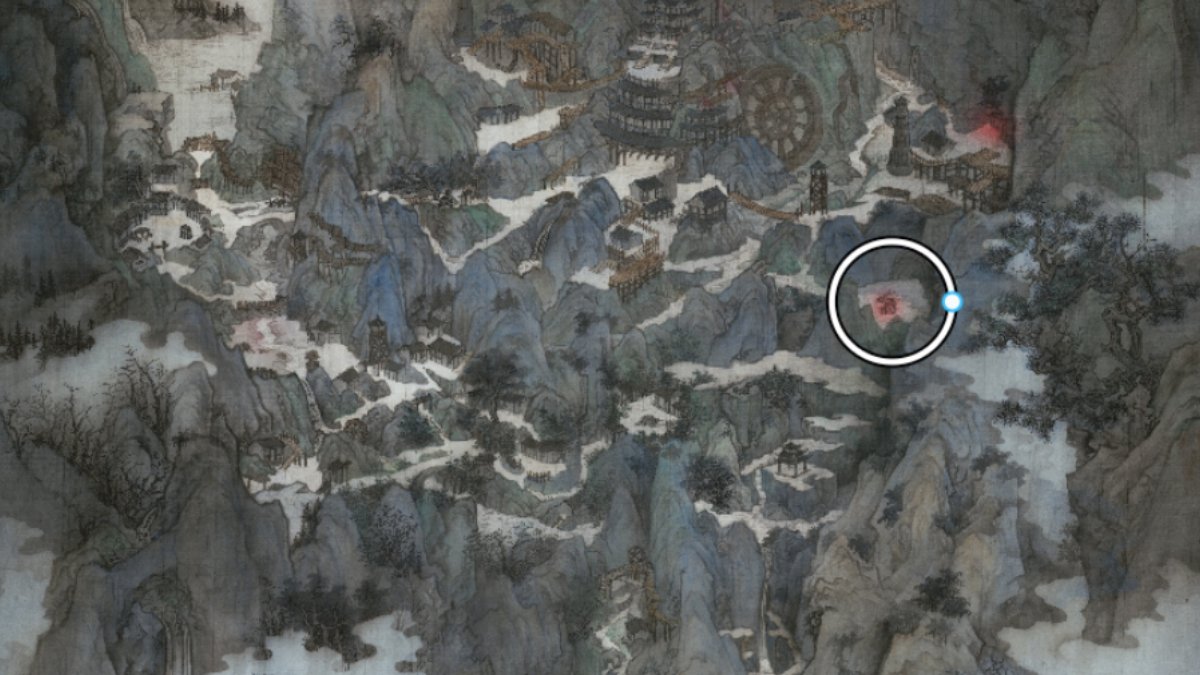
In Phantom Blade Zero, there are actually two Gold-Masked One fights. The first can occur in Weeping Creek Valley, where you can initiate the Bloodline Awakening quest. It can be found at the approximate map location below.
The second occurs in the Crimson Forest area. If you missed the first fight earlier, then the quest will instead be initiated at this point. Do note that you will get the rewards for fight one if it is your first encounter, despite it being the second location.
Most importantly, the Gold-Masked One's attack moves and strengths are almost entirely the same in both fights, so this guide applies to both encounters.
To find the second Gold-Masked One fight, you need to locate the Crimson Forest Long Pillar. This can be found when passing through on your way to defeat Bai Chilian and reach the Village of Lu.
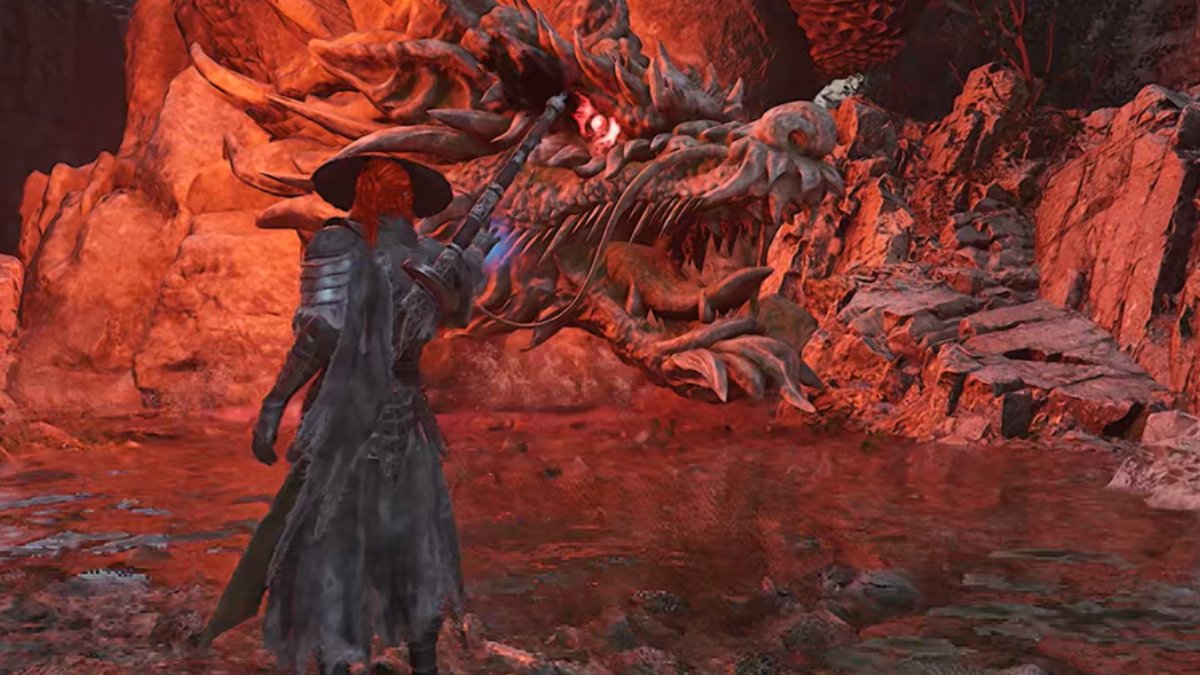
The approximate locations for both encounters have been marked in the screenshot below - first encounter (left) & second encounter (right)

Best Loadout for the Gold-Masked One
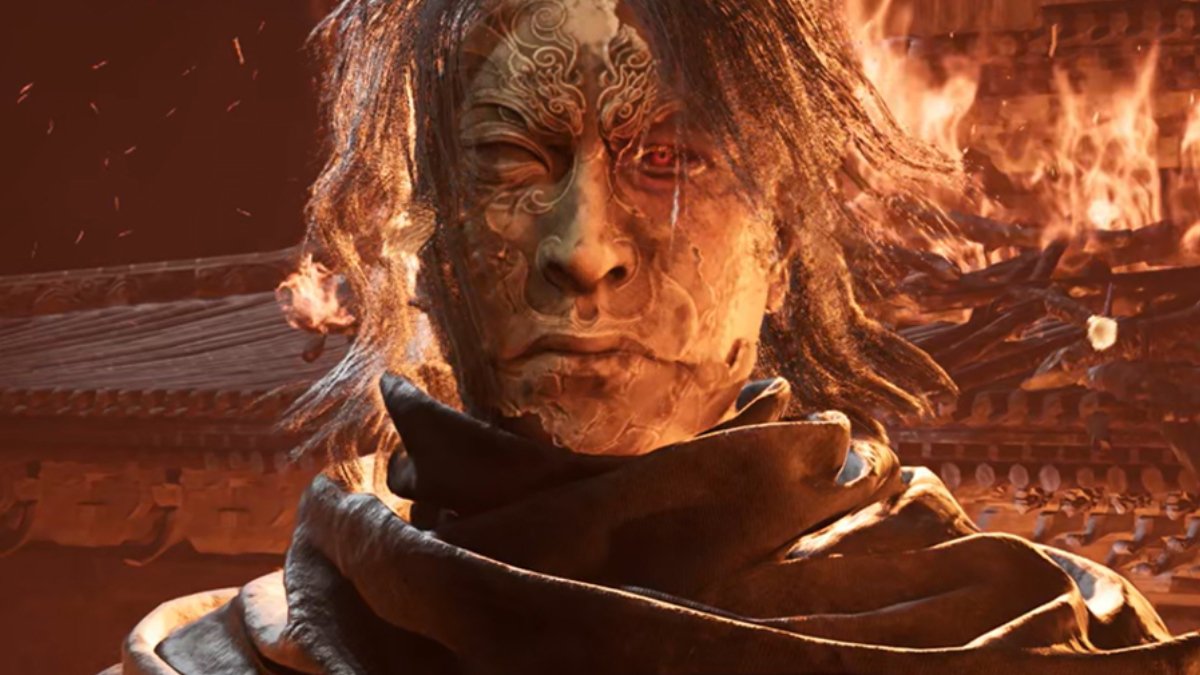
The best loadout for facing the Gold-Masked One is the Outlaw Warblade / Sanguine Twin / Hunter's Chain Sickle / Iron Gauntlets. This is not a fight for the Dread Axe, as it is far too slow to charge and get effective use against the Gold-Masked One's rapid combos and blocks.
- Outlaw Warblade is crucial for this fight. Not only is it the best choice for applying guard break, but it can also replenish a bit of HP on a hit. This means that when you use chaining combos or your L2 move, you can replenish just as much as a use of a healing item. This is invaluable survivability that can help you survive making a mistake in this fight and claw your way back to victory.
- Sanguine Twin has been selected as it is the weapon with the fastest combos at this point. Often, you have a short window between perfect dodges or parries to get hits in, and these can do the job. As well as that, you can also use this weapon to execute an unblockable attack and deal some extra Sha-Chi depletion, which is needed to actually get proper damage onto this boss.
- The Hunter's Sickle Chain can be used to deal solid damage once a stagger is up, or it can be used to bait the Gold-Masked One in for his combo. After he blocks a hit, he will chain his combos, so you can use this weapon to hit him from range and prepare easy blocks.
- Perfect to weave into your stagger combos after the Gold-Masked One's bar has been depleted are the Iron Gauntlets. They deal heavy damage on a three-hit combo and apply knockback on the final hit. Start with a main weapon combo, swap to the Gauntlets combo, then your secondary weapon combo to maximize the stagger window in the early stages of the fight.
- For Accessories, you can do whatever you'd like, but I'd highly recommend Shenji's Ring. This ring reduces the Sha-Chi you consume from blocking attacks by 20%, and you'll be blocking a lot of rapid attacks in this fight, making it a must.
Tips for Fighting the Gold-Masked One
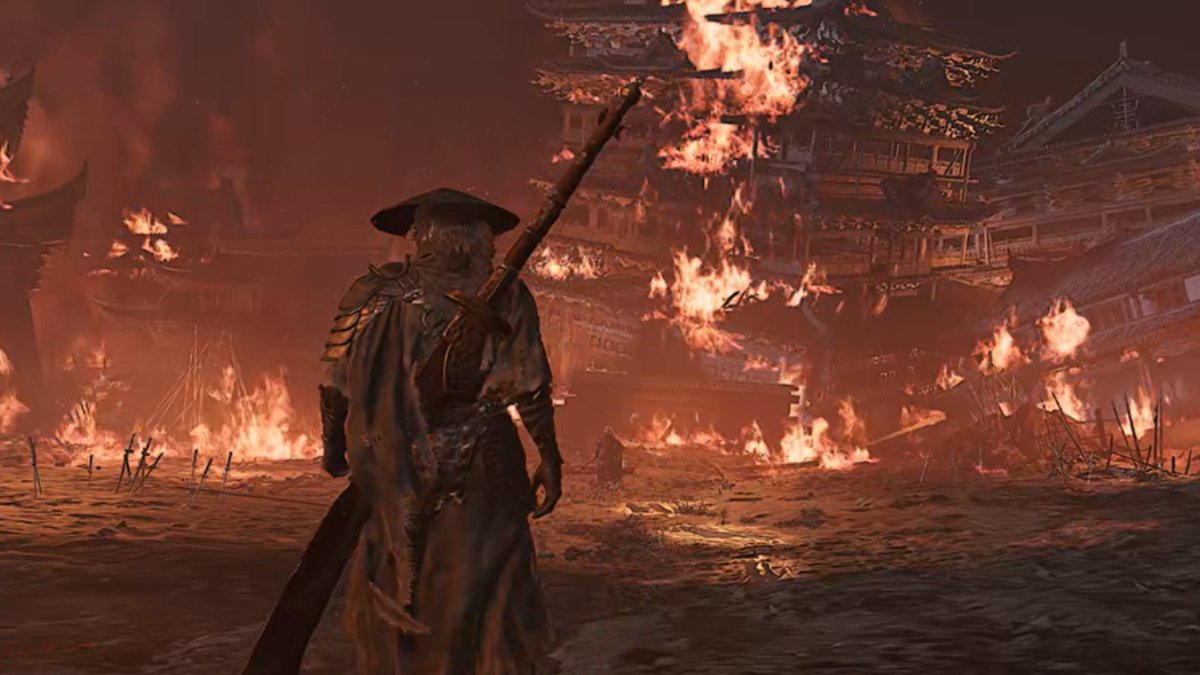
- The Gold-Masked One has a deadly moveset, with his grab attacks more often than not setting up for a lethal blow. Instead of trying to get jabs in between his combos like some other bosses, you'll want to use your block until you specifically get a prompt for a perfect dodge or parry. This is your opening to start getting a few hits in.
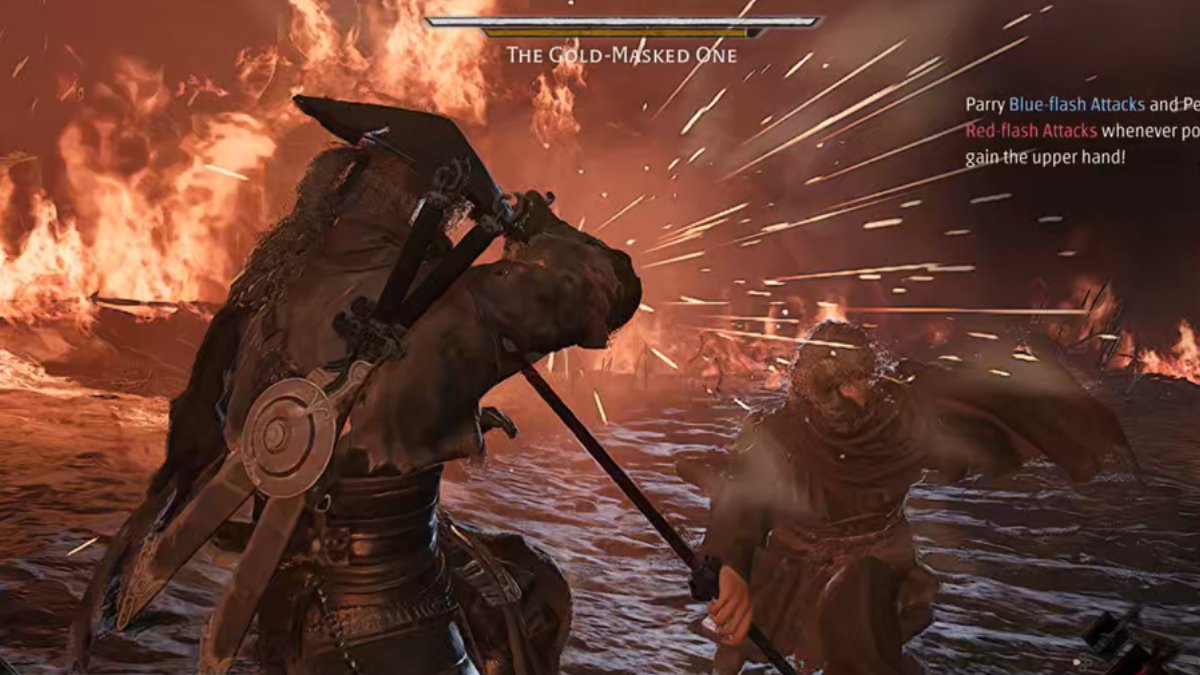
- Keep in mind, though, that even if there is an opening, this does not mean you can go crazy chaining combos. The first time or two, get a few strikes in and then wait it out until he's staggered. Once you hit the stagger, go crazy getting hits in until the bar fully replenishes - in my experience, I had enough time to chain 2-3 full combos each time.
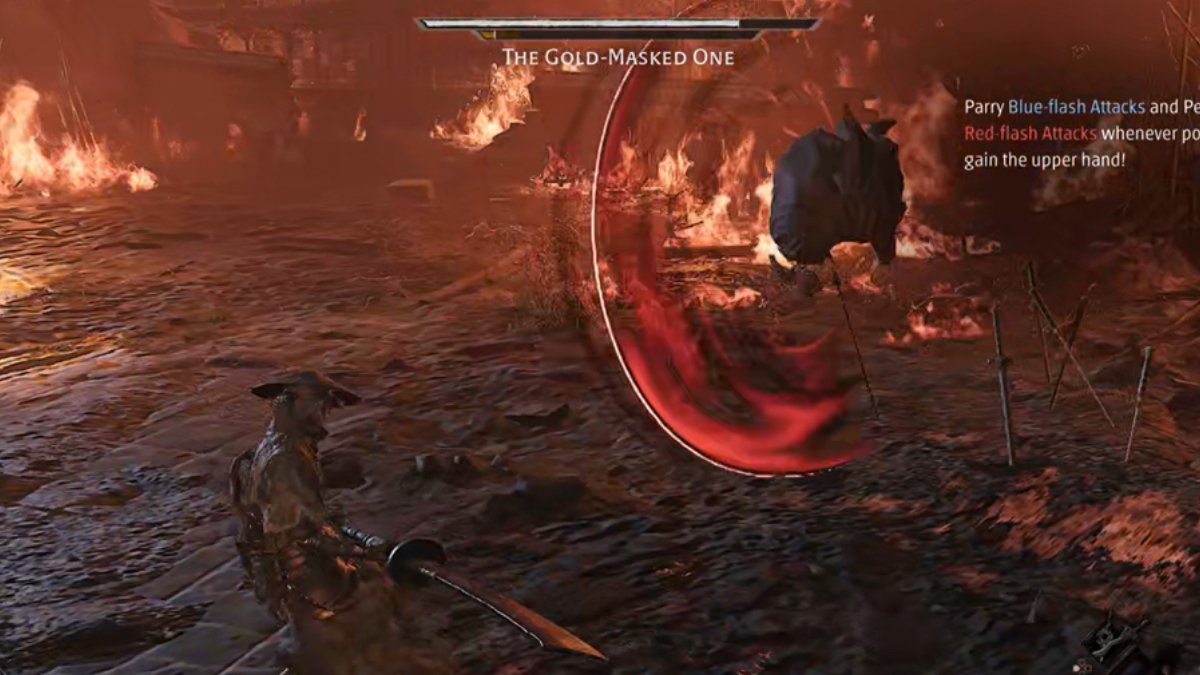
- The most obvious attack to read is when he launches himself towards you in a spinning dash. A red glint will appear right as he starts to spin, giving a window to perfectly dodge and flip behind him. This is brilliant for getting a few extra strikes in too, even when he's not fully staggered.
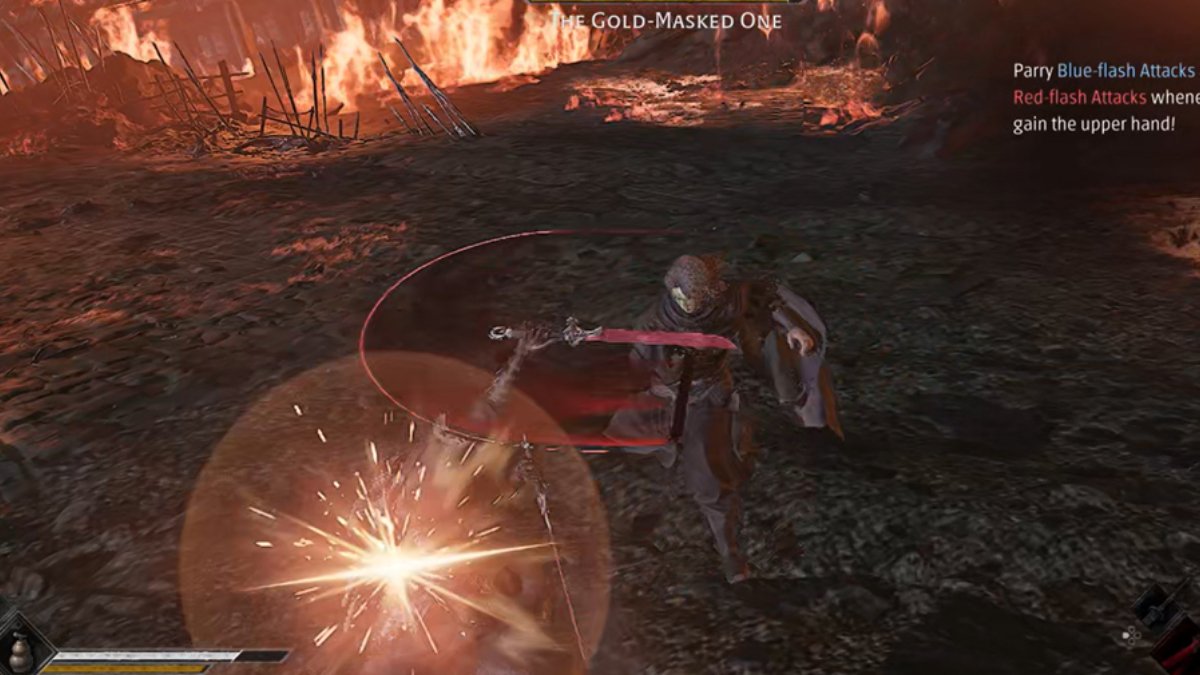
- You will be blocking a lot of the Gold-Masked One's hits in this fight, as any other approach leaves you vulnerable to his rapid slices, dashes, and grabs. Make sure to switch your weapons early before they fully break to replenish the meter, as if you allow them to break and yourself to become staggered, the fight can easily be lost.
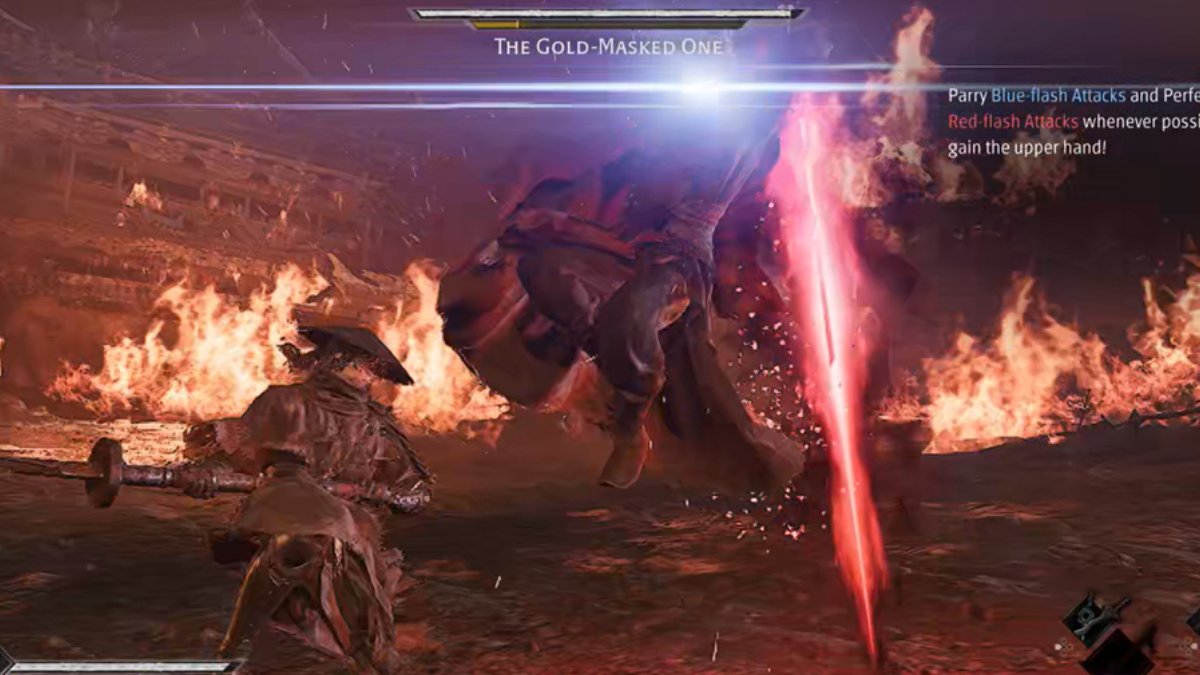
- If you see a series of fast, rapid projectile strikes, immediately take note of this direction and block while you wait for the blue flash. As soon as you see it, hit your parry to time a perfect parry, giving you a slim opening to potentially break through the stagger. This boss is all about being patient, holding block, and waiting for an opening to get a few strikes in. Rinse and repeat this process, and you'll be able to wither the Gold-Masked One down.
The Gold-Masked One Fight Rewards
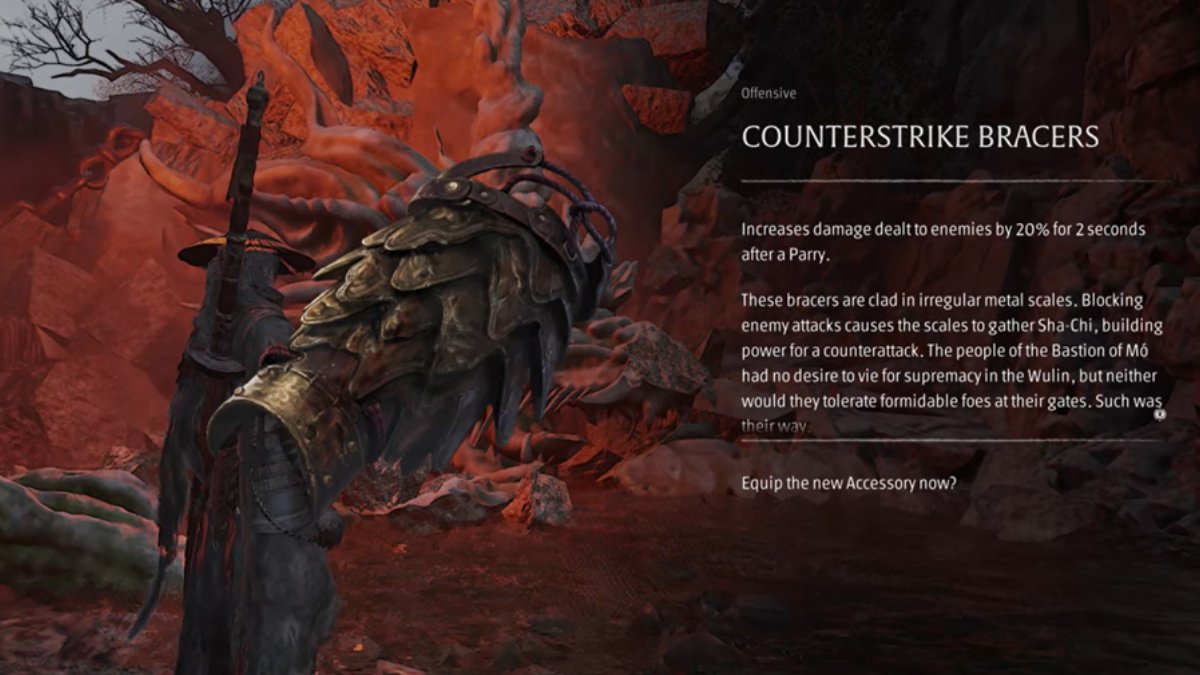
Both times that you fight The Gold-Masked One, you will be awarded a new Accessory after defeating him. The first time you beat him, you will get the Counterstrike Bracers, which increase damage you deal after a parry. They are rather useful, especially when upgraded with help from Jewel from 20% to 30%.
The second time that you beat The Gold-Masked one, you will get the Miraculous Scabbard, with the effect of gaining Super Armor and 25% damage reduction for 2 seconds after switching between your main weapons.