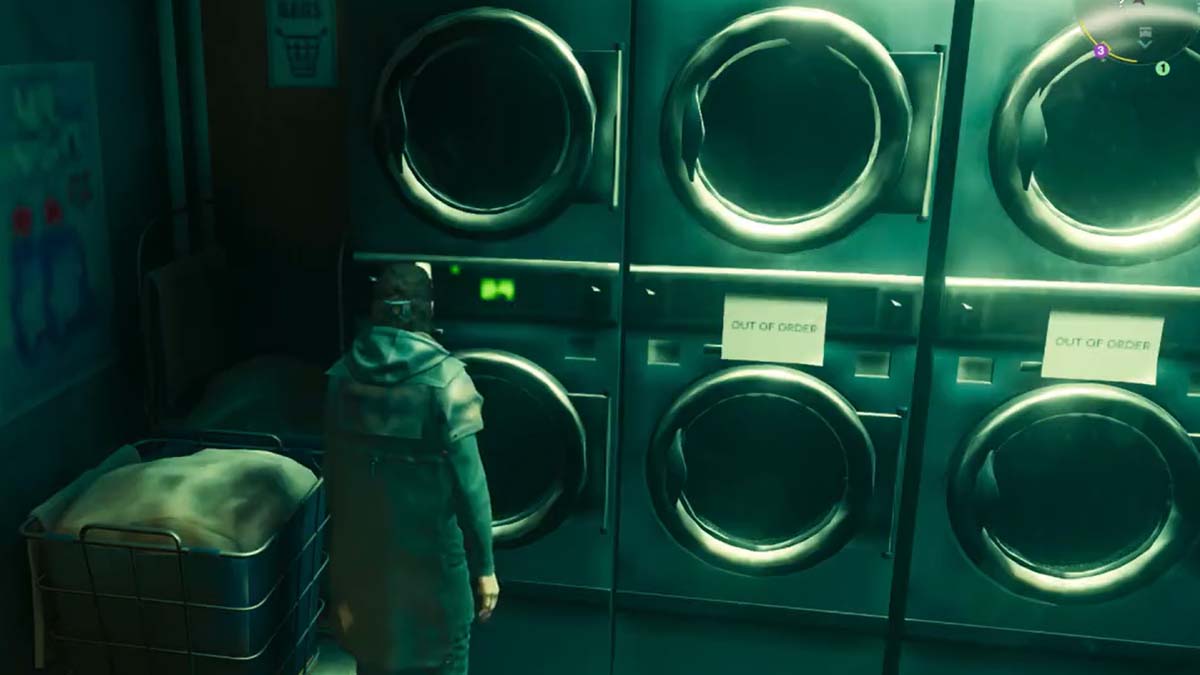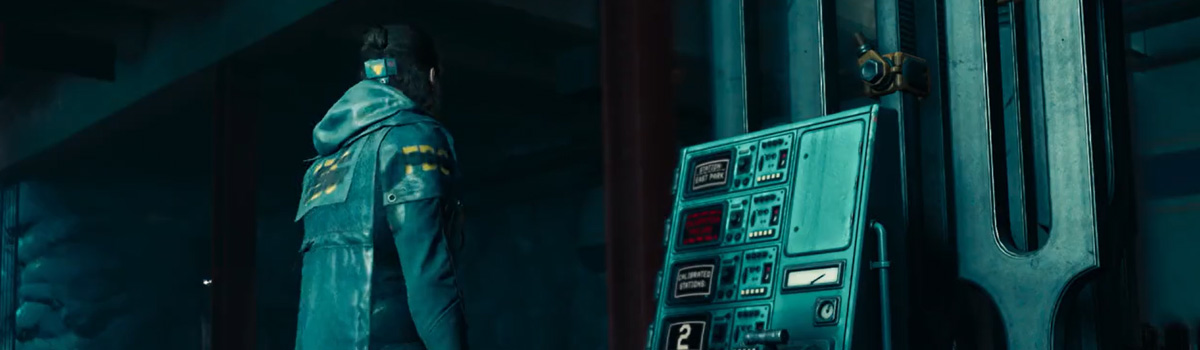
In Control Resonant, there are many quests across the different points of the city. Some quests, such as "Power Lines," will require you to explore and complete objectives in more than one area. In this main quest, you must locate three different underground stations, complete puzzles to restore power to them, and save a group of survivors who are trapped somewhere along these underground station tunnels.
If you're looking for a complete walkthrough that goes over where to find every important puzzle piece and how to solve each step, then we've got you covered. The guide below goes over Control Resonant's Power Lines quest from start to completion.
Quick Links
- All Station Locations in the Power Lines Quest
- How to Reroute the Perimeter Station in Control Resonant
- How to Reroute the Factory Station in Control Resonant
- How to Reroute the East Park Station in Control Resonant
- How to Find & Save the Stranded Passengers (Power Lines Quest)
All Station Locations in the Power Lines Quest
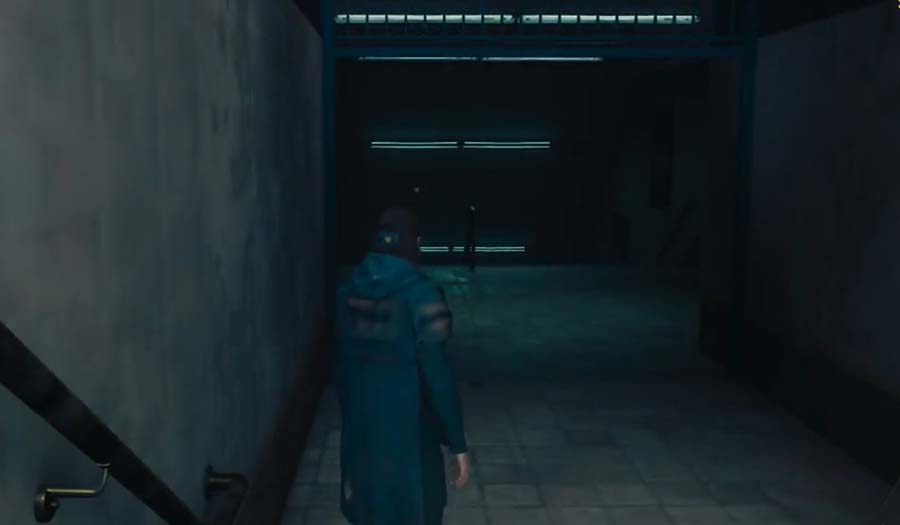
In the Power Lines quest, there are three stations that you'll need to visit and get running again:
- Perimeter Station
- Factory Station
- East Park Station
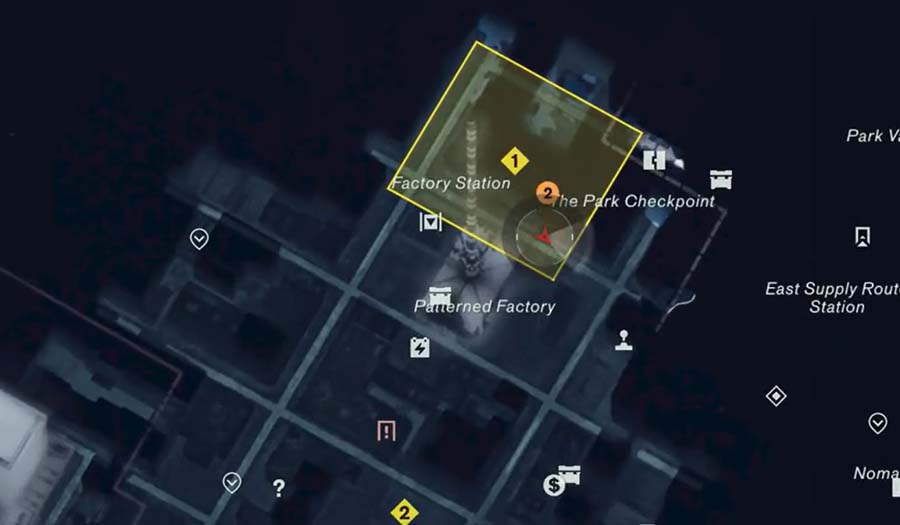
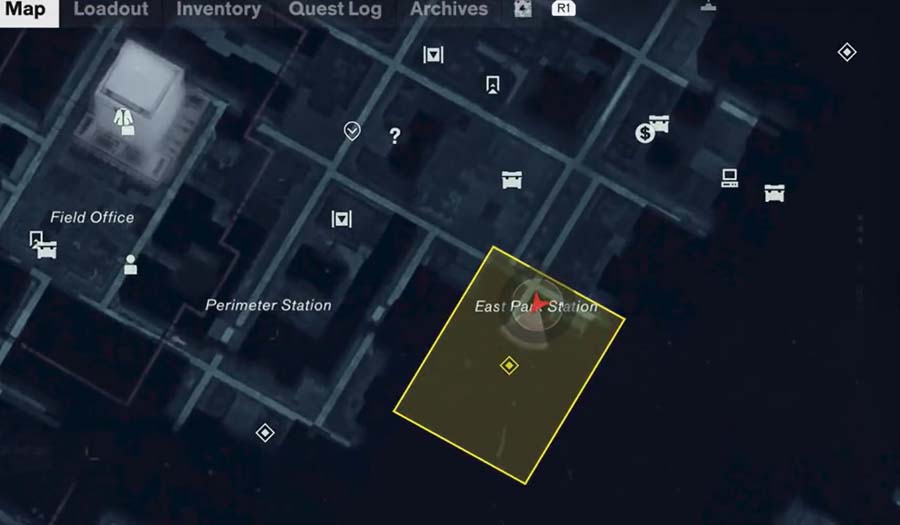
Here are the exact locations for each of these power stations on the map. It's also most convenient to complete them in this order.
The Perimeter Station is found in Central, not far from the Field Office.
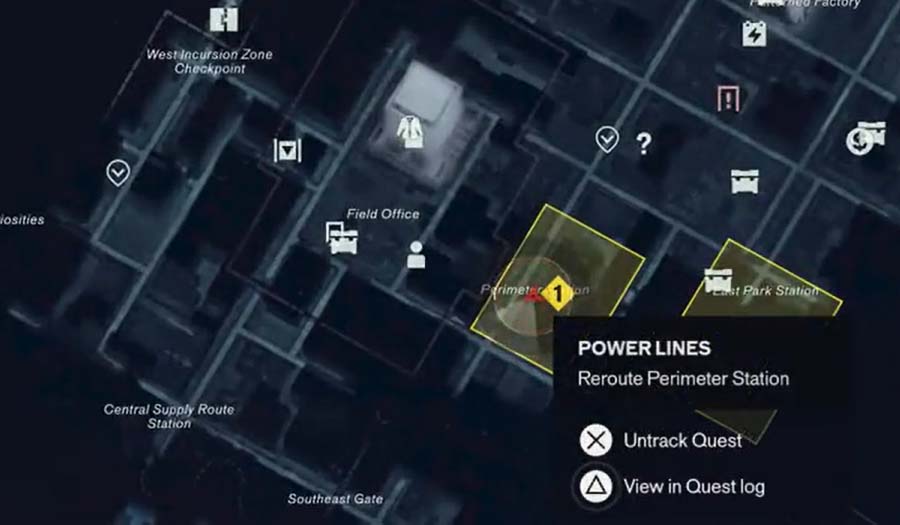
The Factory Station is located further North on the map, close to the Park Checkpoint.
Lastly, the East Park Station is located back in the southern section of Central, across again from the Perimeter Station.
How to Reroute the Perimeter Station in Control Resonant
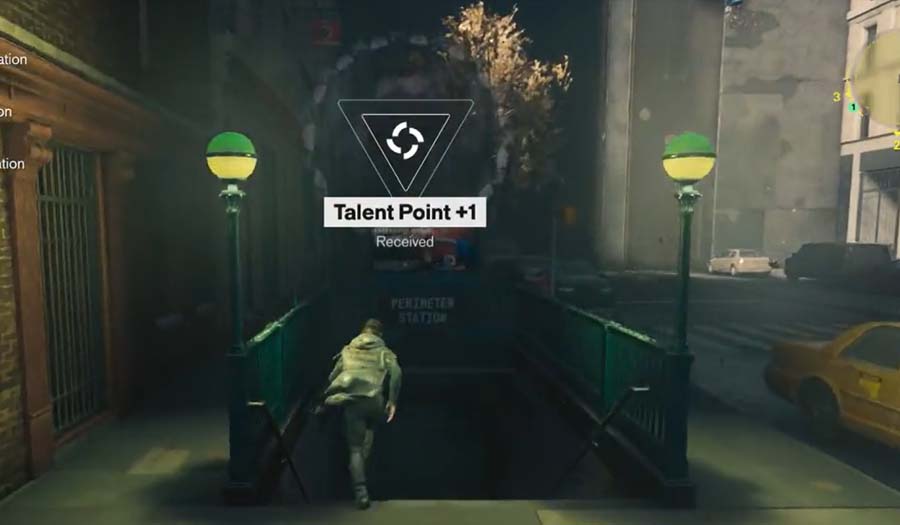
When you locate the Perimeter Station, descend underground, and you will come across a room with a machine, some tape recordings, and some leftover notes. Listen to the tapes and read the notes, and you will gain a basic understanding of how to restore power to the station.
Essentially, you need to collect three power transmitters, place them on appropriate points of the floor that have been marked by yellow lines, and then flip the switch on the machine.
The first step of solving this is to collect all three of the transmitters.
How to Find All Transmitters at the Perimeter Station
- The first transmitter will be found sitting close to the machine, near the tracks.
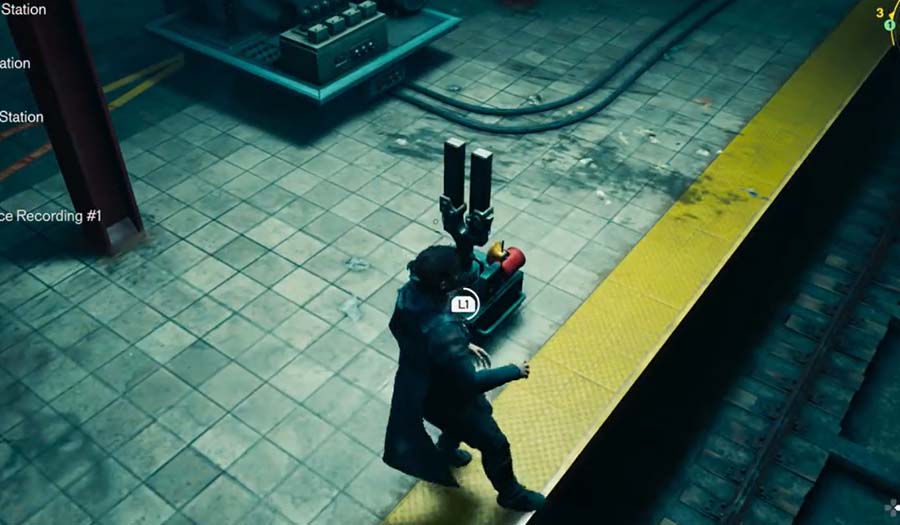
- The second transmitter can be found behind the rails, on the path with overgrown mold
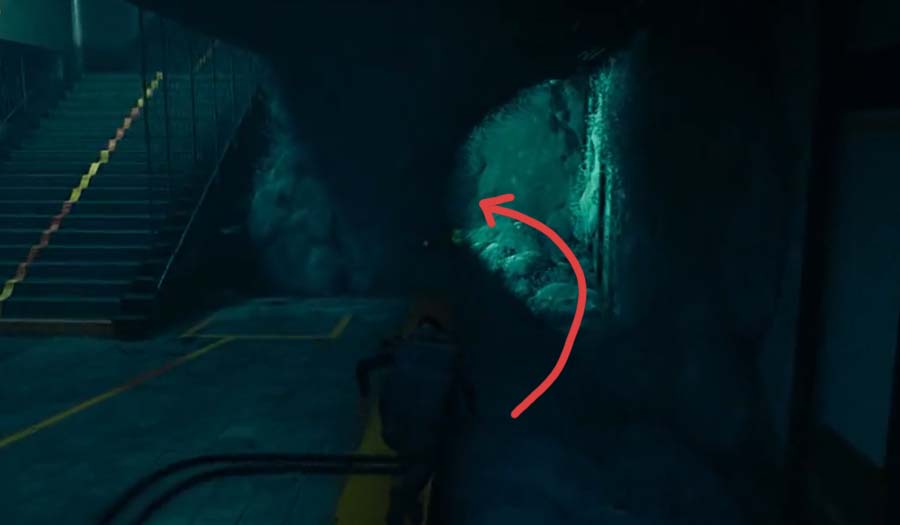
- The third transmitter can be found behind a locked door on the side of the tracks indicated below:
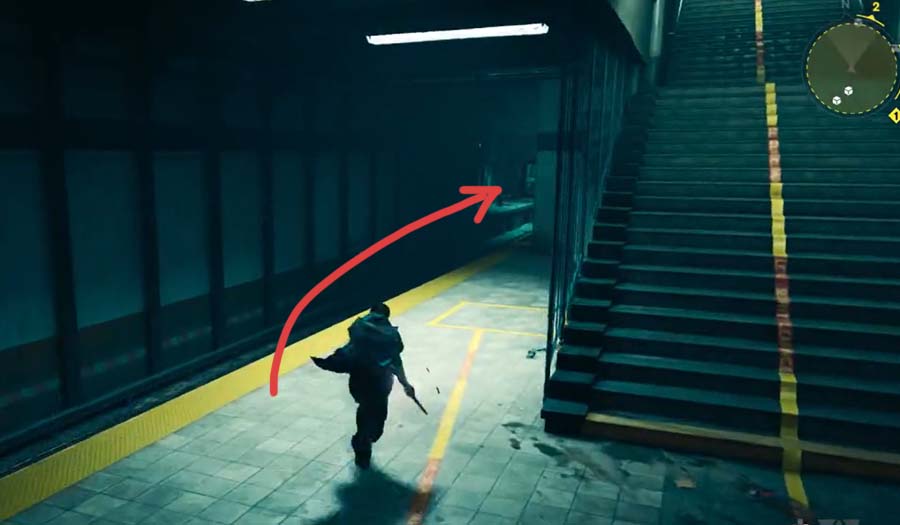
To open this door, head back to the machine, and then up the stairs. You will now find a door being powered by a generator.
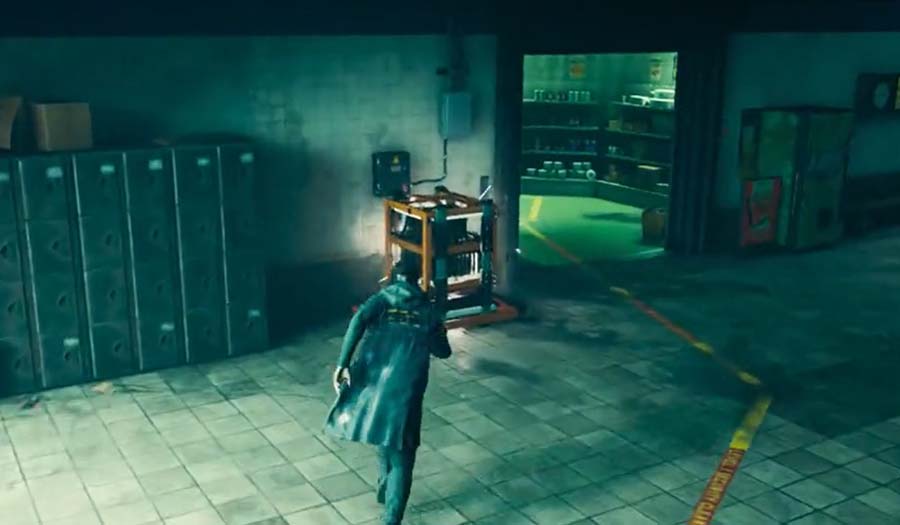
Smack the generator with your weapon to carry the charge and then sprint down the stairs back to the locked door. Hit the generator without power by this door to transfer the charge again, opening the door.
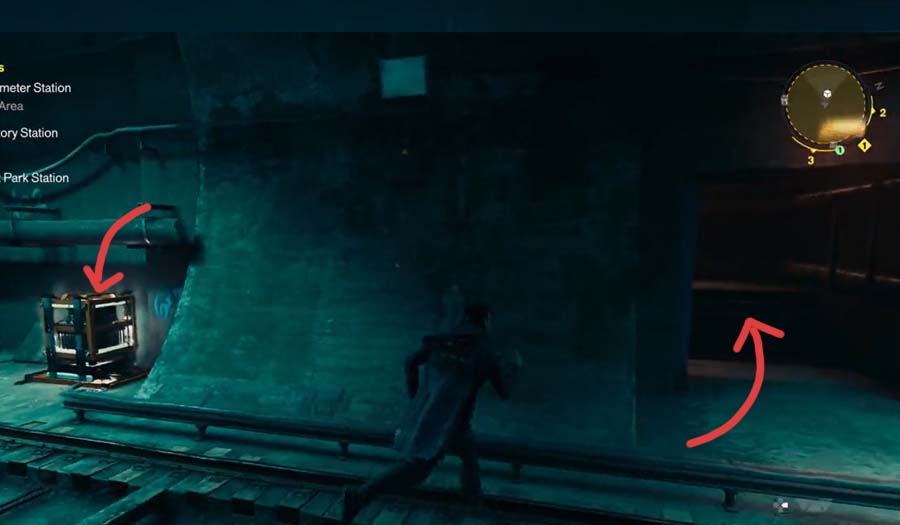
Grab the transmitter from inside and return to the machine.
How to Restore Power to Perimeter Station
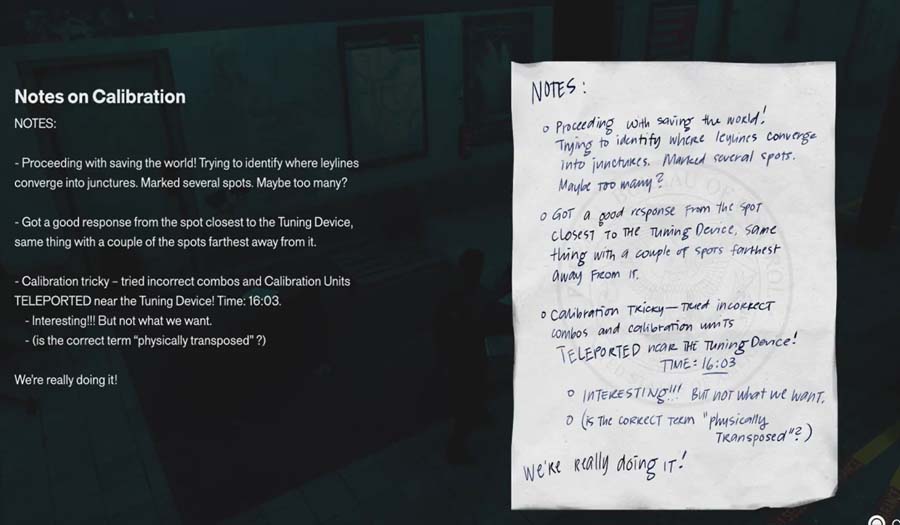
Luckily, the calibration notes left behind in the room have a very handy hint. The note states that the spot closest to the machine gave a good response during testing, as well as the two spots farthest away from the machine.
- Place the first transmitter in the spot closest to the machine.
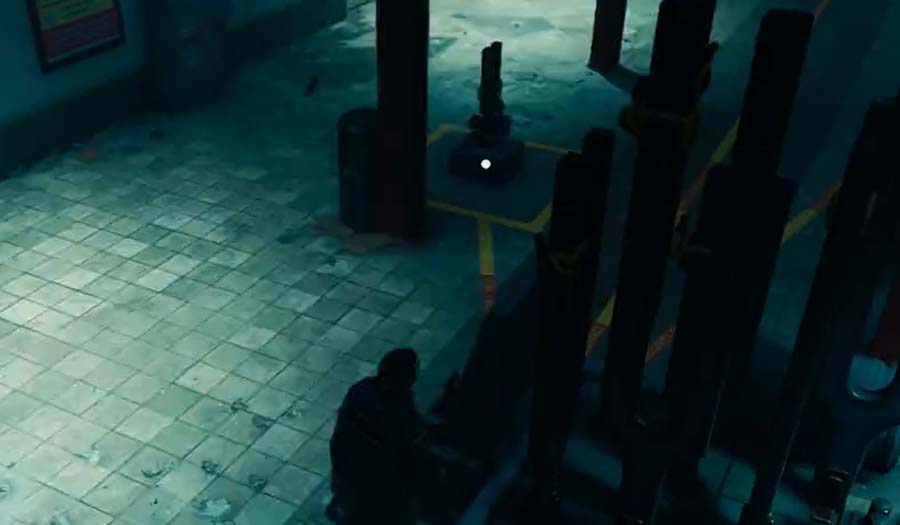
- Follow the stairs all the way up to the marked spot and place the second transmitter here.
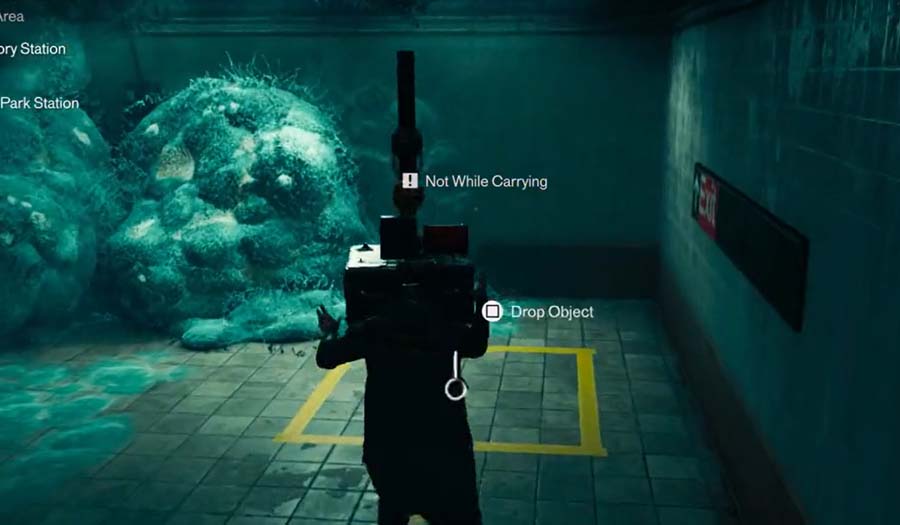
- Run back to the locked door that you previously opened, collect the charge on your weapon, and then run back up the other set of stairs. Transfer the charge back to the door that has a yellow line leading into it, and the door will reopen, letting you place the third transmitter.
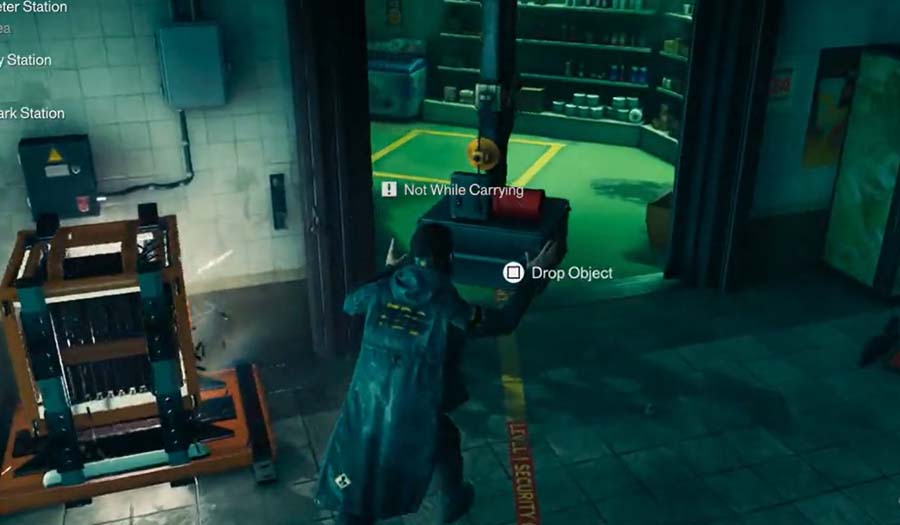
Return to the machine and hit the lever. You will now return power to Perimeter Station. You will also get a distress call from Doctor Florez over the station intercom.
How to Reroute the Factory Station in Control Resonant
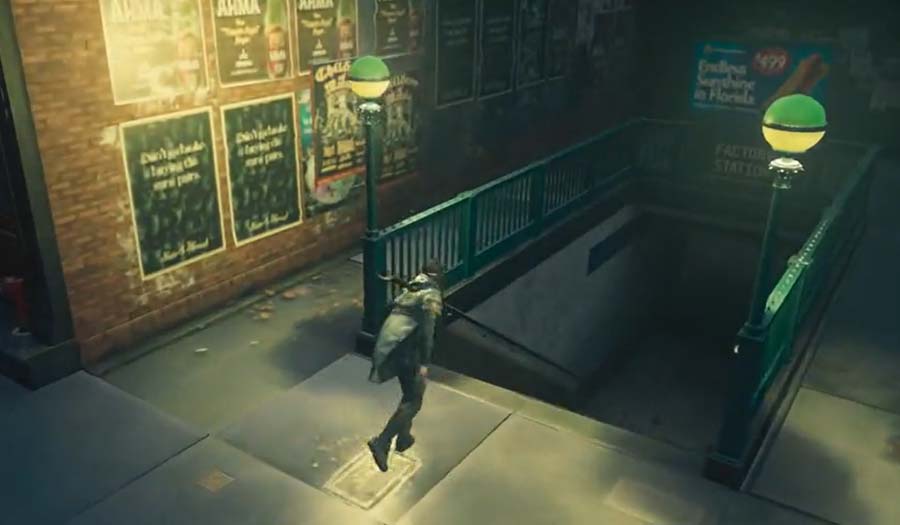
The Factory Station puzzle is the quickest of the bunch, as it's much simpler than it seems at first glance. But if you're wrong, the machine can teleport and reset your layout, so be sure to follow the steps below!
How to Find All Transmitters at the Factory Station
- The first transmitter is located in the room on the way down to the power platform, mentioned earlier. If you have not yet picked it up as advised, then make a quick trip back up and go grab it.
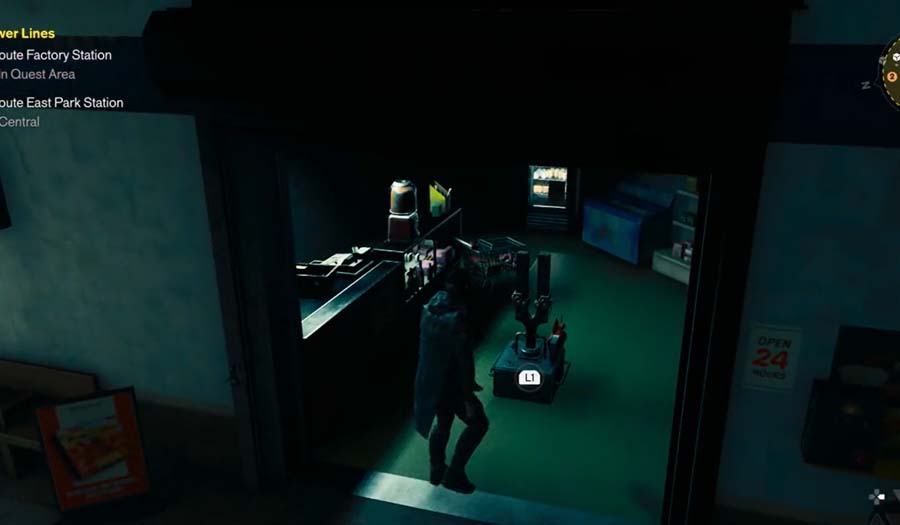
- The second transmitter will once again be sitting near the machine.
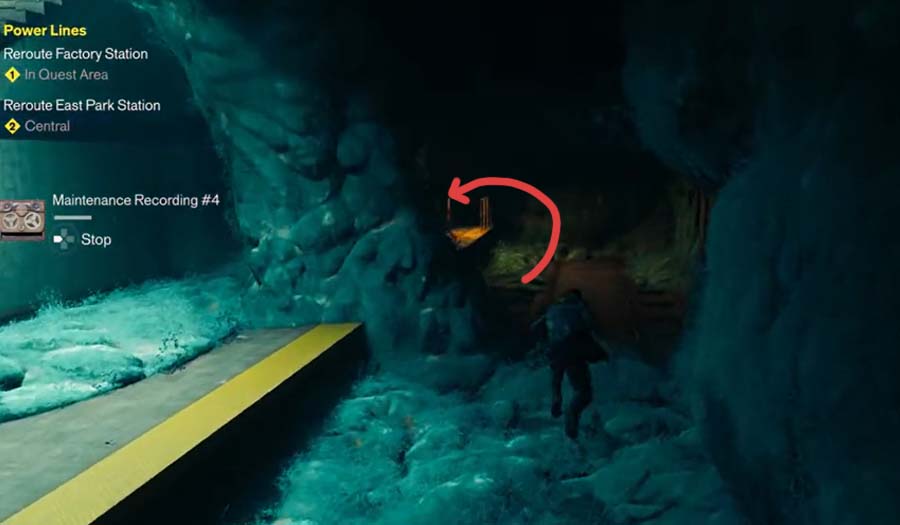
- The third transmitter, like last time, will be hidden behind a section of railway track that is overgrown with mold.
How to Restore Power to Factory Station
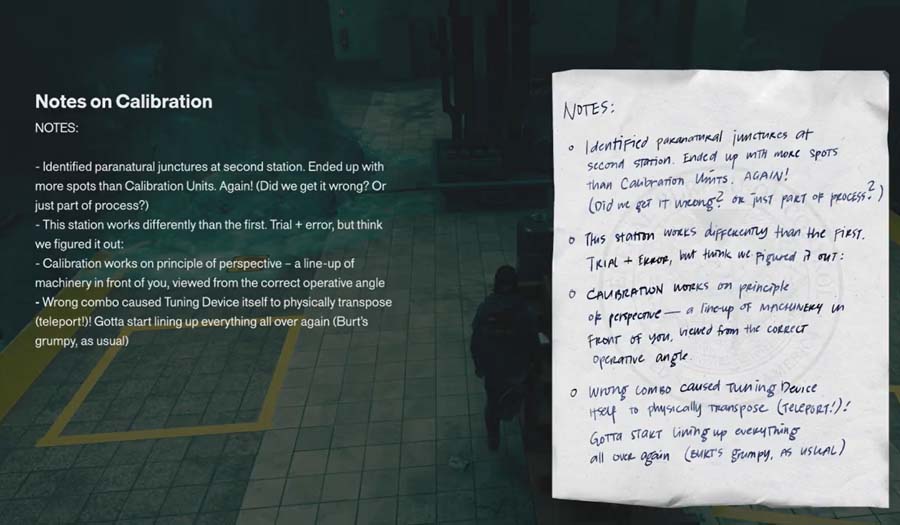
The leftover calibration notes once again provide a handy hint here. This time, the machine works when you have a lineup of machinery viewed from the correct operating angle.
In other words, just line the transmitters up in a straight line across the three spots horizontally from where the machine is placed.
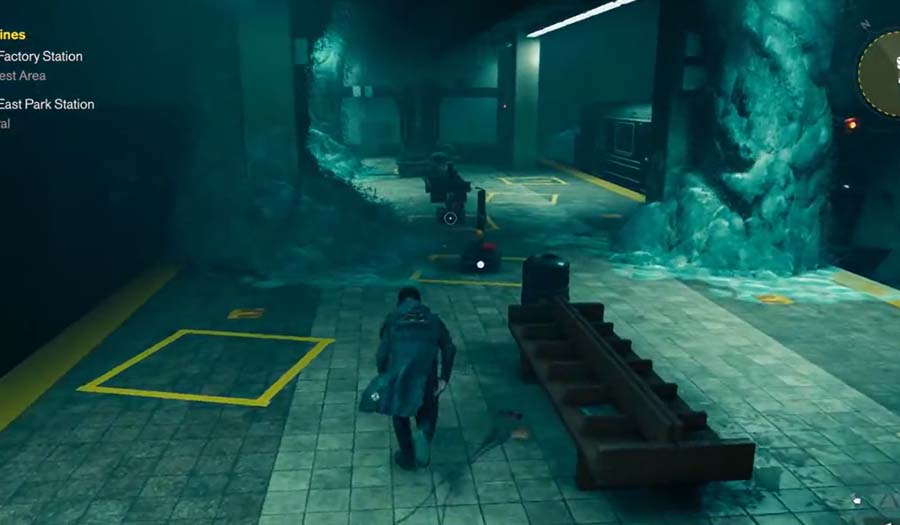
Now pull the lever on the machine, and the power will be returned to Factory Station.
Once again, Doctor Florez will call out for help. This time, as you go to exit, you can reply to her via the intercom system and offer rescue. You will now gain the secondary objective to the Power Lines quest - "Help the Survivors".
How to Reroute the East Park Station in Control Resonant
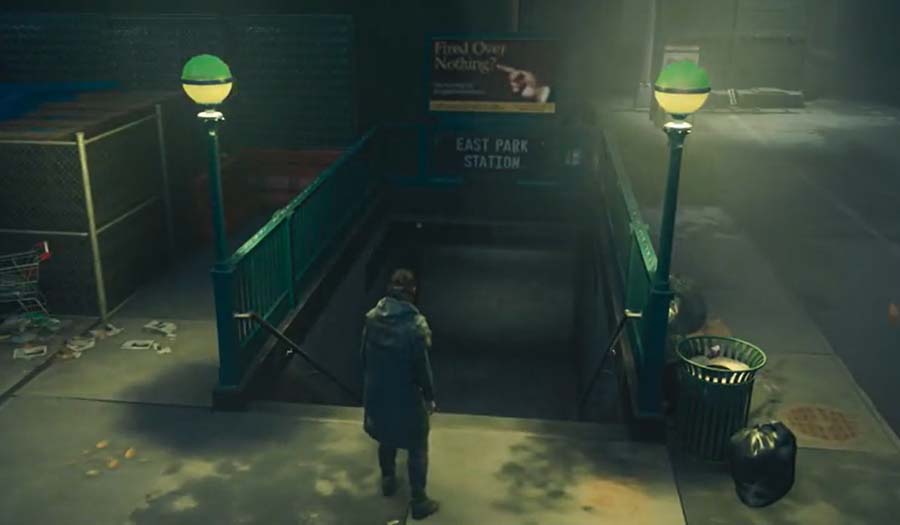
Lastly, you just need to reroute the East Park Station, and this must be done before you can gain access to the survivors and help them.
How to Find All Transmitters at the East Park Station
- Just as always, one transmitter is located near the machine.
- The second will be hidden behind the tracks with the overgrown mold.
- The third is locked away in a room.
How to Restore Power to East Park Station
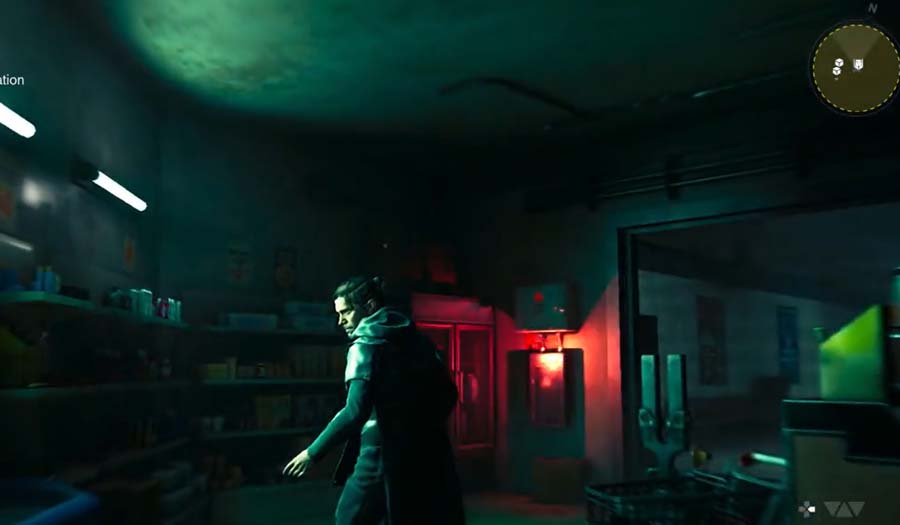
To get to this locked room with the last transmitter, remove all transmitters from the marked spots and pull the lever on the machine.
This will transport you to the locked room. You can open the door from the inside by hitting it with your weapon. Pick up this final transmitter and return to the power platform.
You can now place the transmitters on all three marked spots and pull the lever on the machine to power up East Park Station. This will cause a strange blip that changes the world around you, blocking the exit.
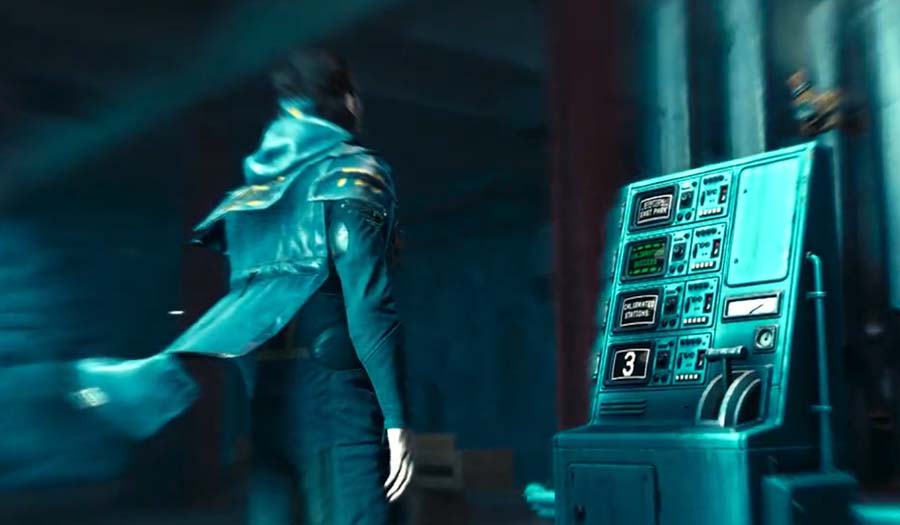
You now need to find the passengers and discover a way to get both yourself and them out safely.
How to Find & Save the Stranded Passengers (Power Lines Quest)
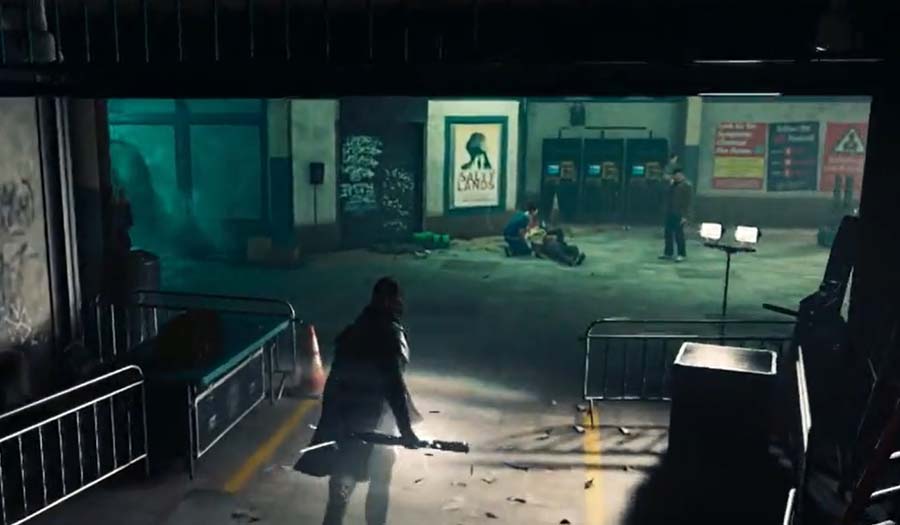
Descending down to the power platform below will reveal the last power transmitter puzzle, which also happens to be the trickiest one yet. This puzzle has two sections that must be completed - Platform A and Platform B, and it also introduces mold, operating as an electrical conductor.
The main key to completing these puzzles is to use the power generators to relay the current to different location, letting you take advantage of mold. You'll need to do this to unlock the additional transmitters needed to calibrate the platforms and save the civilians.
Where to Find the Survivors
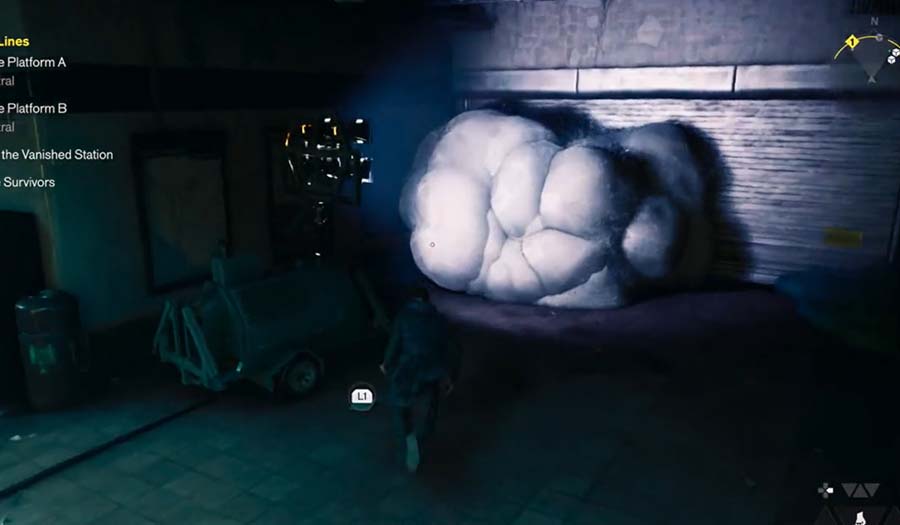
To discover the survivors, head upstairs and look for the room with the bright, glowing mold in front of the door. If you try to destroy the mold, it will instantly regrow thanks to the electricity.
Follow the trail marked from the mold to the nearby power source, and then hit the generator to transfer the charge to your weapon. This will shut the electricity to this door off, killing the life to the mold.
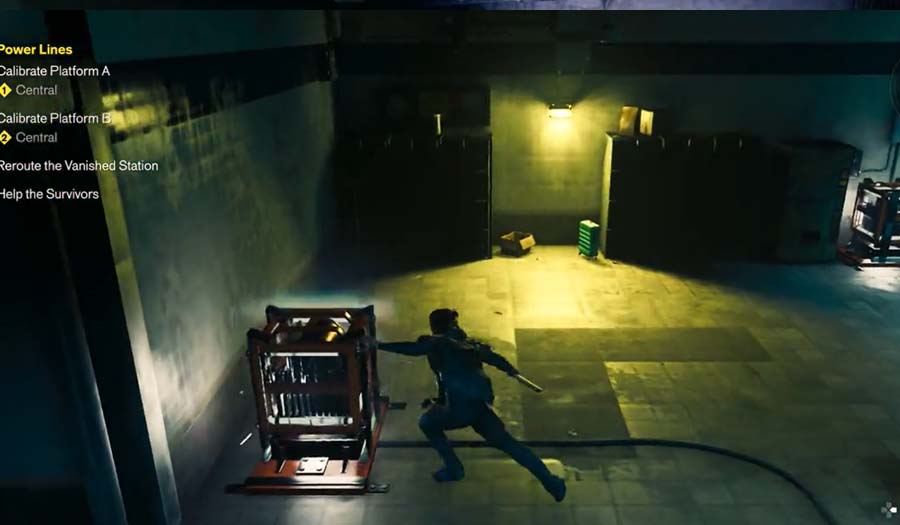
Before the charge automatically reverts back to the generator, use your weapon to destroy the mold and then you can open the door, which will reveal Doctor Florez and the other survivors.
There will also be the remaining transmitters needed to complete the platform calibrations in this room.
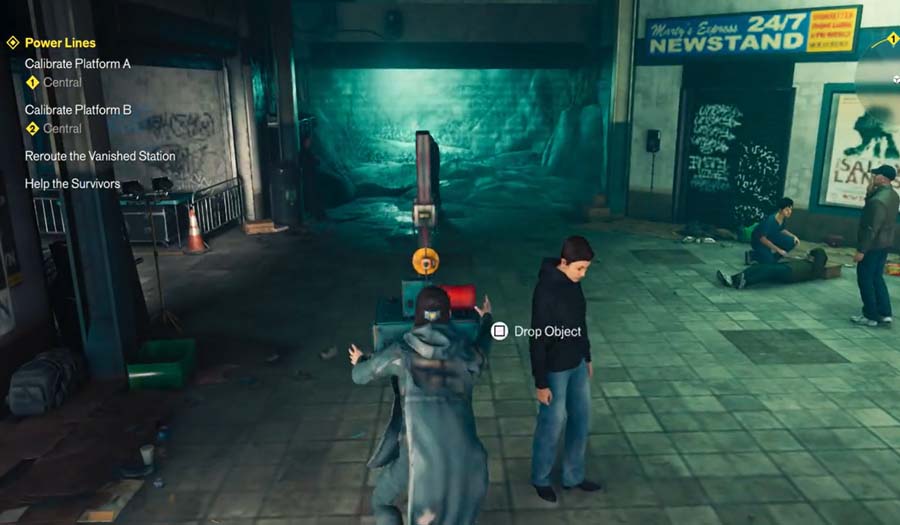
How to Calibrate Platform A & Platform B
If you follow the path past the survivor's room, you should now come across a door blocking the path to A. Instead, you'll need to manipulate the machine to teleport you to Platform A so that you can unlock it from the other side.
To do this, head to Platform B and remove all transmitters from the marked spots on the floor. Now, you need to charge both generators in the room at the same time and pull the lever on the machine.
This will teleport you to Platform A. Now you just need to climb the stairs and hit the glowing red lock to open the door, creating a lane from Platform A to B through the hallway.
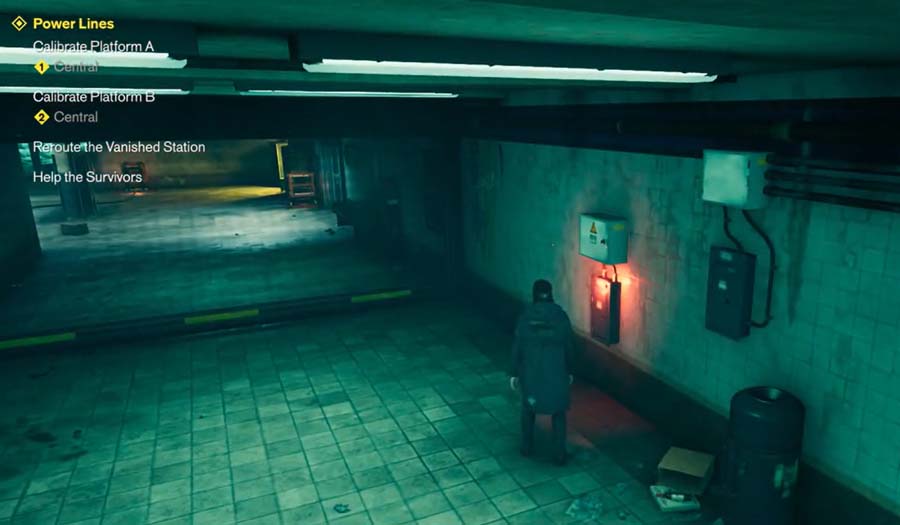
You can now use this hallway to transport as many of the transmitters to Platform A as you need. In order for it to work, Platform A must be calibrated first.
Now, just place them all in the designated spots, then pull the lever to restore power to Platform A. You may also need to play around with electrical charges to the power generator. In some cases, it appears that transmitters need to be placed before you add power to a generator, due to the mold. After completing Platform A, use the remaining transmitters and repeat the process over at Platform B. You will now be able to get the survivors back to safety and complete the Power Lines quest.