

 Up to 84% Off VPN
Introduction
Welcome to Method's Dungeon Guide for The Deadmines in World of Warcraft: Forever. In this guide, we’ll be going over all trash, bosses, loot, and quests for The Deadmines Dungeon. The Deadmines is located in Westfall and is a linear dungeon with 7 bosses and a potential additional rare spawn.
The Deadmines Location
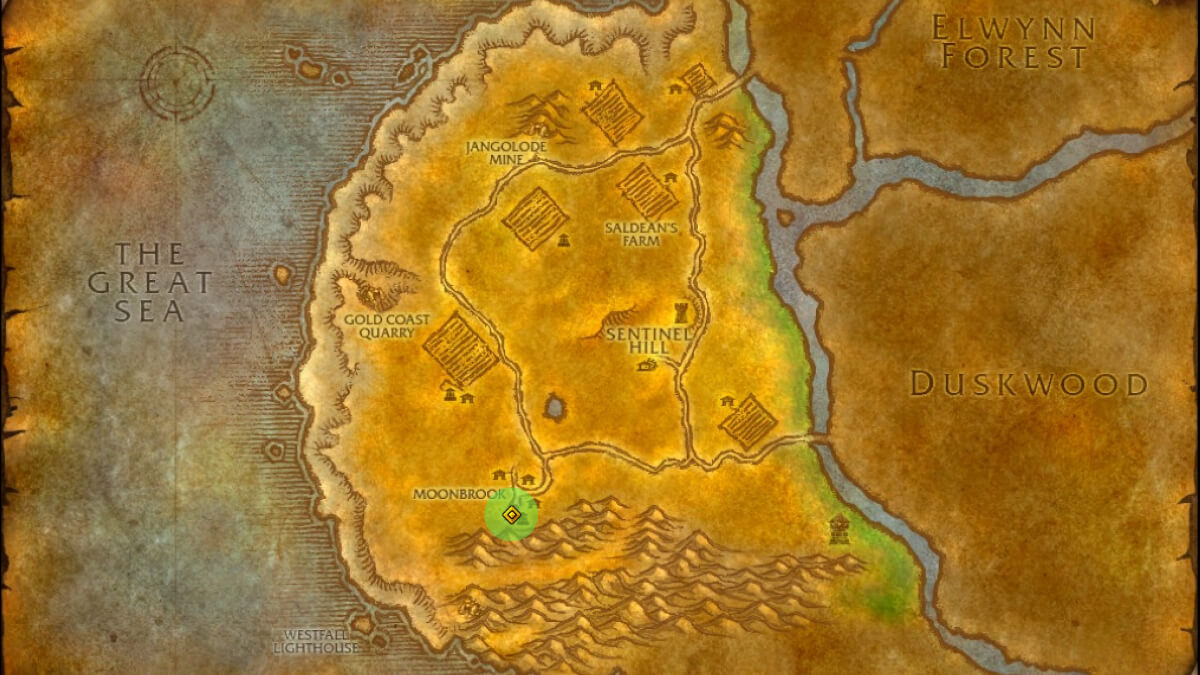
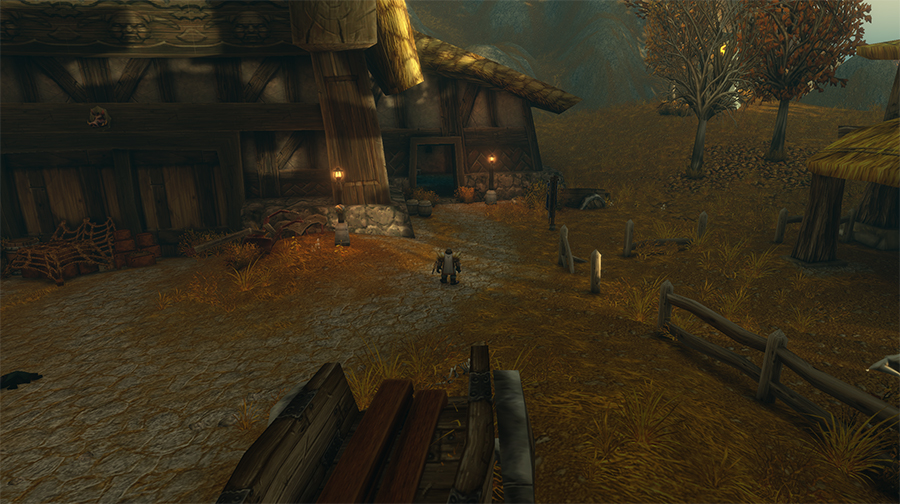
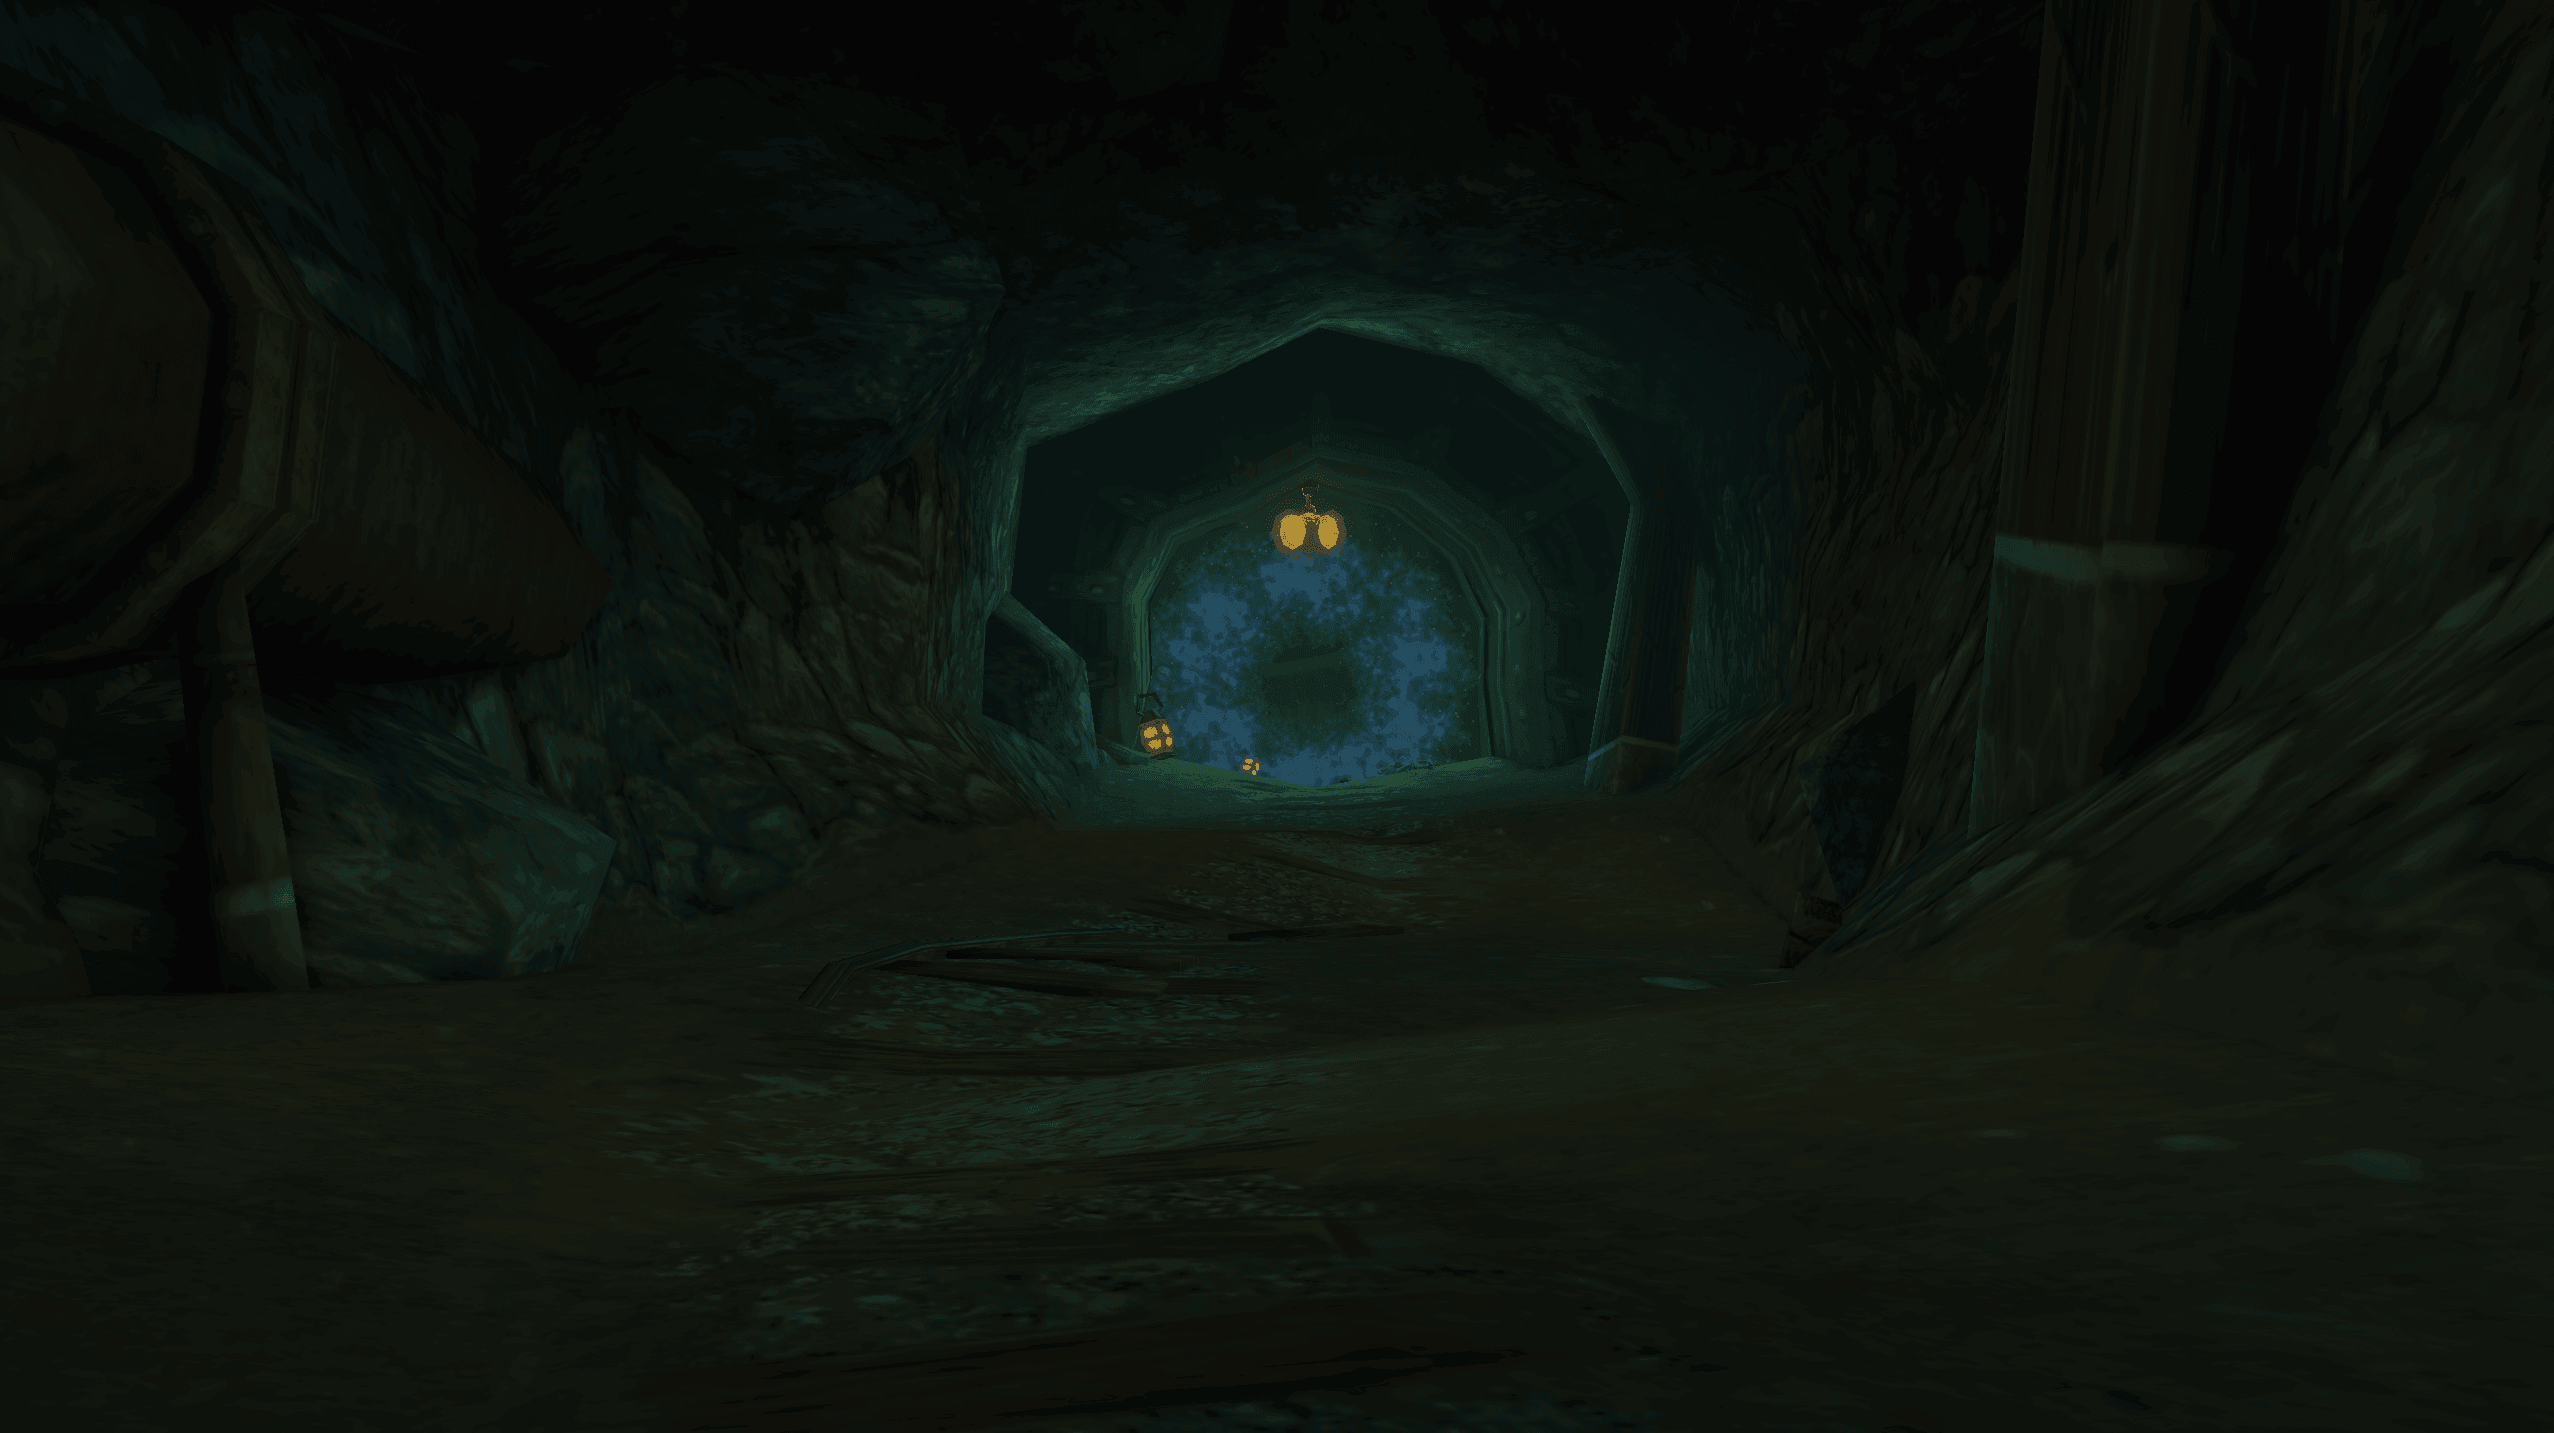
The Deadmines is located in a hidden cave in Moonbrook of Westfall. Players learn of this entrance after completing the Defias Brotherhood quest chain. Following the cave's main path will take players to the dungeon portal entrance.
How To Get To The Deadmines In WoW Forever
Follow the guidance below to learn how to get to Blackfathom Deeps depending on your faction.
Alliance players simply need to fly to Westfall and make their way to Moonbrook. Night Elves will need to take the boat from Auberdine to Stormwind City.
Horde players will need to take the Zeppelin from Durotar to Grom'gol, and then we recommend swimming north to Westfall to avoid all high-level mobs in Stranglethorn Vale.
The Deadmines Dungeon Map
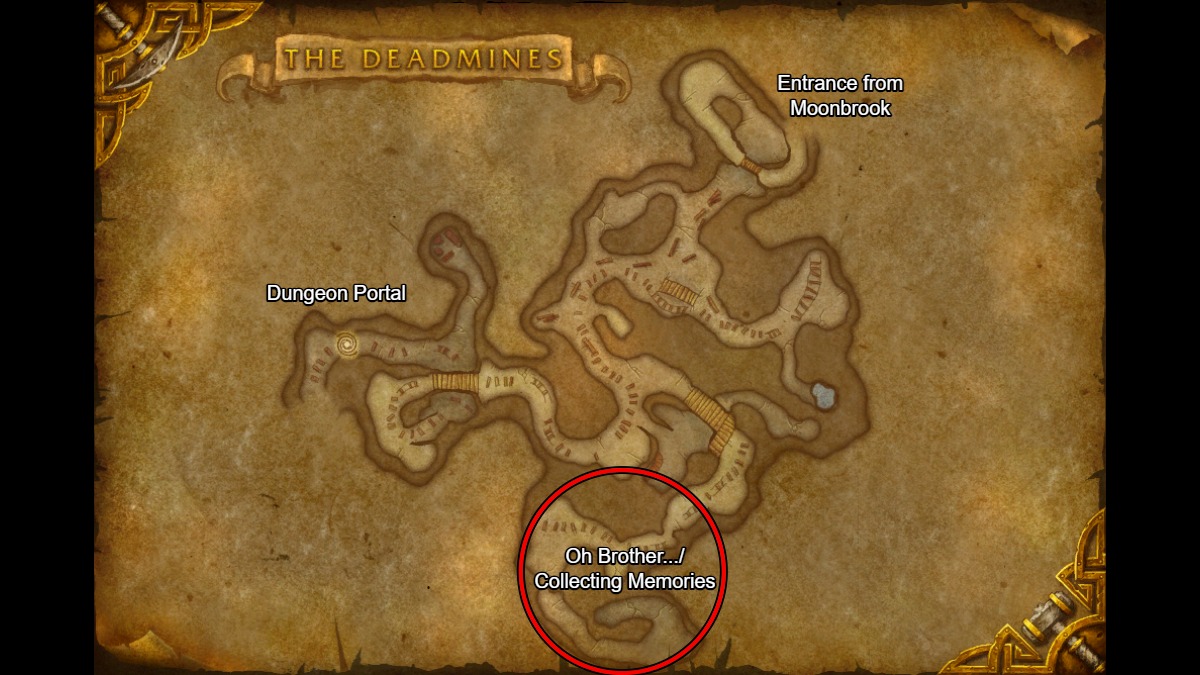
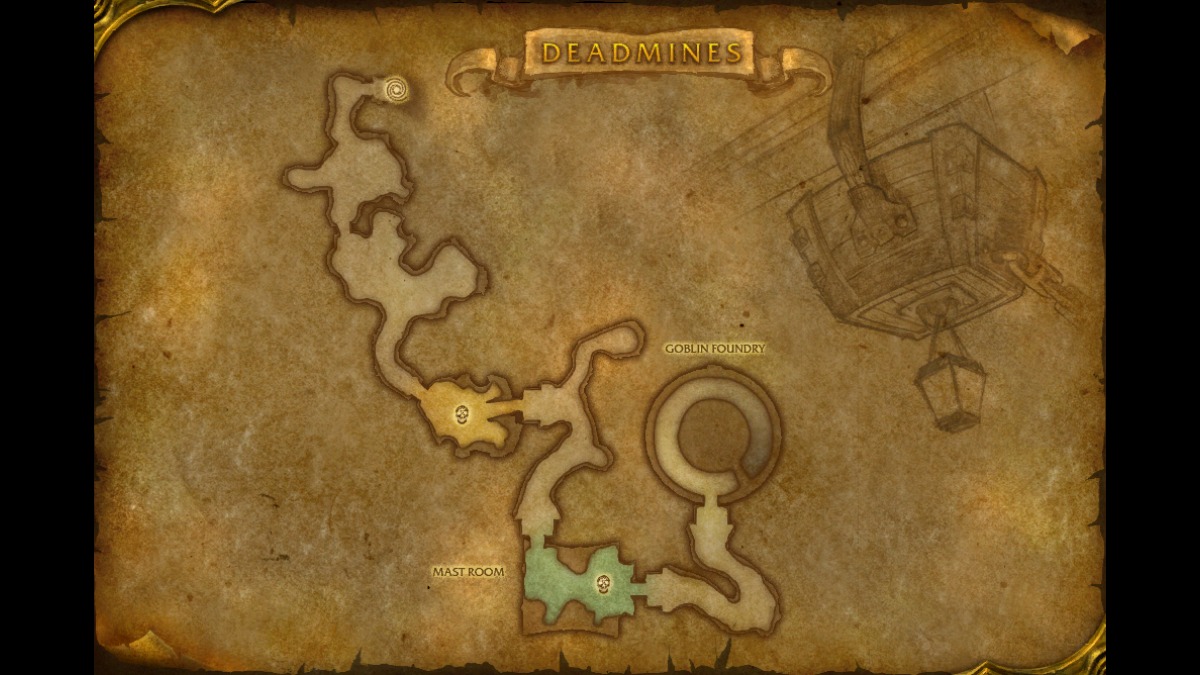
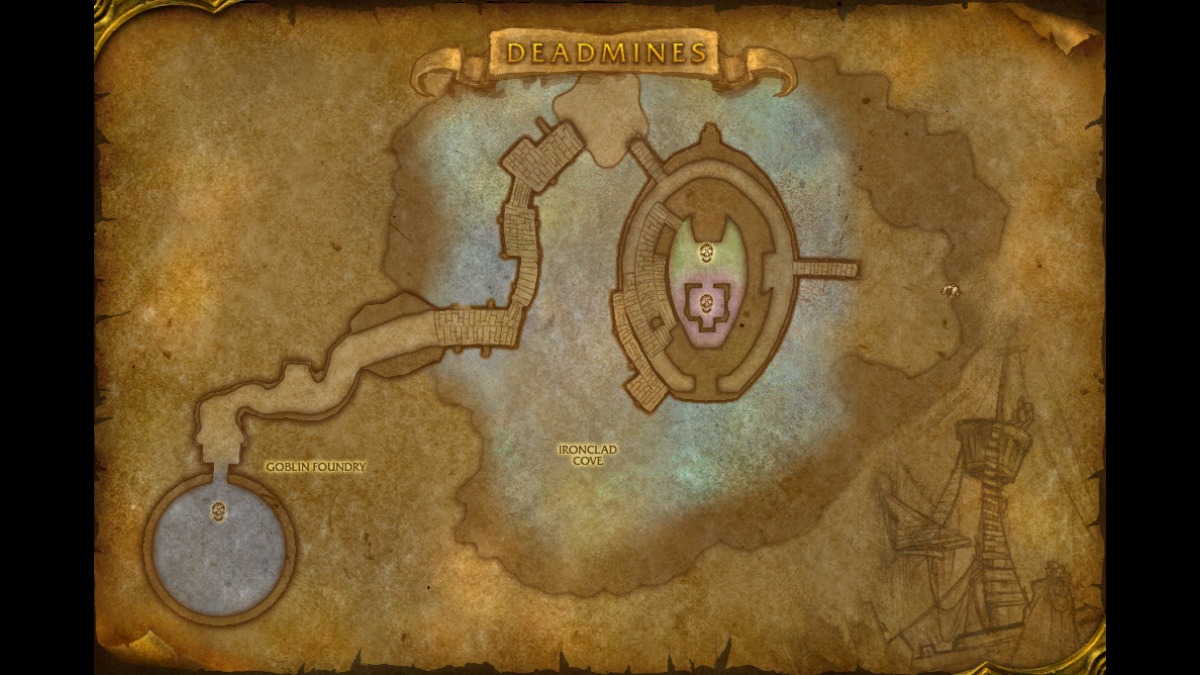
The first image is the non-instanced Deadmines cave, where you'll first enter from Moonbrook. The two quests Oh Brother... and Collecting Memories, are found here.
The Deadmines Dungeon Quests
The Deadmines only offers quests for the Alliance, with one exception for Horde Paladins for their level 20 class quest.
| Quest | Faction | Level | Location |
| Collecting Memories | Alliance | 14 | Wilder Thistlenettle - Dwarven District, Stormwind City |
| Oh Brother... | Alliance | 15 | Wilder Thistlenettle - Dwarven District, Stormwind City |
| Underground Assault | Alliance | 16 | Shoni the Shilent - Dwarven District, Stormwind City |
| Red Silk Bandanas | Alliance | 14 |
Scout Riell - Sentinel Hill, Westfall (Requires the completion of The Defias Brotherhood quest chain) |
| Destruction in Deadmines | Alliance | 14 |
Alba Fairmoon - Sentinel Hill, Westfall (Starts with Testing the Wells) |
| The Defias Brotherhood | Alliance | 14 |
Gryan Stoutmantle - Sentinel Hill, Westfall (Starts with The Defias Brotherhood) |
| The Unsent Letter | Alliance | 16 |
Edwin Van Cleef - The Deadmines |
| The Test of Righteousness | Alliance - Paladin Only | 20 |
Jordan Stillwell - Gates of Ironforge, Dun Morogh (Starts with Tome of Valor in the Cathedral of Stormwind City) |
| Quest | Faction | Level | Location |
| A Moon-Kissed Blade | Horde | 20 |
Lumina Windsinger - The Sepulcher, Silverpine Forest (Starts Bandarion Keep in Tirisfal Glades) |
The Deadmines IMPORTANT TRASH
There's a variety of the trash mobs in the Deadmines, and we've highlighted the most important ones to note. The challenge of this dungeons trash is the high mob density and how compact the trash mobs are.
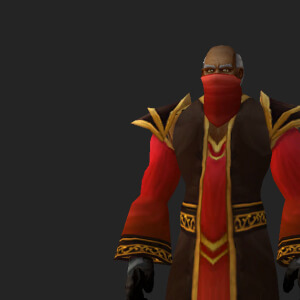
Defias Evoker
- Casts Flamestrike on the primary threat target's location. Can be interrupted. Move out if the cast goes out.
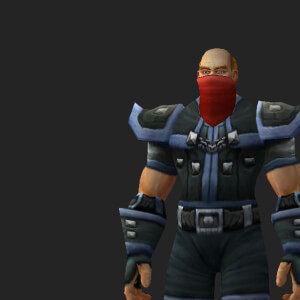
Defias Taskmaster
- Casts Piercing Shot which reduces target's armor by 580 for 15 seconds. Only casts when in shooting range.
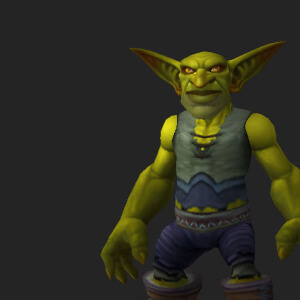
Goblin Woodcarver
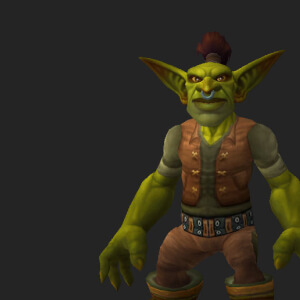
Goblin Craftsman and Engineer
- Crafstman will apply Melt Ore to their target, dealing fire damage and reducing movement speed by 40%.
- Engineers will Summon Remote-Controlled Golem - bringing a mechanical golem into the fight.
Defias Squallshaper and Pirate
- Squallshapers are mages that apply a Chilled effect and cast Fire Blast on the tank
- Pirates will summon a Bloodsail Companion into the fight, a non elite add.
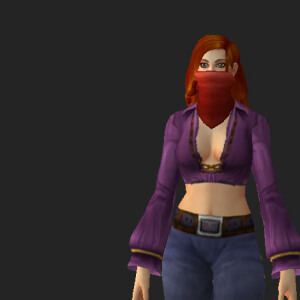
The Deadmines Bosses
Rhahk'zor
Rhahk'zor is the first boss in the Deadmines, and is accompanied by two Defias Watchman adds.
The boss will stun players with Rhahk'Zor Slam for 3 seconds and deals moderate damage to the tank with his auto attacks. You can pull the boss without the adds, but if you do pull the adds, use crowd control like a Polymorph on one of them.
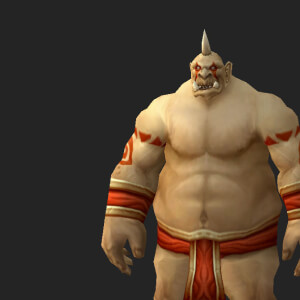
Miner Johnson (Rare)
Miner Johnson is a rare spawn in the dungeon, and only casts Pierce Armor on the tank. There are some Defias Miners around him, but we recommend focusing the boss first.
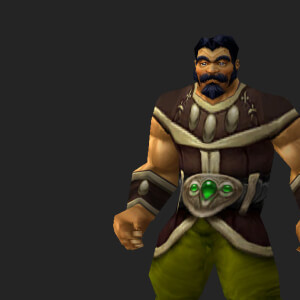
Sneed and Sneed's Shredder
Sneed is the 2nd boss of the dungeon, but before pulling, make sure you clear out enough of the room as he can fear players with Terrify.
He'll hit a player with Distracting Pain , and once you take down the Shredder, Sneed will come out. He'll Disarm whoever has threat.
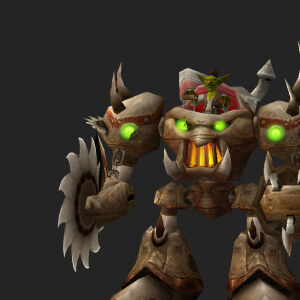
Gilnid
Gilnid is accompanied by some of his Goblin workers, and only has one ability: Molten Metal, dealing damage and slowing the player down by 50%.
This can be removed through a Paladin's Blessing Of Freedom. We recommend taking the boss down first, and then the adds after.
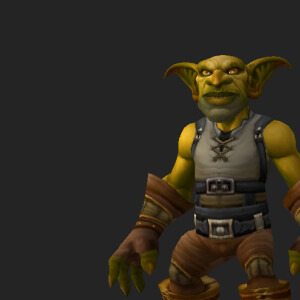
Mr. Smite
Mr. Smite guards the ship hidden within the Deadmines, and is accompanied by two Defias Blackguard adds. Mr. Smite will stun players with Smite Stomp twice, swapping to different weapons. First he'll swap to a 2-hand mace, and can Thrash.
Take down the two adds first, as if you trigger a stun while the adds are alive, they can kill players very easily. Once the adds are dead, push through each phase with ease.
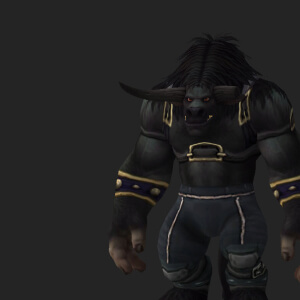
Cookie
Cookie patrols the left side of the boat after defeating Mr. Smite, and is often done last after Van Cleef.
He only has two abilities: Acid Splash and Cookie's Cooking. The former deals nature damage over time to the primary threat target, and the latter is a heal applied to himself.
Be careful pulling him unprepared or with too much trash, and take him down.
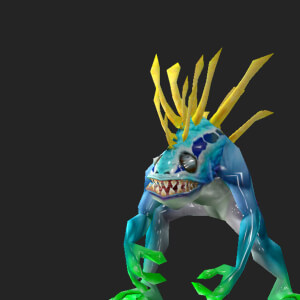
Captain Greenskin
Captain Greenskin is accompanied with one Defias Squallshaper, Defias Pirate, and Defias Companion.
The boss Cleaves and will cast Poisoned Harpoon on the tank. For this fight, take down the companion fast as its a non elite with little health, and then take down the boss immediately after. Afterwards, you can focus down the other two adds.
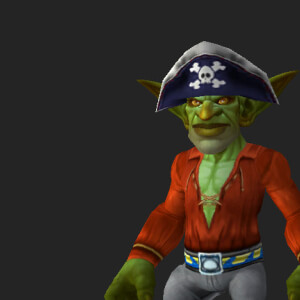
Edwin VanCleef
Edwin Van Cleef, the leader of the Defias Brotherhood, is the final boss of the Deadmines. He is accompanied by two Defias Blackguards, and at 50% health, will call for two more to come to his aid.
He has no abilities, but he can Thrash when attacking the tank. We recommend taking down the first two adds asap, as if you get four, it will more than likely be overpowering to your tank, and lead to their death and potentially a wipe.
However, if the boss is stunned as he reaches and gets below 50%, he will NOT summon two more adds. Take him down, and don't forget to loot An Unsent Letter to start the Stockades quest chain.
The Deadmines Dungeon Loot
Rhahk'Zor Loot
The loot table below shows all drops from Rhahk'Zor in The Deadmines.
| Type | Item | Boss |
|---|---|---|
| Mace Two-Hand | Rhahk'Zor | |
| Axe Two-Hand | Rhahk'Zor | |
| Cloth Legs | Rhahk'Zor |
Miner Johnson (Rare) Loot
The loot table below shows all drops from Miner Johnson (Rare) in The Deadmines.
| Type | Item | Boss |
|---|---|---|
| Back | Miner Johnson (Rare) | |
| Shield Shield | Miner Johnson (Rare) |
Sneed and Sneed's Shredder Loot
The loot table below shows all drops from Sneed and Sneed's Shredder in The Deadmines.
| Type | Item | Boss |
|---|---|---|
| Dagger Main Hand | Sneed and Sneed's Shredder | |
| Sword One-Hand | Sneed and Sneed's Shredder | |
| Thrown Thrown | Sneed and Sneed's Shredder | |
| Quest Item | Sneed and Sneed's Shredder |
Gilnid Loot
The loot table below shows all drops from Gilnid in The Deadmines.
| Type | Item | Boss |
|---|---|---|
| Leather Legs | Gilnid | |
| Finger | Gilnid | |
| Mace Main Hand | Gilnid | |
| Blacksmithing | Gilnid |
Mr. Smite Loot
The loot table below shows all drops from Mr. Smite in The Deadmines.
| Type | Item | Boss |
|---|---|---|
| Axe One-Hand | Mr. Smite | |
| Sword One-Hand | Mr. Smite | |
| Mace Two-Hand | Mr. Smite | |
| Finger | Mr. Smite |
Cookie Loot
The loot table below shows all drops from Cookie in The Deadmines.
| Type | Item | Boss |
|---|---|---|
| Mace One-Hand | Cookie | |
| Wand Ranged | Cookie | |
| Trinket | Cookie | |
| Cooking | Cookie |