

 Up to 84% Off VPN
Introduction
Welcome to Method's Blackfathom Deeps Dungeon guide for World of Warcraft: Forever. In this guide, we’ll be going over all trash, bosses, loot, and quests for the Blackfathom Deeps.
Blackfathom Deeps is located in Ashenvale and is a linear dungeon with 6 bosses and a potential additional rare spawn.
Blackfathom Deeps Location
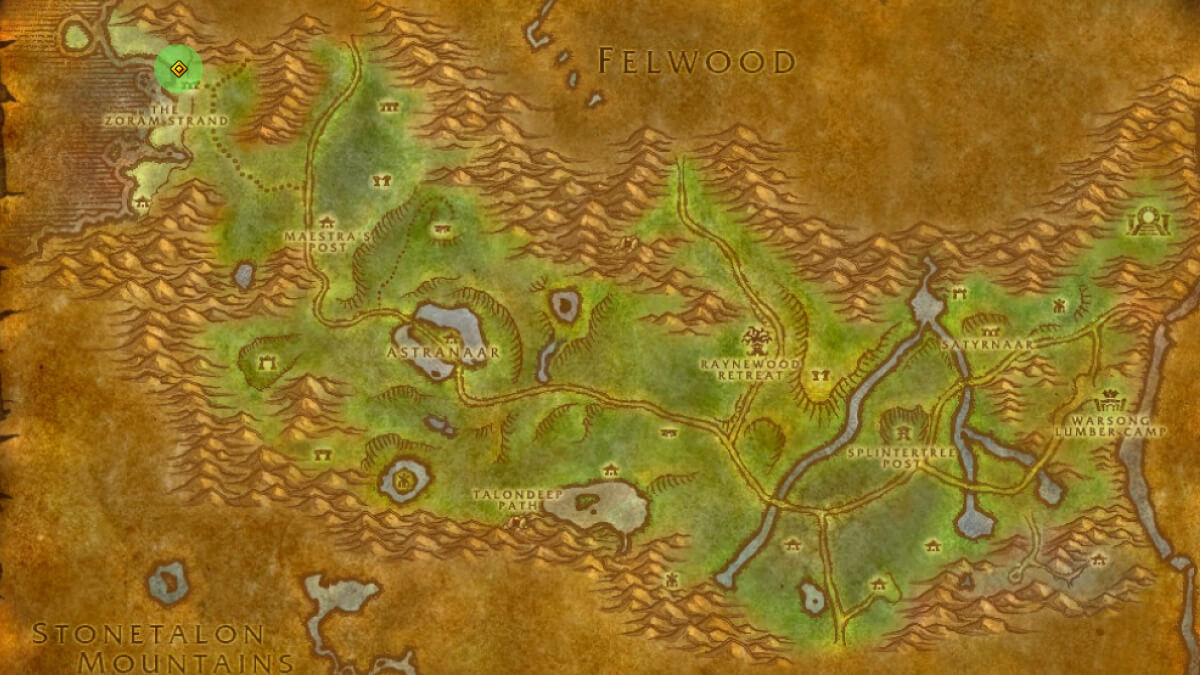
Blackfathom Deeps is located in Ashenvale in the northern area of Zoram Strand.
How To Get To Blackfathom Deeps
Follow the guidance below to learn how to get to Blackfathom Deeps depending on your faction.
Alliance players should travel from Auberdine in Darkshore and head south to the dungeon.
All alliance players will have easy access to get here, as in WoW: Forever has added Stormwind Harbor, a port in Stormwind City with a boat that takes players straight to Auberdine.
Horde players have a flightpath in the Zoram Strand. The closest capital cities will be Orgrimmar and Thunderbluff.
By this level, Horde should have the Crossroads flightpath at least. When traveling to the Zoram Strand, make sure you grab the flightpath before you head to the dungeon!
Blackfathom Deeps Dungeon Quests
There are several quests for Blackfathom Deeps for both Alliance and Horde, along with a couple of class quests for Warlock and Paladin
| Quest | Faction | Level | Location |
| Knowledge in the Deeps | Alliance | 10 | Gerrig Bonegrip - Forlorn Cave, Ironforge |
| Researching the Corruption | Alliance | 18 | Gershala Nightwhisper - Auberdine, Darkshore |
| Twilight Falls | Alliance | 20 | Argent Guard Manados - Craftsman's Terrace - Darnassus |
| In Search of Thaelrid/Blackfathom Villainy | Alliance | 18 | Dawnwatcher Shaedlass - Craftsman's Terrace - Darnassus |
| Quest | Faction | Level | Location |
| The Essence of Aku'Mai | Horde | 17 | Je'neu Sancrea - Zoram'gar Outpost, Ashenvale |
| Allegiance to the Old Gods | Horde | 17 | Picked up from Damp Note off of Blackfathom Tide Priestess's outside of the Dungeon |
| Blackfathom Villainy | Horde | 18 | Argent Guard Thaelrid - Blackfathom Deeps |
| Amongst the Ruins/Baron Aquanis | Horde | 21 | Je'neu Sancrea - Zoram'gar Outpost, Ashenvale |
| Quest | Faction | Level | Location |
| The Orb of Soran'ruk | Alliance | 20 | Doan Karhan - Near Camp Taurajo - The Barrens |
| The Orb of Soran'ruk | Horde | 20 | Doan Karhan - Near Camp Taurajo - The Barrens |
| Quest | Faction | Level | Location |
| The Test of Righteousness | Alliance | 20 | Starts from the Tome of Valor - Cathedral Square, Stormwind City |
| A Moon-Kissed Blade | Horde | 20 | Starts with Diplomatic Incident - Bandarian Keep, Tirisfal Glades |
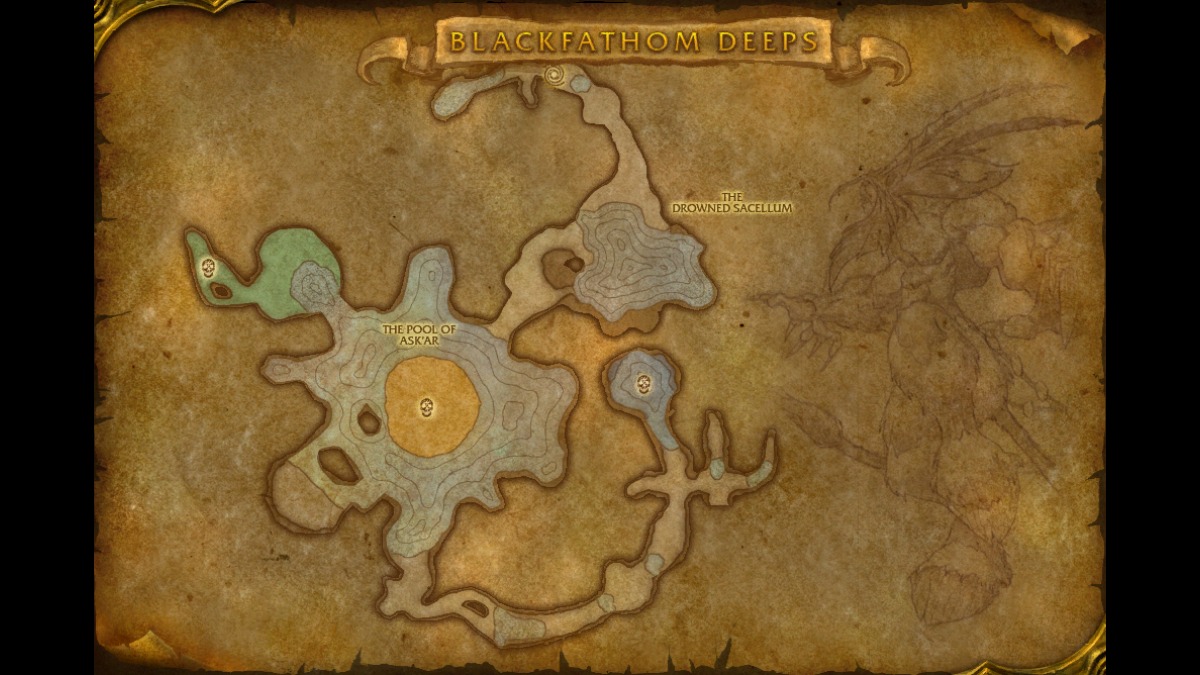
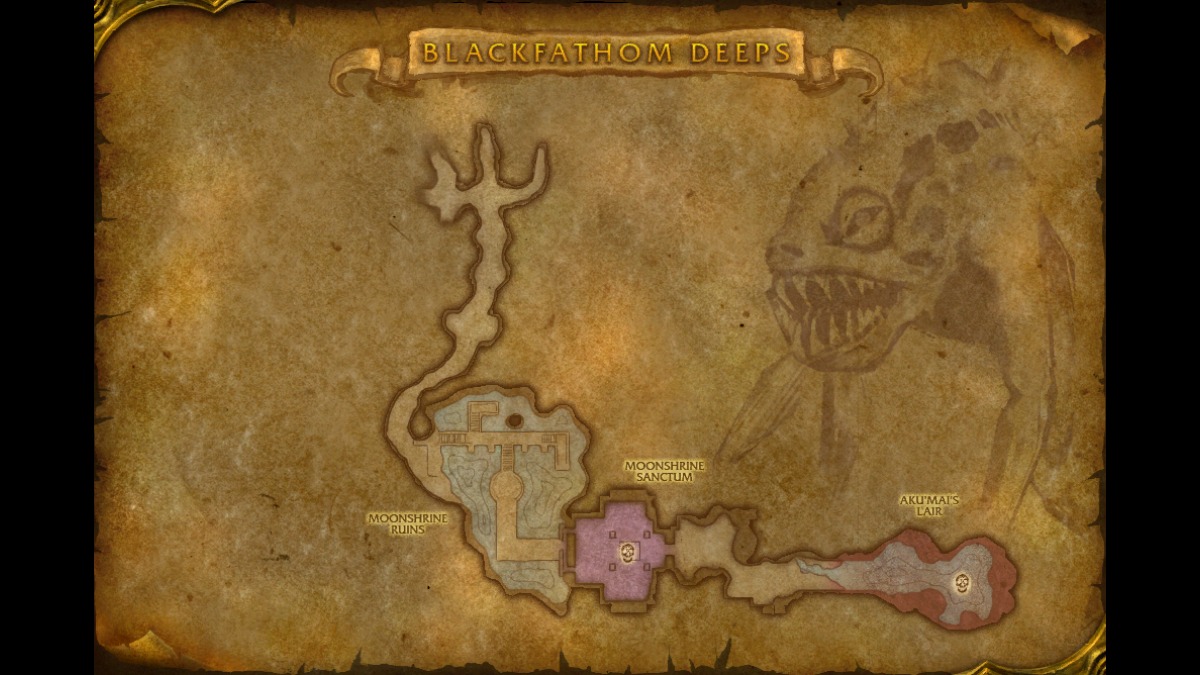
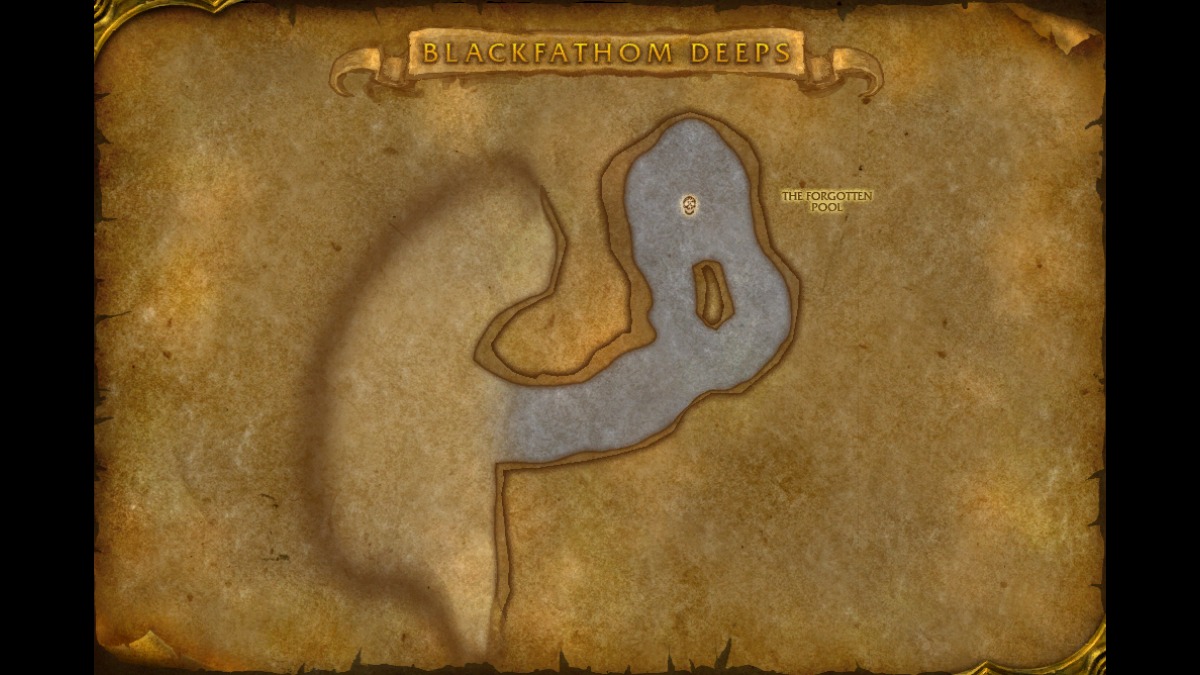
Blackfathom Deeps Dungeon Map
Blackfathom Deeps Important Trash
The trash here consists of Naga, Beasts, Satyr, and Twilights Hammer cultists.
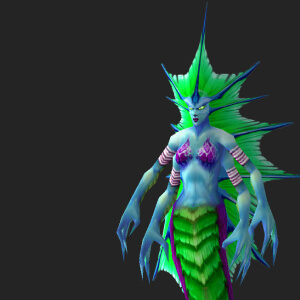
Fallenroot Shadowstalker
- Stealthed mobs through Sneak, will only come out when they attack or are attacked.
- Will Apply Curse of Weakness on the tank.
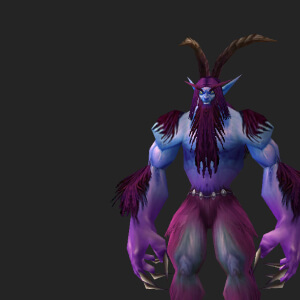
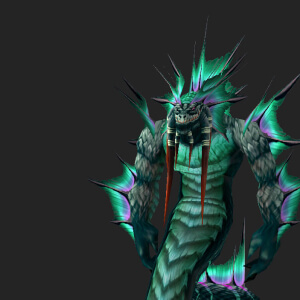
Fallenroot Hellcaller
- Will Mana Burn mana targets. Interupt or stun this, do not let this go off!
- Will cast Shadow Bolt when not casting Mana Burn.
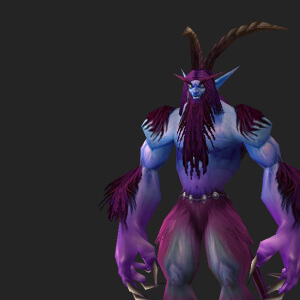
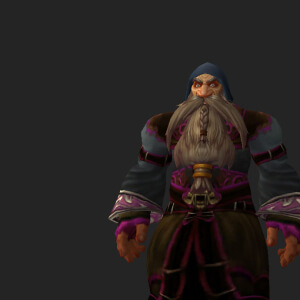
Twilight Acolyte
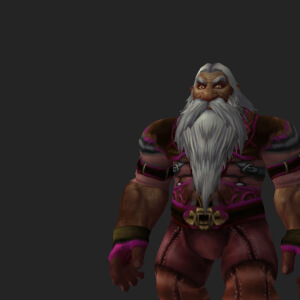
Twilight Loreseeker
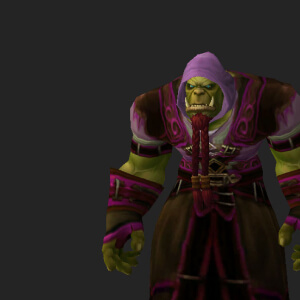
Twilight Shadowmage
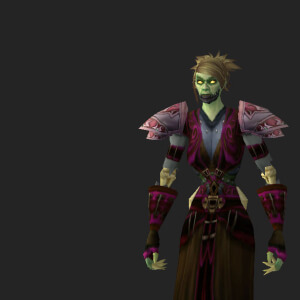
- Focus these targets first, as they'll attempt to mind control players through Dominate Mind.
- Will cast Shadow Bolt on the primary threat target. When pulling these mobs, use Line of Sight to get them closer.
Blackfathom Deeps Bosses
The bosses of Blackfathom Deeps consist of beasts, Naga, Murlocs, and Twilight's Hammer Cultists
Ghamoo-Ra
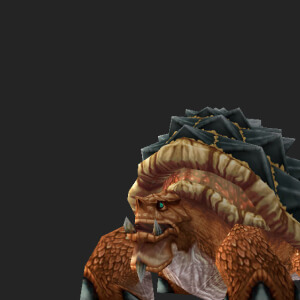
Ghamoo-ra is the first boss of Blackfathom Deeps. He has high armor and will take reduced physical damage. Casters will be able to still deal their normal damage.
His only ability is Trample, dealing AoE damage to everyone around him. Use armor reduction abilities such as Sunder Armor and Faerie Fire for your physical damage dealers.
Lady Sarevess
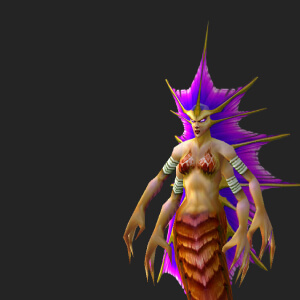
Lady Sarevess is accompanied by two other Naga enemies. Take down the adds first, then Sarevess. Use stuns on the adds to take them down faster, and you can use crowd control like a Mage's Polymorph to make the fight easier.
Forked Lightning will hit everyone in front of the target, so the tank should face the boss away from the raid. She'll also Frost Nova anyone around here, and then proceed to leave melee range of the tank and Shoot them until the tank can be freed or the timer runs out.
On top of that, she'll cast Slow on a random target. Take the adds down, or use crowd control, tank the boss facing away from the raid, and burn her down.
Gelihast
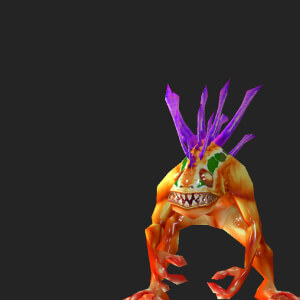
The main focus of this encounter is pulling the Murloc NPCs before pulling the boss. Pull them back and take them out in packs of 1-2. Once the room is clear, pull the boss.
Gelihast only has one ability: Net, which just immobilizes the target for 10 seconds. Once the adds around the boss are dead, you just essentially take down another murloc add but with a name.
Old Serra'kis
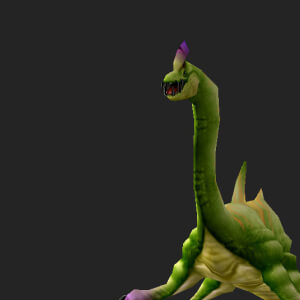
Old Serra'kis hides in the waters of Blackfathom Deeps. He has no abilities, but the challenge is defeating him before you drown. Take a deep breath, get in the water, and take this boss down!
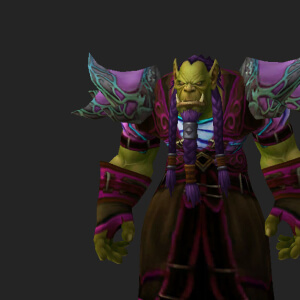
Twilight Lord Kelris
Twilight Lord Kelris protects Aku'mai and prevents anyone from entering his quarters. Before pulling the boss, take out the adds around the room. Use the wall by the entrance to Line of Sight the caster mobs to your party.
Twilight Lord Kelris has two abilities: Mind Blast, and Sleep. He'll continuously cast Mind Blast on the tank, and will put a random player to Sleep, even the healer!
Aku'mai
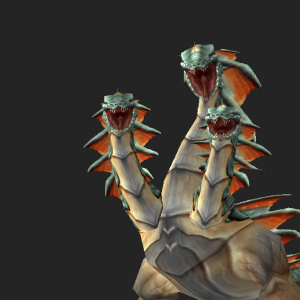
Aku’mai is hidden in a secret chamber past Kelris's quarters in Blackfathom Deeps. To gain access, defeat the mobs that are summoned when you click the 4 braziers.
Click the Braziers one at a time because clicking all of them will summon them all at once and will be too overwhelming. Here's what gets summoned:
- Bottom Right - 2 Aku'mai Servants on each side.
- Bottom Left - 3 Aku'mai Snapjaws on each side.
- Top Right - 10 Murkshallow Softshell on each side.
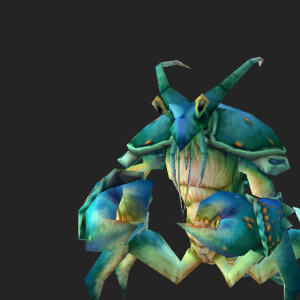
- Top Left - 4 Barbed Crustaceans on each side.
Aku'mai himself is a simple boss with only two mechanics: Poison Cloud and Frenzied Rage. Poison Cloud will influct heavy nature damage to all players every 5 seconds for 45 seconds. Move out of the clouds. A
s the fight progresses, Aku'mai will enrage with Frenzied Rage, increasing attack speed by 75%. No one should be taking poison cloud damage, and the healer should only be focusing on the tank in this fight, especially during Frenzied Rage.
Blackfathom Deeps Dungeon Loot
Ghamoo-ra Loot
The loot table below shows all drops from Ghamoo-ra in Blackfathom Deeps.
| Type | Item | Boss |
|---|---|---|
| Cloth Waist | Ghamoo-ra | |
| Mail Chest | Ghamoo-ra | |
| Finger | Ghamoo-ra |
Lady Sarevess Loot
The loot table below shows all drops from Lady Sarevess in Blackfathom Deeps.
| Type | Item | Boss |
|---|---|---|
| Sword Main Hand | Lady Sarevess | |
| Leather Hands | Lady Sarevess | |
| Bow Ranged | Lady Sarevess |
Gelihast Loot
The loot table below shows all drops from Gelihast in Blackfathom Deeps.
| Type | Item | Boss |
|---|---|---|
| Axe Two-Hand | Gelihast | |
| Mail Hands | Gelihast | |
| Trinket | Gelihast | |
| Fishing | Gelihast |
Old Serra'kis Loot
The loot table below shows all drops from Old Serra'kis in Blackfathom Deeps.
| Type | Item | Boss |
|---|---|---|
| Back | Old Serra'kis | |
| Leather Wrist | Old Serra'kis | |
| Dagger One-Hand | Old Serra'kis |