Up to 84% Off VPN
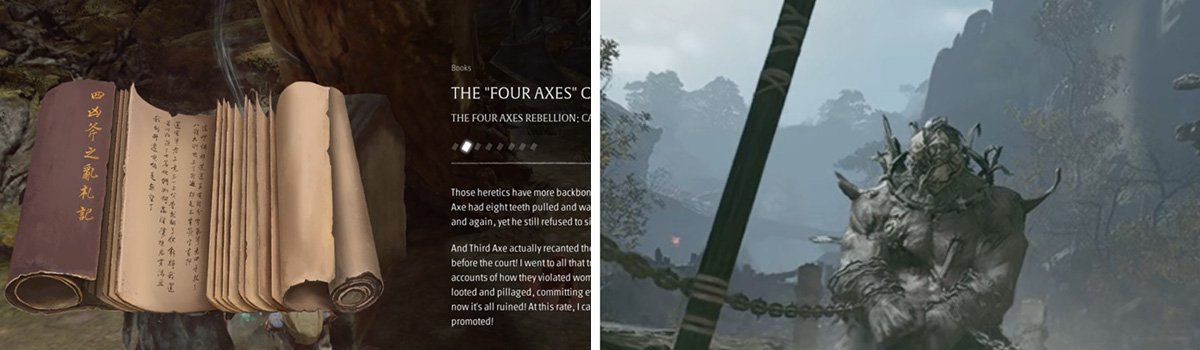
In Phantom Blade Zero, the Four Fierce Axes quest is one of the first quests you will be able to start, but it's surprisingly lengthy. There are 3 sections to the quest, multiple bosses to overcome, and several places you'll need to journey to as you interact with different characters and locate all pieces of evidence.
If you're wondering how to complete every part of the Four Fierce Axes quest in Phantom Blade Zero, this guide has you covered with the complete process, including all collectibles you'll need to obtain, plus when and where to pick up each one.
Quick Links
- How to Start the Four Fierce Axes Quest
- How to Discover the Truth About the Rebellion
- How to Gather the Evidence - All Document Locations
- How to Get the Key for Sha-Chi Tower Base Camp
- How to Find Evidence Document #7
How to Start the Four Fierce Axes Quest
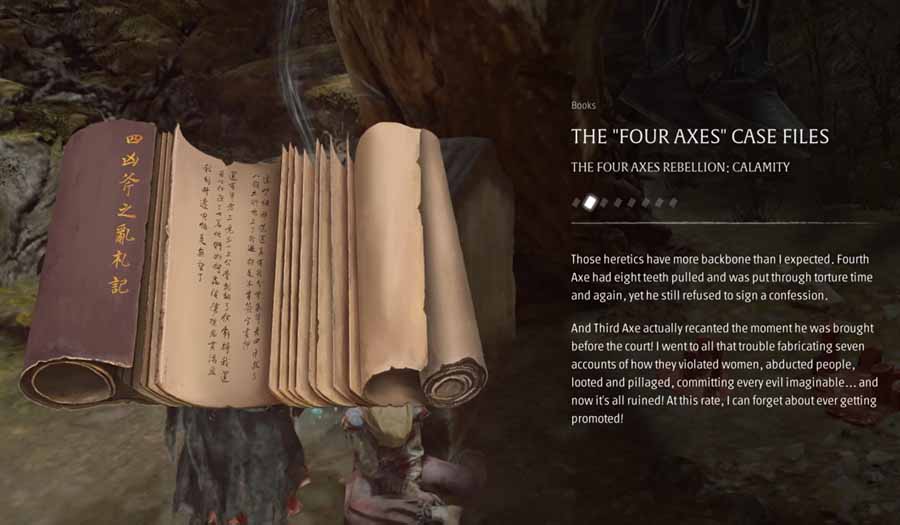
The Four Fierce Axes quest can be triggered at the beginning of the game, right around when you reach the red thread barrier.
Once you reach the Broken Puppet Valley bell, there will be a body laying underneath a tree. Pick up the note on the body, and the Four Fierce Axes will be added to your quest log.
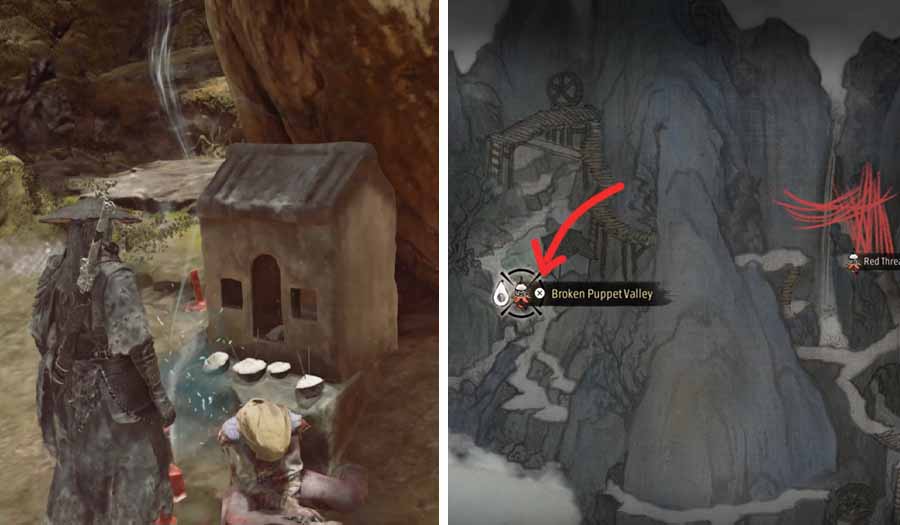
Now there is a second note you need to grab, found inside the house directly across from the tree.
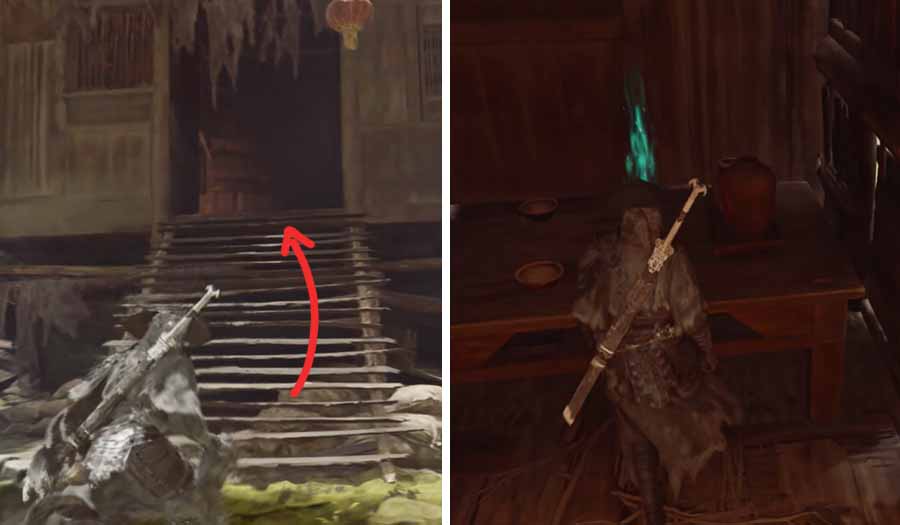
This note can be found sitting on the table.
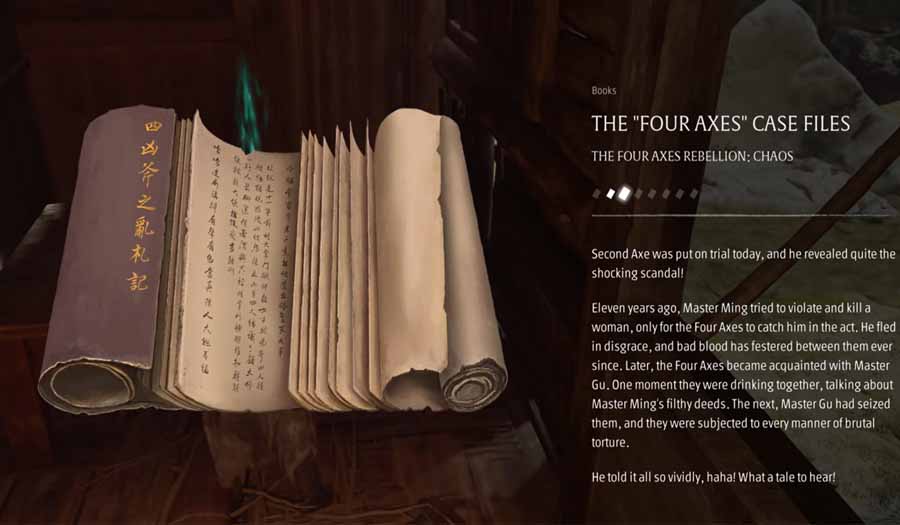
Now you need to continue progressing through the path until you reach the nearby Weeping Creek Valley Outpost Area.
Once you reach the Outpost Courtyard bell, the third bell can be found at the map screenshot below.
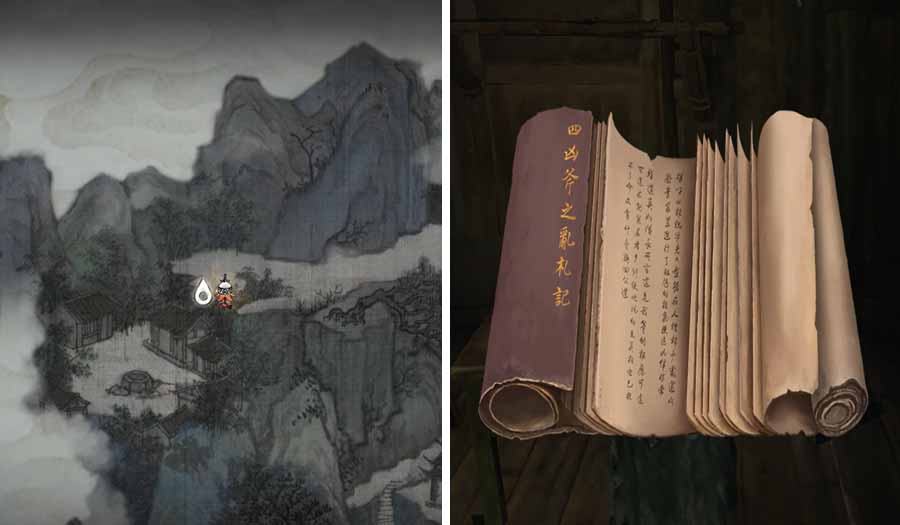
Clear out the enemies, and then enter the following house to pick up the case file from the table.
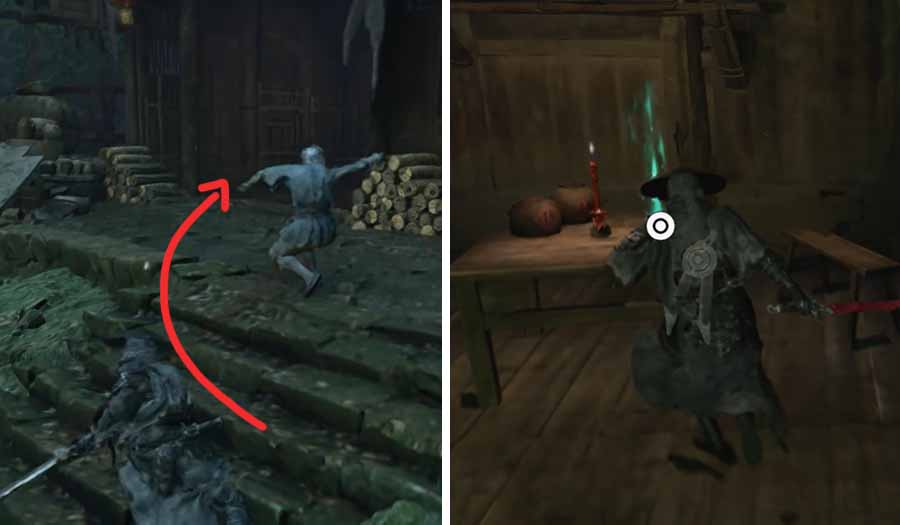
Now keep following the path. Clear out the enemies in front of the gate and speak to the guards to give you access to the village.
How to Discover the Truth About the Rebellion
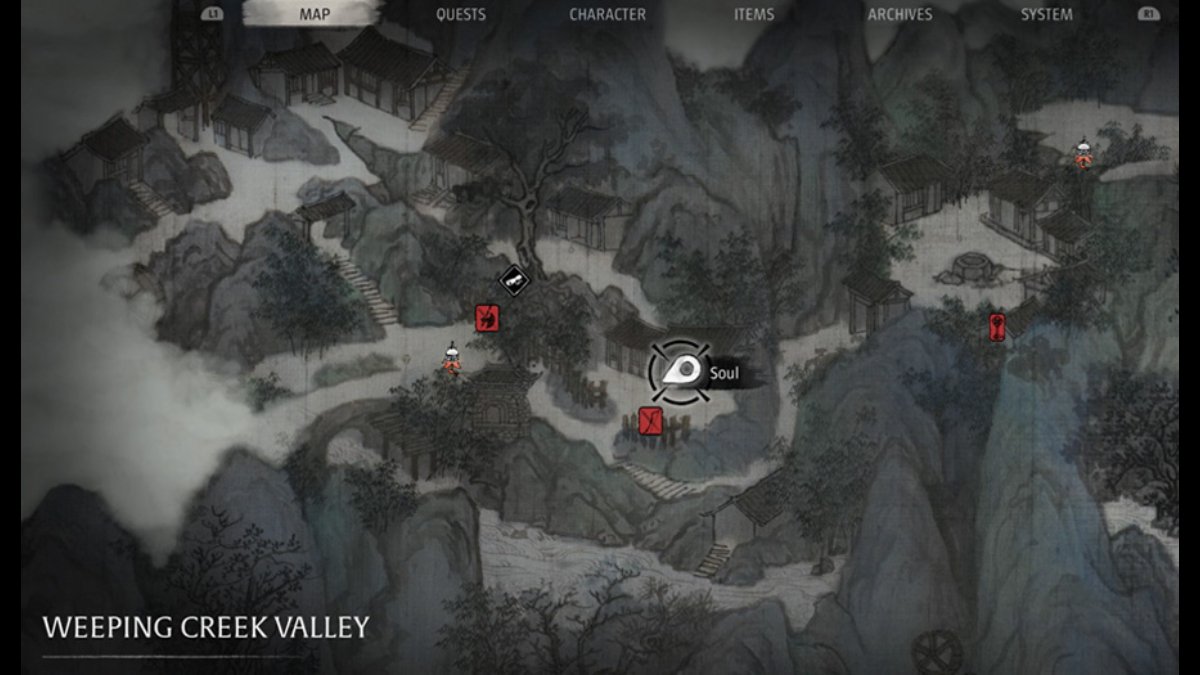
The next step is to discover the truth about the rebellion. First, ring the bell in the middle of the village. Now head over to the nearby house marked on the map screenshot above and walk inside.
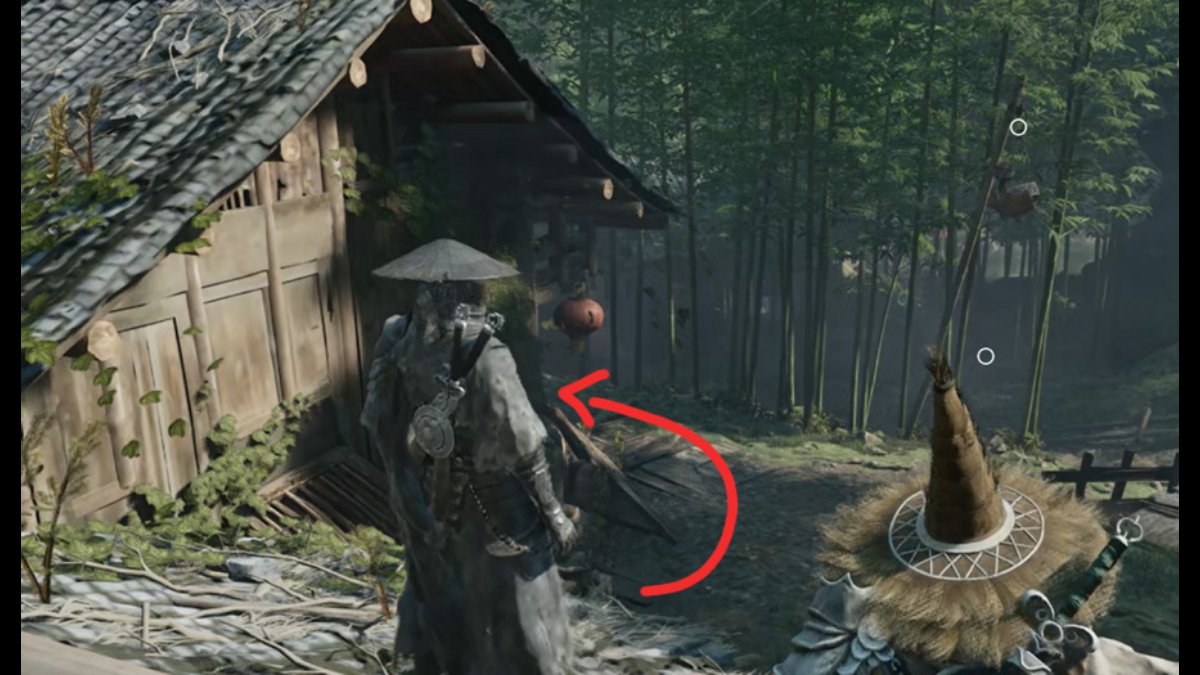
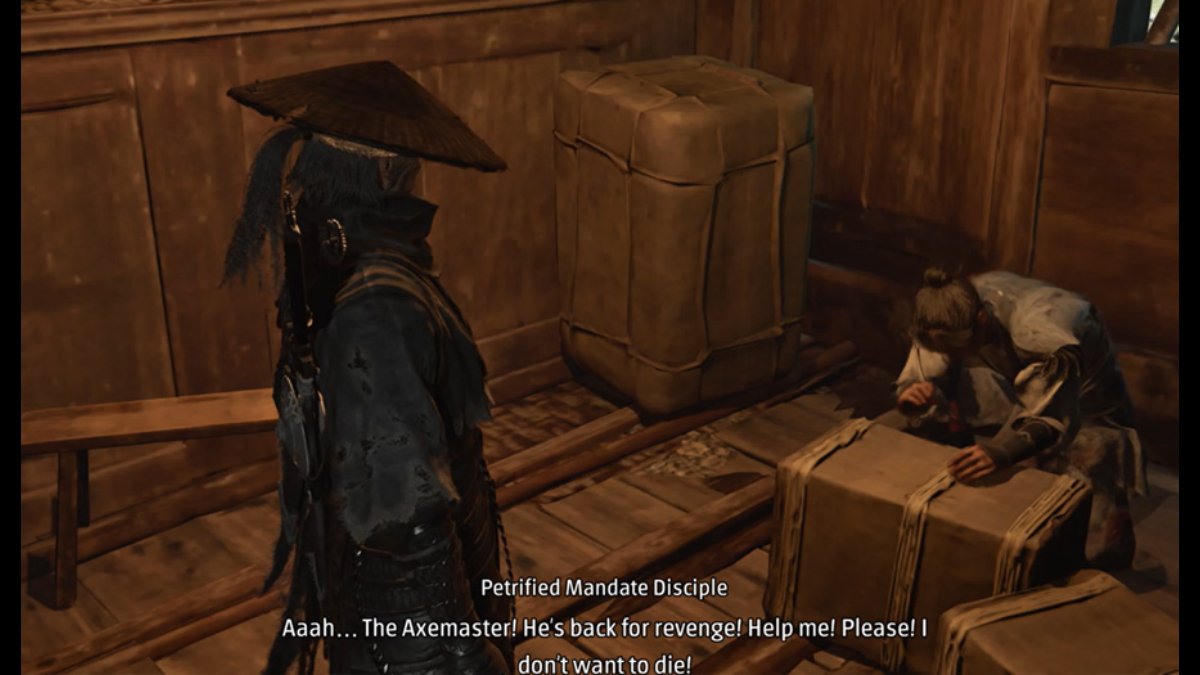
Here you will find the Petrified Mandate Disciple hiding among some boxes. Speak to him, and he will trigger the next objective, which is to defeat Axemaster Peng Meng. This is likely one of the first bosses you'll go up against, so be sure to unlock some skills and upgrade your equipment beforehand.
How to Find & Beat Peng Meng, The Axemaster
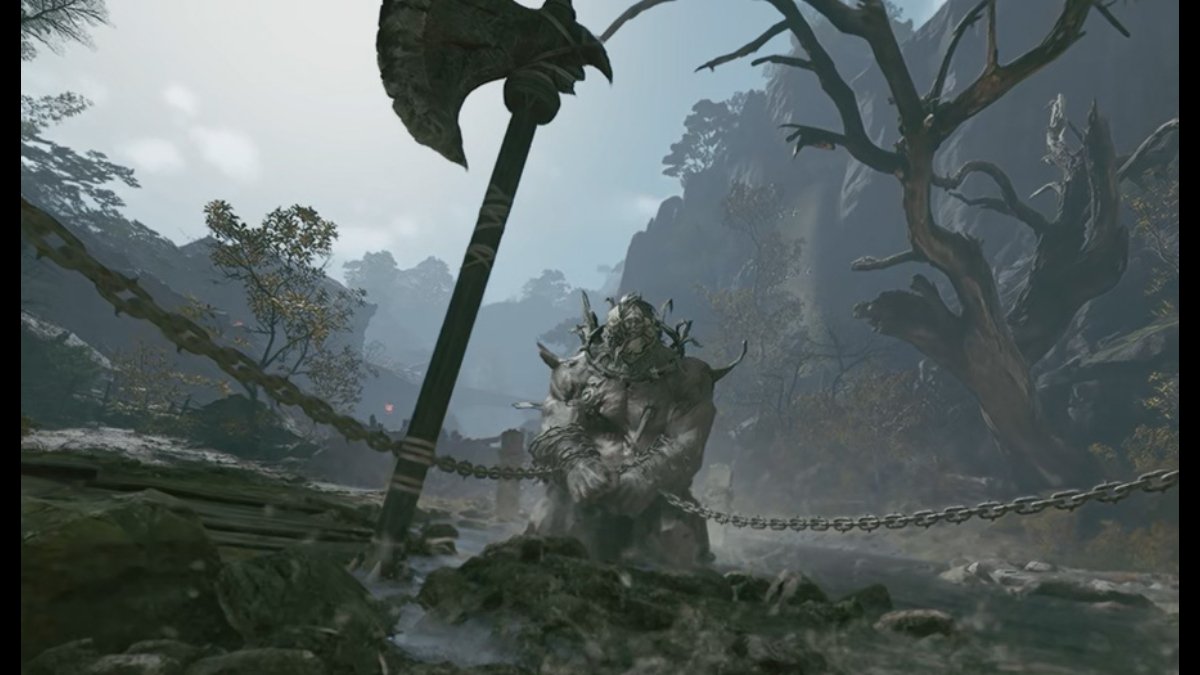
To find Peng Meng, continue following the path through the outpost, through the gates into the open section of the river. Here you'll find the Axemaster, who will be waiting for combat, so go ahead and take him down in battle.
He's a fairly big and sluggish guy who uses a giant axe (who would have guessed?) - time your parries right to deflect his heavy swings and weave your quick combos between his slower actions, and you should defeat him rather efficiently.
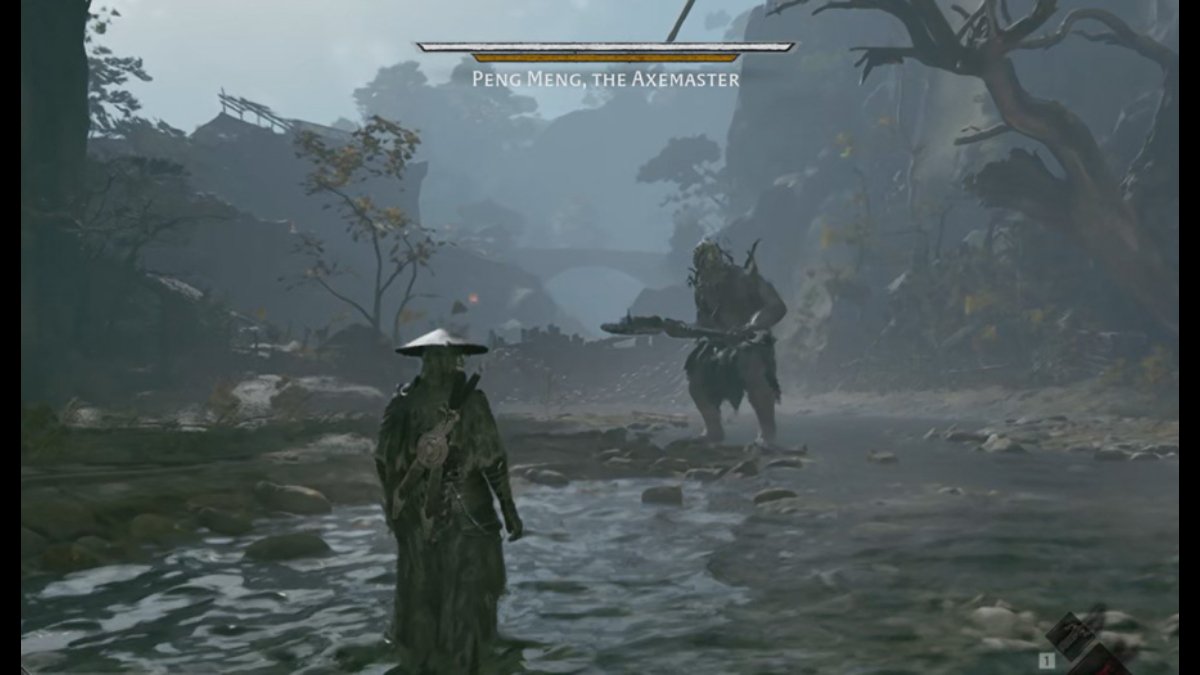
This will grant you the Dread Axe, one of the first Phantom Edges available in the game. It can be used for heavy attacks in combat, as well as for breaking through chained barriers during exploration.

How to Gather the Evidence - All Document Locations
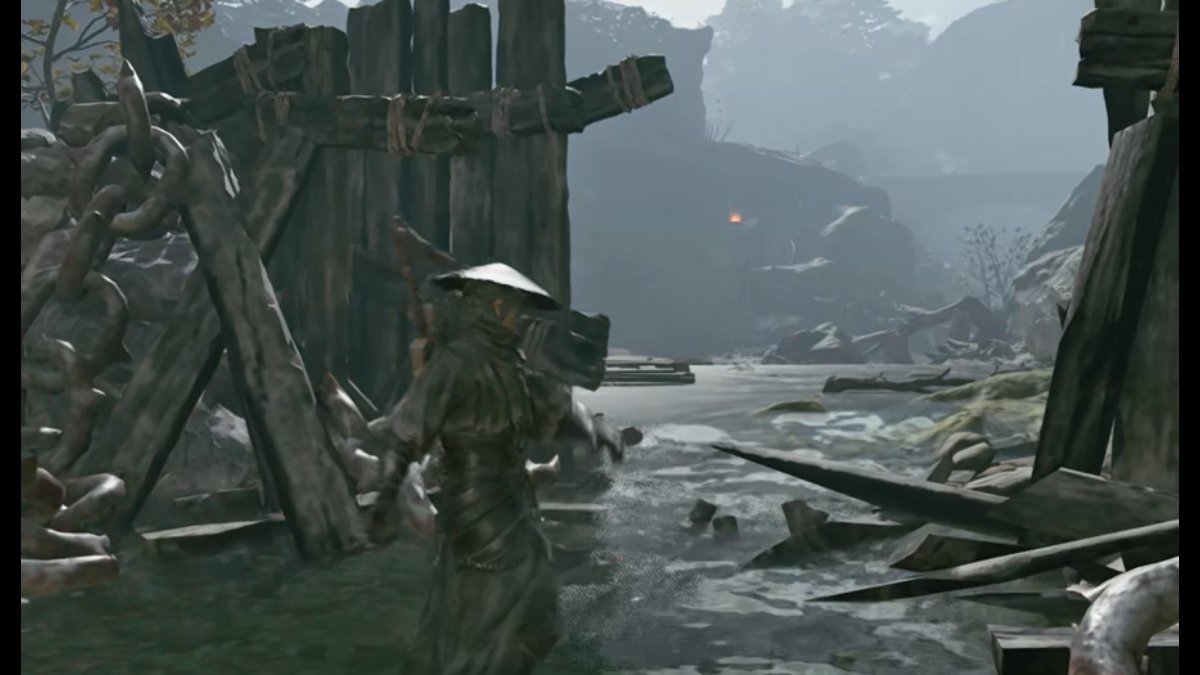
The second stage of the quest has you collect evidence documents scattered throughout the map behind barriers, bosses, and locked doors.
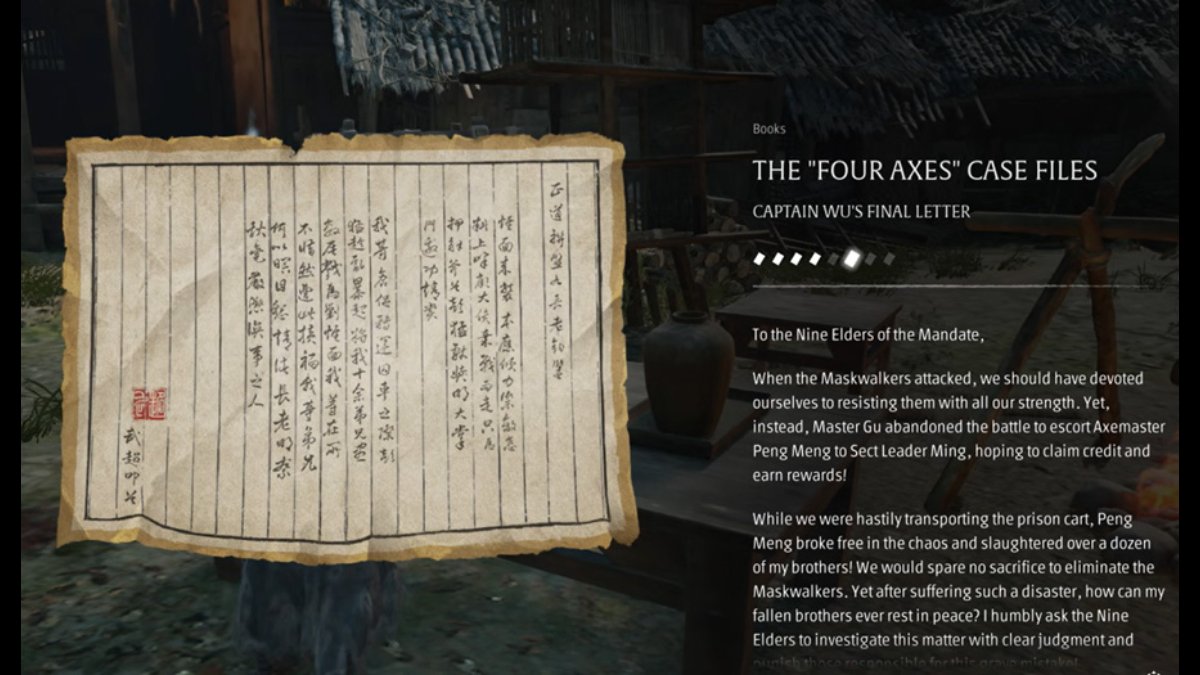
To find the fourth document, use your new Dread Axe to break through the chained barrier blocking the river and follow the path forward. You can find the next document up ahead, on a table out in the open of the Axemaster's Holding Cell area.
Document #4 Location
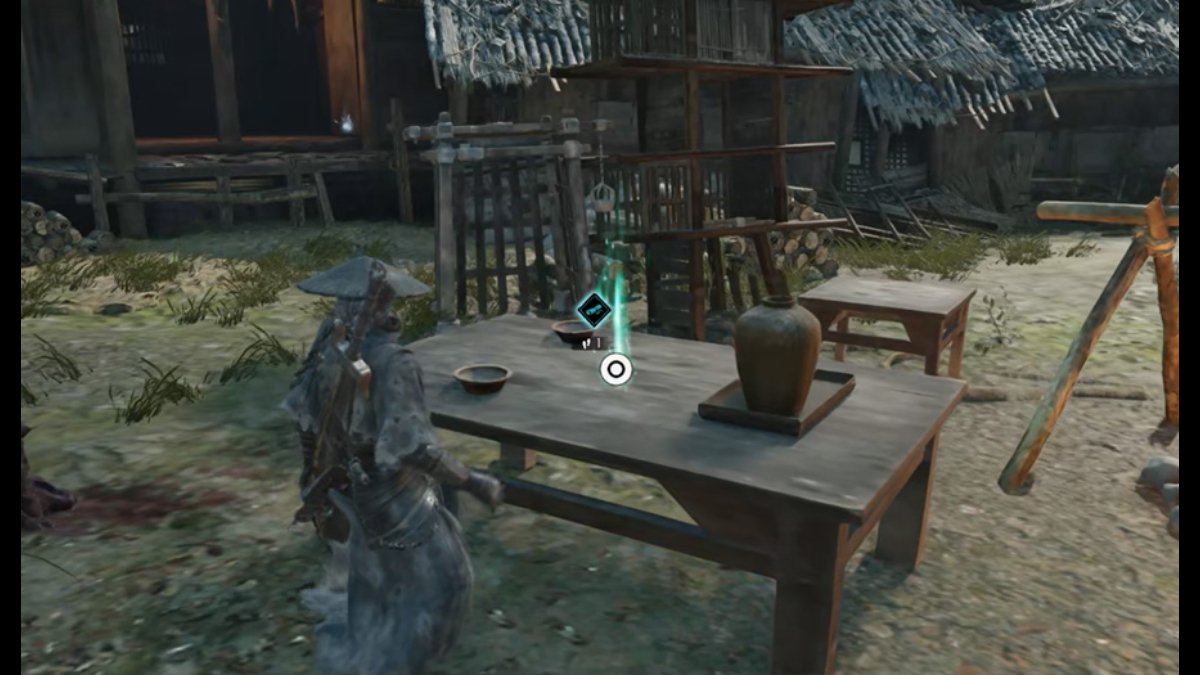
How to Find & Beat the Hunt, Hunter of the Order
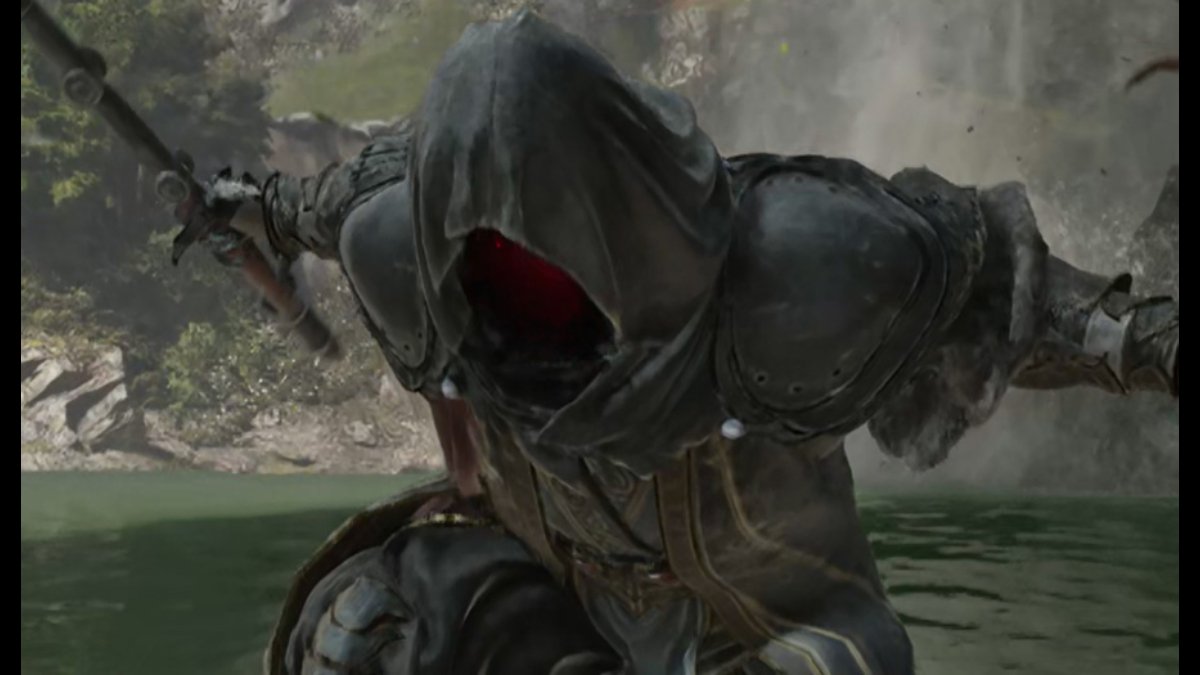
The next section after this has you work towards picking up document #5. You need to complete some other quests and tasks before you can truly move forward, with the significant one being finding and beating The Hunt.
Here is a complete list of everything that needs to be done to reach The Hunt:
- Use your Dread Scythe to smash the barrier back at the Outpost and follow the progression to complete the Festering Secret quest.
- Complete the Sha-Chi tower by following these steps:
- Climb a few floors up the tower and speak to the Shadow Warden.
- Now climb to the top of the structure and descend the ladder to the left. Defeat the enemy here to gain the missing crank needed to open the furnace.
- Open the furnace to get the stone from inside. Now return to the Shadow Warden and give him the stone.
Now take the ladder back down to where you defeated the previous enemy and follow this path forward across the bridge. Once you reach the waterfall, your battle with The Hunt will begin.
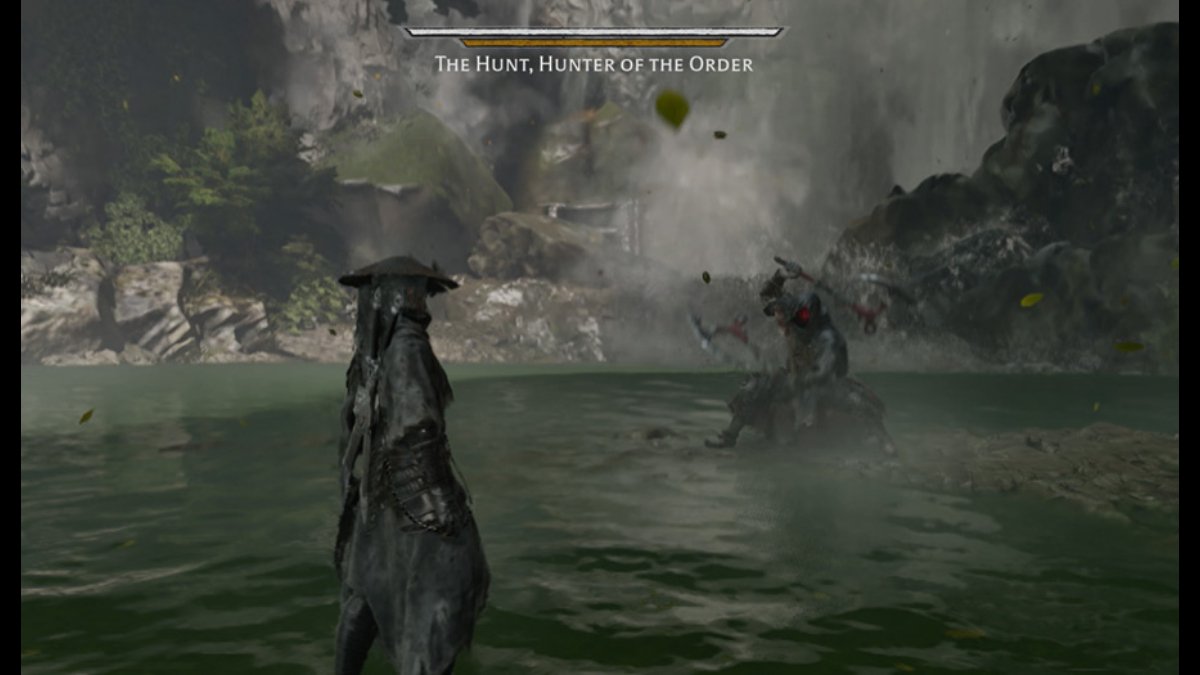
He's a fair bit quicker than the Axemaster, but he also attacks in somewhat predictable multi-hit combos. Take your time and use your parries to wither him down, and then strike aggressively once he's vulnerable.
He also has a second phase in this fight where he will grow extra arms and send out tornado attacks, so don't let your guard down.
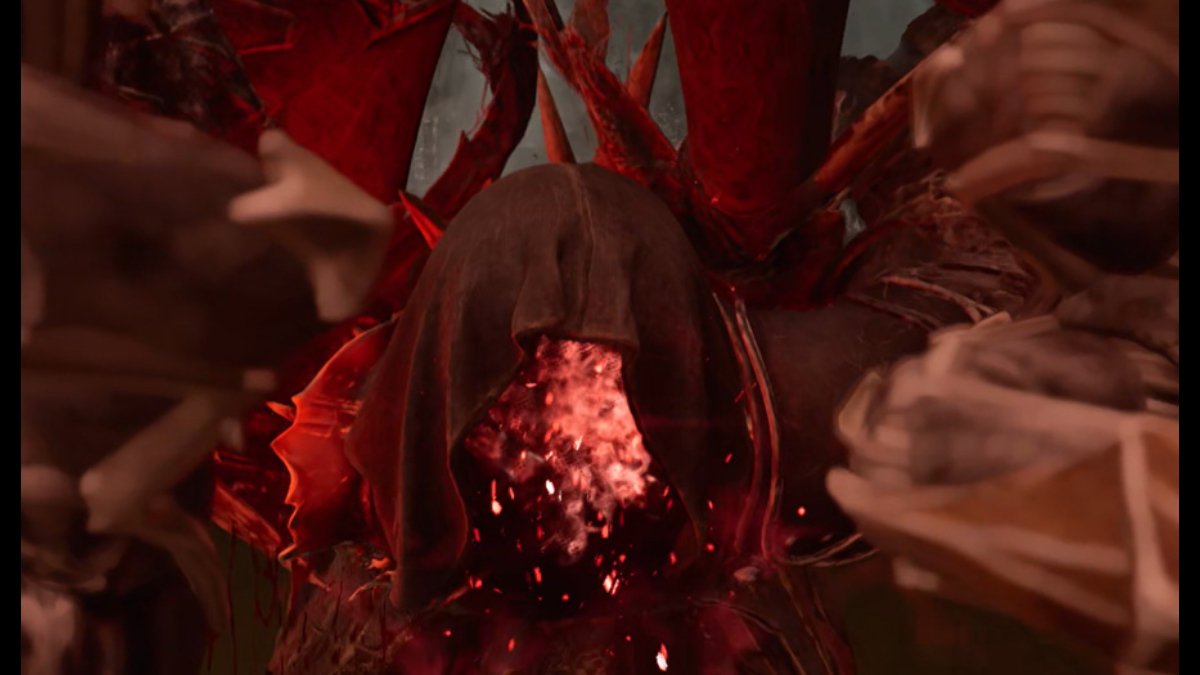
After being The Hunt, you will have the Hunter's Chain Sickle Phantom Edge. In combat, it has some great mid-range combos that can chain hits on multiple enemies, as well as pull enemies in closer for follow-up attacks.
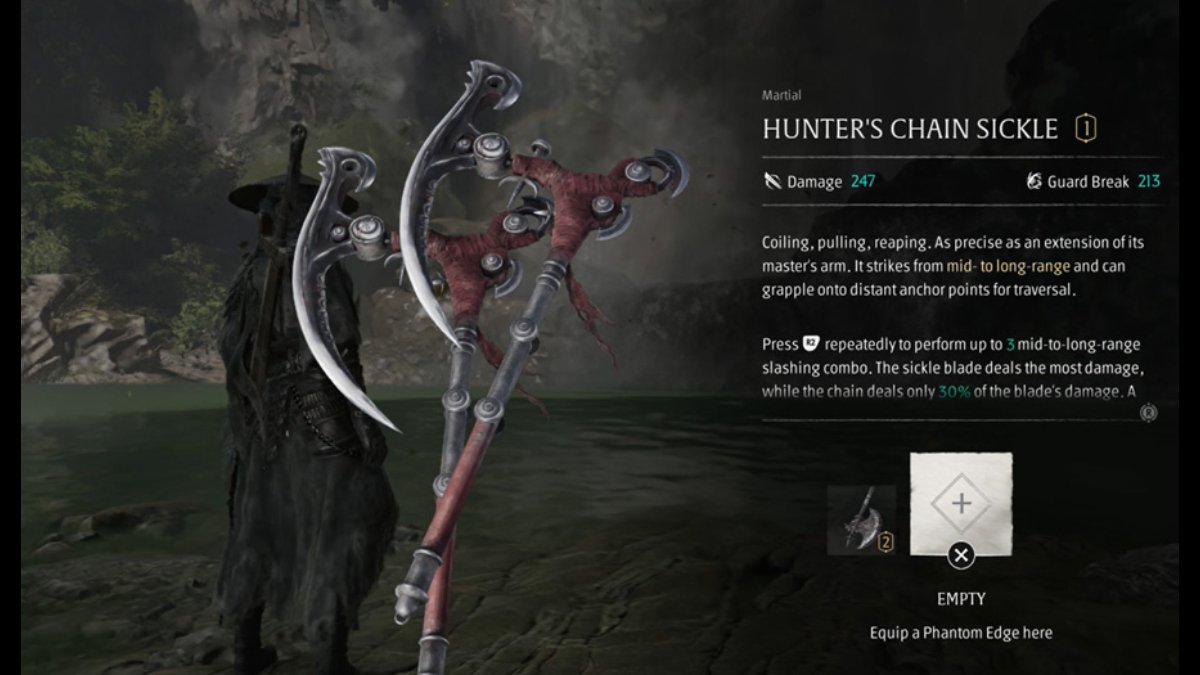
the more important thing, though, is that this Phantom Edge lets you grapple towards far-to-reach points, opening up your exploration. This will also be needed for collecting the last documents.
How to Get the Key for Sha-Chi Tower Base Camp
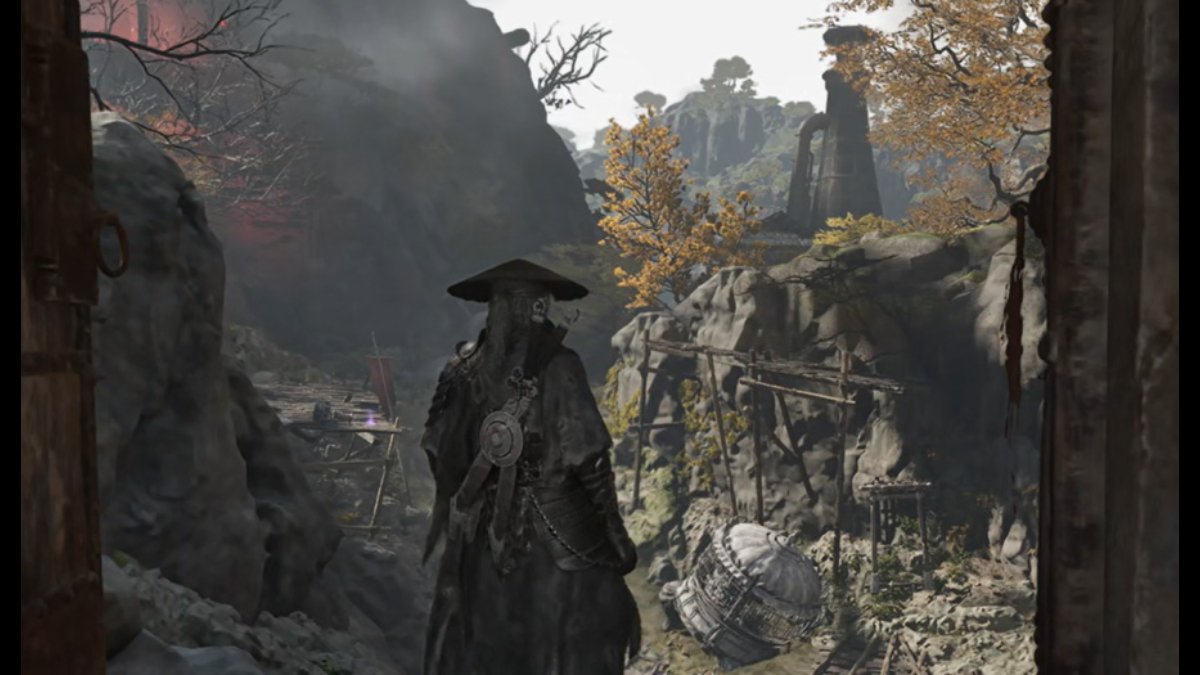
You now need to return to Sha-Chi Tower and obtain the key for the Base Tower Camp. To do this, head back to the Sha-Chi Tower where you helped the Shadow Warden and climb up to the top again.
This time, instead of using the ladder on the left, turn to the structure on your right and use your new Hunter's Chain Sickle to reach the grapple point and pick up the key from the top.
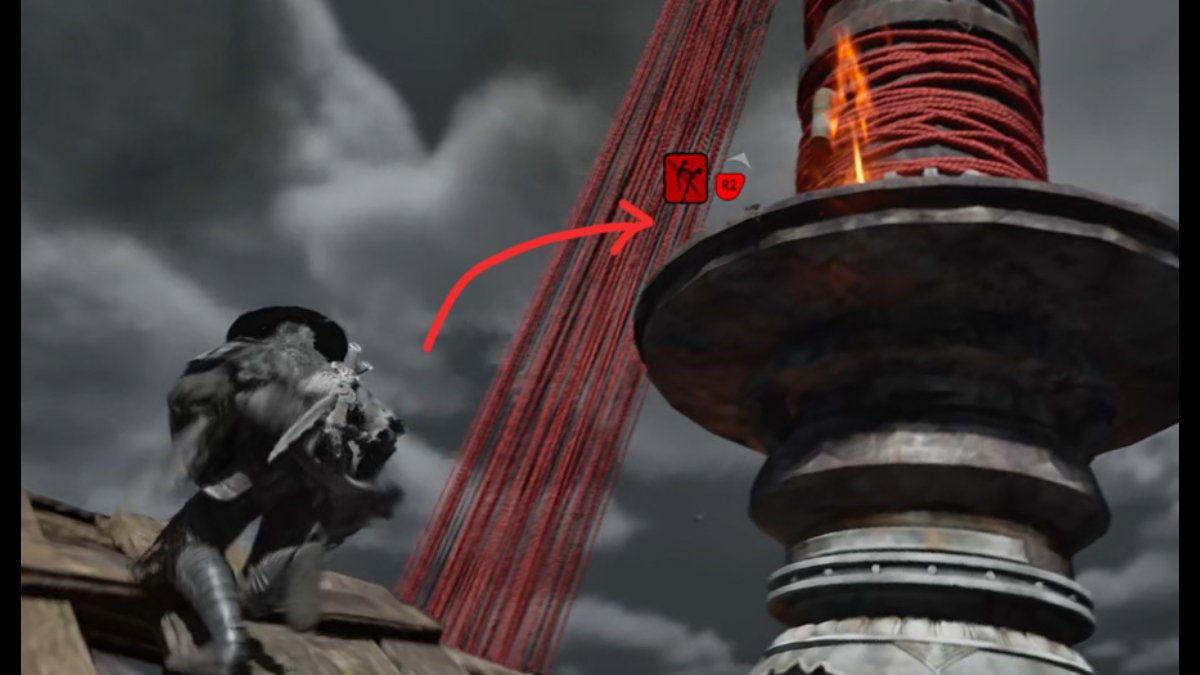
Now open the gate to the base camp and walk inside, where you will be able to find the next two evidence documents.
Follow the path forward, and cross the metal structure over to the other side.
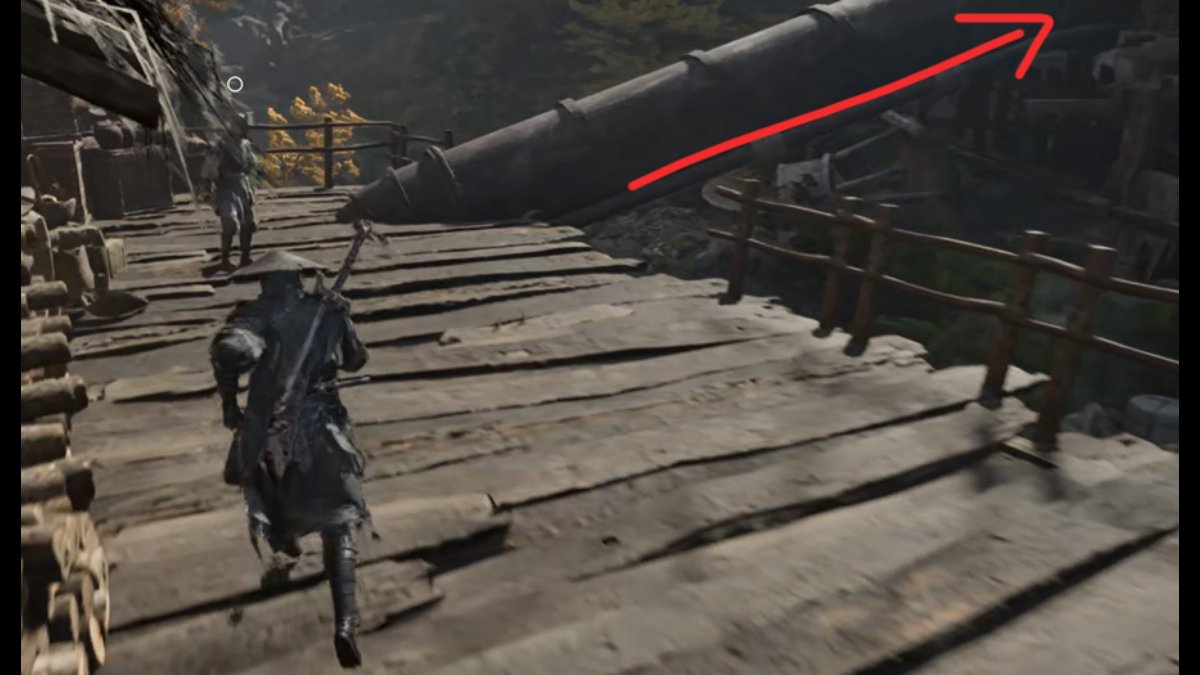
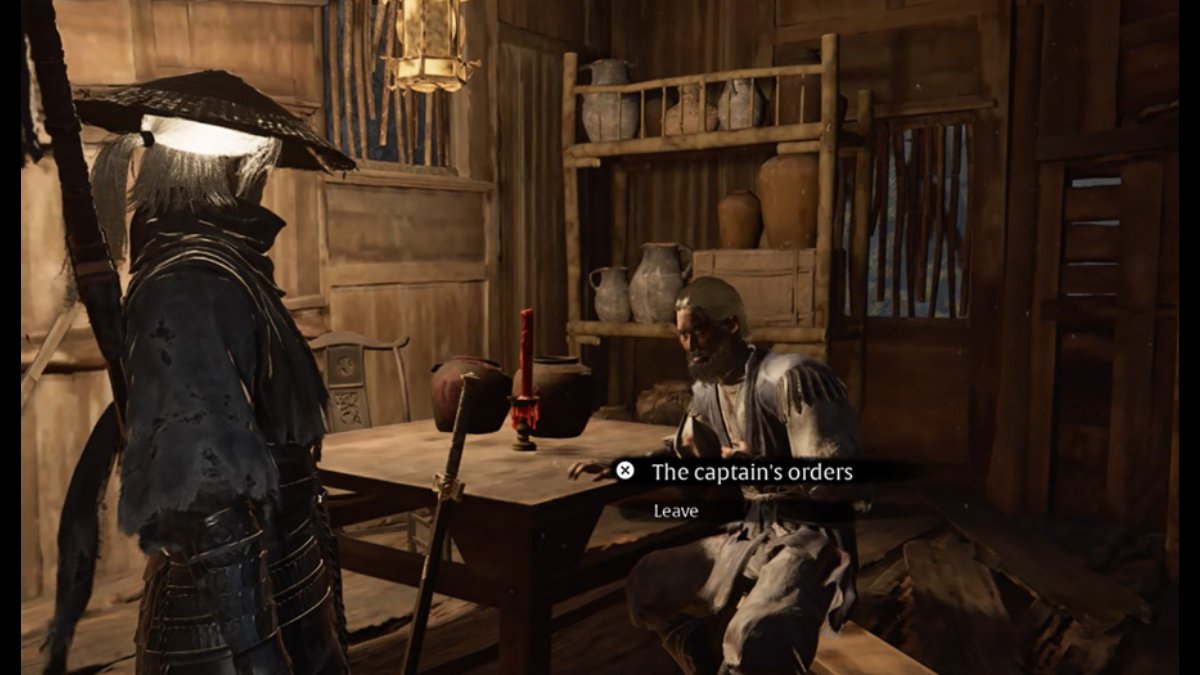
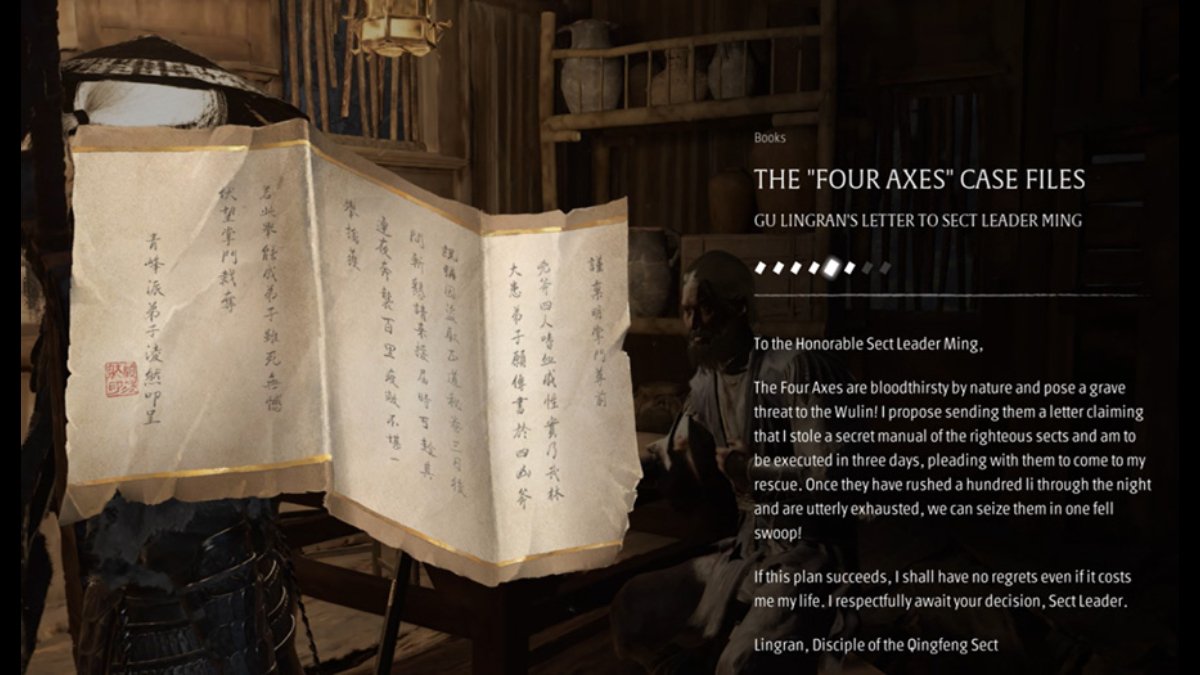
Here you will find a man sitting inside the first house. Deliver the Captain's Orders note to him, and he will give you the fifth evidence document once the conversation has been completed.
To find the sixth evidence document, you need to enter the section underneath the Sha-Chi tower from within the base camp.
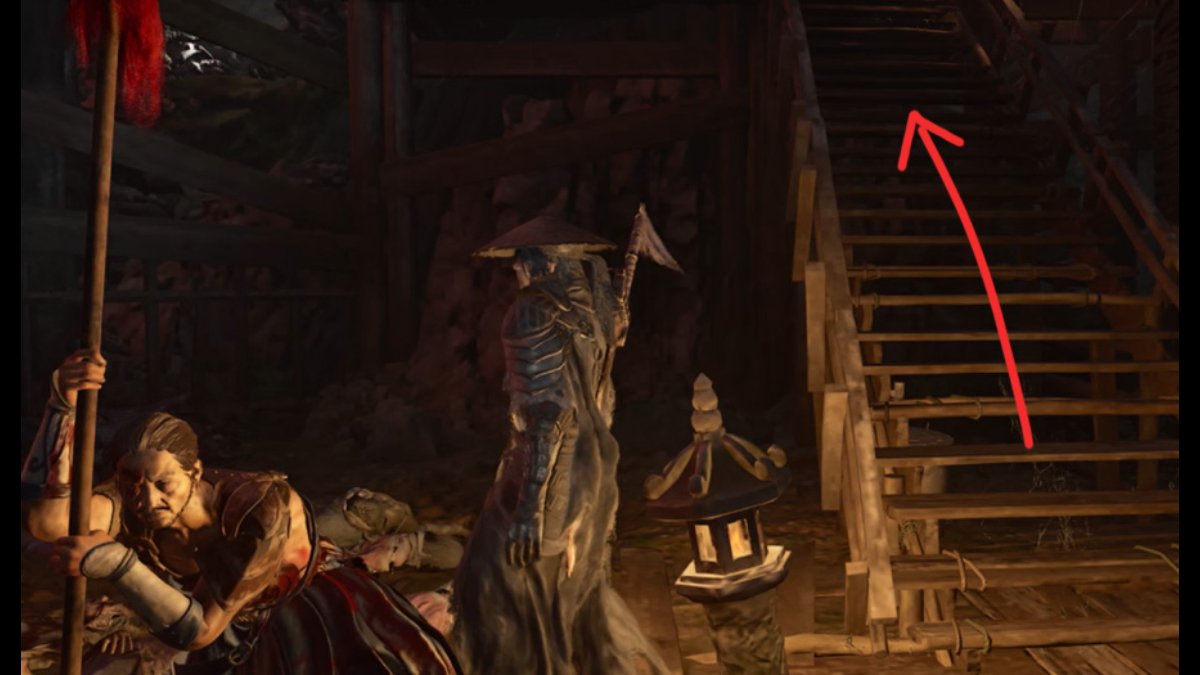
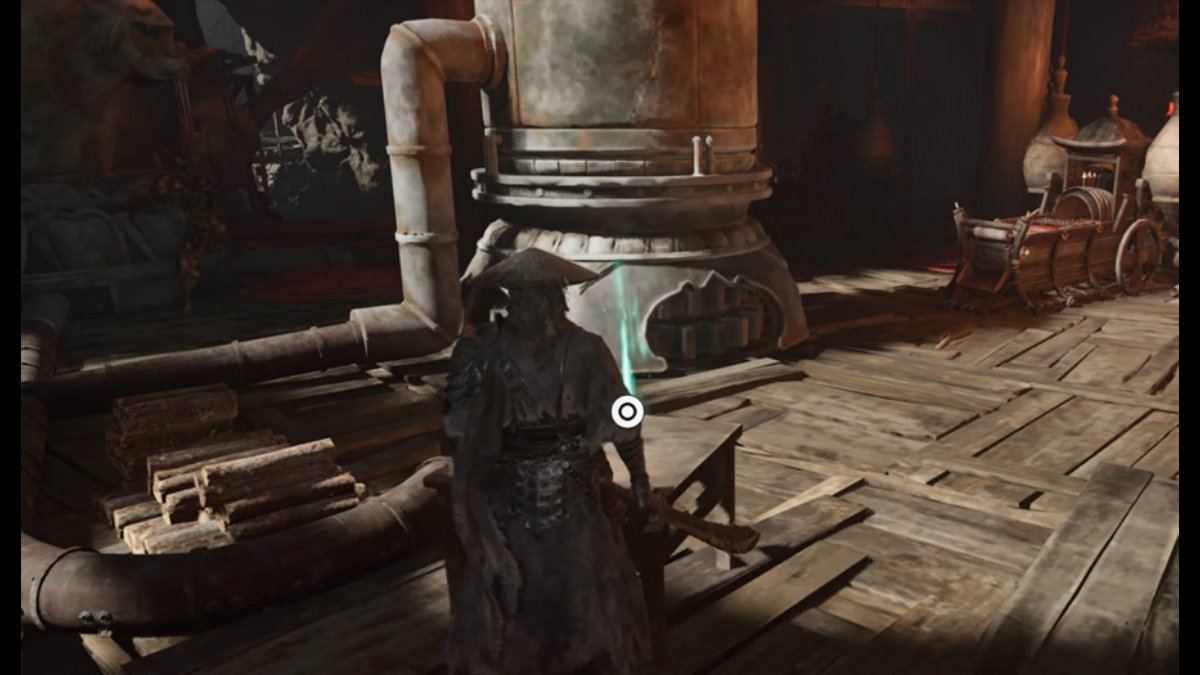
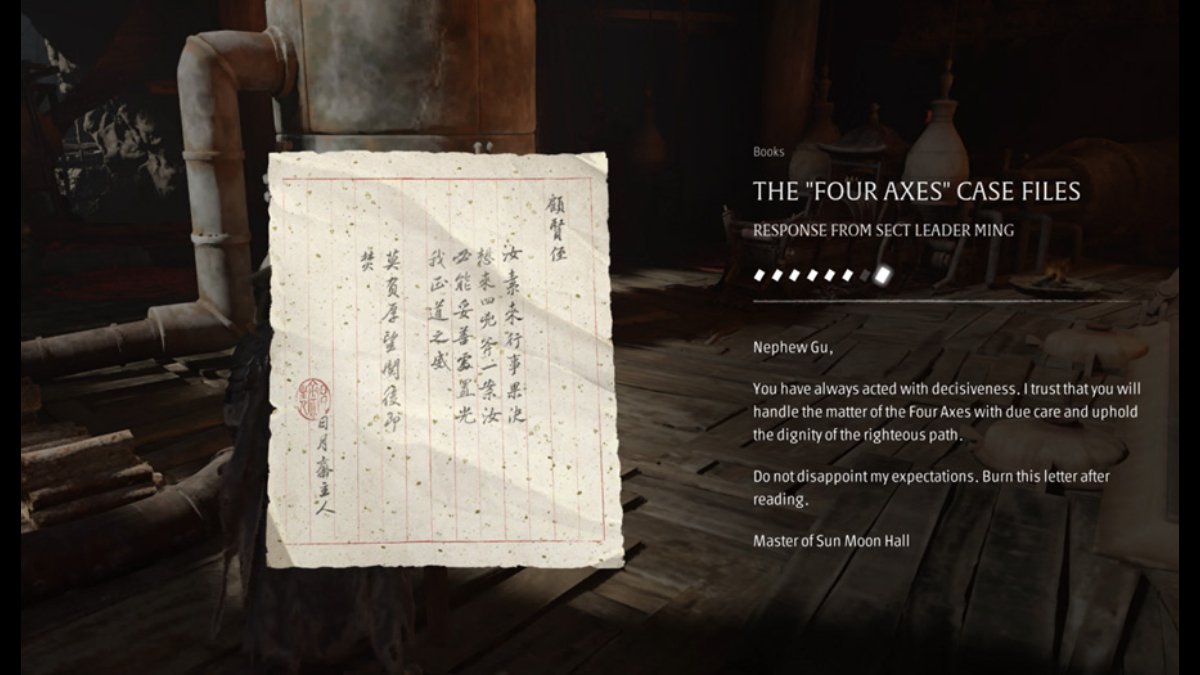
Head up the stairs by the Haggard Mandate Disciple and then clear out the enemies on the floor above. You can find the sixth evidence document sitting on the nearby table within this room.
Document #6 Location
How to Find Evidence Document #7
Now, evidence document number seven is where things get tedious. At first, it may look like it is nearby when you take a peek at your map, but you'll soon come to find that a group of guards is blocking the path towards it, and they can't be moved.
The only way to clear this blockade is by progressing through the second area of the game, Crimson Forest. You will need to have explored the forest and made your way to the Village of Lu before you can fast travel back and finally grab the document.
There are several notable Crimson Forest objectives along the way, too, including several boss fights that you must pass to progress to the point of reaching the Village of Lu.
- Defeat Hua Qianxiag, The Sword Fanatic
- Defeat Jing Ye, the Outlaw
- Help rescue the thief and learn of his treasures.
- Deliver the Nimble Thief's letter (optional)
- Defeat Iron Fever
- Face the Man in Black - The Gold Masked One
- Complete your first Banyan Tree encounter (optional)
- Make your way through the weeping portals puzzle at Mirrorwood Depths.
- Defeat Bai Chilian, Lady of the Twin Serpent
After this, continue down the path, and you will now reach the Village of Lu. Ring the first bell and then use it to travel back to the Outpost.
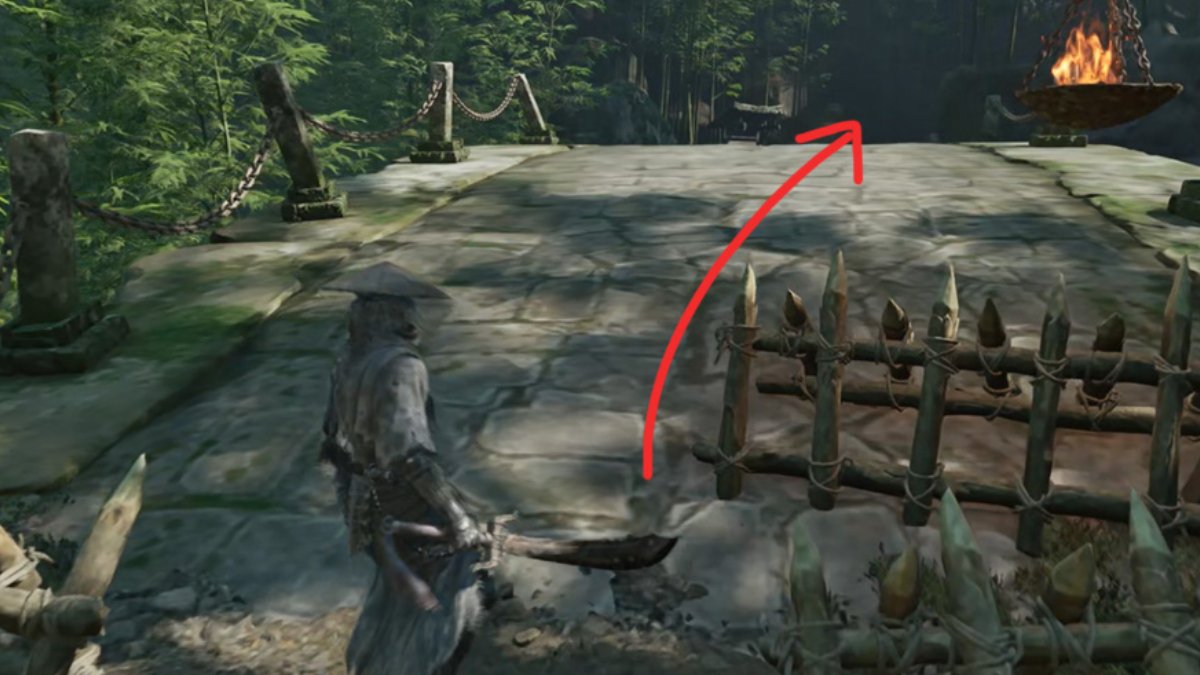
Follow the newly opened path, defeating enemies along the way. Use the rooftops and the Dread Axe to reach the next section of the path and now follow it all the way to the top of the cave.
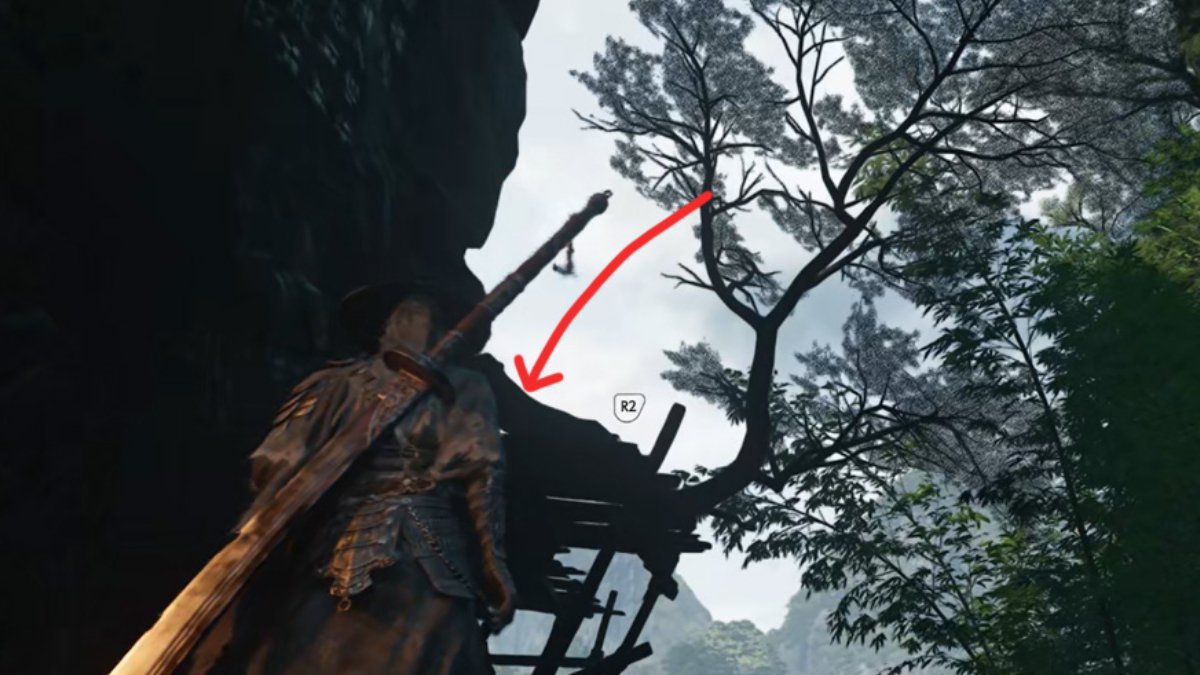
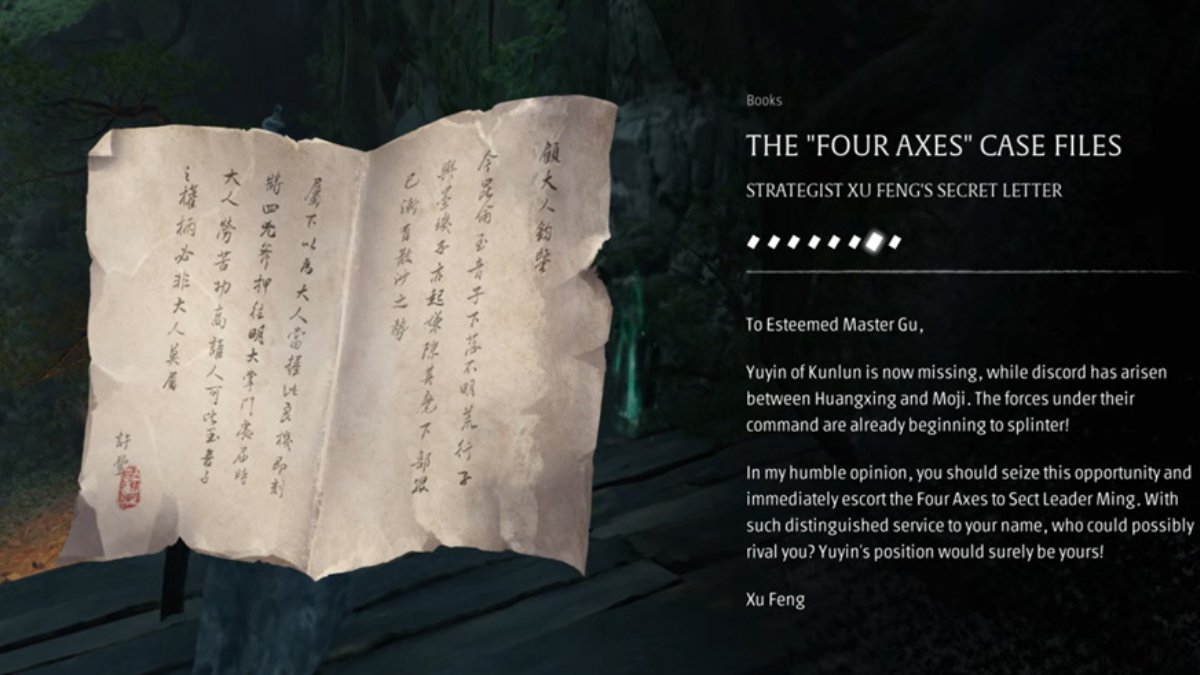
From here, you will be able to see the final document sitting on the ledge. Use your Hunter's Chain Sickle to grapple to it and pick it up. Oh, and don't forget to nab Shenji's Ring from the chest here, too.
Document #7 Location
Congratulations, you've finally cleared up all of the requirements and got the Four Fierce Axes Quest, only a handful of bosses later!