Up to 84% Off VPN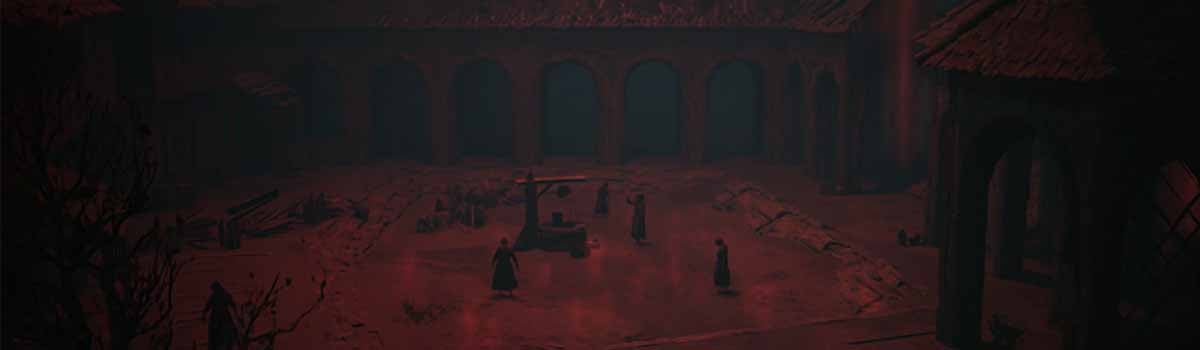
In The Blood of Dawnwalker, the Echoes of Silenced Bells quest is one of the first objectives players will have access to, following the prologue events. This quest involves Coena and Anca visiting her old convent and will offer several key choices that you can make along the way for slightly different outcomes. If you're wondering how to complete the Echoes of Silenced Bells and all choices and outcomes throughout the quest, this guide will walk you through every possibility.
Quick Links
- Starting the Echoes of Silenced Bells Quest
- Create a Safe Passage for Anca
- The Catacombs & Leonica Boss Fight
Starting the Echoes of Silenced Bells Quest
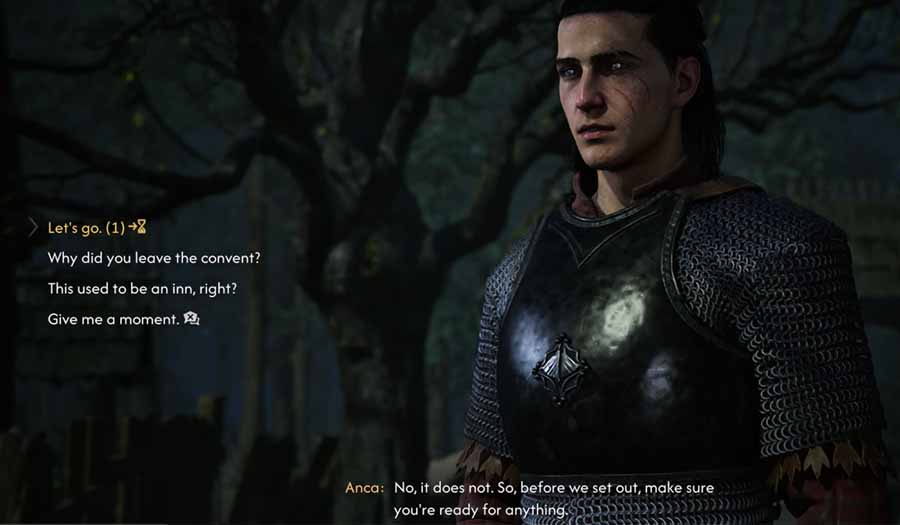
To begin the quest, you first need to meet Anca at the Old Inn, which will be marked on your map as soon as you part ways with her and leave the remains of your hometown. After arriving at the Inn, she will ask you to accompany her through the fog to reach the library, which she believes holds crucial information you can both use to your advantage.
- Moving forward with this quest will cost 1 Time Segment.
After reaching the convent and opening the gate, you will face off against a zombified nun. After defeating her, she will reawaken whilst Anca tries to investigate her state, forcing you both to retreat to a lookout point on the balcony.
You now need to find a way to clear a path for Anca to safely move through the courtyard and reach the library on the other side.
Create a Safe Passage for Anca
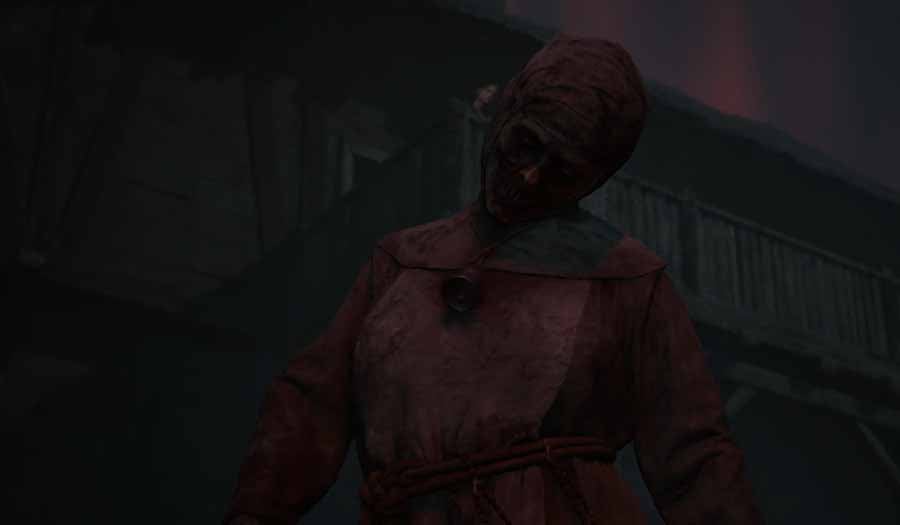
There will now be three different markers on your map with points of interest to explore around the convent: the Chapel, the Infirmary, and the Bell Tower.
First, drop down from the balcony where Anca is, and follow the path to the left of the building in front of you - the Infirmary. Peek through the cross-shaped window, and you will encounter a group of Brencis' soldiers who are stuck inside. During dialogue, they will reveal that they are in search of a particular item - a necklace belonging to St. Tyna. The soldiers will offer to give you the keys to the infirmary if you retrieve the item for them, which would free up a path to the library through the connected corridor.
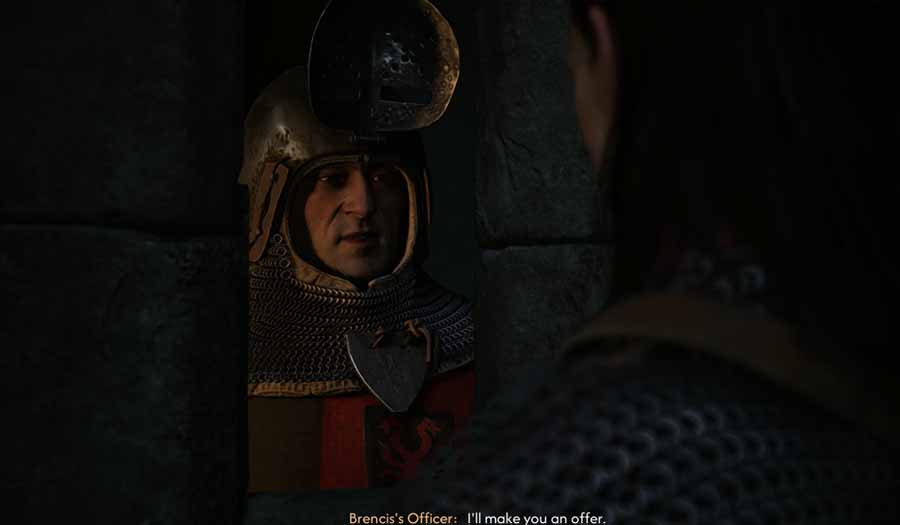
Note: There is also an option to refuse outright, which will trigger a fight with the soldiers. I'd highly recommend not picking this option, as if you wish to go against them, there is a way to kill them off and gain infamy without needing to engage in combat at all. More on that has been included below.
But this isn't your only way of clearing a path to the library for Anca. There are two options: to get the infirmary keys from the soldiers, or to use the bell tower to move the nuns from the courtyard. Both routes have been explained below.
How to Access the Library Through the Infirmary
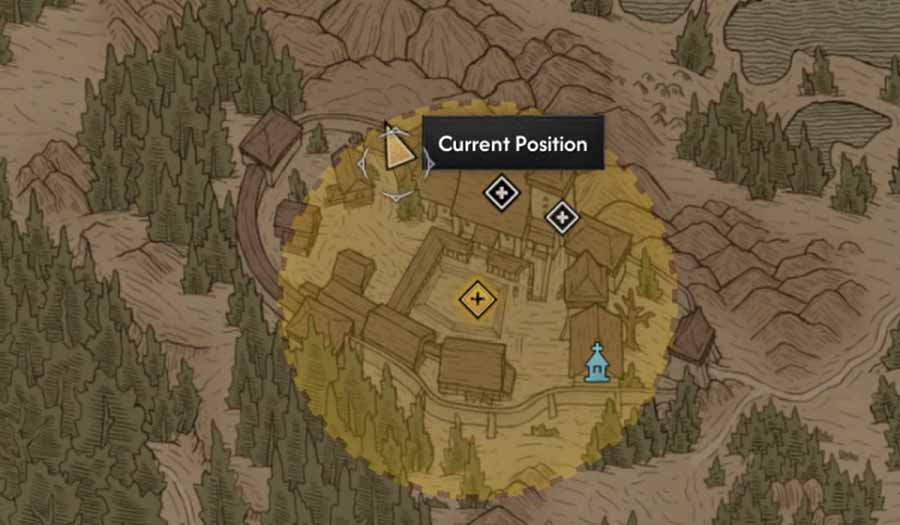
First, sneak past all of the nuns and head to the shed located on the western side of the convent, marked on the map screenshot above. Inside, you will find the Monastery Keys.
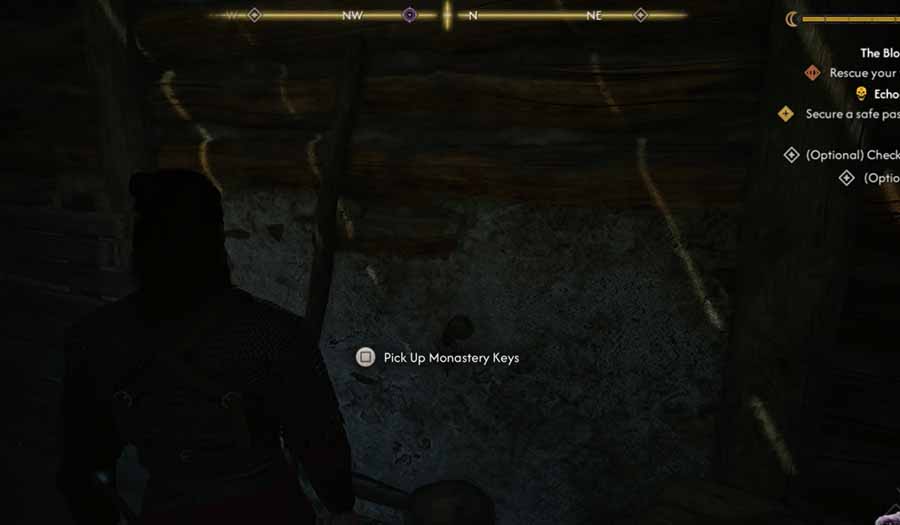
Pick them up and then head over to the building to the left of the shed. Here you will find the remains of one of the nuns wearing the amulet that Brencis' soldiers were looking for.
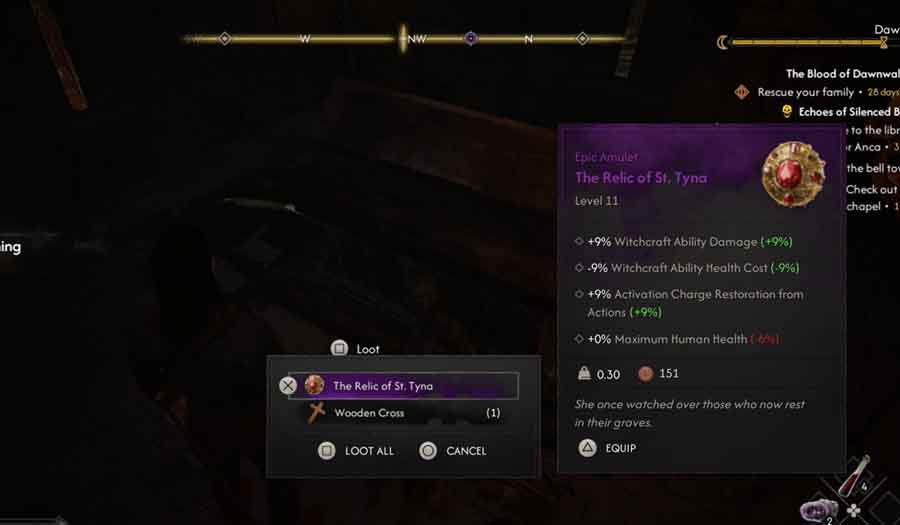
If you wish to go through with the deal, you can now return to the infirmary and exchange the amulet for the keys. Following this, you can return to Anca and let her know you have secured a passage to the library through the infirmary.
However, you actually don't need to go through with this deal at all if you'd rather not help the enemy. Instead, you can keep the loot for yourself and get rid of the soldiers by turning the nuns against them. This is done by accessing the bell tower.
How to Access the Library by Using the Bell Tower
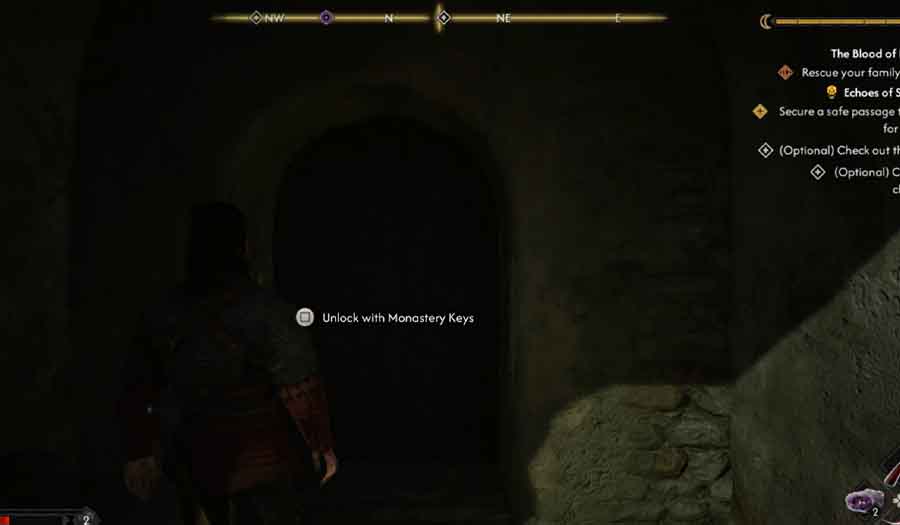
If you'd prefer to use the bell tower to clear a path, then you will need to investigate the building to the left of the building in which you found St. Tyna's remains, marked on the map screenshot below.
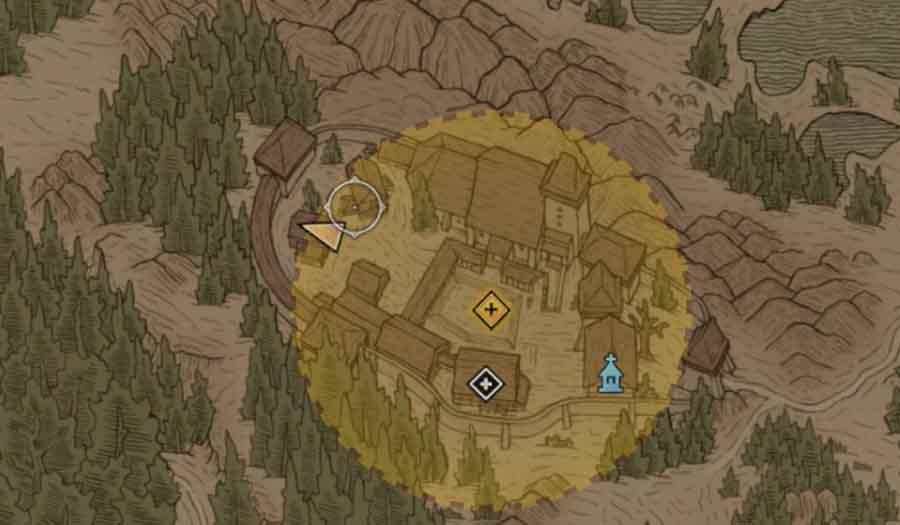
Inside this building, you will find a book that teaches you how the bell system operates - a different number of rings signals different tasks/locations for the nuns. You can use this to your advantage to move the nuns to different spots in the convent, freeing up a path through the courtyard.
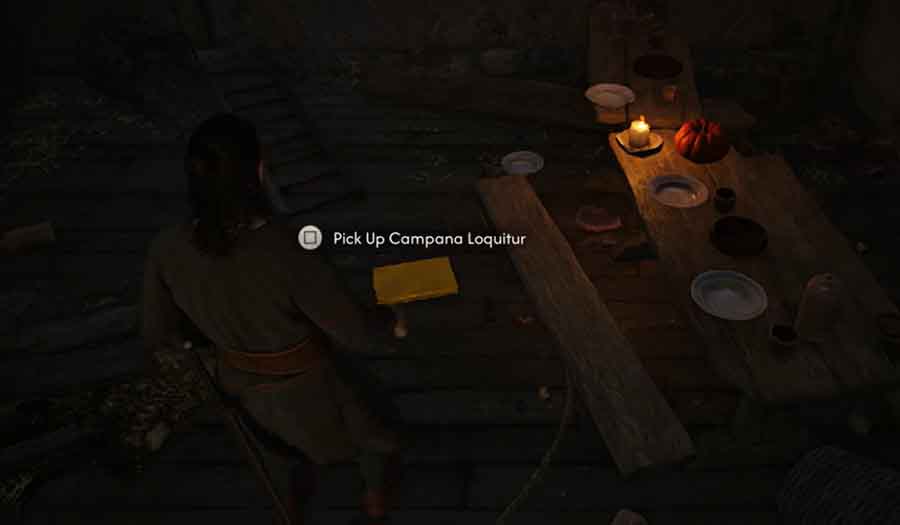
If you'd like some additional story items and a few bits of loot, then you can stop by the main chapel building. However, this will cost time, so I wouldn't recommend it, as it's not actually a requirement for completing the quest. All that you discover in this building is that St. Tyna's Amulet is missing from her corpse. As you've already secured the amulet, there is no need to waste a valuable Time Segment here.
After that, head into the bell tower building, which is built onto the right side of the chapel. Head up the stairs, and you will find the bell, giving you three different options to choose from.
- Ring the church signal
- Ring the infirmary signal
- Ring the dormitory signal
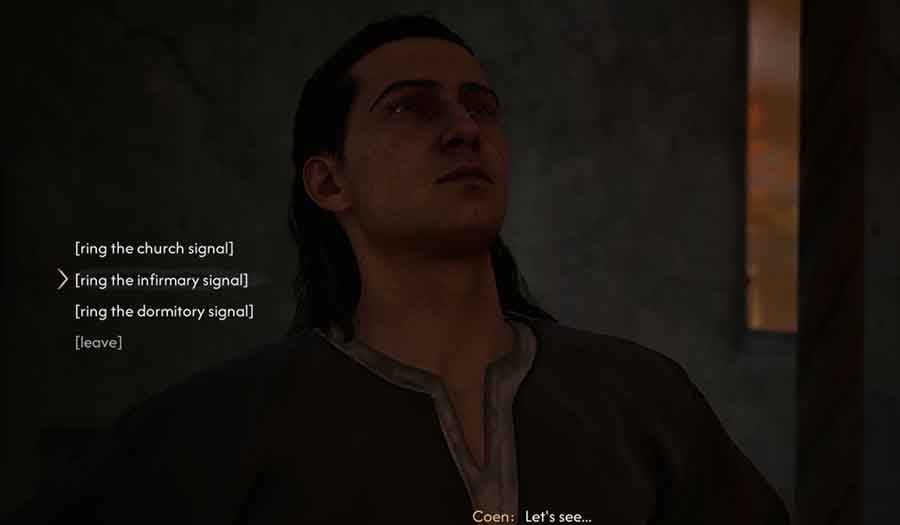
First, ring the infirmary signal, and the nuns will force their way through the door, killing the soldiers inside without you needing to enter combat yourself. You don't need to worry about missing out on looting them, either - you can simply enter the building and grab the goods once you've moved the nuns elsewhere. You will also gain a bit of infamy for killing these soldiers, which is helpful in the long run.
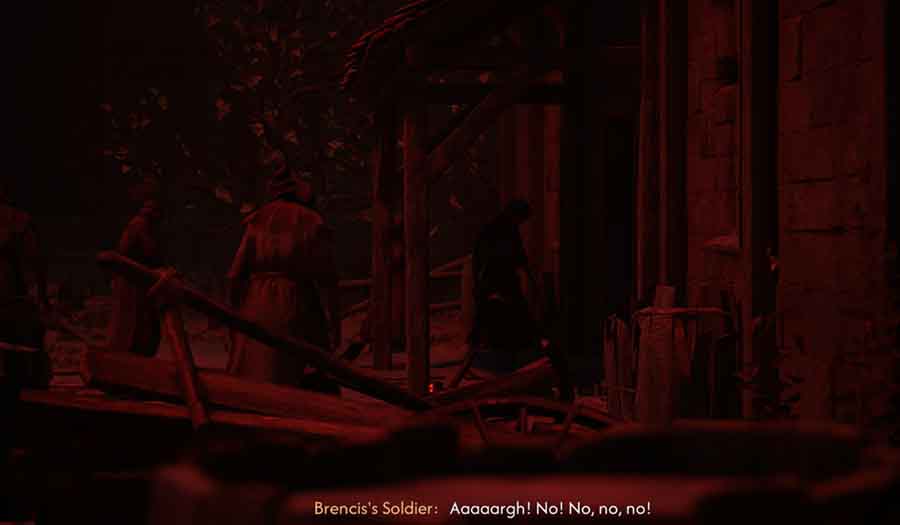
Next, ring the church bell and all of the nuns will move inside the church building, leaving the courtyard completely safe to move through. You can now return to Anca and let her know that you've freed up a safe passage.
Once you are ready to progress the quest, confirm with Anca.
- This will cost 1 Time Segment.
The Catacombs & Leonica Boss Fight
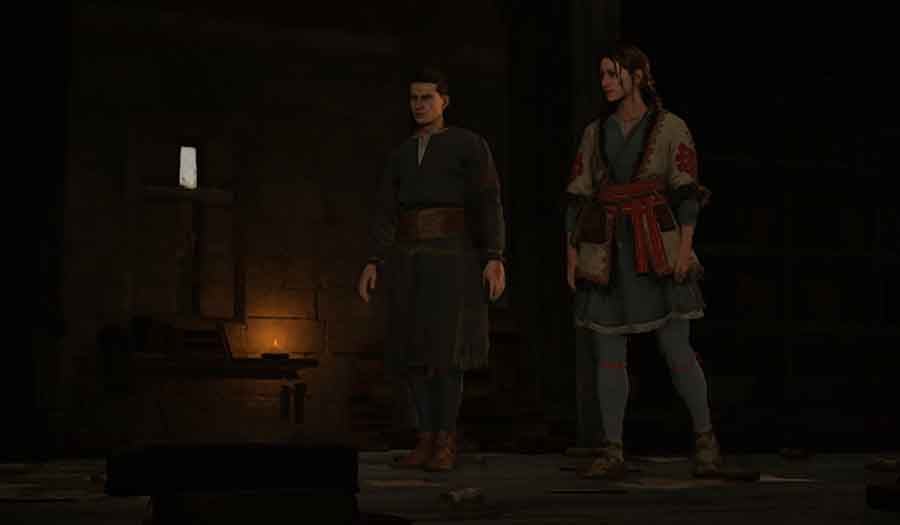
Once you reach the library, you need to find and move the bookcase to reveal the entrance to the catacombs. Enter the catacombs and fight your way through the nuns in each room while following the path forward. Once you reach the bottom of the catacombs, Anca will warn you at the final door.
- Moving forward will cost 1 Time Segment.

You will now encounter a boss fight against Anca's old friend, Leonica. For this fight, Leonica will also put Anca under a spell that immobilizes her, so you'll be on your own for this combat.
The important things to note for this fight are that Leonica can teleport to different spots across the room, she can summon waves of nuns to attack you at certain intervals, and she uses non-blockable attacks much more frequently than the average encounter, so you'll want to be prepared to dodge. If you take a bit of damage and don't have recovery items, you can also use your bite ability to both damage her and regain some health - so long as it is nighttime, of course.
Final Choice - Should You Throw the Notes in the Fire?
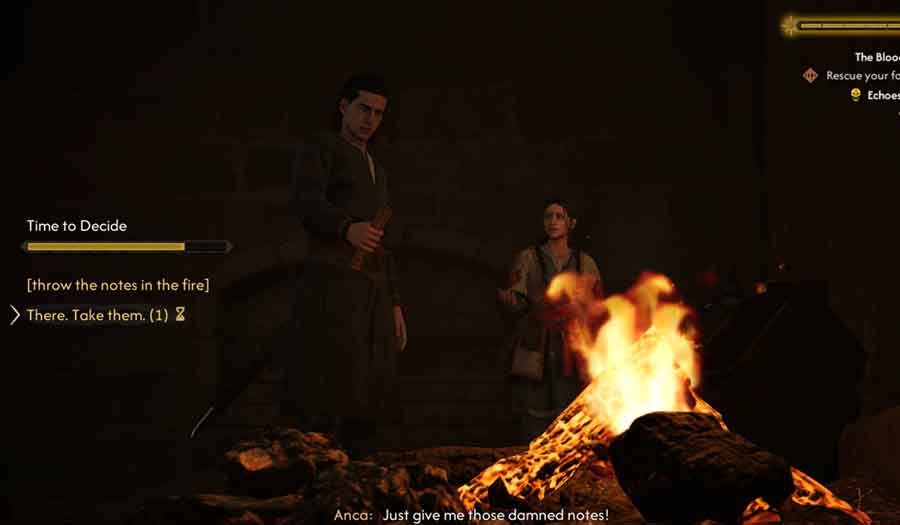
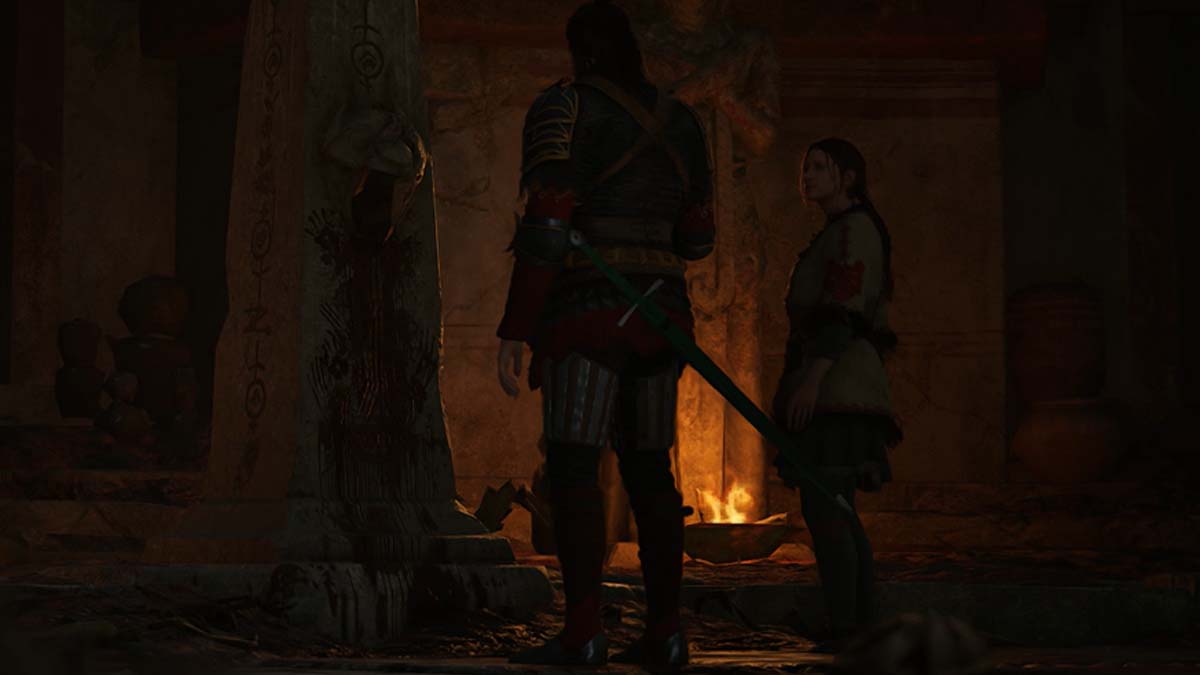
After defeating Leonica, Anca will discover that the hex you interrupted her from casting was actually intended to free the nuns from their current state. She will then tell you she wants to make things right by undoing the curse herself, and you now have a final (timed) decision to make.
- Throw the notes into the fire
- Give the notes to Anca (1 Time Segment)
It has been reported that the outcome of these choices doesn't have any major effect on the story other than the cutscene result. Instead, it mostly boils down to whether you're willing to spend more time or not. Though for immersion, if you're planning to romance Anca, then it would make sense to pick the supportive option.
| Throw the Notes into the Fire | Give the Notes to Anca (1 Time Segment) |
| Nuns remain trapped in their state at the convent. | The nuns disappear from the convent, supposedly set free from the curse. |
After making this decision, you will be able to immediately return to the Old Inn with Anca, but this will cost 2 Time Segments. Alternatively, you can tell her you will meet her back at the Inn later and continue exploring the convent and surrounding areas. After returning to the Inn, you will finally be able to go through the books with Anca, and the Echoes of Silenced Bells quest will be completed.