Up to 84% Off VPN
I'm a sucker for a gimmick boss fight, especially in games where they aren't overused. Valor Mortis hits that sweet spot, only employing gimmicks now and again, and the Slaughtermill boss fight is perhaps one of the coolest in the entire game.
But, as is the case with gimmick boss fights, when you move away from the rules of traditional combat, there is the possibility of confusion in the heat of battle. So, to help you make sense of this surreal encounter, here is how to take down this wicked windmill.
The Slaughtermill Boss Location & How To Prepare
The Slaughtermill boss is located in the game's fourth chapter area and is accessed just after the platforming section where you need to navigate the wrecked battalion of ships on the coast. After you hear The Shrike's first monologue and reach the lantern, the boss fight is right up ahead.
This is how you should be set up before you head forward towards this windmill boss:
- Recommended minimum level: 22+
- Primary Weapon: Pistol
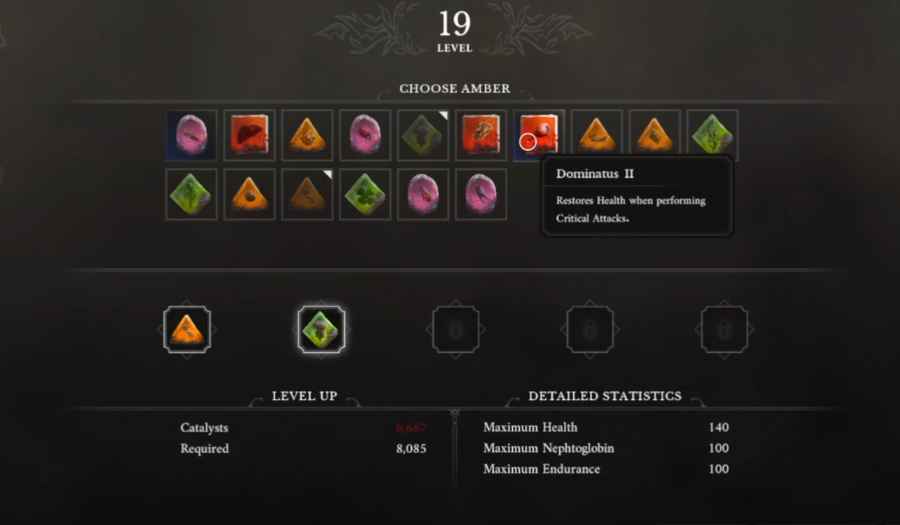
- Ambers: Lucky Strike II, Sleight of Hand, Dilated Moment
- Recommended Ferrofluid Flasks: 5+
- Items: Protective Vial, Nephoglogin Vial, Pistol Cartridges
The logic behind this build comes from the fact that the damage you inflict is predetermined. You can only chip off a certain amount of boss HP with each weak point in the sequence, so it's best to focus on utility to improve your shooting.
Lucky Strike means less time spent reloading and scrounging for bullets. Sleight of Hand ensures that, if you do need to reload, it's quick. Then, Dilated Moment allows you to use endurance to slow down time for shots, which is fine as you won't be moving around too much or using melee attacks.
How To Beat The Slaughtermill
Phase One
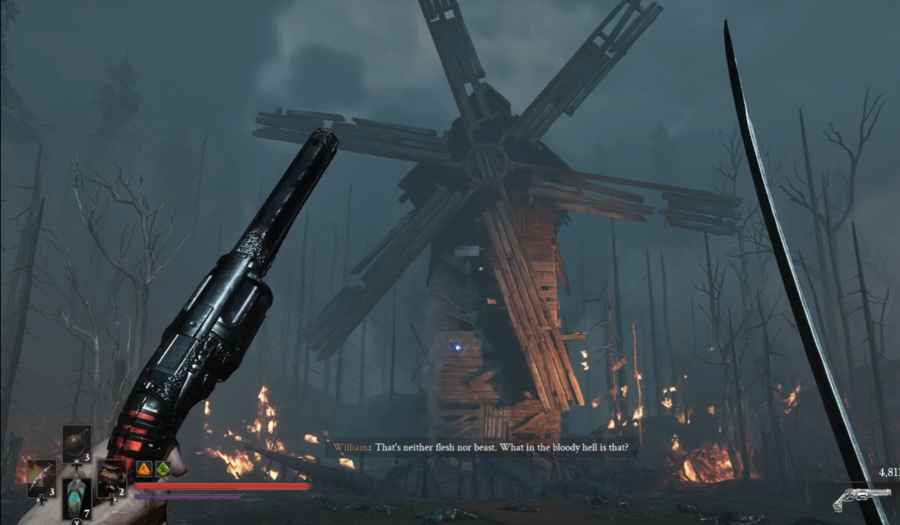
Unlike most bosses to this point in the game, Phase One is where the majority of the difficulty of this boss fight lies. To begin, you should have your pistol equipped, and you should know that aside from very select moments where you need your Stasis Transmutation, this is all you'll need for the entire fight.
The fight will begin with the Slaughtermill reaching out with a tentacle attack, which you can time a dodge to the left or right to avoid. This will reveal a weak point where the tentacle emerged, and you'll need to shoot it to chip off the first bit of HP.
Secondly, you'll need to wait for the Slaughtermill to rise into the air slightly, revealing a weak point below the door, which can be shot at to open the door and reveal some rotating cogs.
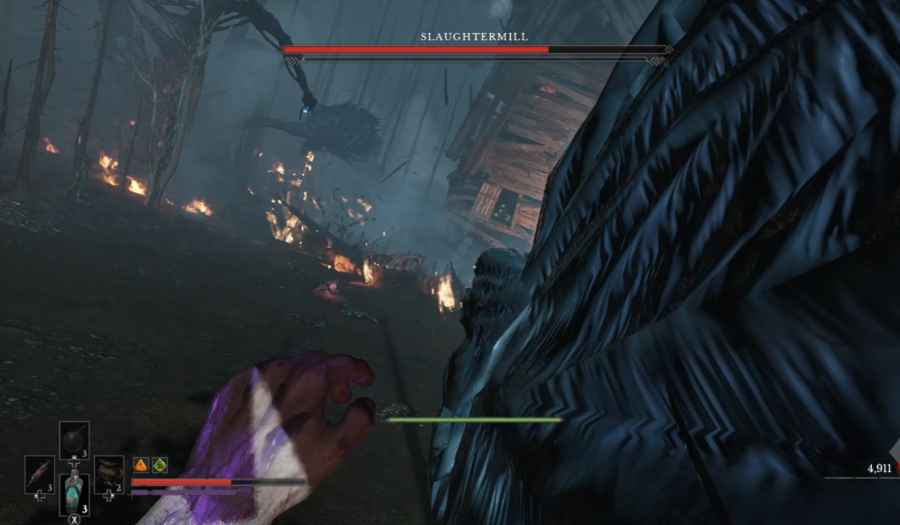
Then thirdly, you'll need to use your Stasis Transmutation to stop the rotation of the windmill, giving you enough time to use your grapple to pull off a wood panel on the windmill, revealing another weak point for you to shoot.
At this point, the Slaughtermill will use its windmill to blow you back, and this begins a small platforming section; don't try to attack or look for weak points during this portion. You'll want to use the wallrun on the right to avoid the pulsing ground attack; otherwise, you'll get knocked back. Then, use the nearby grapple and swinging poles to scale the windmill. Inside, you'll find a weak point to shoot, and the Slaughtermill will spit you back out.
After this, you'll need to do this again, hitting weak points as they appear on the windmill, but you'll have new hazards to contend with. The Slaughtermill will spawn spikes from the ground marked with a red glow. Try to look down for a second and find a clear spot to avoid getting pierced.
Plus, the boss will also spawn mutant blob enemies as well. It's best to take them out as they appear, as one clean shot to their weak point will usually take them out.
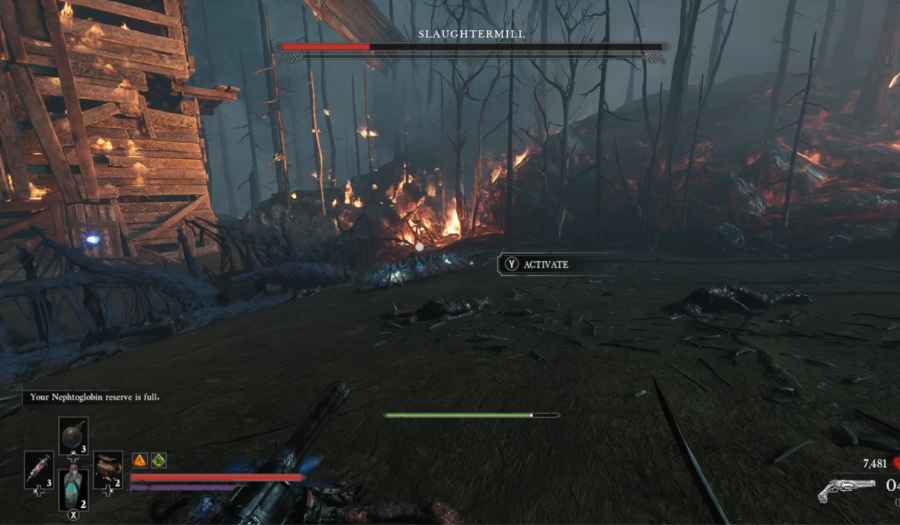
Before this phase ends, you'll be blown to the back of the boss area like before, only this time, you will need to reach the boss's door by using your Stasis Formation ability to run to cover between fire blasts from the windmill. When you reach the door, use Grapple Pull, and this will trigger a cutscene beginning the second phase.
Note: When you complete the first phase, you'll notice 'Lantern Rekindled' pop up on screen. This means that you have activated a checkpoint, and if you die during this phase you will be able to start from the beginning of the second phase.
Phase Two
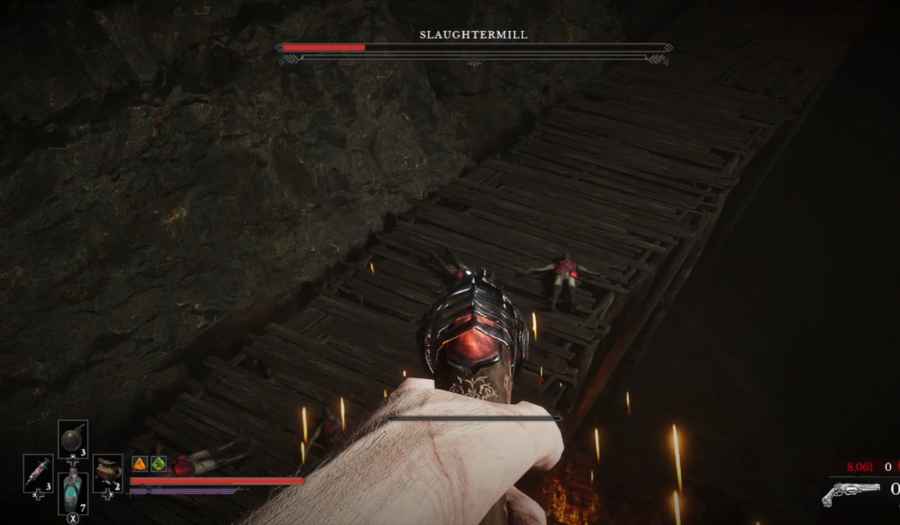
After the first phase, you're essentially tasked with a platforming gauntlet. Shoot the nearby weak point on the left and use the grapple to get started. From there, you'll need to perform a series of wallrun jumps, grapples, and swings in sequence.
However, the most important thing is shooting the infected soldiers at the end of this sequence, because if you land without clearing them, it's instant death. It's helpful to have Airborne Aiming for this, as it allows you to trigger slow motion while in the air and pick your shot carefully.
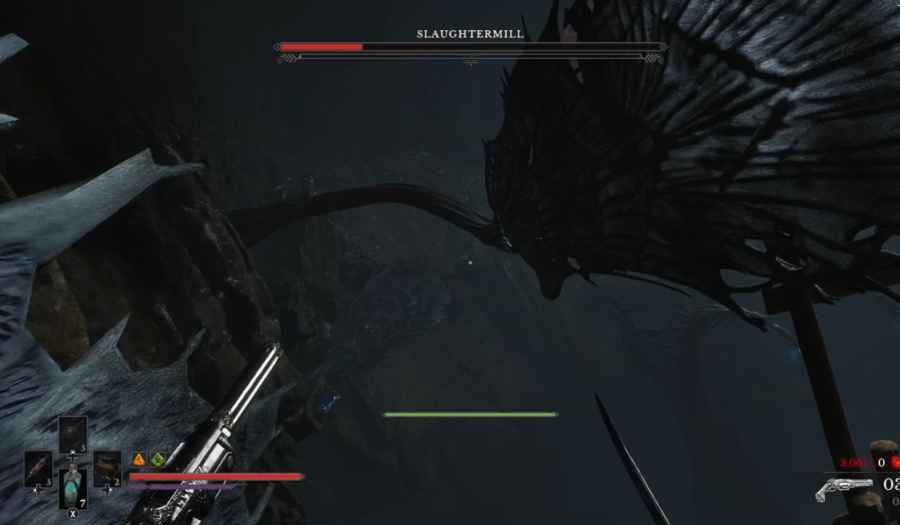
After this, it's a similar set of wallruns and jumps, but with the addition of Stasis Formation platforms that need to be activated, so be ready to do this when the need arises. Plus, be aware of another set of infected soldiers that need to be shot just after the first Stasis Formation platform.
This will take you to the top of the platforming gauntlet where you can finish the boss off. You need to shoot all ten of the weak points on spikes at the top of the windmill. There are plenty of bullets laying around the area, so don't worry if you miss a shot or two. Speed is more important than 100% accuracy here. But be aware that the boss will continue to try to disrupt you with tentacle attacks, so be ready to dodge when the boss attacks.
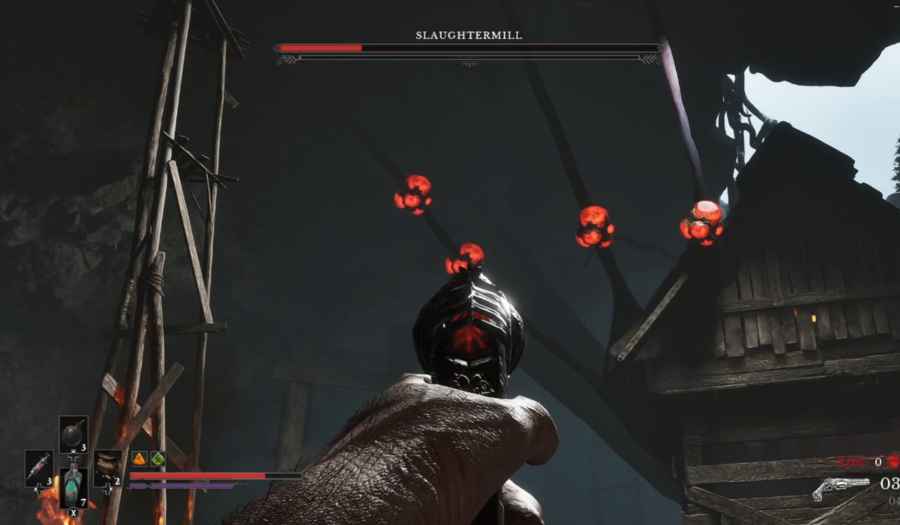
Shoot all these, and it will reveal the final weak point inside the windmill. Reload and shoot it as rapidly as you can, and this will see off the Slaughtermill once and for all.
Boss Rewards
The player will gain a total of 30,000x Catalysts for winning this fight. Plus, you will gain access to Cursed Hollow, the next area of the campaign.