Up to 84% Off VPN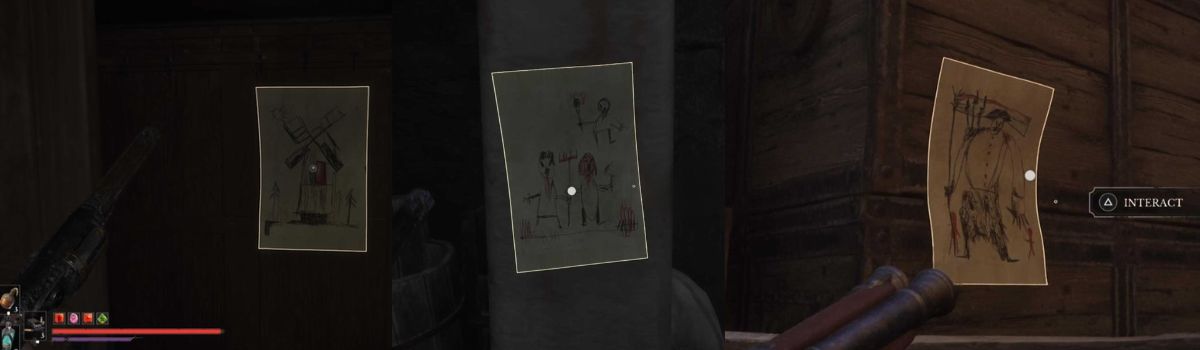
Everyone loves a little scavenger hunt when it comes to video games. But in a Soulslike where everything is out to kill you by any means necessary, painstakingly looking in every nook and cranny can be as frustrating as it is perilous.
This is the reality you face if you want to finish the Monster Hunt Quest. A quest that has you collect all of the mice's drawings that they have placed around the City of Orphans.
There are seventeen of these pages to be found around the city, and while you might find a fair few on your way through, finding them all can be really tricky, as some are very well hidden. Here is the location of every drawing:
The Lancer
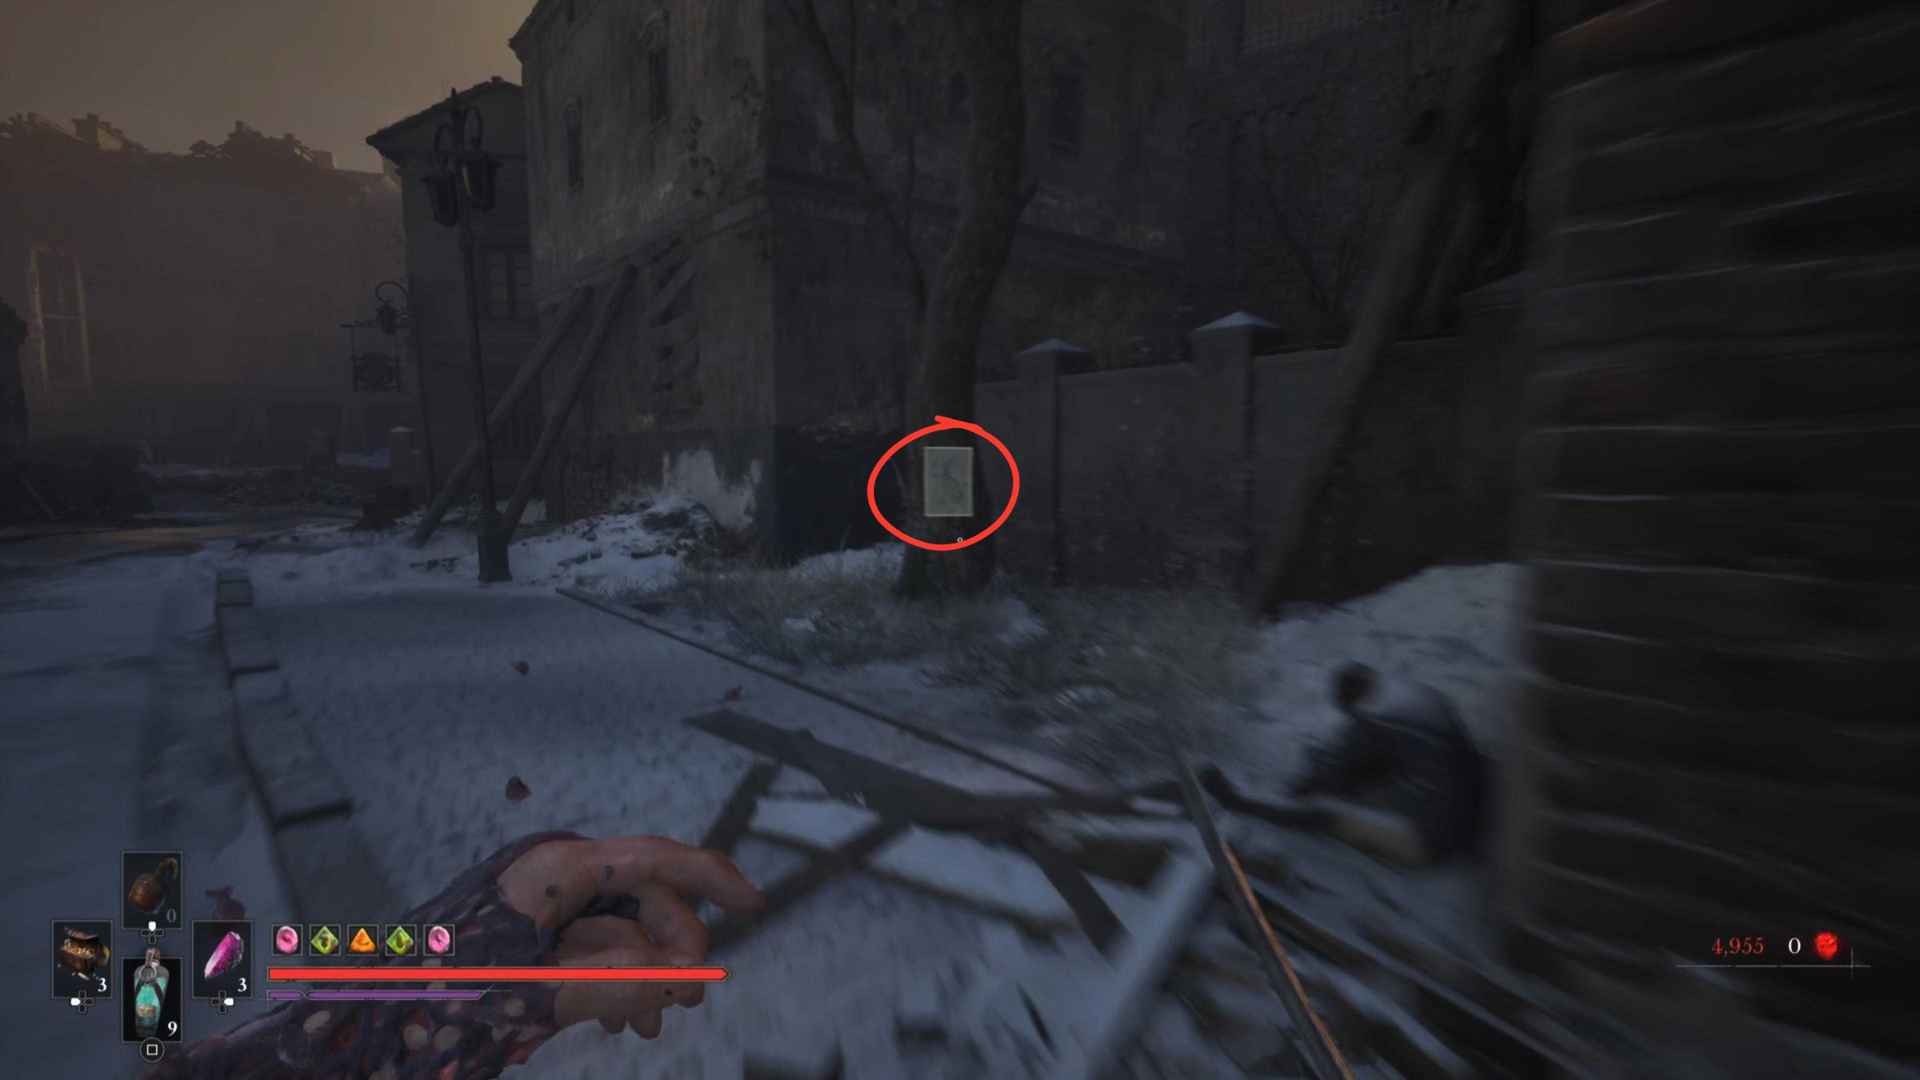
This one is very easily missed. At the start of the chapter, near the first lantern, if you turn back, you'll notice a tree with a drawing pinned to it depicting the Lancer.
The Risen Soldier
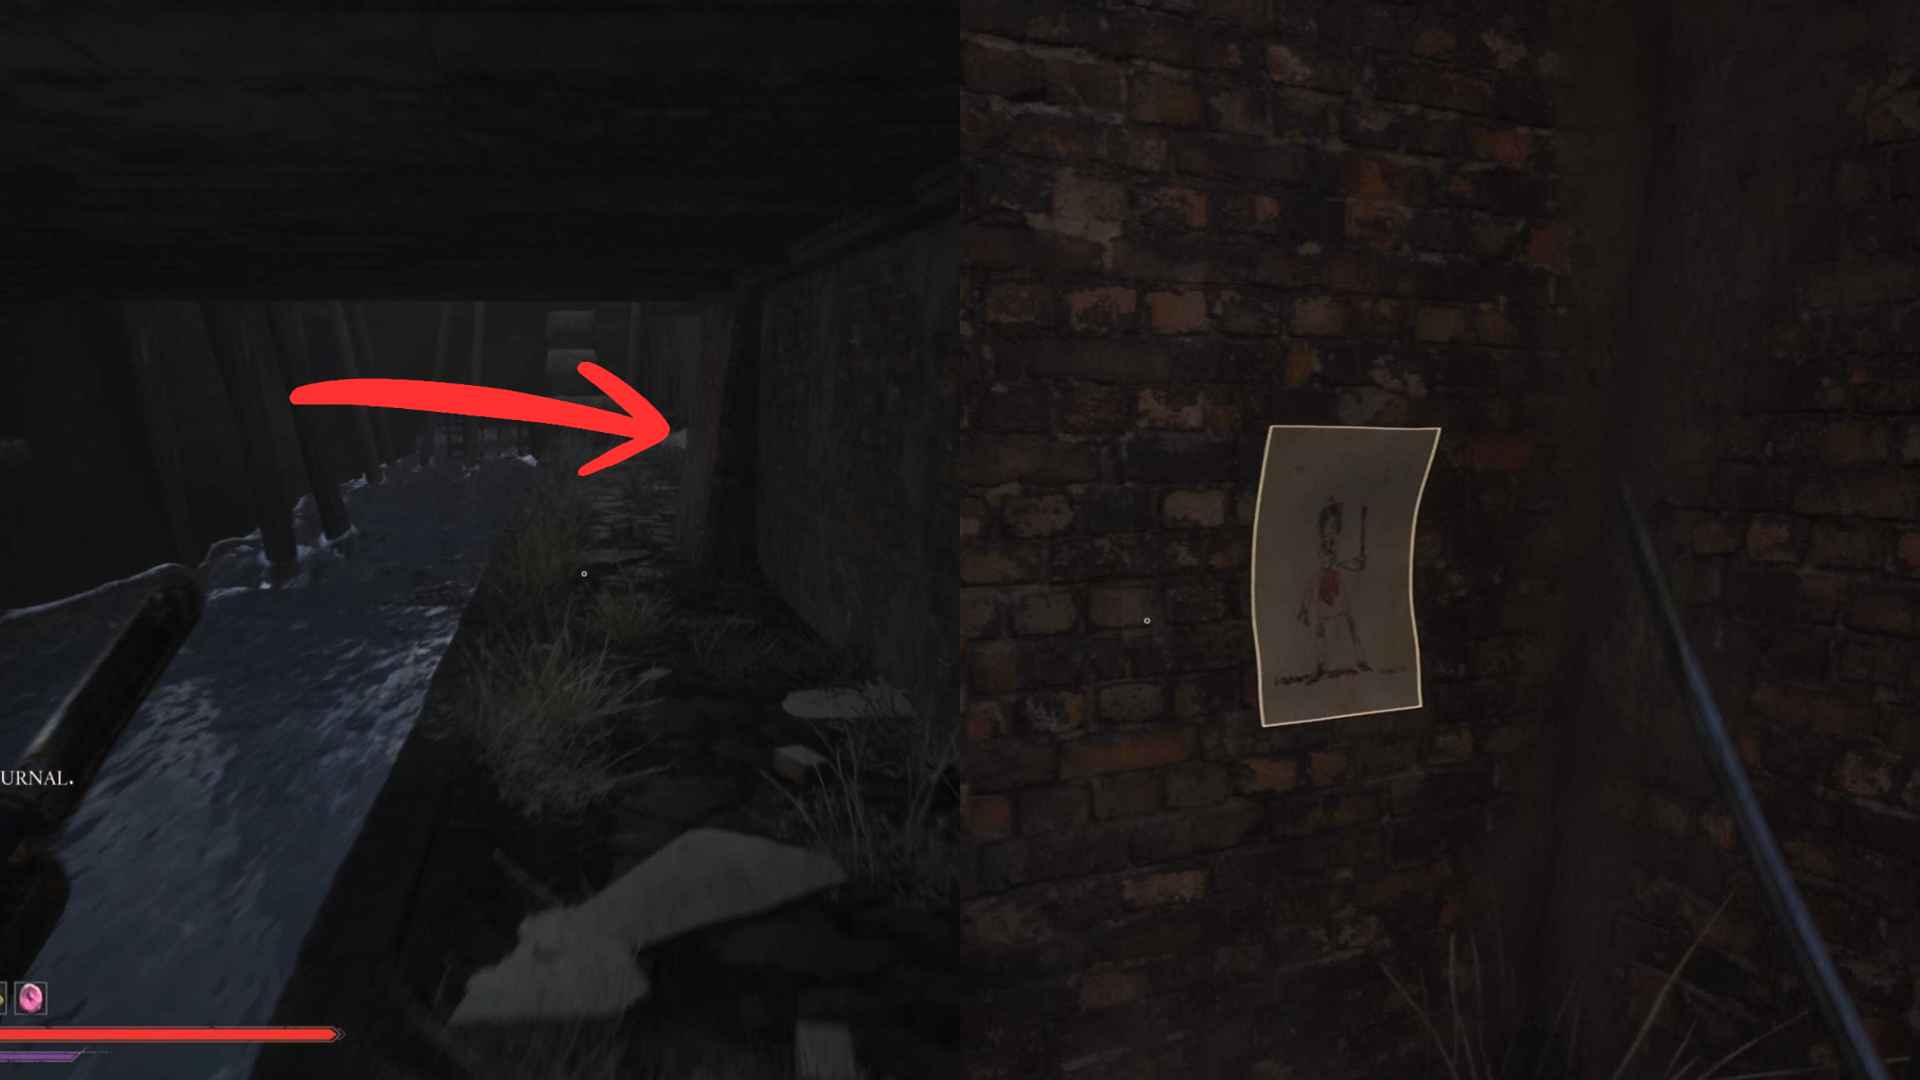
Just before you walk through the alleyway of fire and hanged bodies, you can fight a few enemies and find a little area you can drop down to a wooden walkway. This will take you down to a waterway, and on the wall, you'll find the Risen Soldier drawing.
The Howler
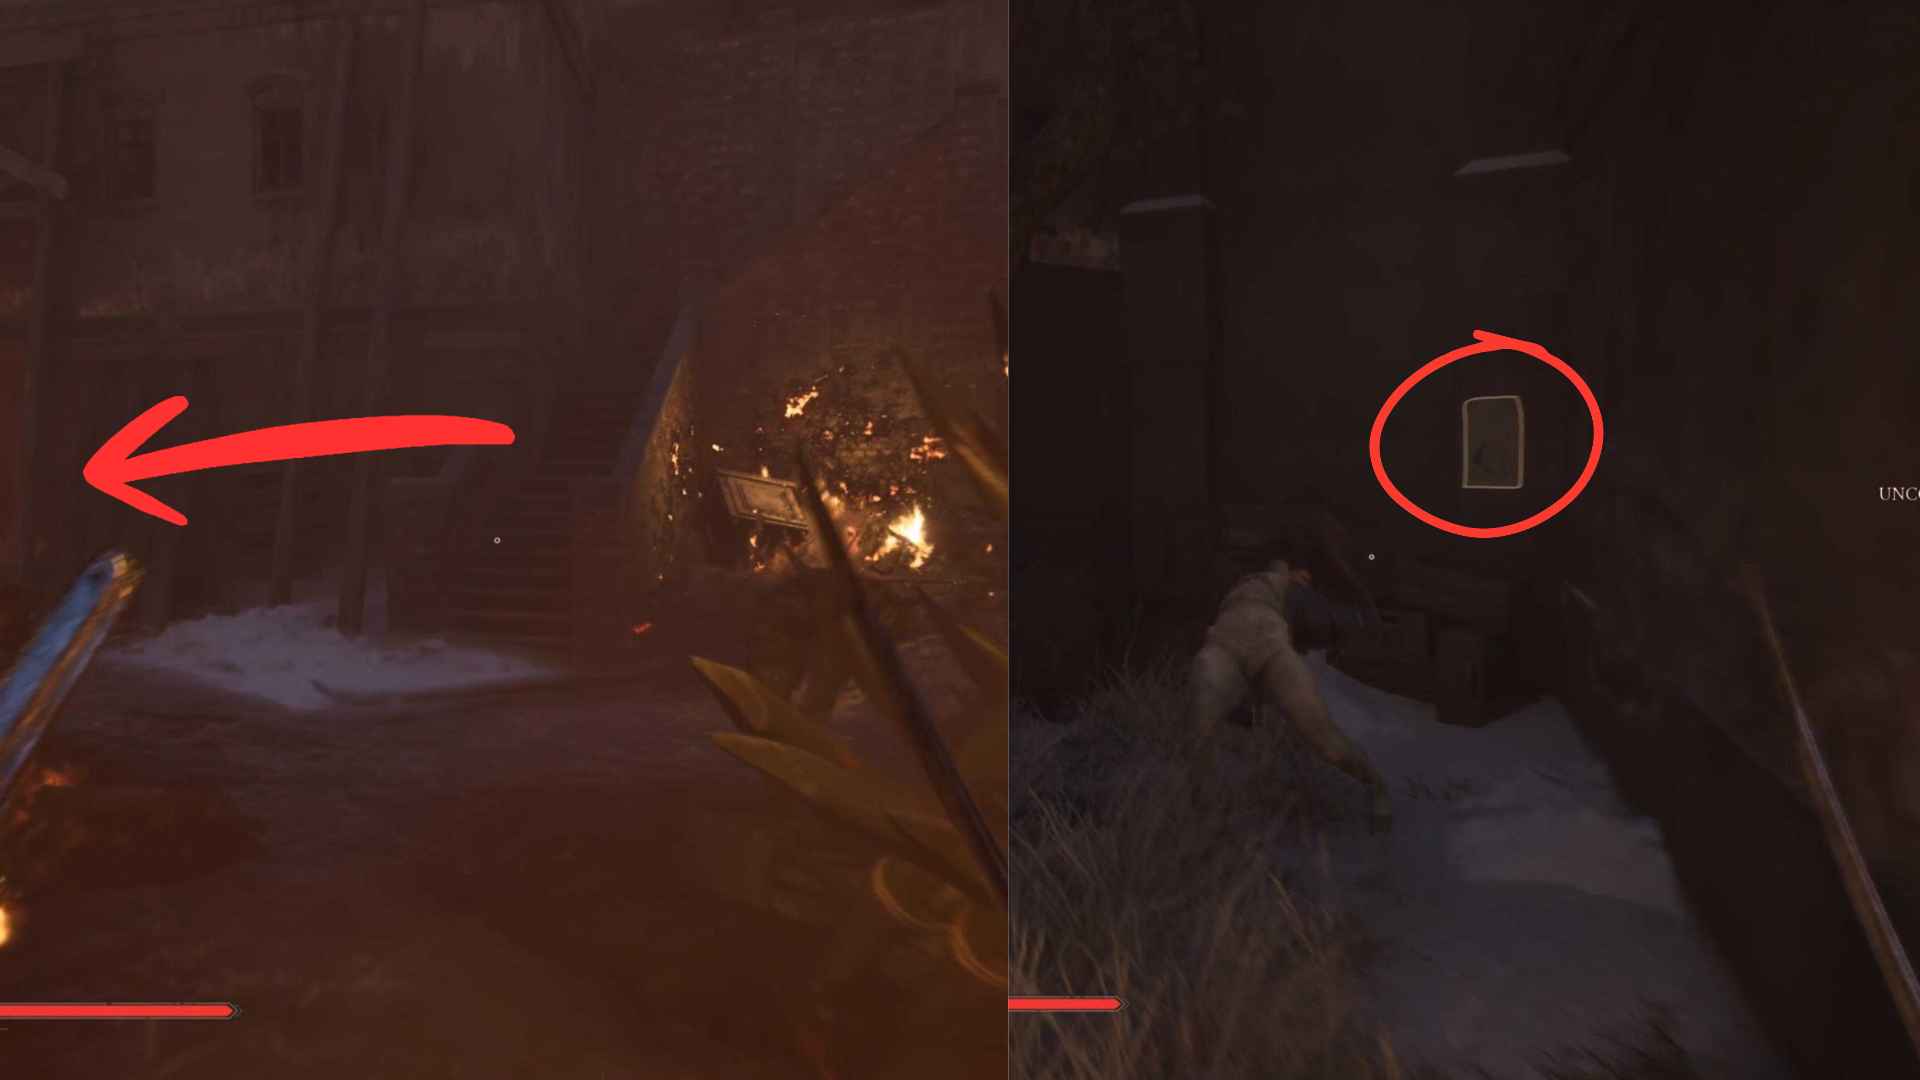
After you go through the first alleyway lined with fire, turn left, and in a little nook you'll find a Howler enemy and a drawing on the wall nearby.
Volunteer
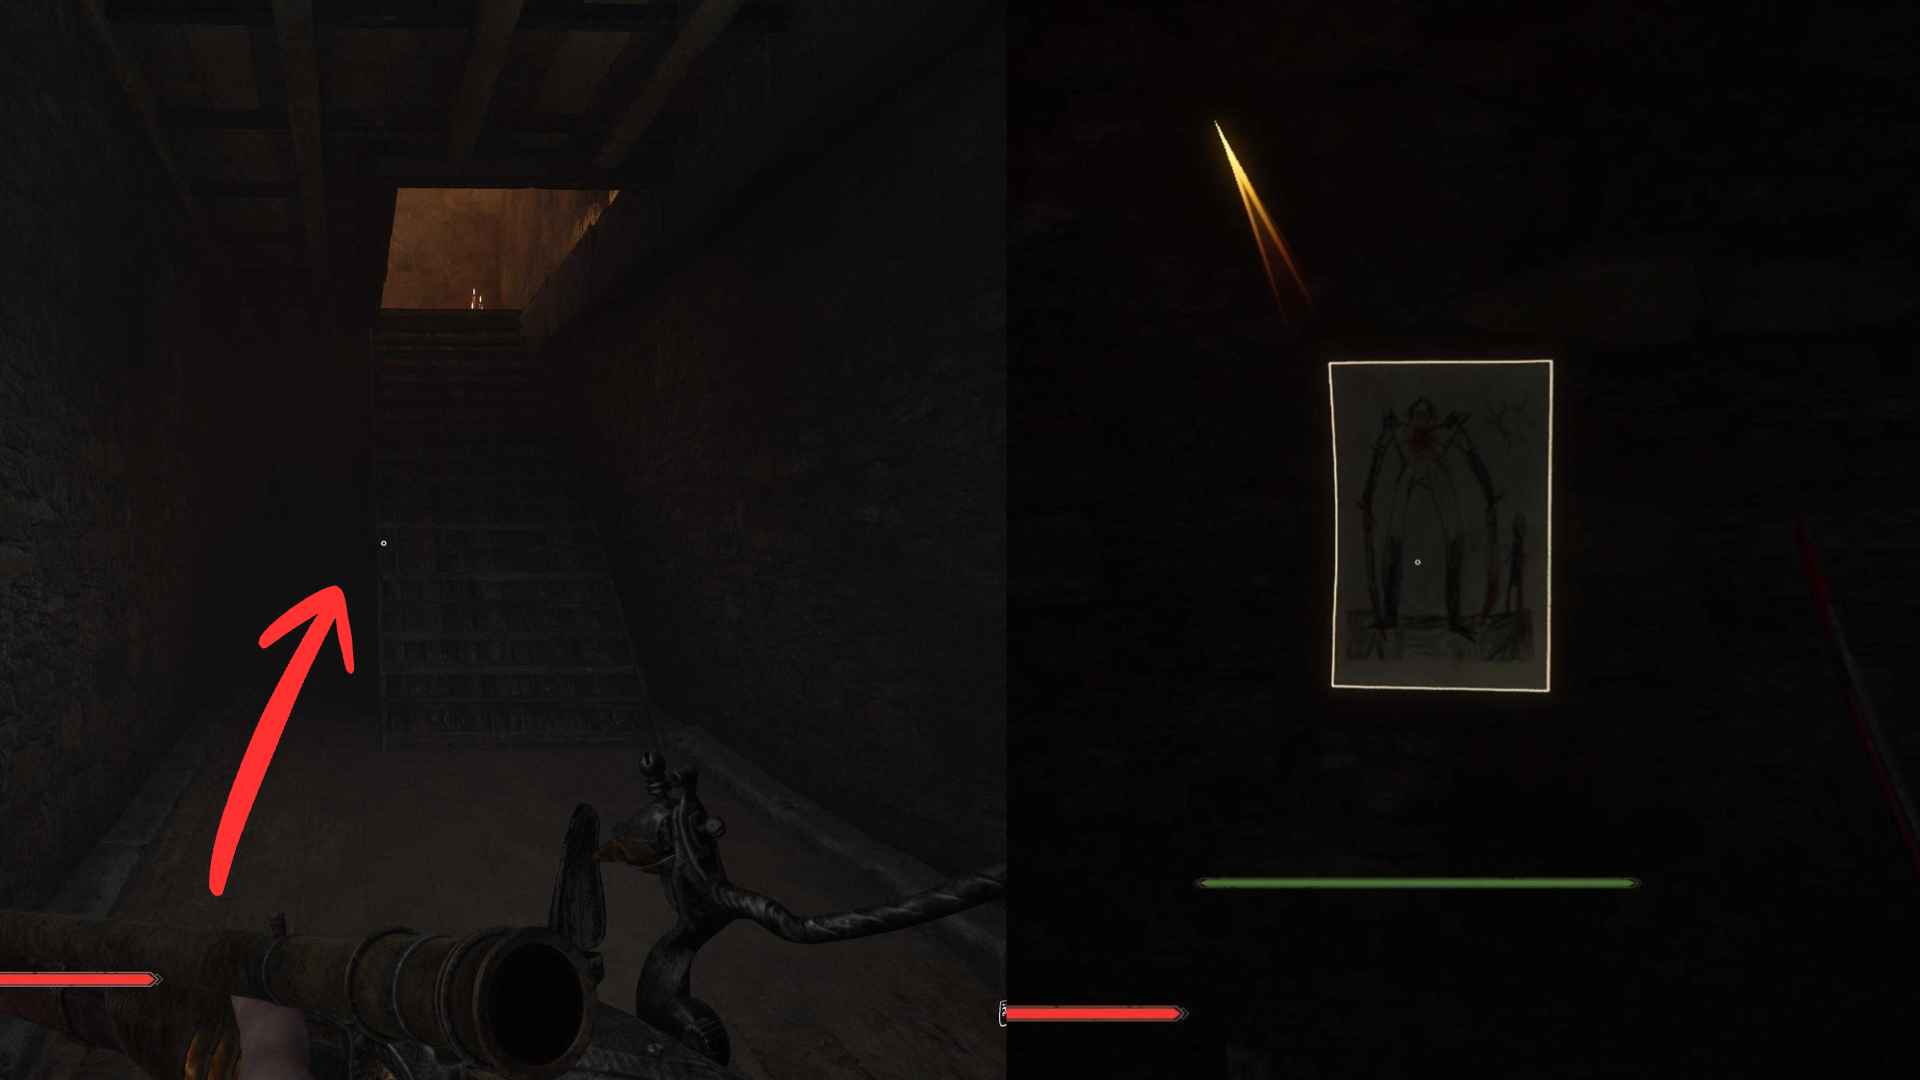
As you enter the building with the Grenadier enemy and the collapsing floor to Carrion enemies in the basement. Under the first set of stairs you climb is a drawing of The Volunteer.
The Eternal Guard
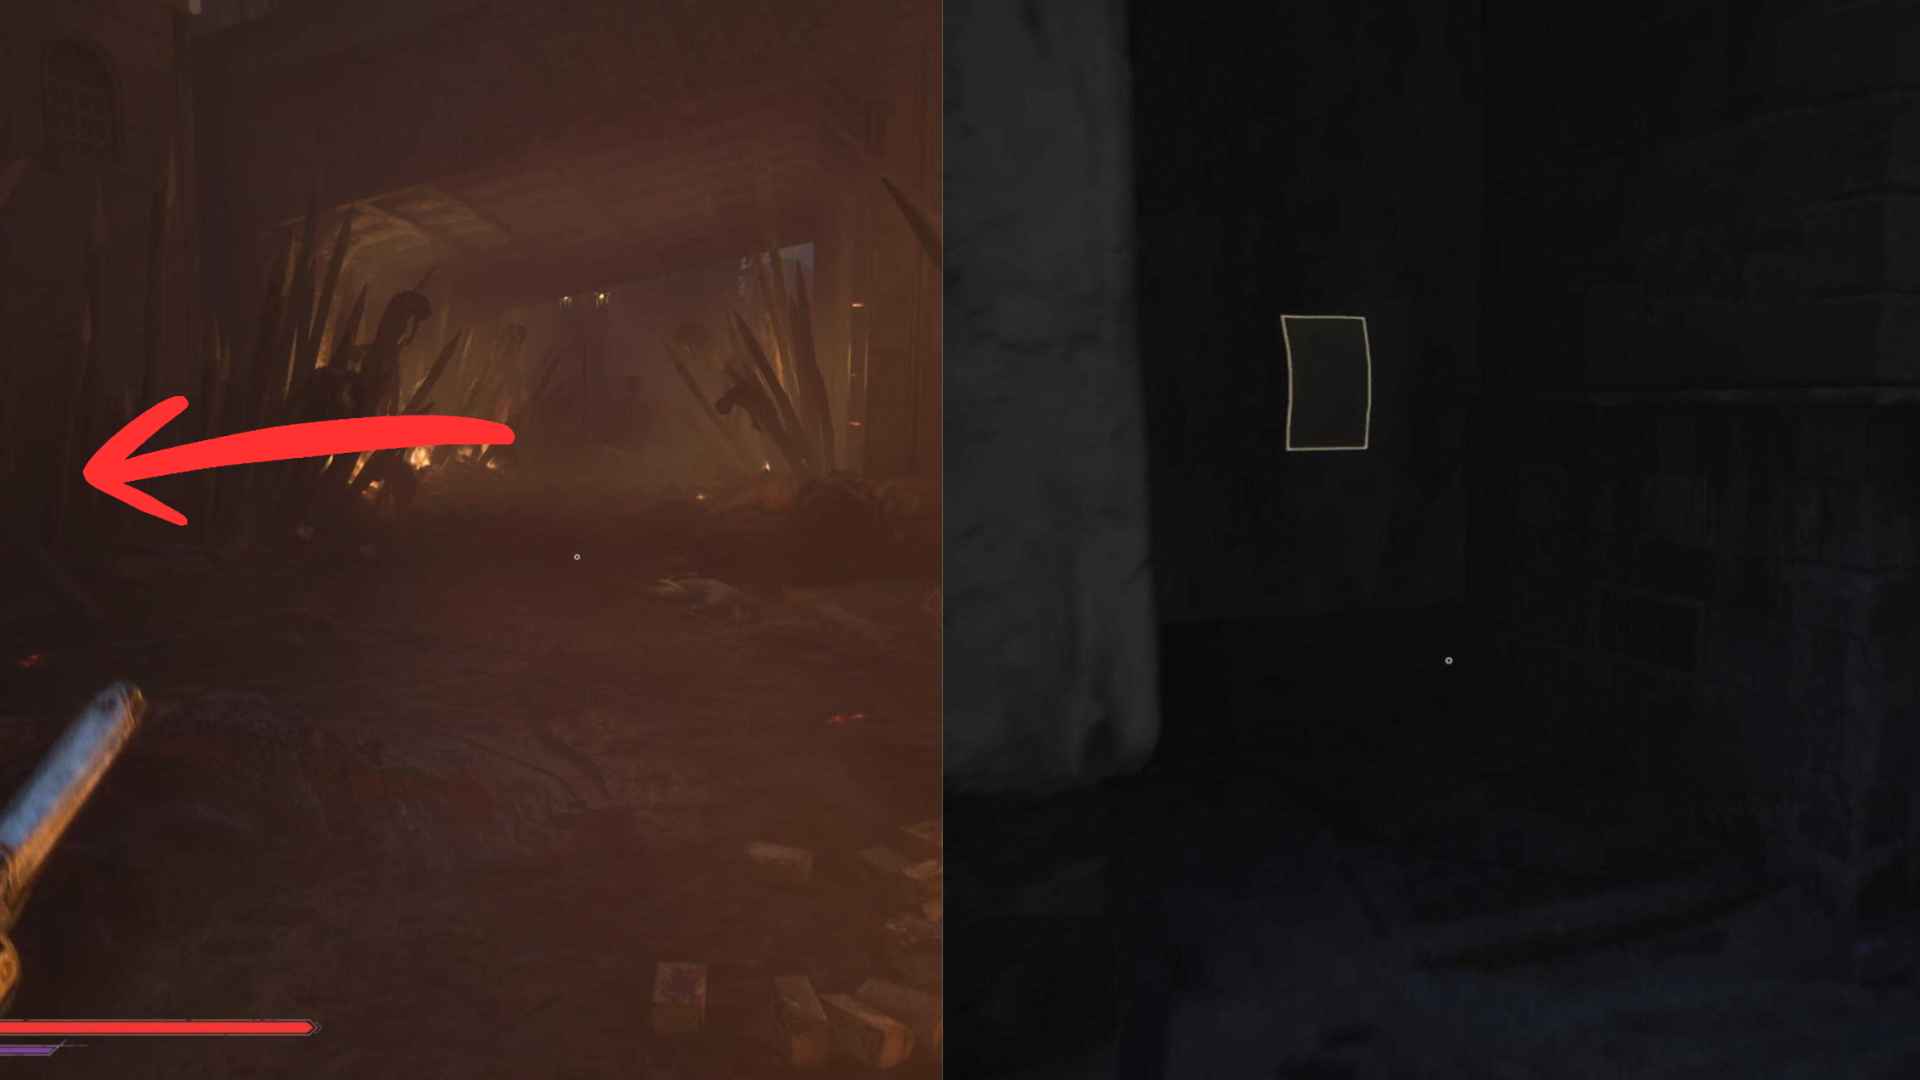
After you go through this building and drop down into the burning streets again, head down the street to the left and then turn left again. In a little nook on the right, you'll find a drawing of the Eternal Guard
General Lothaire
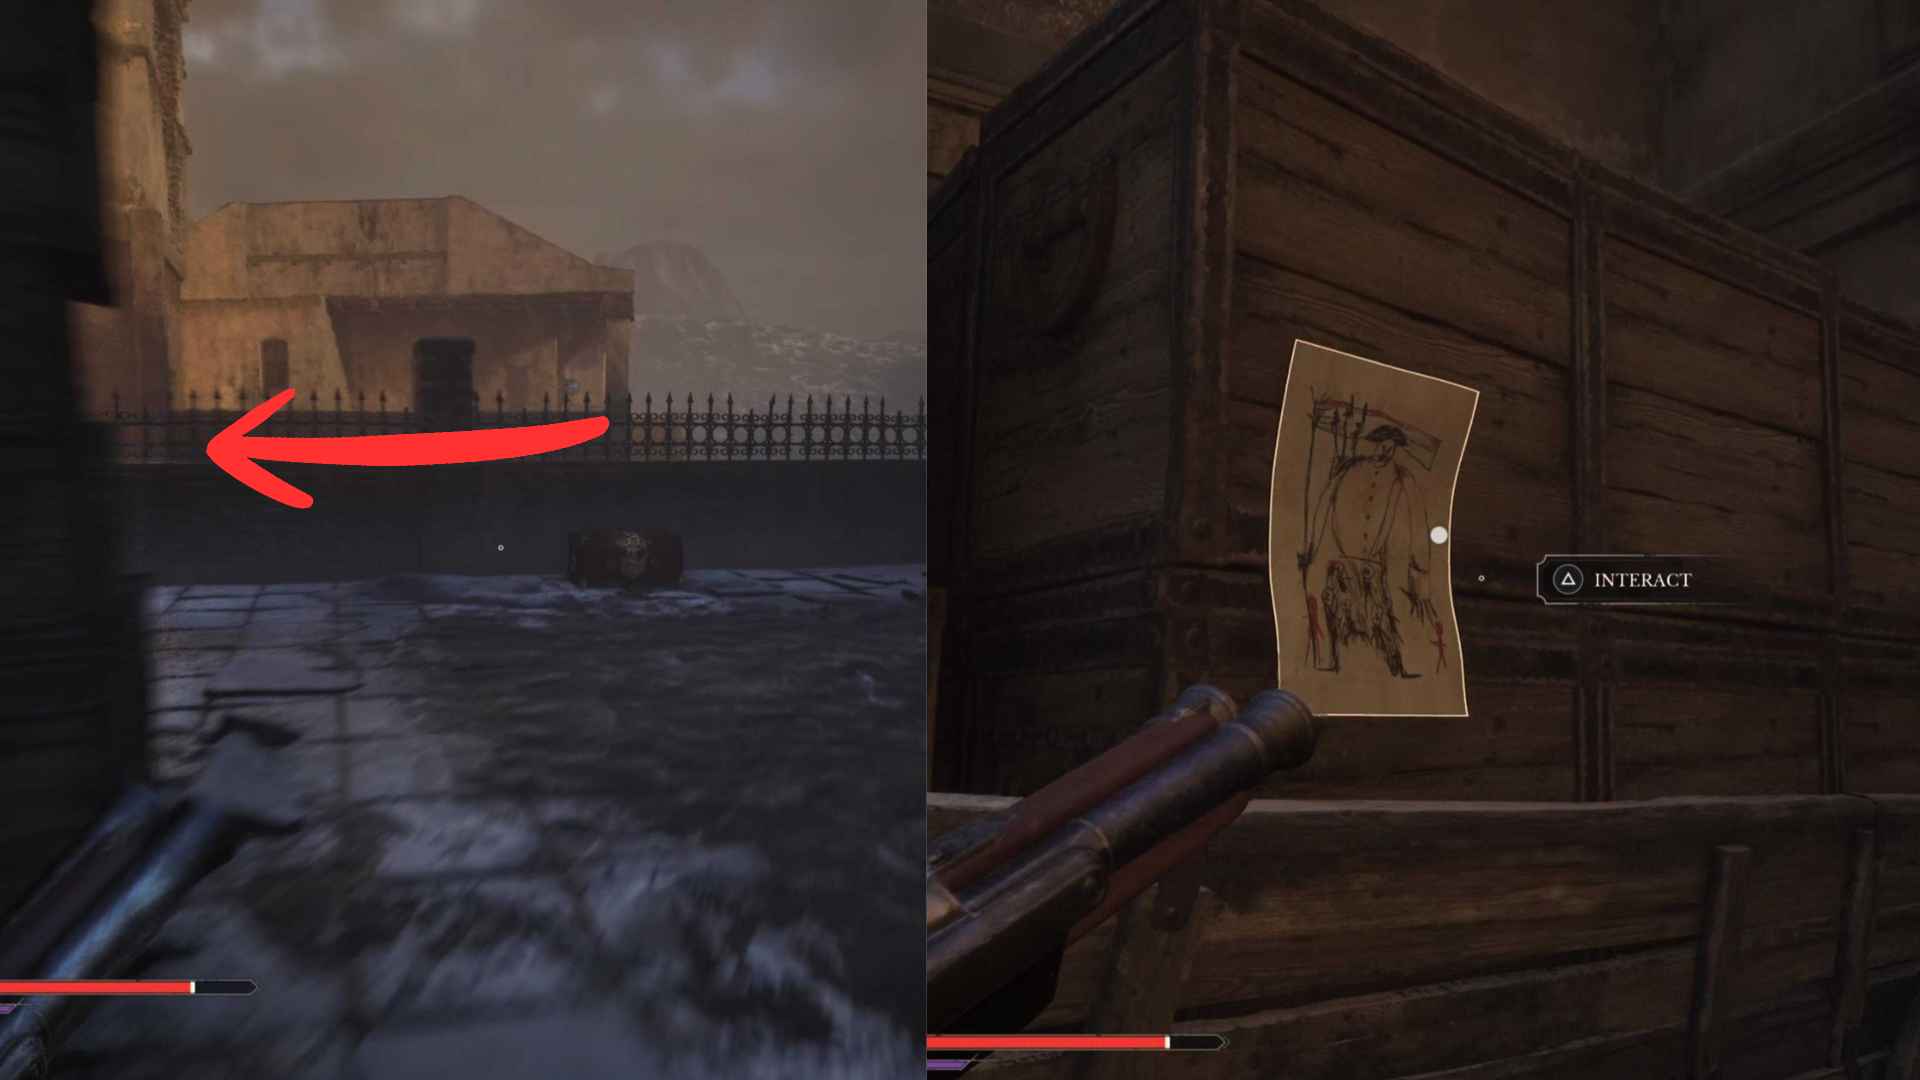
Just down the street from the last drawing, you'll come to an open space with a chest containing a Remnants Return. Turn left of the chest, and you'll find a drawing pinned to the wooden carriage nearby
Sapeur
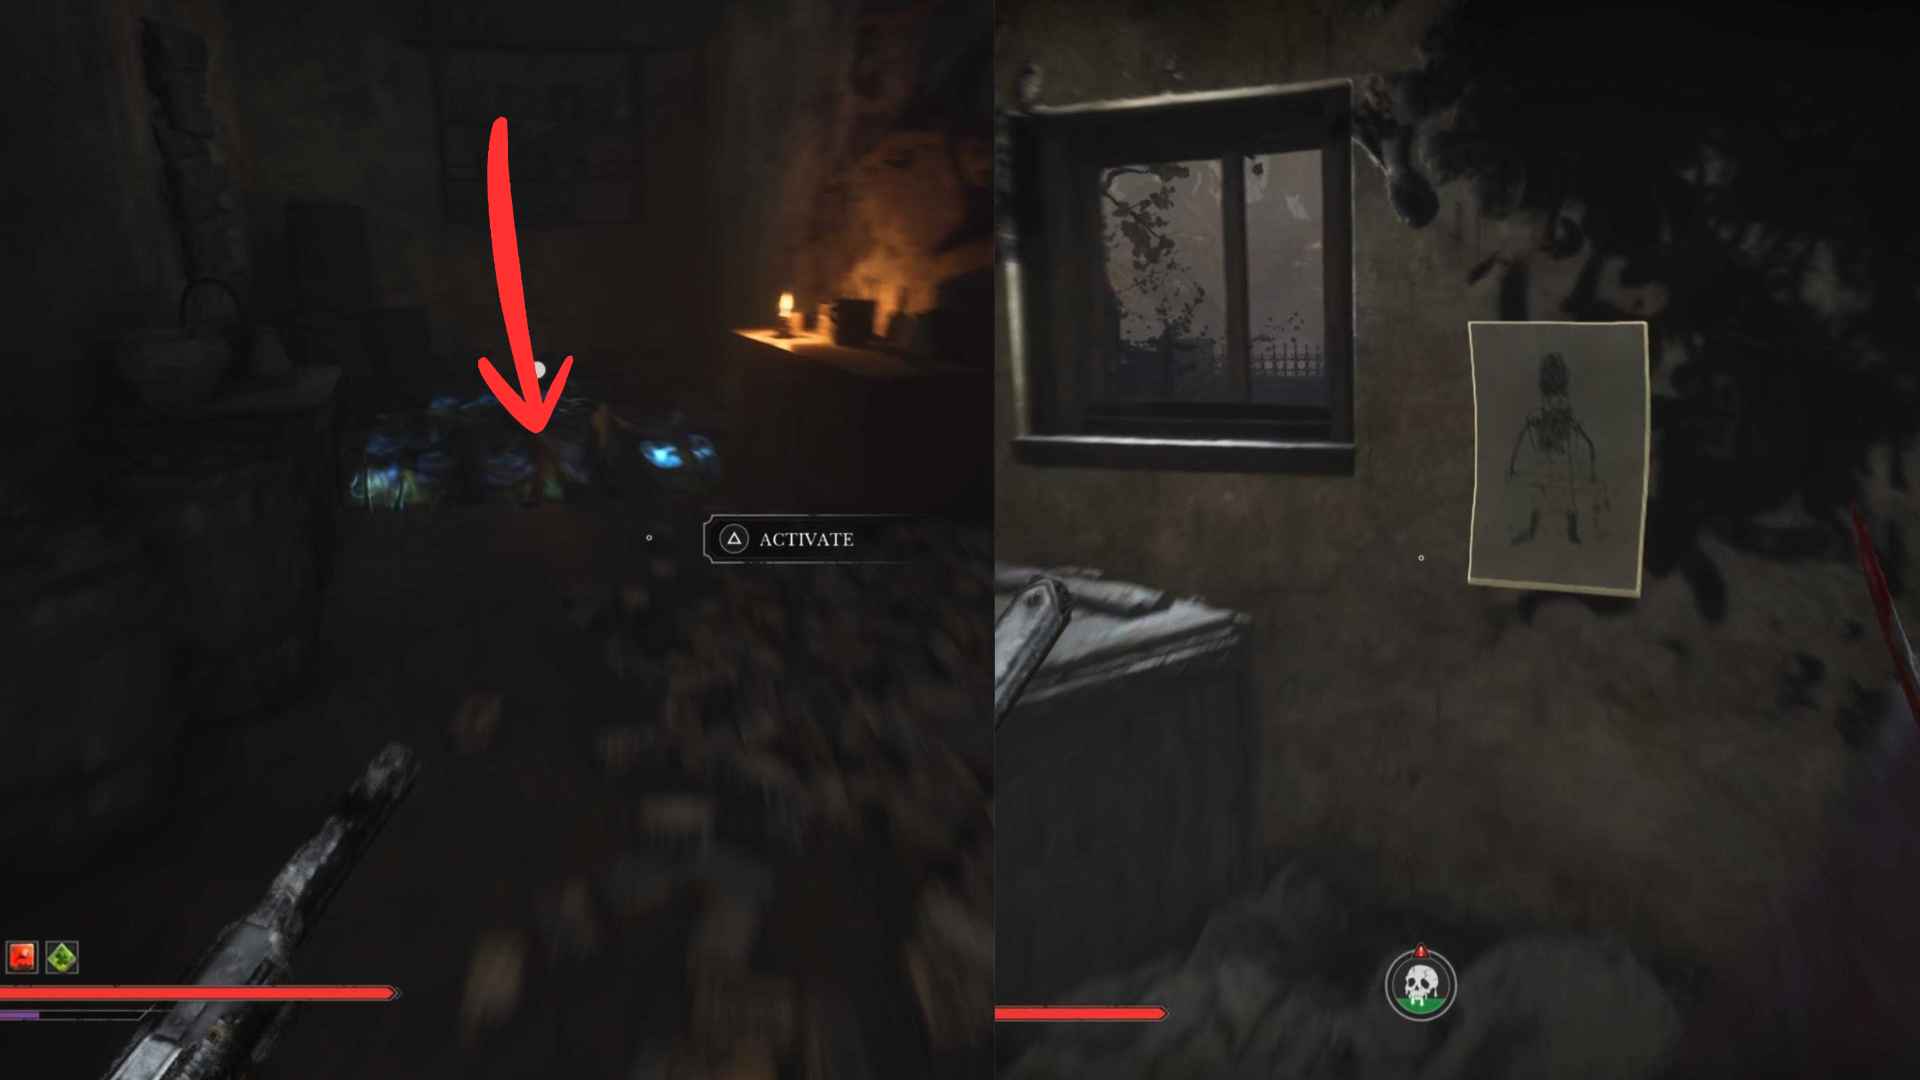
In the building with the Nephoglobin formations that you can activate to fall into a lower level filled with poison, push through into the room with the fire spewer and the Howler. On the wall at the back of this room, you'll find the Sapeur drawing.
Slaughtermill
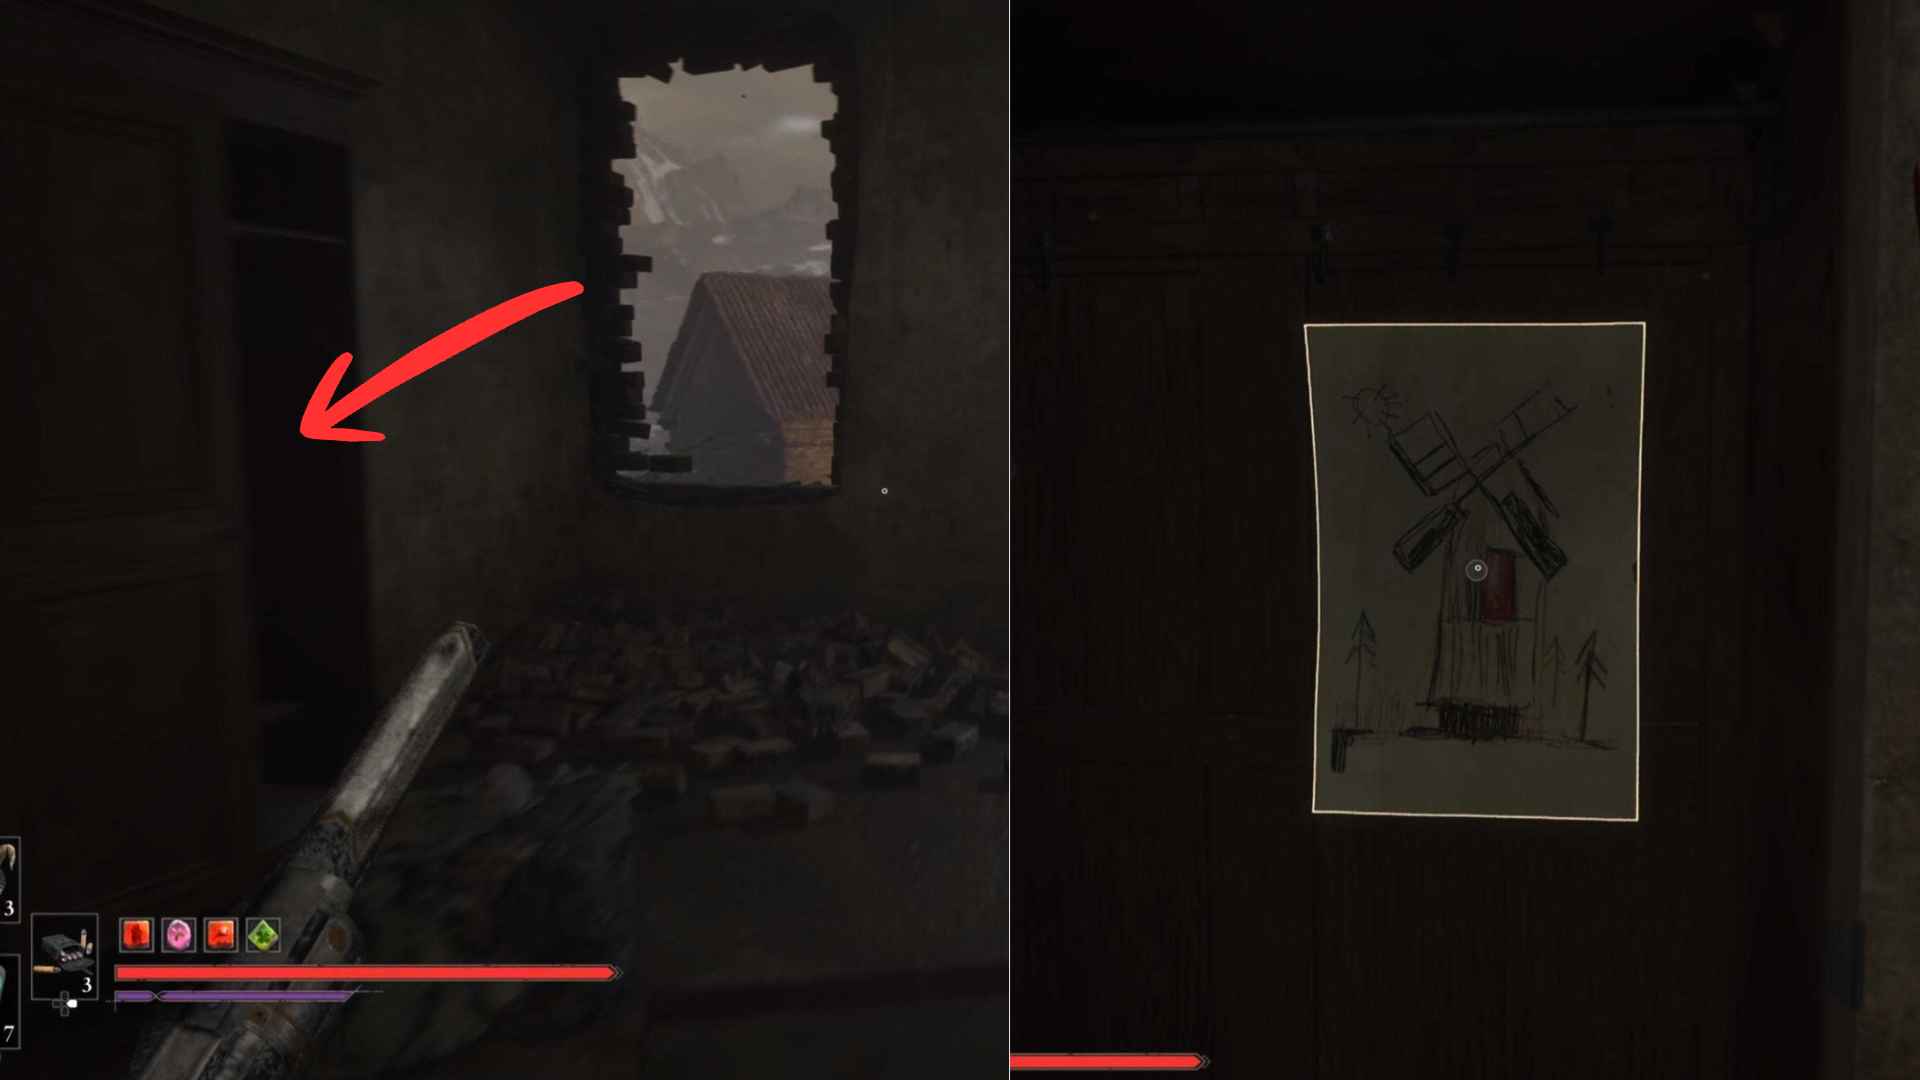
One floor up from the Nephoglobin formations room, you'll come to a room where you need to grapple to get from one building to the next. Grapple over, and then before you jump out the hole in the wall, look at the cupboard in this room; pinned to the back of it you'll find a drawing of the Slaughtermill.
Swarm Mother
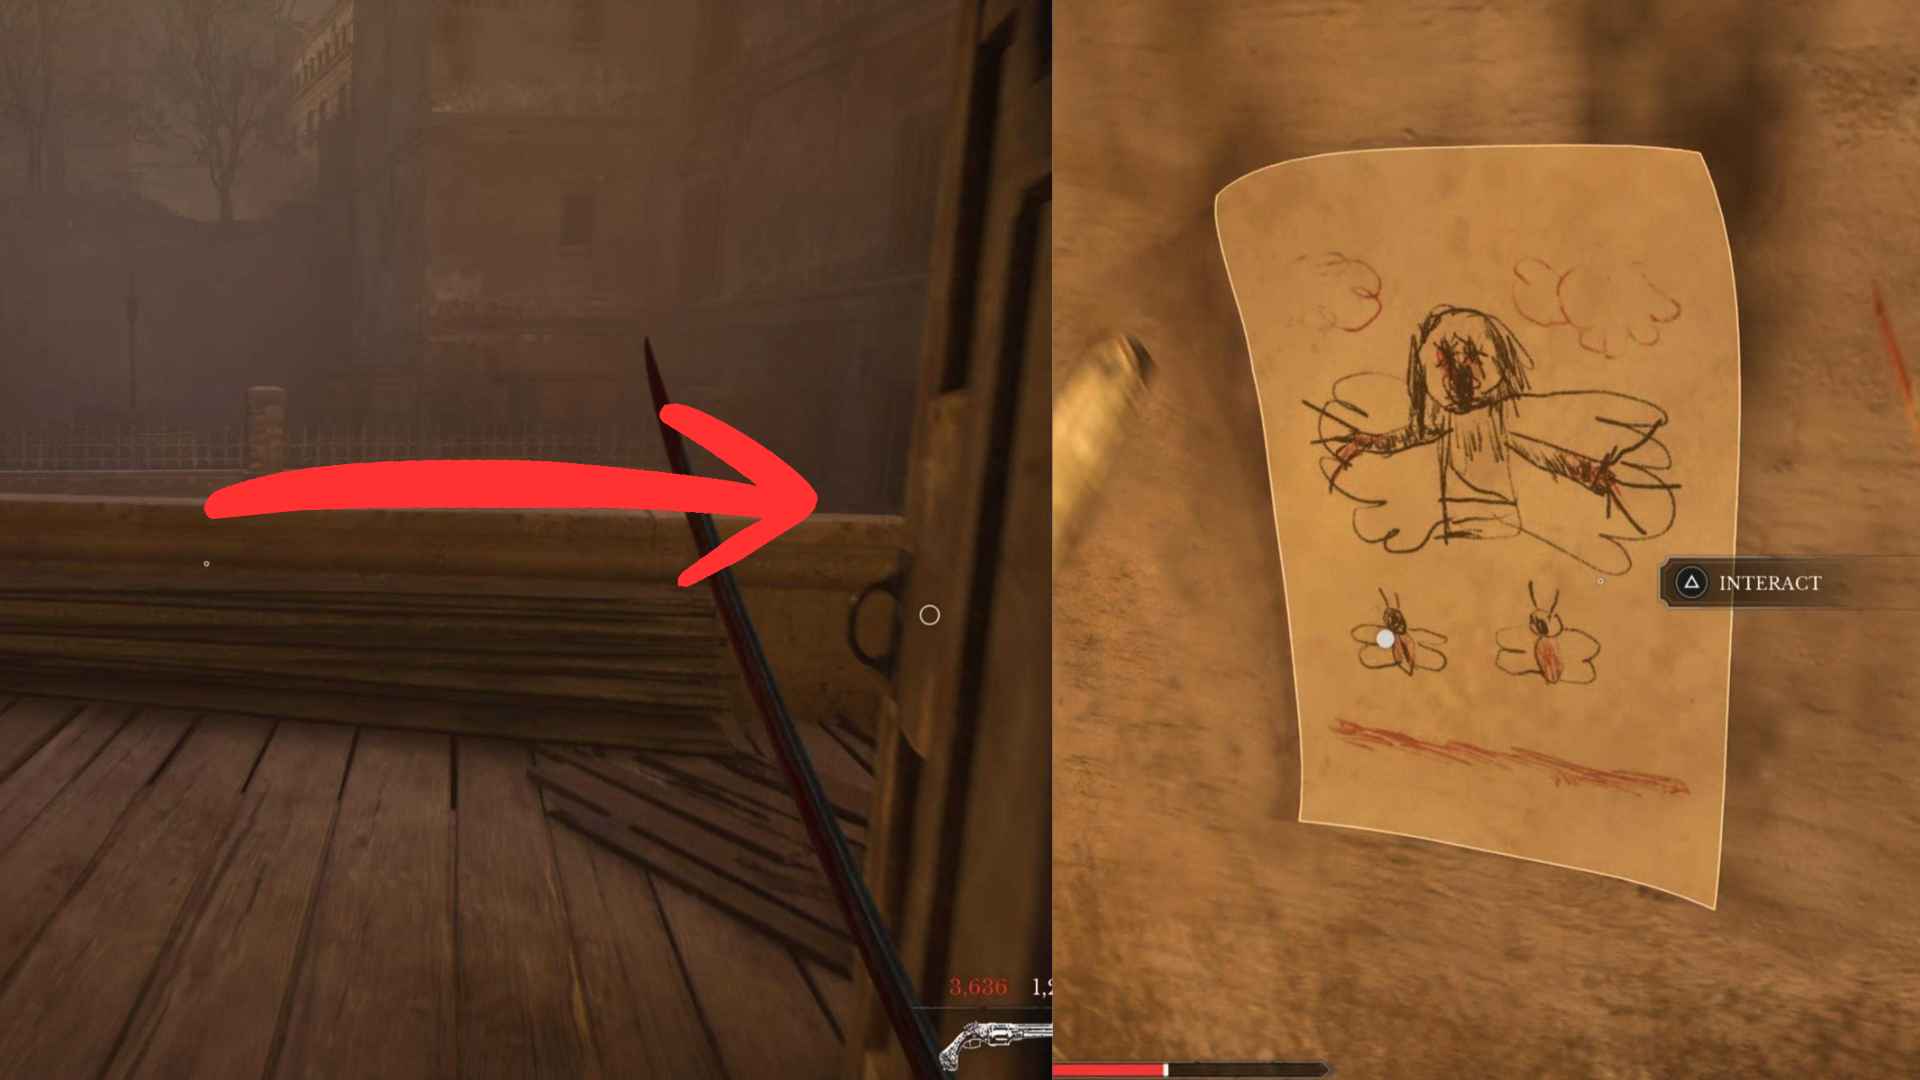
In the building that begins with a Swarm Mother attacking you as you enter the door. Work your way up until you exit the door just after the chest with the bombs containing Distilled Blade Materials. As soon as you exit, turn right, and on the outward-facing wall you'll find the drawing.
The Sphinx
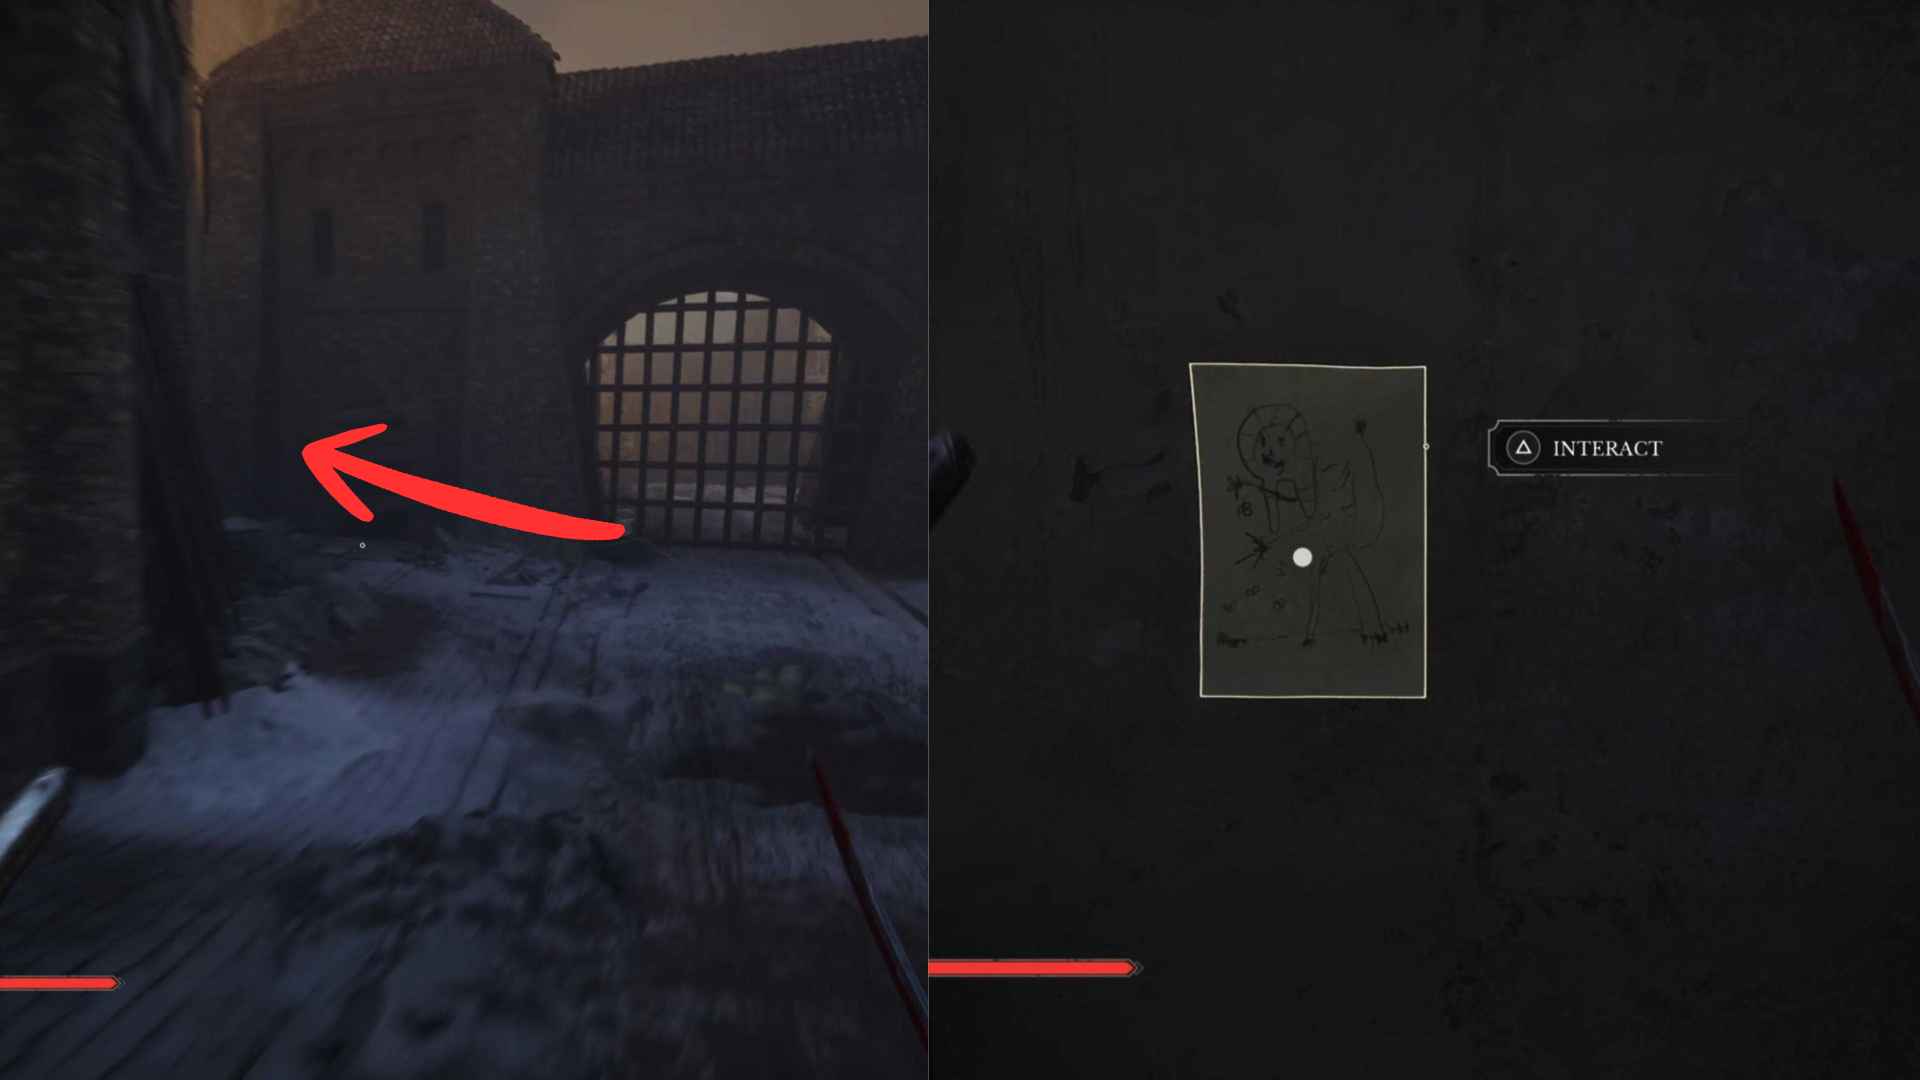
After you ride the zipline down after getting the keys to the sewers, before heading into the sewers, head down the alleyway to the right towards the closed iron gate. On the wall on the left of the gate, you'll find a drawing of The Sphinx.
Abomination
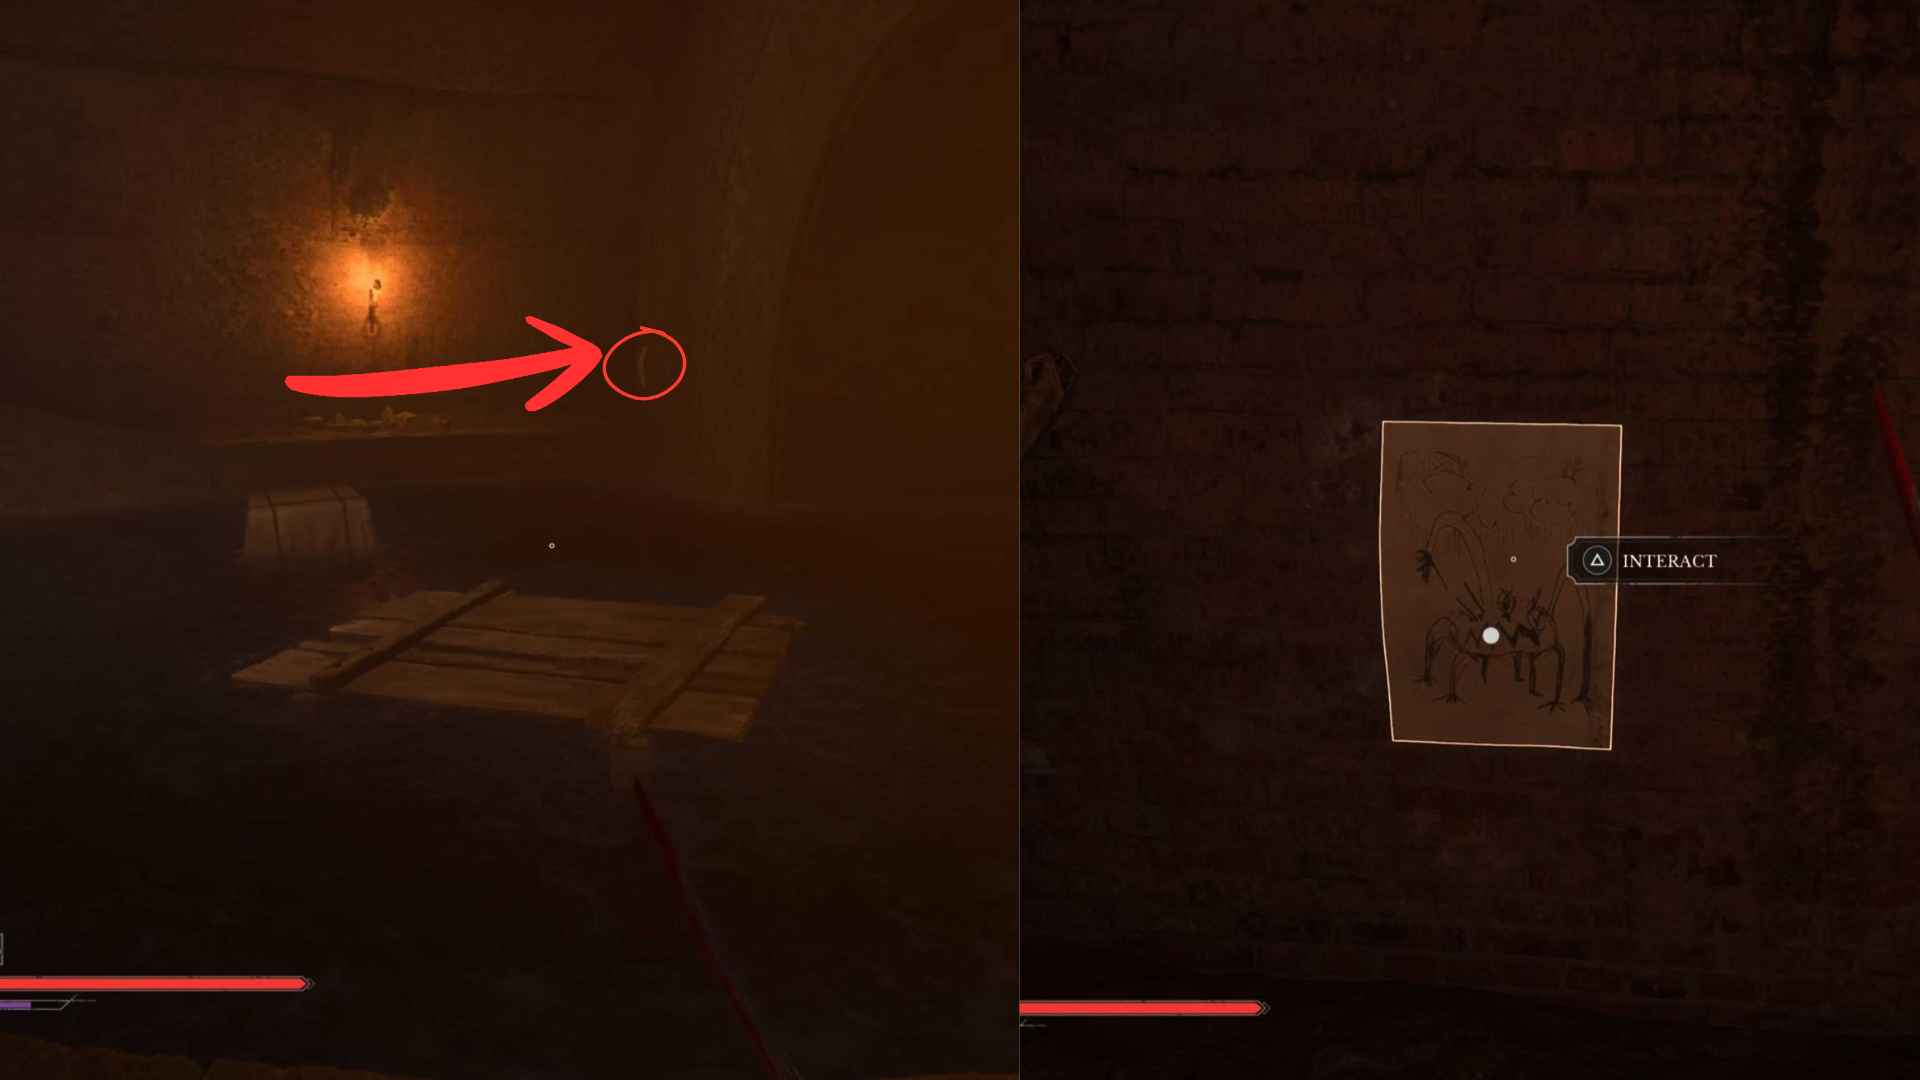
As you exit the sewers towards the University, instead of heading out the doors on the right, use the debris in the water to hop over to the left, and on the wall you'll find the Abomination drawing.
Menacing Figure
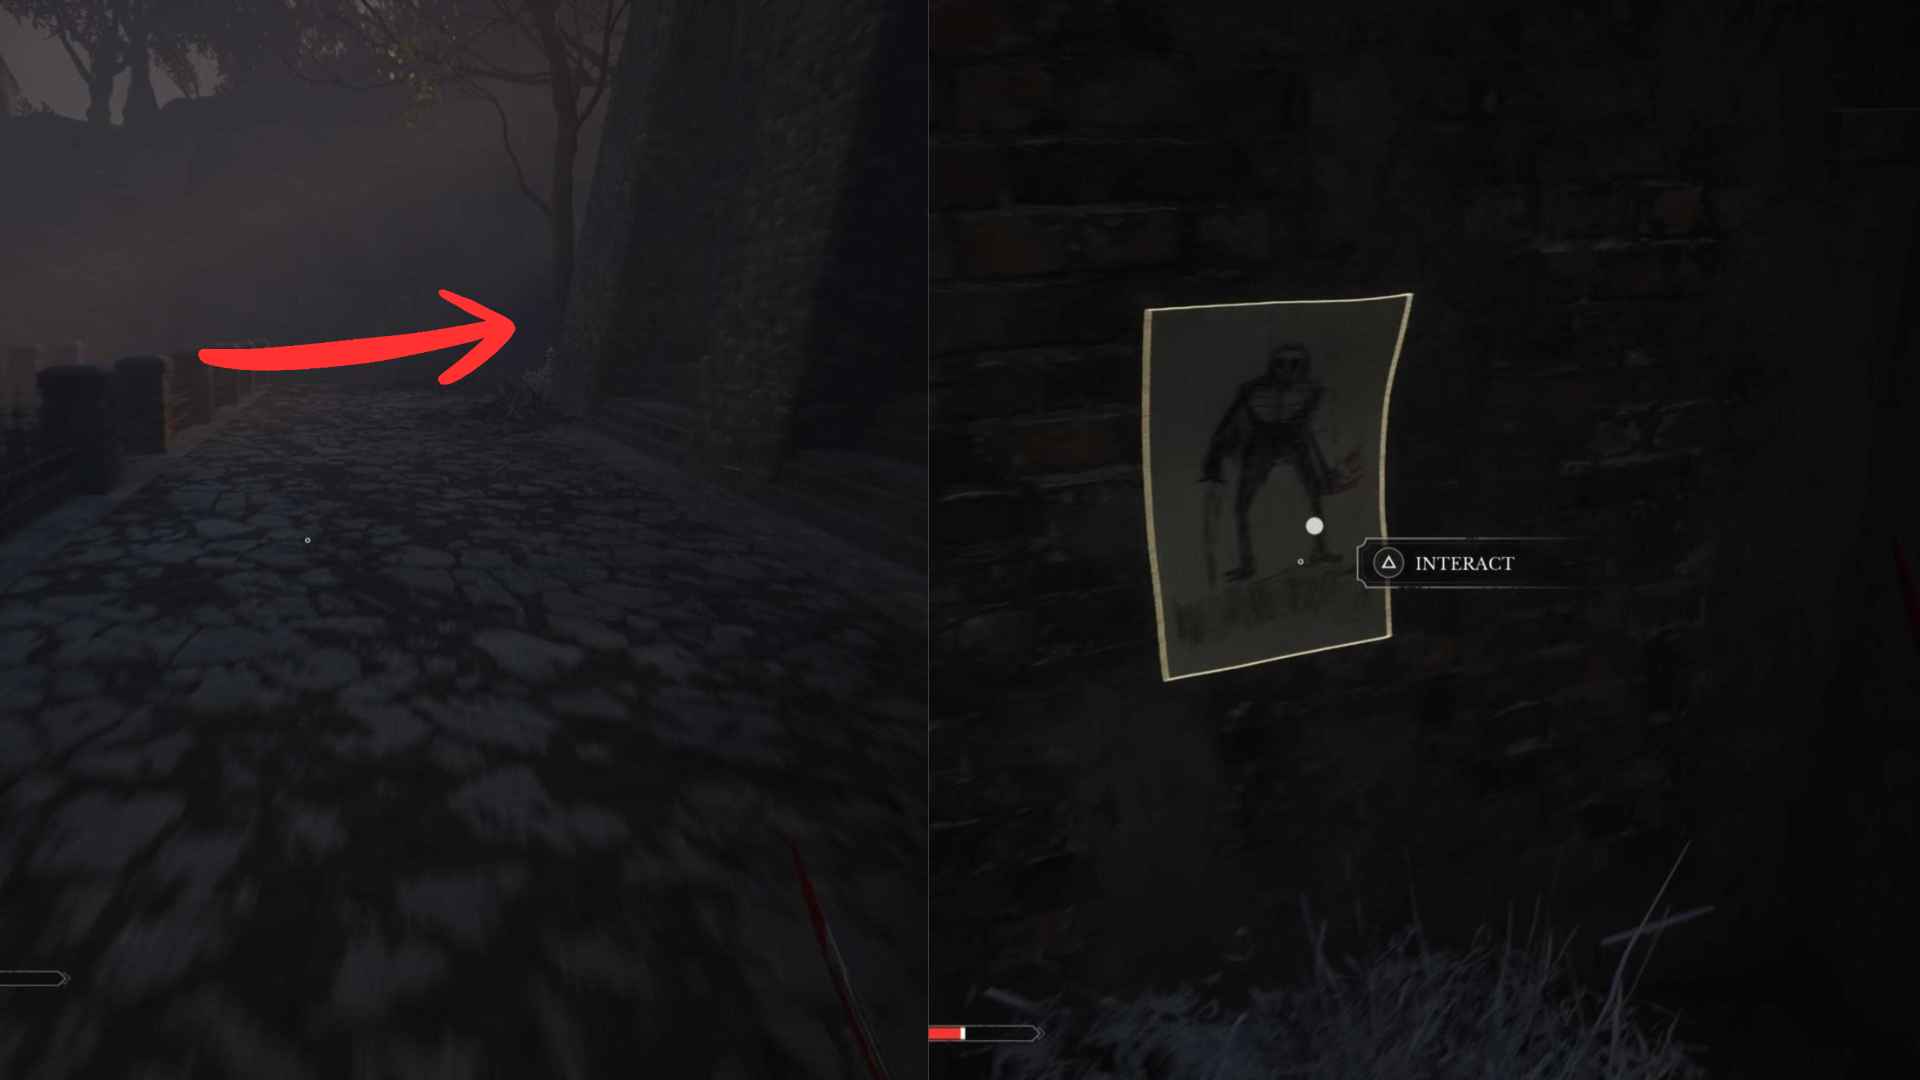
After you exit this door leading out towards the University, after beating the enemies out there, take the time to check around the corner on the right, and you'll find a drawing of the Unknown/menacing Figure.
Grenadier
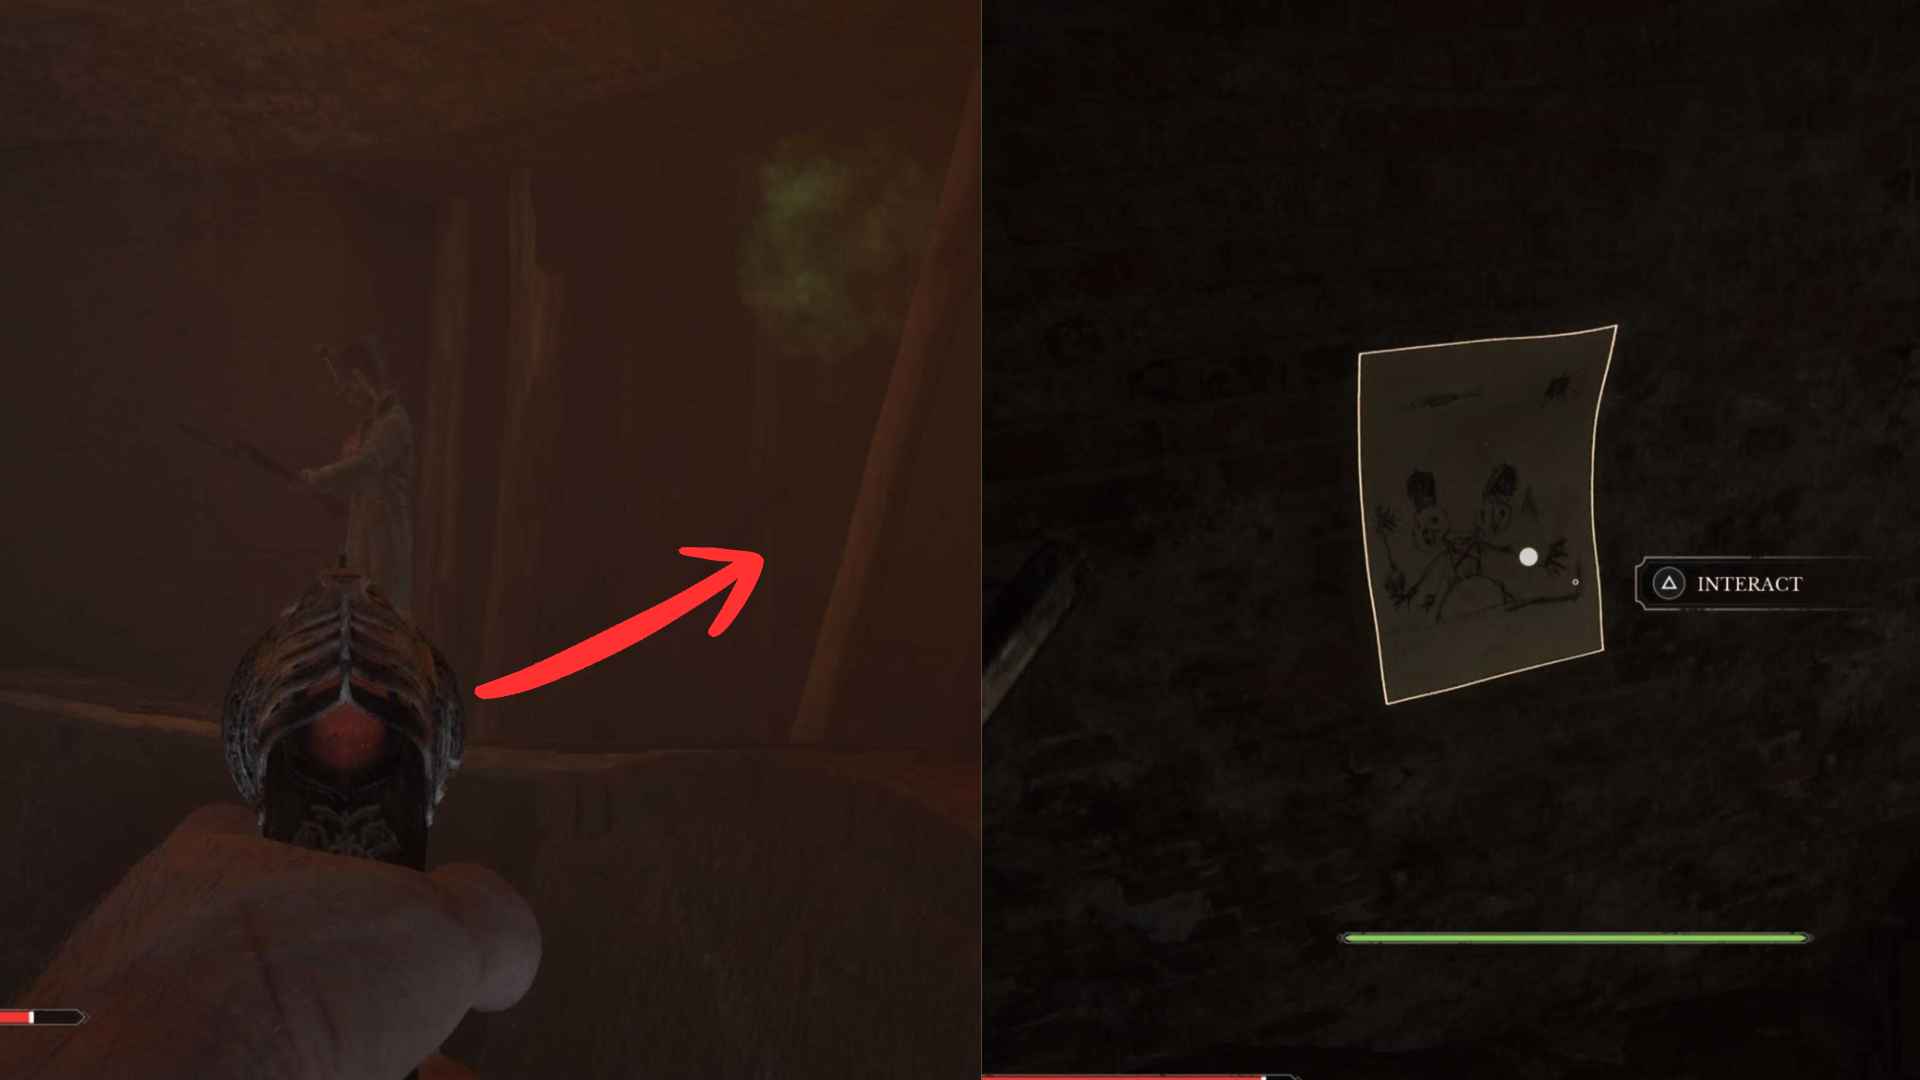
In the sewers, you will come to an area where a standard rifleman is standing before a little alcove where a poison spewer enemy is hiding. Kill them and then look inside this little area, breaking the boxes to reveal the Grenadier drawing.
Shambling Civilians
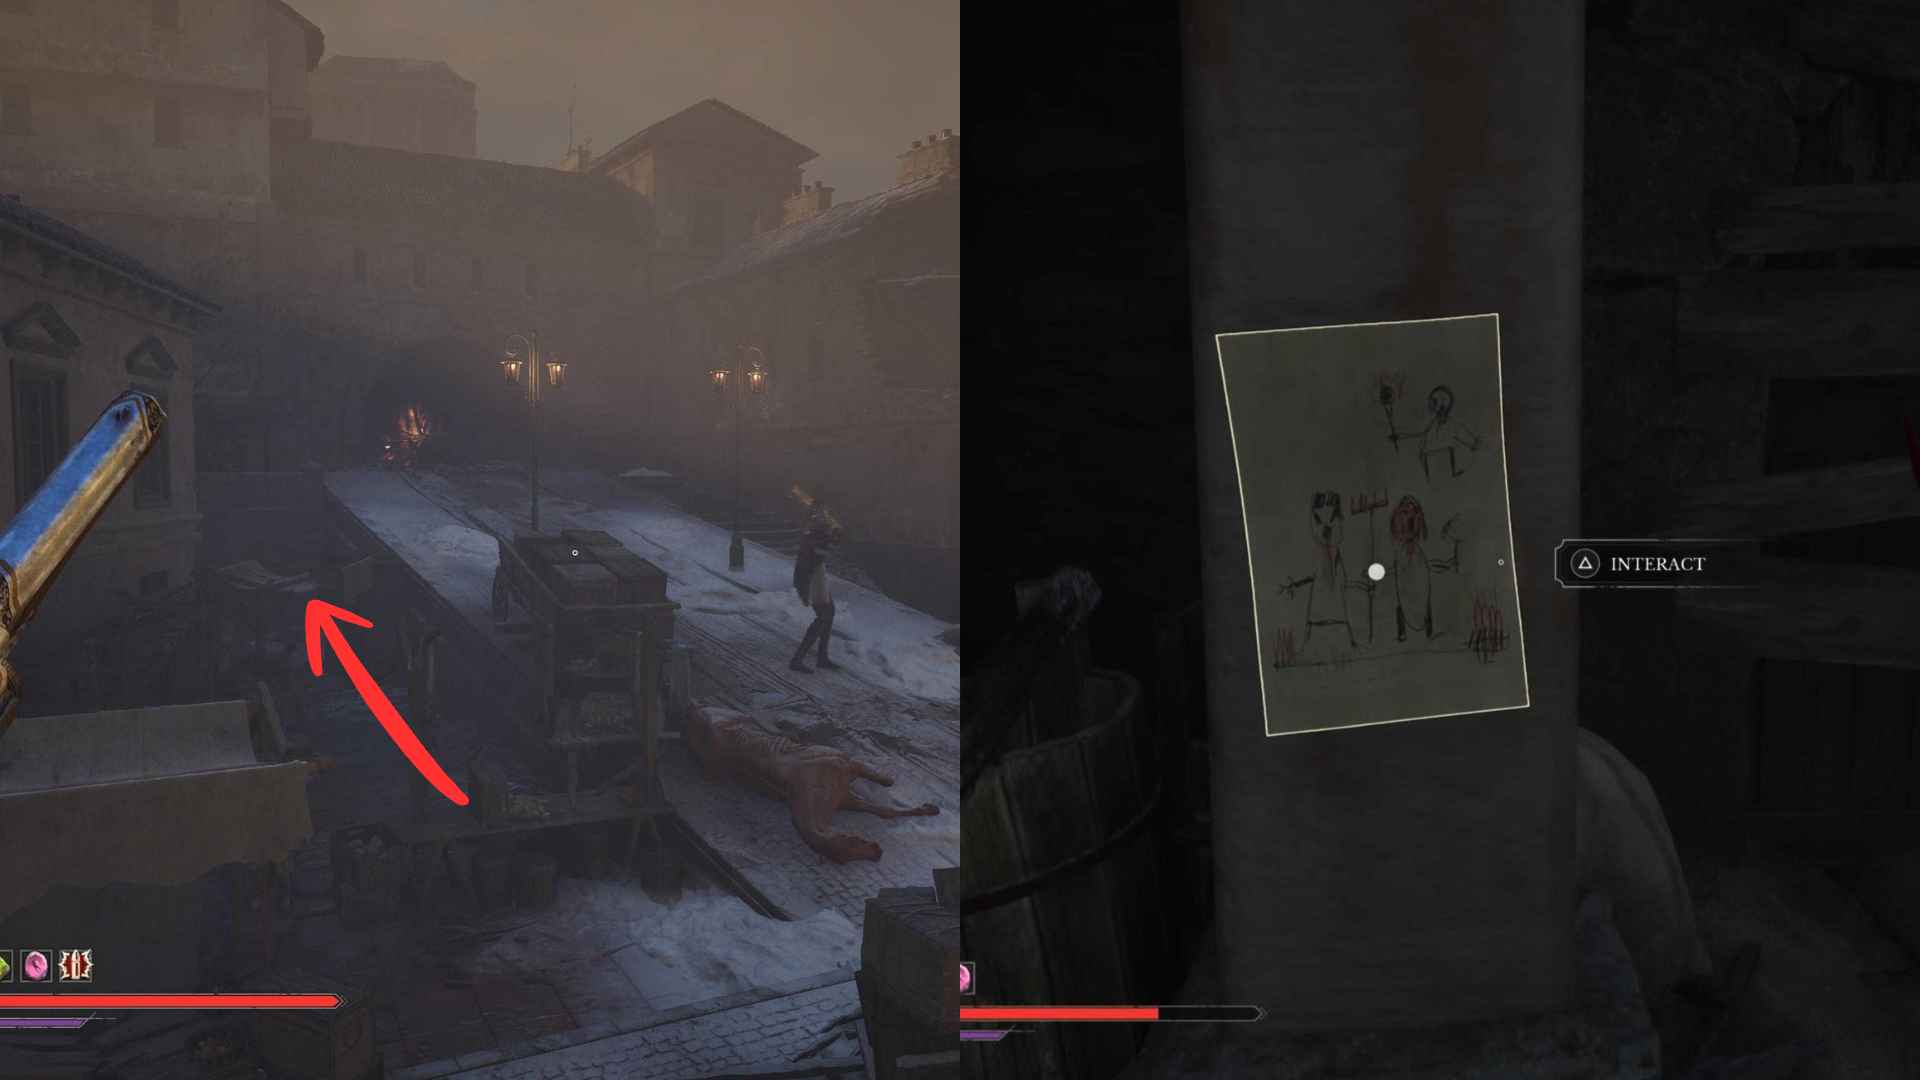
In the place lined with market stalls and containing two Volunteer enemies, head through the path on the left with the two basic enemies, up the stairs, and you'll find the drawing of the Shambling Civilians on the wall.
Remnant Of The Iron Regiment
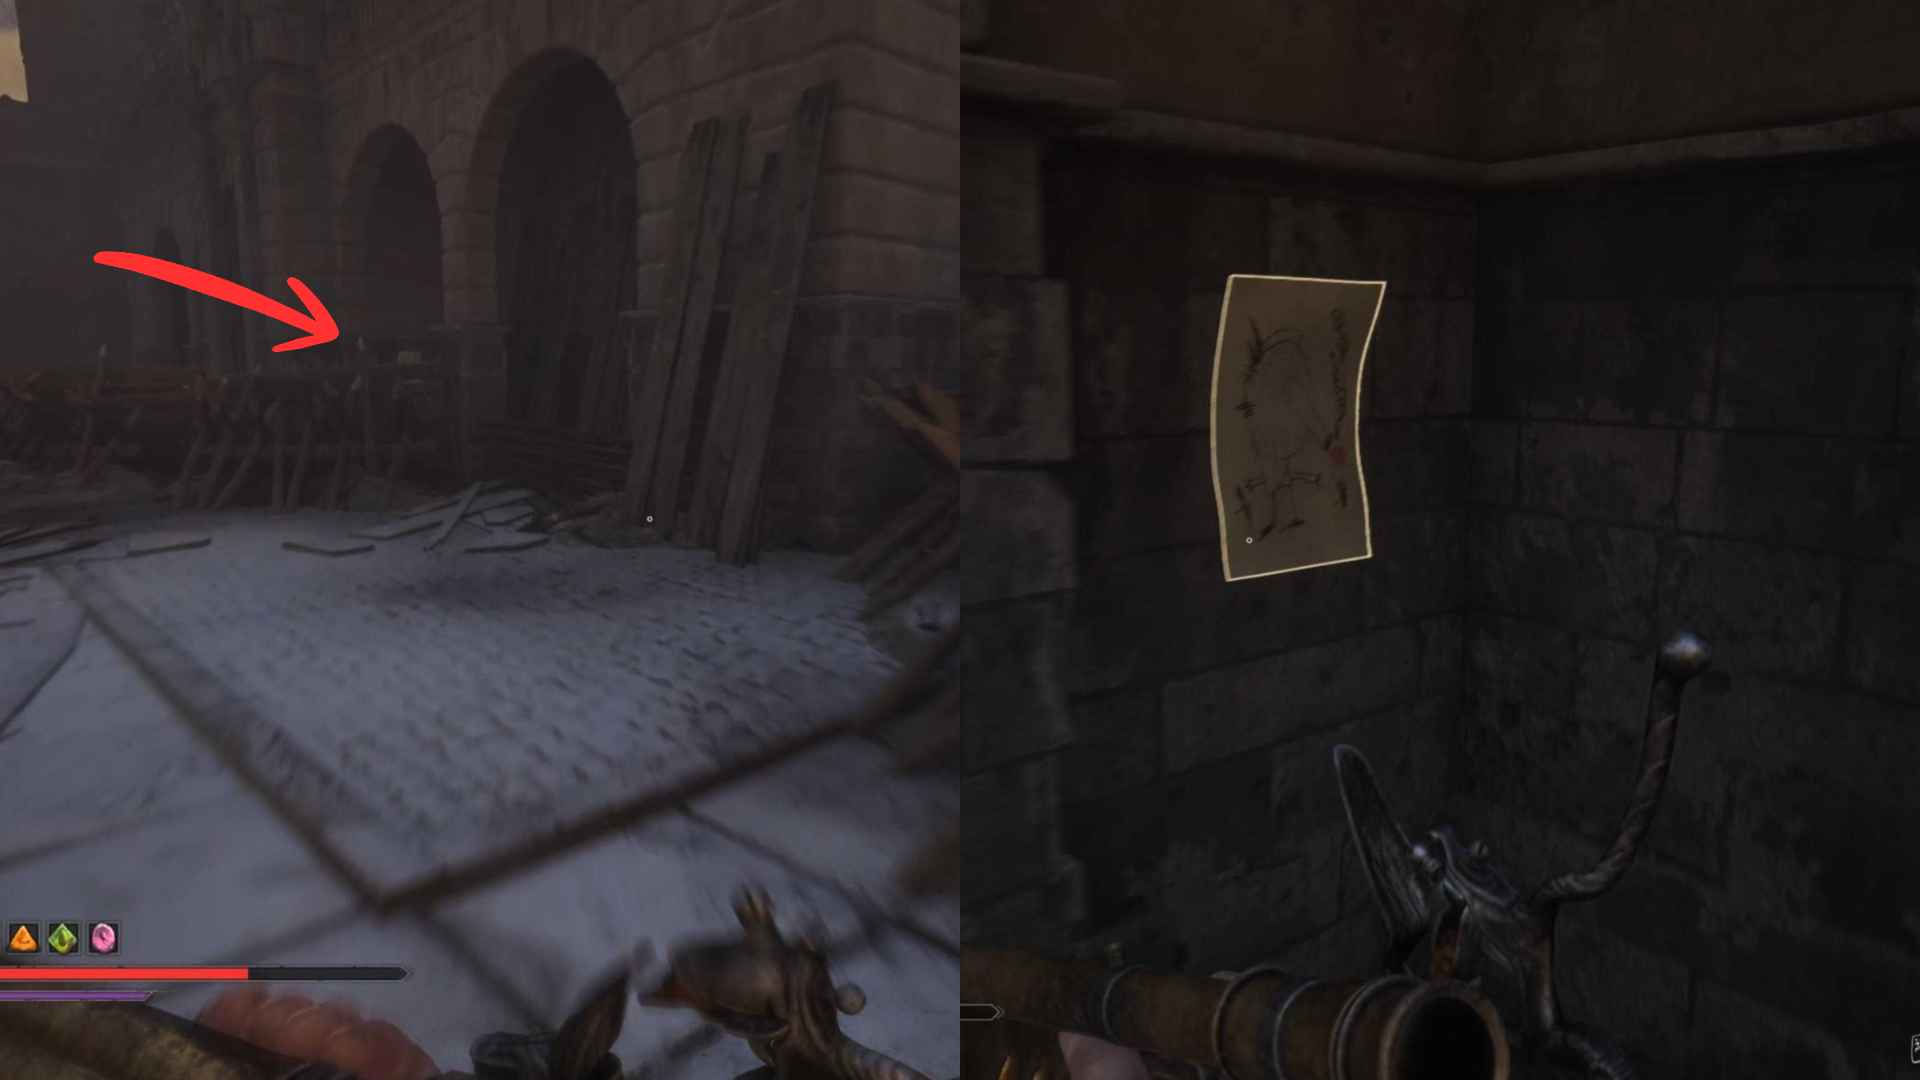
In the large courtyard area with the Remnant Of The Iron Regiment enemy and loads of explosive barrels, hug the wall leading toward the building where you climb to get to the mice nest where you get the Sewer key. In one of the archways, you'll find the drawing.
Carrion
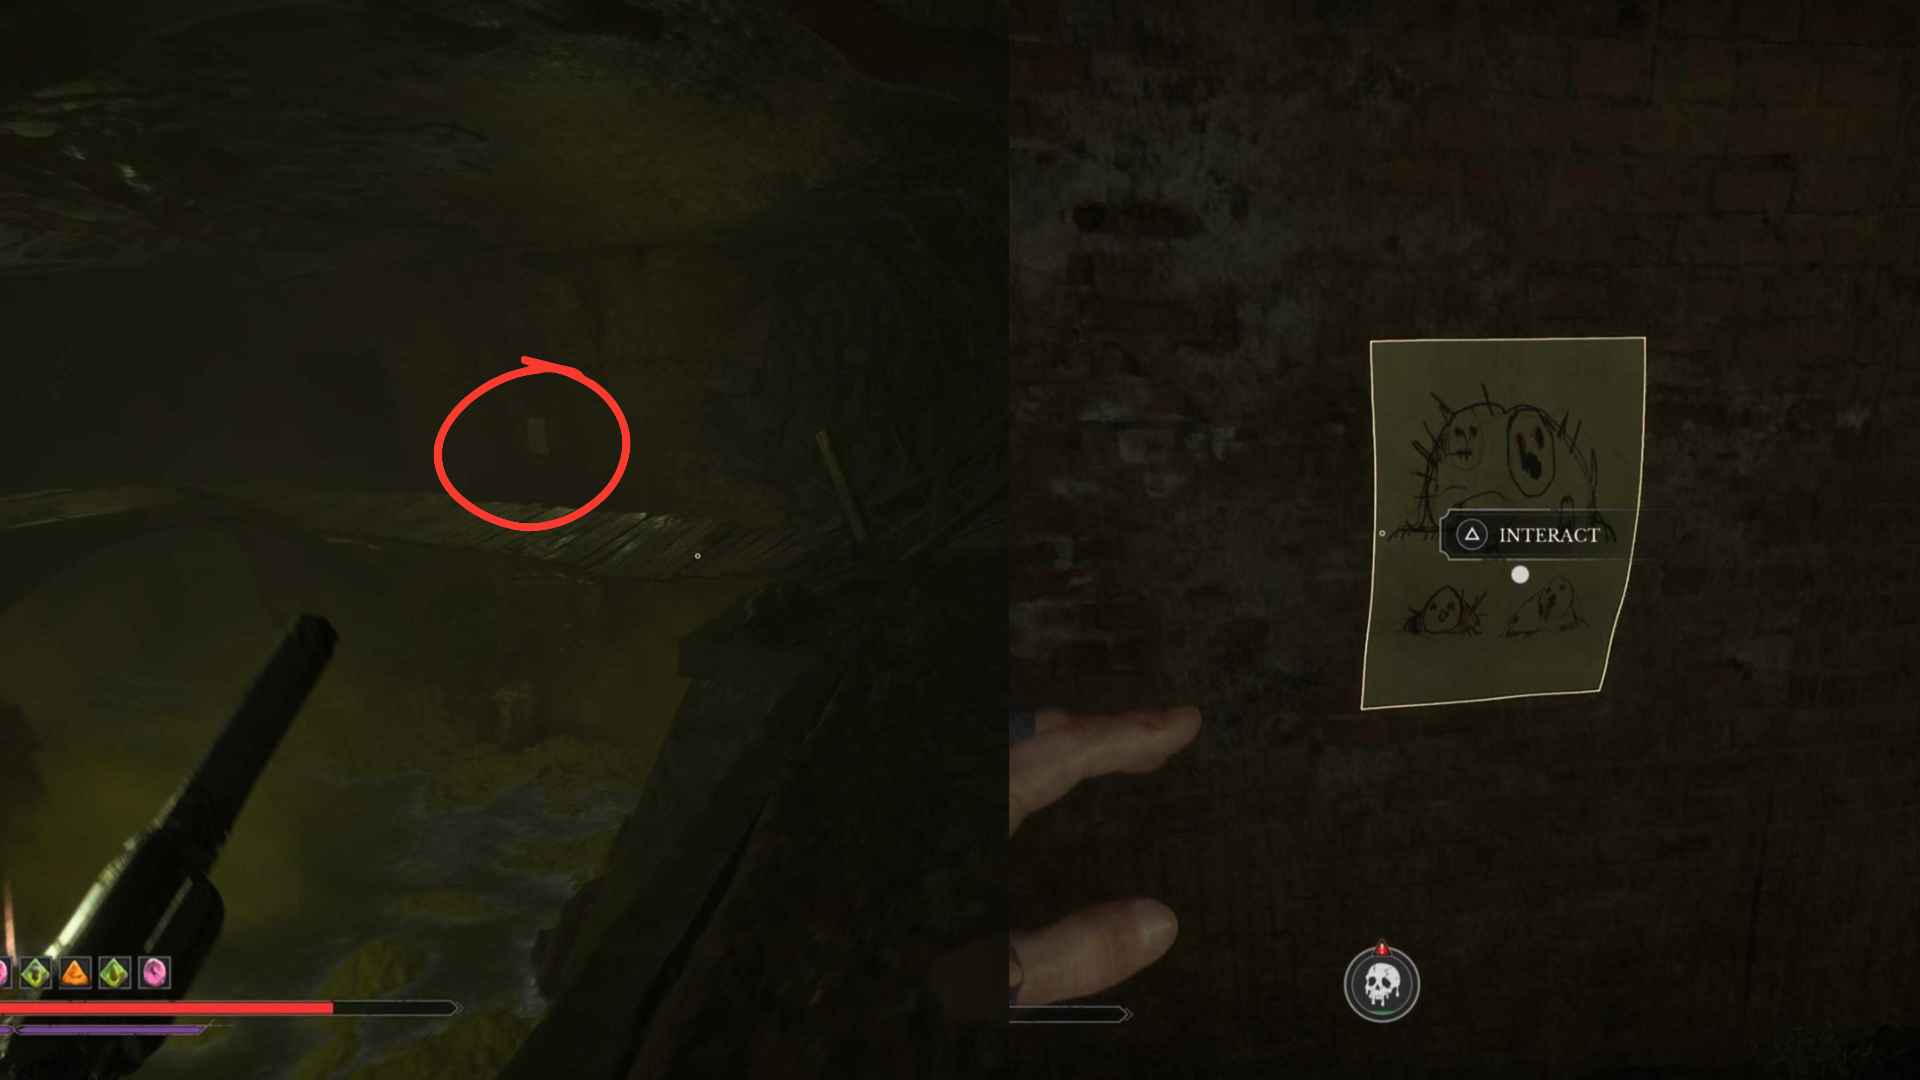
In the sewers, you will need to use a grapple to get into a pipe, taking you through an area with several poison-spewing enemies. After you get through here, you'll come to an area that is completely engulfed in poison. Stay out of the poison below, and on the wall up above is the Carrion Drawing.
The Orphan
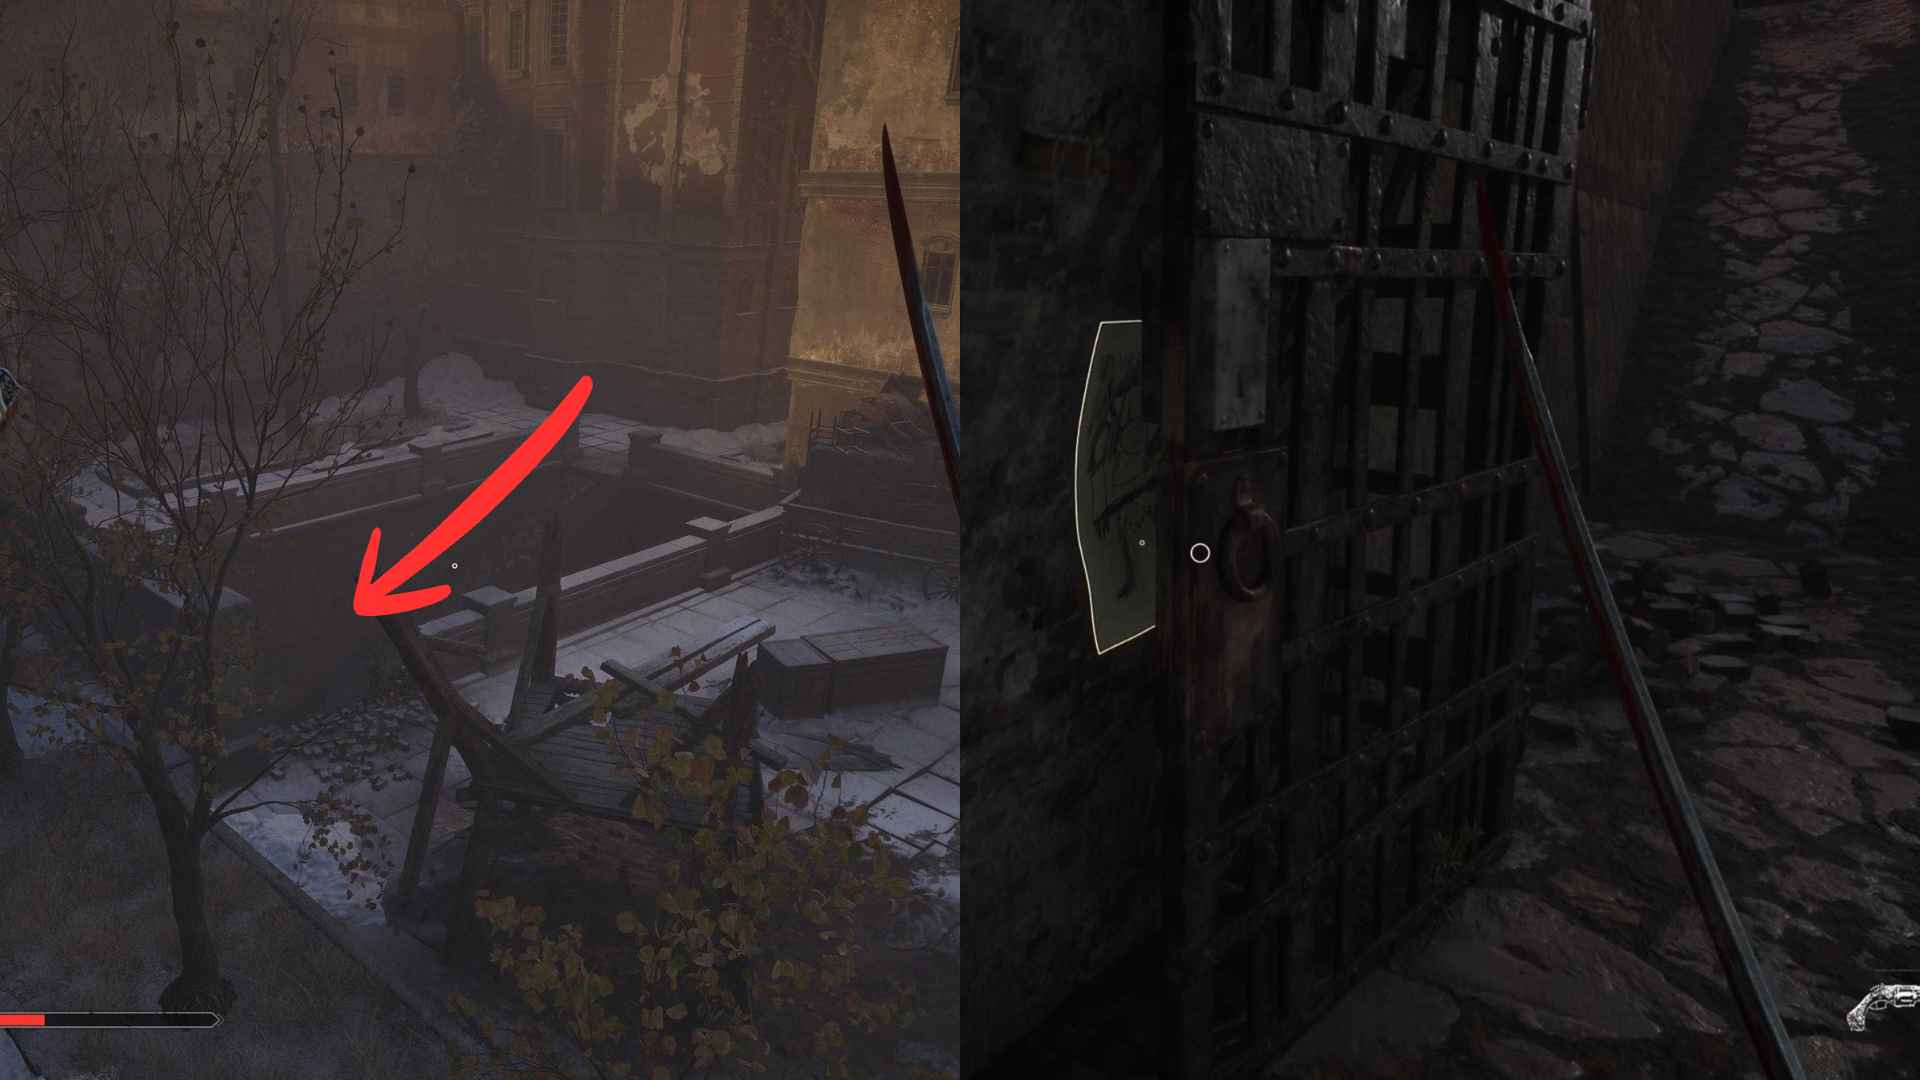
Leaving this until last as it's easiest to get when you have the Sewer Master Key. Climb the tower where you get the Sewer key, and you will see an area with some enemies below that you can drop down to. Here you will find a waterway leading into the sewers, and just at the doorway to this entrance is the drawing of The Orphan.
Quest Rewards
When you complete the set and collect your seventeenth drawing, the quest will automatically complete, and you will receive the following:
- Quintessential Transmutation Material
- Tiny Whisker Gift
- 10,000x Catalysts
When your Tiny Whisker Gift is consumed, that's 13,500 Catalysts in total, but the marquee reward here is the Quintessential Transmutation Material, as this will allow you to fully upgrade one of your spells to max.