Up to 84% Off VPN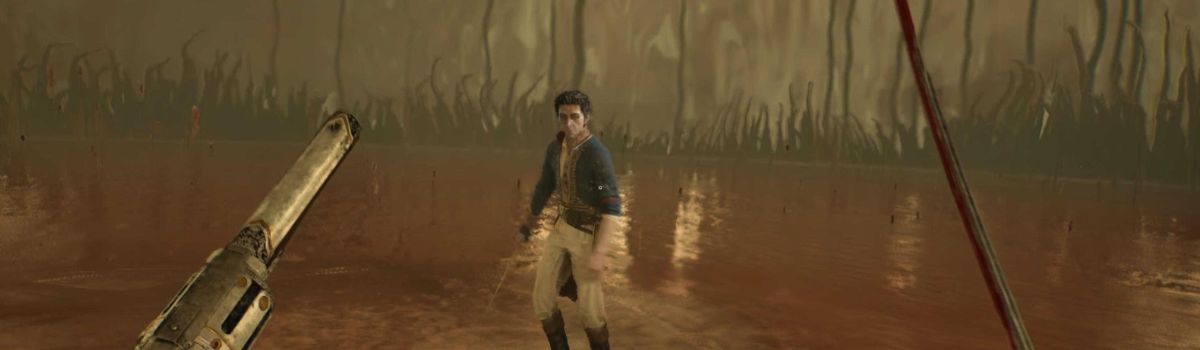
In any game, a final boss if designed correctly should be the ultimate test of your skill and ability, and that's exactly what the final boss serves as in Valor Mortis.
The Entity is a deadly boss, because for all intents and purposes, they are you. In a video game where you're a one man army, can you think of anything more deadly than that?
It's a boss that has all the tricks you have up your sleeve, and they know how to use them. So, allow us to guide you through this guide, so you can teach this phony William a lesson.
Boss Location & How To Prepare
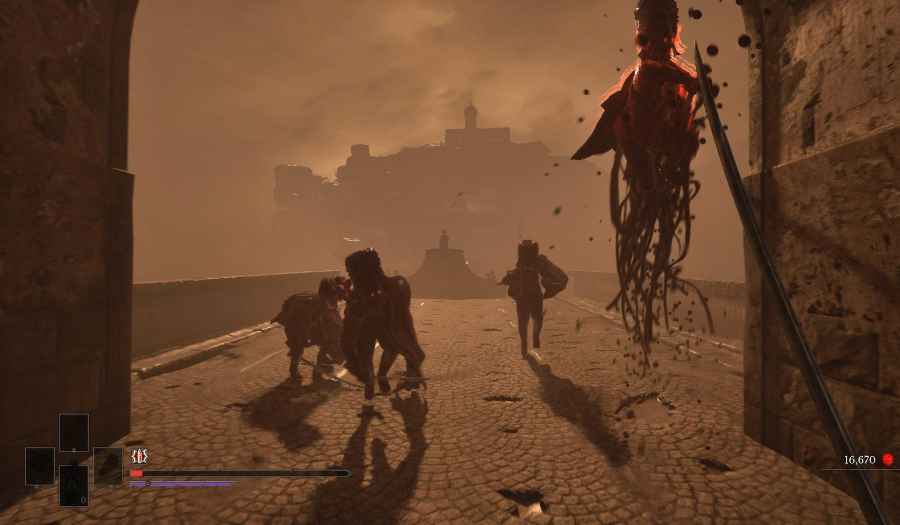
The Entity being the final boss naturally pops up right before you roll credits. That means you'll need to finish all ten Chapters and complete the end-game stretch where you break out of the prison and return to the cave in the salt mines. This will leave you in a state of limbo in the Abandoned Church.
Here is where you will need to put together your final build to face The Entity, and this is what we would suggest you set up for this epic fight:
- Recommended Level: 45+
- Primary Weapon: Saber/Claymore
- Ambers: Lucky Shot, Lunatic's Grasp, Potent Concoction, Iron Grip
- Items: Stasis Whetstone, Hand Grenade, Nephoglobin Vial
- Recommended Ferrofluid Flasks: 8+
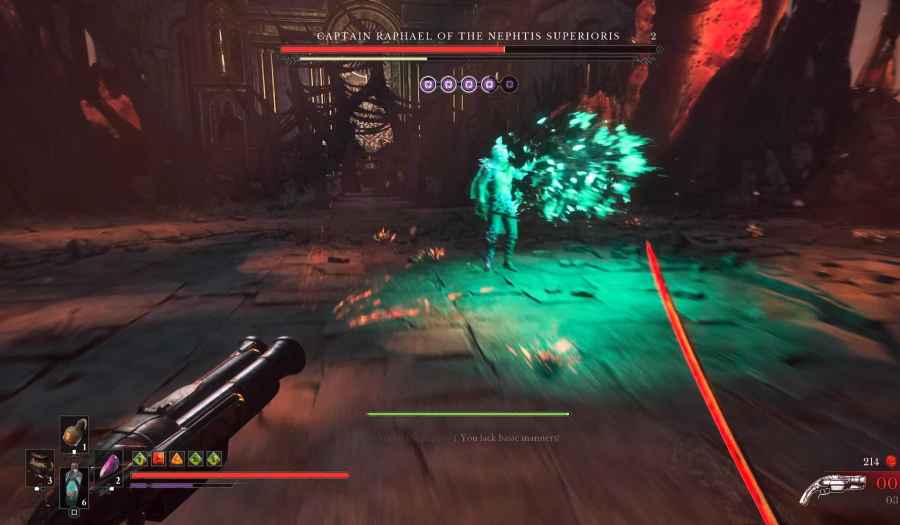
Much like the Nephis Superioris fight, the key to success here is to lean heavily into Stasis, as you'll be able to take off huge chunks of his health, which makes all the difference in an intense two-phase fight like this.
Iron Grip is very helpful to ensure you get your heals off without him getting any cheap shots in to stop you. Lucky Shot is great so you are more likely to have bullets to take out the one-shot enemy spawns, and Lunatic's Grasp, ideally buffed up to version III, is brilliant to get as much Stasis on him as quickly as possible.
Generally speaking, this is very much like the Nephis Superioris fight, but with new attack patterns and more gimmicks in play. But, all in all, a very similar feel and vibe.
How To Beat The Entity
Phase One
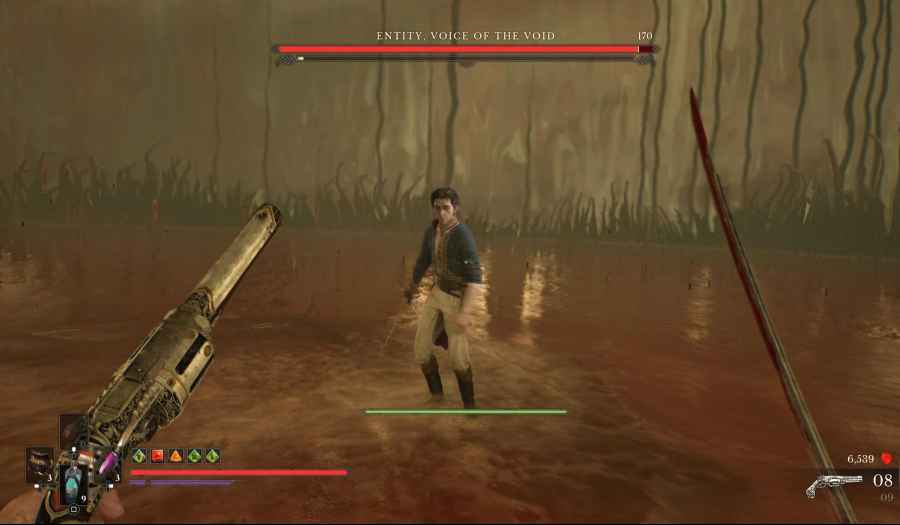
Much like Nephis Superioris, there's very little we can do to help you the melee attack patterns. They are better learned by feeling them out, but to describe them a little, you have the following:
- Double jab and lunging stab
- 5x slash attack with pause on third strike
- Sword throw attack
- Slash, spinning attack, slash, jumping spin attack
- Double slash and unblockable attack
The best thing you can do is go in with no expectations on the first try and welcome these attacks to learn their patterns, as acing the first section makes the second section of the fight much more manageable.
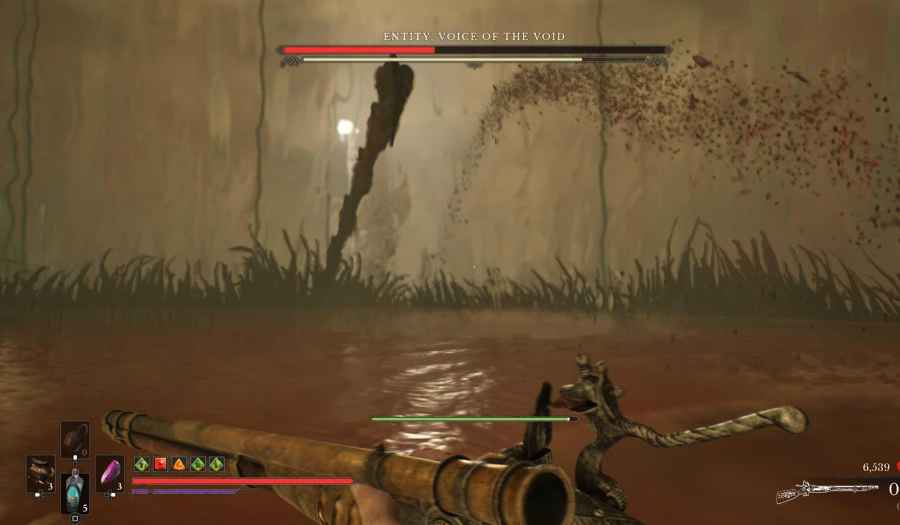
Also within this first phase, this boss will fire off one-off pistol charges, a full clip of rounds from a distance, and will be able to use the Shield Transmutation much like Nephis Superioris.
Alongside this, they will also be able to call upon huge tentacle attacks akin to the Slaughtermill boss fight. These are easily avoided with a quick dodge, but just keep an eye out for them.
He is also able to use a Fire Transmutation attack to cast fire at you and inflict burn. This is easily evaded, but may catch you off guard the first time he uses it.
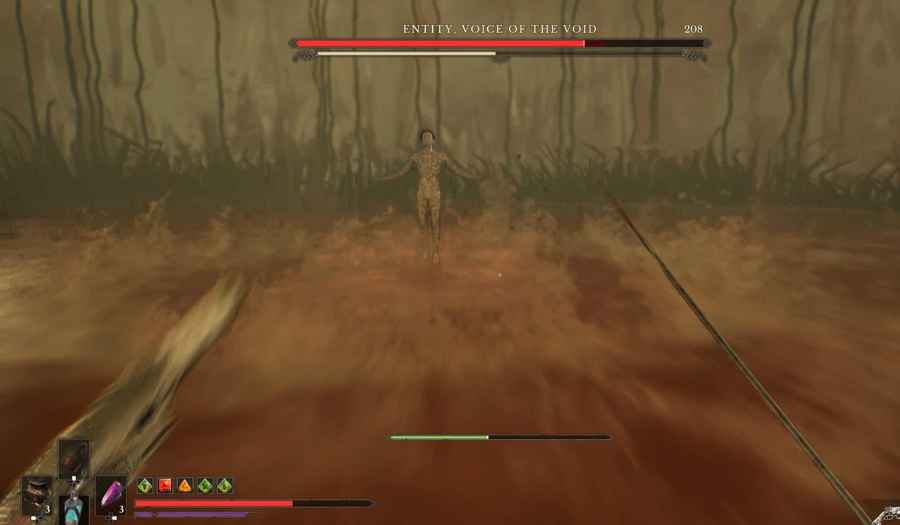
As a prelude to what comes next, every now and again The Entity will rise from the watery floor and spawn in mob enemies. These are flimsy enemies that can be taken down with one hit, but it's best to take them out as soon as possible so they don't get a chance to overwhelm you.
My biggest tip to get through this phase quickly is to have your Musket fully upgraded, as well as your headshot damage and starting ammo from Lanterns. This way you can hit him with headshots in between his shield Transmutation defence, and you'll likely chip off half his HP this way.
Phase Two
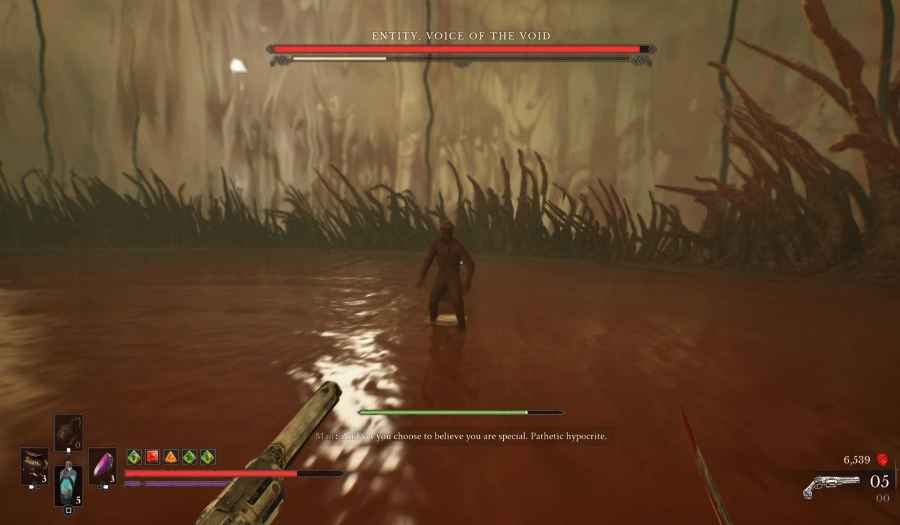
Phase two is a much more testing endeavour, as the gimmicks are out in full force. During this phase, you'll need to deal with all the Phase One attacks, but you'll also have The Entity spawning in bosses you have fought throughout the game as one-hit mob enemies. Flimsy, but deadly if they hit you.
The phase will start with a standard series of summoned William clones spawned one after another. You can just sprint around chopping them down with melee attacks.
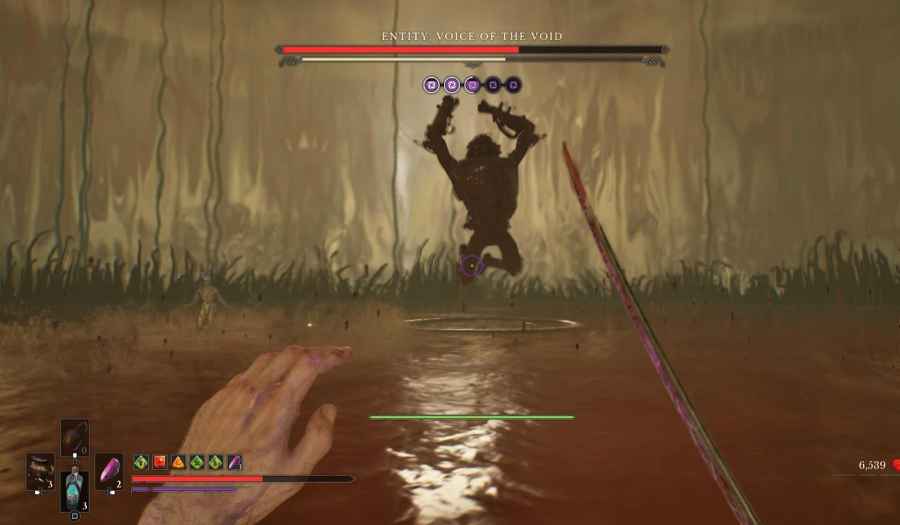
After this they will go back on their usual melee flurry offensive, but will stop occasionally to spawn these former bosses. You'll have General Lothaire, the Sphinx, and the Orphan to deal with. The best way to neutralise them is to let them do their initial leap attack, dodge before the point of impact, and then do a melee attack. You can also shoot them, but bullets are better preserved.
But aside from this, it's more of the same as phase one. This battle is all about consistency with parrying, using Stasis as often as possible, and using your bullets effectively and accurately without drawing his shield. If you can do this, you'll roll credits.