Up to 84% Off VPN
Valor Mortis isn't jam-packed with boss fights, which is something that goes against the grain when it comes to Soulslike design. However, when these bosses do pop up for William to fight, they usually pose a stern test.
The Sphinx at the end of chapter three, The Dark Descent, is a pretty tricky fight and requires the player to use all the newly acquired skills in their arsenal to take down the big cat. But, with our help, we can only assume that you'll be able to declaw this kitty in no time.
Boss Location & How To Prepare
This boss is located at the end of the Salt Mines portion of the game, which can only be accessed after you get the keys from James back at the Abandoned Church after completing the Fallen Village portion of the game.
Best Build For Sphinx, Devourer Of The Unworthy
This boss will appear right after you finish the mine cart portion of the caves, so take some time at the Lantern nearby to replenish resources and get ready. This is the build that we would suggest heading into the fight with Sphinx:
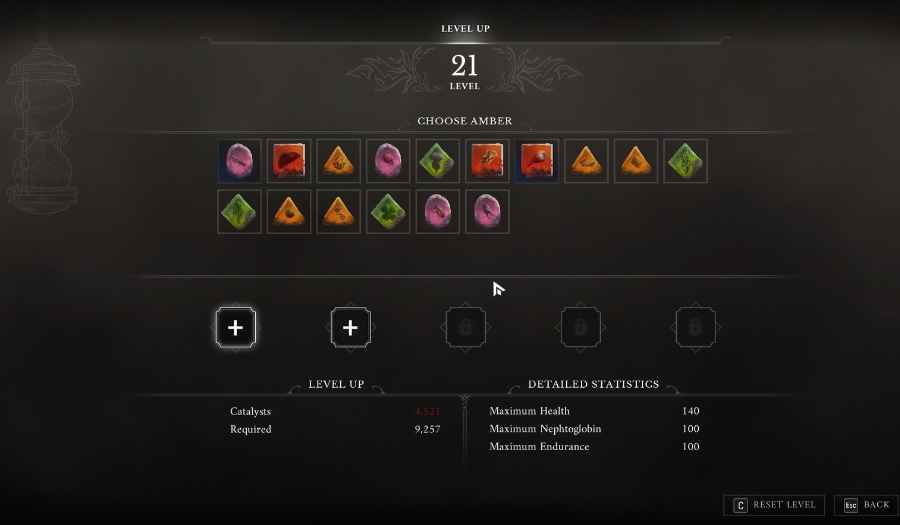
- Minimum Level: 20+
- Primary Weapon: Saber
- Ambers: Dominatus II, Volatile End
- Items: Hand Grenades, Oil Grenades, Special Rounds
- Recommended Ferrofluid Flasks: 5+
The key to success here is your Amber choices. Dominatus will make sure that all the posture build-up you inflict throughout leads to a powerful critical hit, and Volatile End will melt their HP when a weak point becomes visible in the second phase of the fight.
How To Beat Sphinx, Devourer Of The Unworthy
Phase One
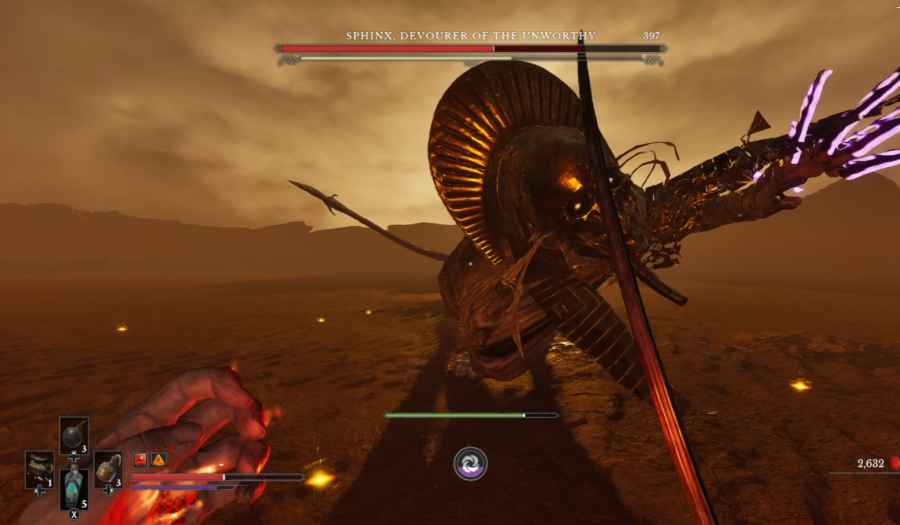
The first phase of this fight is all about preservation and chipping away at their HP bar, as the second portion of the fight is a much more intense affair you'll want to get over and done with ASAP.
The first thing you should know is that this boss inflicts Stasis buildup with their range of attacks. In my experience, this didn't really upset my normal rythym too much, but if you want to try and manage this, you can equip a Cleansing Vial in your quick items.
The boss will usually begin with a quick three-swipe attack, and its best to try and get used to blocking or parrying these attacks consistently, as they are pretty relentless in the first phase. This will sometimes be alternated with a swipe and spinning tail attack combo, so be aware of both options the Sphinx has at their disposal.
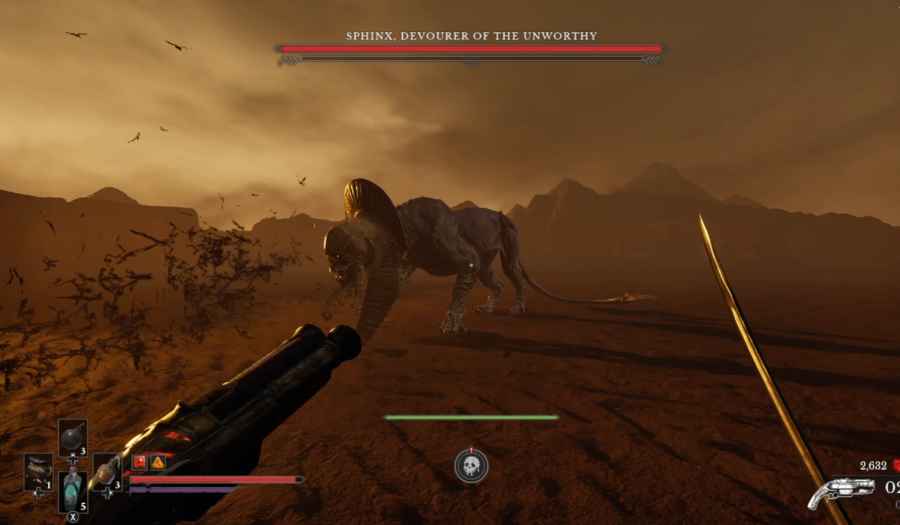
Plus, be aware that they may also swap the third attack in this sequence for an unblockable jump attack. A well-timed dodge will create a window to get some melee attacks off.
If you stand at a distance from the Sphinx, there is a likelihood that they will use a crow attack, launching a murder of crows directly at the player. Just step to the side of their flight path to avoid them.
Then lastly for the first phase, the Sphinx will jump back and their tail will glow red. This indicates that they are dropping a Stasis ball onto the battlefield, which will explode when it hits the ground and send out a purple shockwave. To avoid this, you need to time a jump over the pulse, but remember that the Sphinx will still be on the offensive, so keep one eye on them.
To get through this phase consistently, rely on your fire transmutation rather than firearms, and inflict burn as much as you can between their melee attacks. Plus, try to get at least one critical hit off during this period.
Phase Two
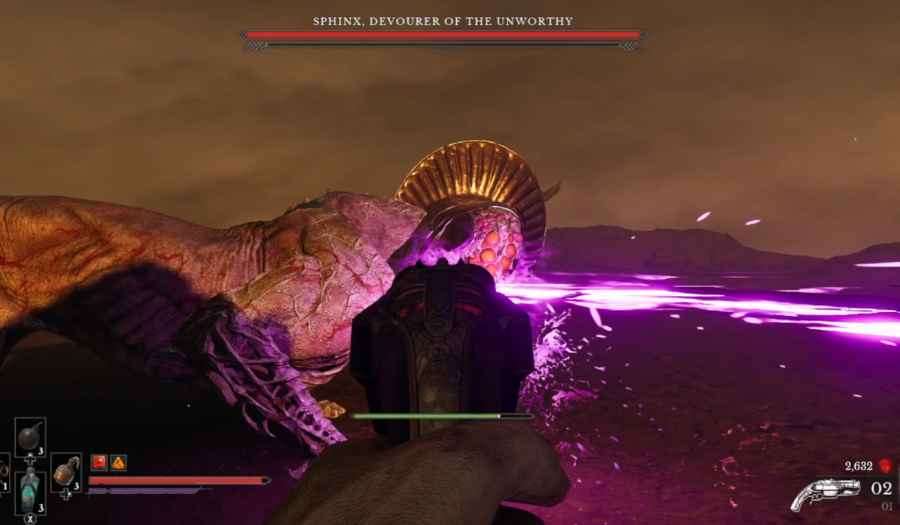
On paper, phase two should be a much more difficult proposition in this fight. But if you recognize the changes to the boss and the new weak spot that is revealed, you'll realize that this isn't quite as tough as first thought.
The first thing you should do is switch to your Blunderbuss, get as close as possible to the Sphinx's head, and fire all the rounds you have into its head with its new red, glowing weak spot. With Volatile End equipped, this can easily cut their HP bar in half.
Then, take a step back and switch to your pistol, ideally with specialist, higher-damage rounds, and start taking shots at their exposed weak point; this will cut their HP bar down a considerable amount as well.
Then finally, if you have Hand or Oil Grenades equipped, use these in quick succession to finish off the abomination. If you do this with accurate shots and throws, it's very possible to finish the second phase in mere seconds.
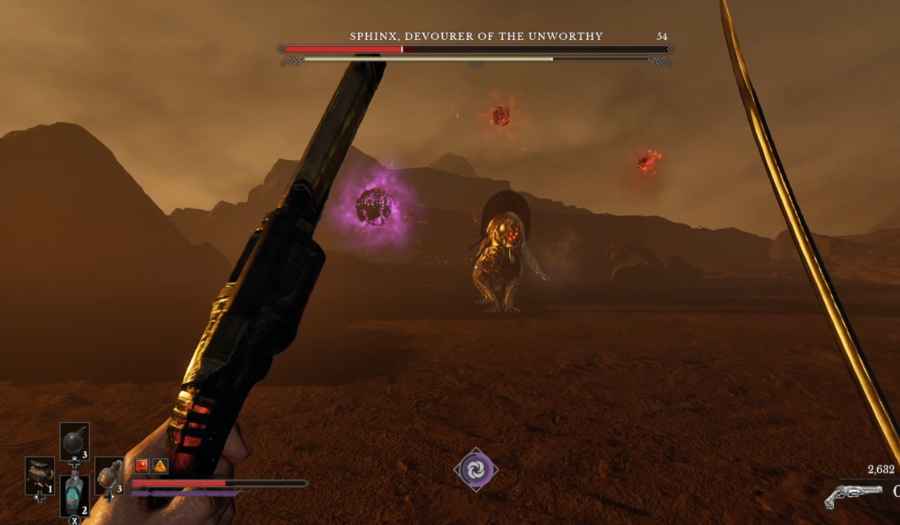
While you're trying to melt their HP bar, you'll need to be aware of a few things. Firstly, they are a lot more mobile in the second phase, so you'll need to watch out for airborne slam attacks and lunging melee swipes.
Additionally, they may use new attacks like a laser from their exposed weak point, which you will need to sprint to the left or right to avoid. Not to mention a Stasis spike attack, which is best avoided by getting as far away as possible and then weaving between the gaps in the spikes as they spread out. The boss will also up the ante with their Stasis ball attack, launching three of these into the air instead of one.
Generally speaking, the best thing to do in the second phase is, other than those initial Blunderbuss shots, to avoid engaging with them at close quarters and pick them off with shots at range. Do this, and this kitty is gone for good.
Boss Rewards
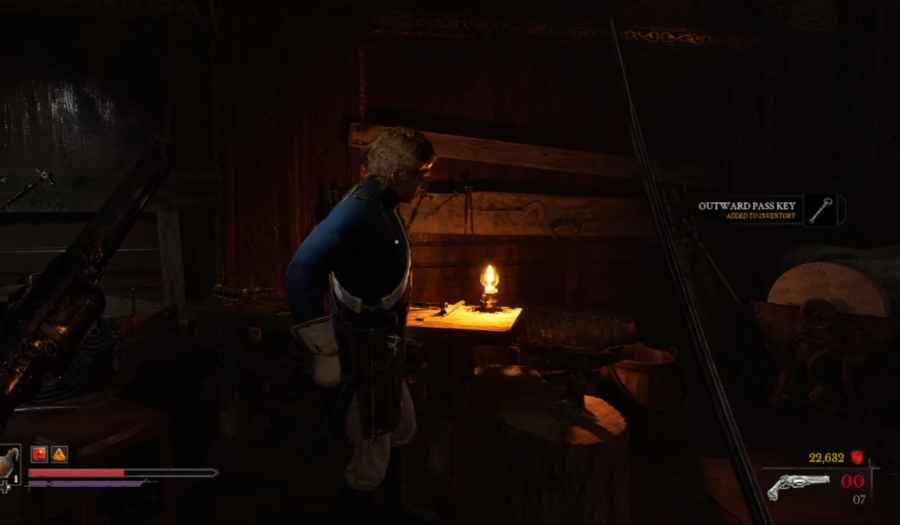
Beating this boss will earn the player 20,000x Catalysts, and after talking to James back at the Abandoned Church, you will also gain the Outward Pass key that will lead you into the city. Plus, the player will earn the 'Not a Cat Person' achievement when the fight is over.