Up to 84% Off VPN
Valor Mortis isn’t a Soulslike that relies heavily on a slew of boss fights to punctuate the action on screen. However, when they do poke their ugly heads up above the trenches, they usually don’t go down without considerable effort on your part.
The first boss you’ll encounter, either on the battlefield or just after the Valley of Ashes, is General Lothaire, the Eagle Bearer. He’s a two-phase boss that serves as a beefy skill check for beginner players, forcing you to parry with precision and shoot for weak points.
It’s a tough encounter, but with a decent beginner build and the right approach, we can help you take the general down and relieve him of his duties.
How To Prepare For The Fight
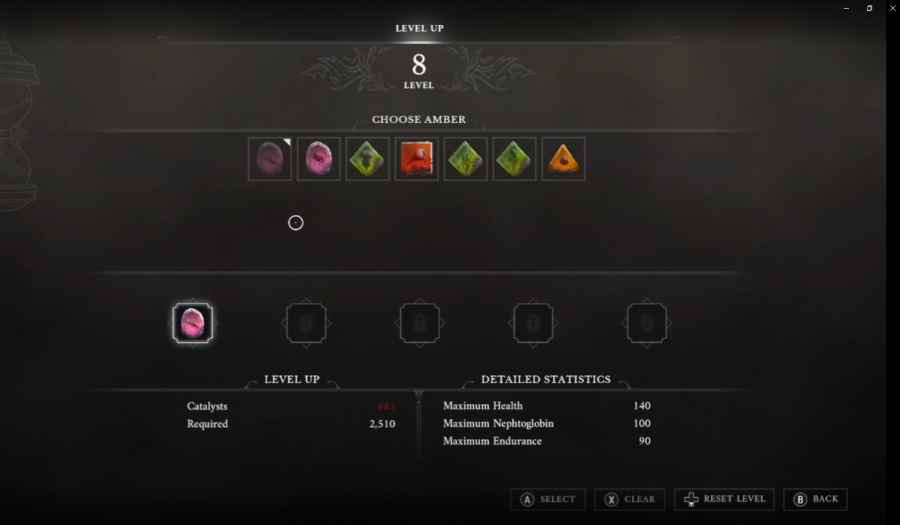
Before you head off into the heat of battle against this grotesque general, you should consider what upgrades and Ambers you want to equip.
Firstly, we would urge players to take on this fight no earlier than level 8, as this will give you a solid reserve of stamina, HP, or Nephtoglobin, depending on your preference and playstyle.
Personally, I would recommend fully upgrading your maximum HP by all four levels, putting two levels into upping your endurance, and then the last two levels into lowering the stamina taken to block and the HP gained from successful blocks.
Then, as for your Amber, we would suggest going with either the Iron Grip Amber or the Dominatus Amber. The Iron Grip will grant you a small window of immunity when healing, whereas the Dominatus Amber will give you back some HP when landing critical hits. Considering how important building up posture damage is in this fight, the Dominatus is probably the stronger option of the two.
Note: The following boss guide is geared toward the second encounter with Lothaire. However, he can be defeated during the initial Battlefield portion of the game. If you do this, there will be no battle at the Church.
How To Beat General Lothaire
Phase One
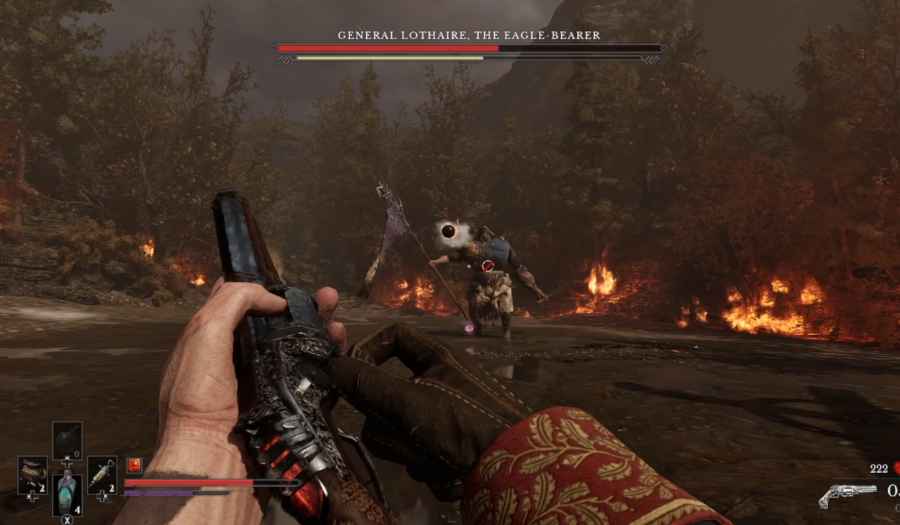
Stepping through the fog gate, Lothaire will begin by doing one of two attacks. They will either do an unblockable jumping slam attack, or they will shoot three cannonballs at you. Cannonballs require you to dodge them as they are fired. Whereas the jumping attack should be dodged right at the point of contact, allowing you to land a higher damage slow-motion attack.
From here, it’s all about learning the choreography of Lothaire’s melee attacks. Take some time to learn the pattern of these spear swings, and time your parries to build up posture damage. These tend to be varying patterns of three attacks.
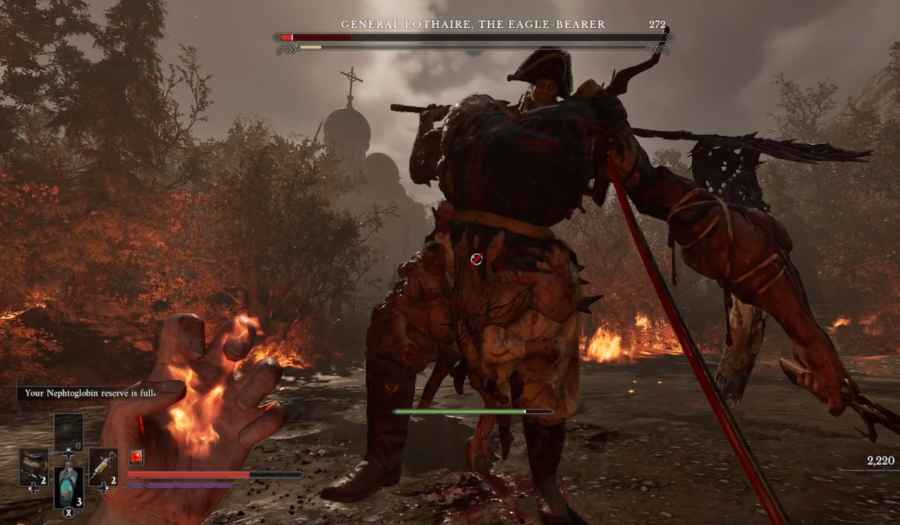
Between these attacks, try to use your pistol to take aim at the red pustules on Lothaire’s body, as shooting these will drop some Nethoglobin pickups, as well as chip off a considerable chunk of HP.
Plus, when they attempt an unblockable power attack, or just after a three-pronged attack, it's a great time to exhaust your Nephoglobin reserves and inflict burn on Lothaire.
However, we need to hammer home that getting comfortable with the tight parry window is key if you want to win this fight. So, we urge you to let Lothaire come to you, repel his attacks, and then land critical hits to take his HP to zero.
Phase Two
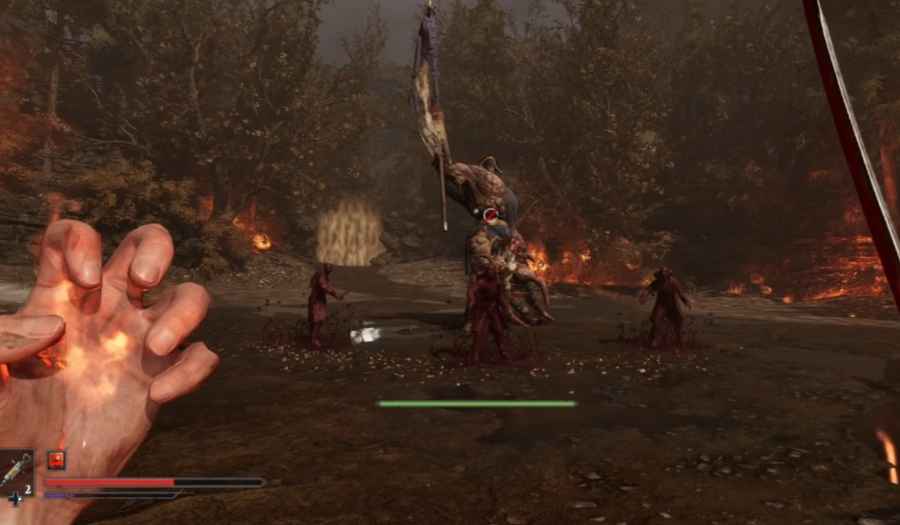
The goal should be to get through the first phase of the fight with more or less all of your Ferrofluid flasks intact, as the second phase is a lot harder.
This will begin with Lothaire regrowing his limbs and refilling his HP bar. Wait for the new HP bar to pop up and then use your fire powers to burn them immediately. You can usually inflict burn with no reply from the boss.
Plus, you will likely notice new red pustules on their body. So switch to your gun, and try to take these out from range. This double whammy of offense should take down a third of their health right away.
At this point, they will likely spawn fodder enemies to attack you. These are basic melee enemies that die in one hit, but also disappear on their own quite quickly, so only engage if they are right up in your grill.
It’s also worth noting that the three-pronged attacks are now a blend of standard and unblockable attacks. So, don’t rely on parries alone, and try to dodge red glowing attacks with precision, granting you a slow-motion window to gain some distance.
Throughout this phase, they will also use a magic attack where they spawn a red, glowing orb in their hand, and then do one of two things. They will either spawn a trail of spikes that hone in on the player’s position, or they will slam the ground, causing a ripple in the earth.
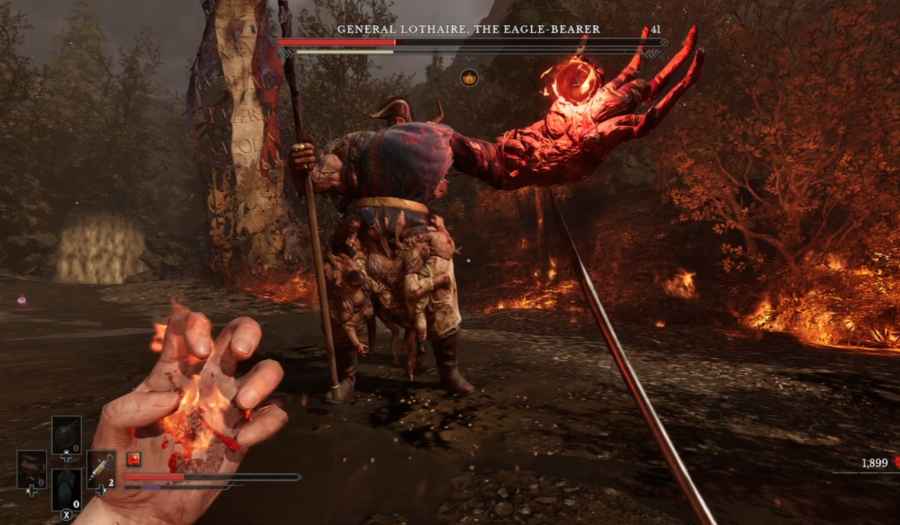
If it happens to be spikes, you’ll want to try to get as far away from them as you can. Whereas, if it is the ground slam attack, you’ll want to time a jump to get over the pulse on the ground.
Then the final trick up their sleeve is another set of fodder enemies, but this time with guns. They will disappear after they fire their rounds, so watch for their glowing light indicating that they are taking their shot, and dodge accordingly.
Provided you can deal with these gimmicky attacks and learn the nuances of their melee attacks, you’ll take down the general and be able to press on and find humans that aren’t completely driven mad by the horrors of war.
Boss Rewards
If you defeat General Lothaire, you’ll gain 10,000x Catalysts and will also gain access to the nearby Church. Here, you will find James, who will give you Standard Firearm Parts and will grant you access to the Iron Bench, where you can upgrade your weapons