Up to 84% Off VPN
Valor Mortis is a strange but wonderful blend of FPS principles and Soulslike punishment. A design choice that makes this game a real test, even for traditional Souls veterans, as it's a real change of pace.
It means you need to take every possible advantage given to you to push back Napoleon's corrupted army, and push your way forward in the hope of understanding just what the hell is going on.
A good build will help do that, and we intend to map out what a good beginner build looks like, allowing you to kit William out for the battle ahead.
Best Beginner Build
We want to give you a flavor of a beginner game build, and something you can aspire to later down the line. We begin with the starter build, which will serve you well as you get to grips with the slew of mechanics Valor Mortis throws at you.
Note: This build will include any items, weapons, and skills that can be acquired by the end of Chapter 3, The Dark Descent.
Best Level Upgrades
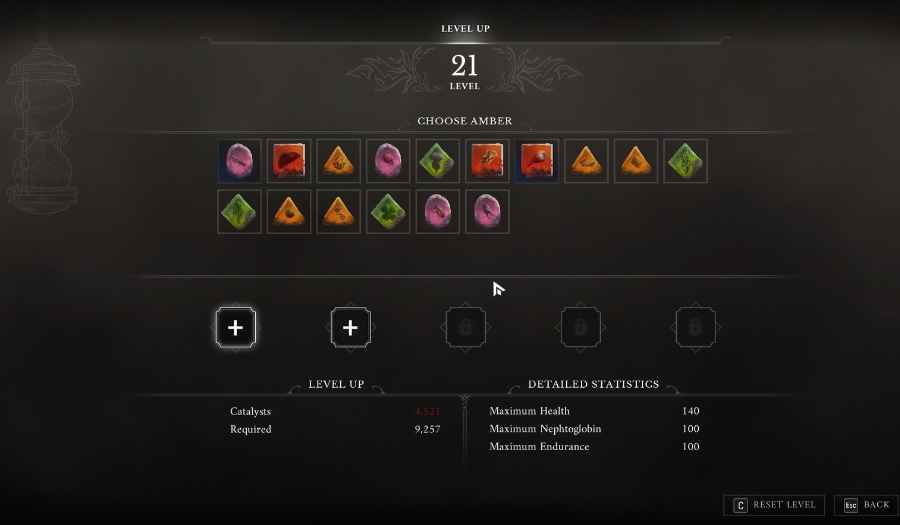
First, we want to discuss the best upgrades that you can take using the catalysts you'll gain as you explore the world of Valor Mortis. Your skills can be upgraded at any lantern, and you can respec your character at any time in this menu for a small fee.
The upgrades that are best to take, and when to take them in your adventure, will largely depend on your preferred playstyle. But some upgrades are certainly more helpful than others, so these are the upgrades that we would suggest taking.
Level: This suggested build is based on the player being level 21, which is when the fifth row of upgrades becomes available.
- Maximum Health - 4/4 upgrades
- Maximum Endurance - 4/4 Upgrades
- Blocking - 4/4 Upgrades
- Melee Damage - 4/4 Upgrades
- Airborne Aiming 1/1 Upgrades
- Headshot Damage 2/4 Upgrades
- Ferrofluid Flask Refill 1/1 Upgrades
The only alternative would be, if you play mainly as a parry-focused player and use the Rapier specifically, I would suggest swapping out Headshot Damage for Parrying Impact to build up posture damage faster. However, the build above gives you the means to block, while also making your firearm shots more powerful for a more well-rounded build.
Best Ambers
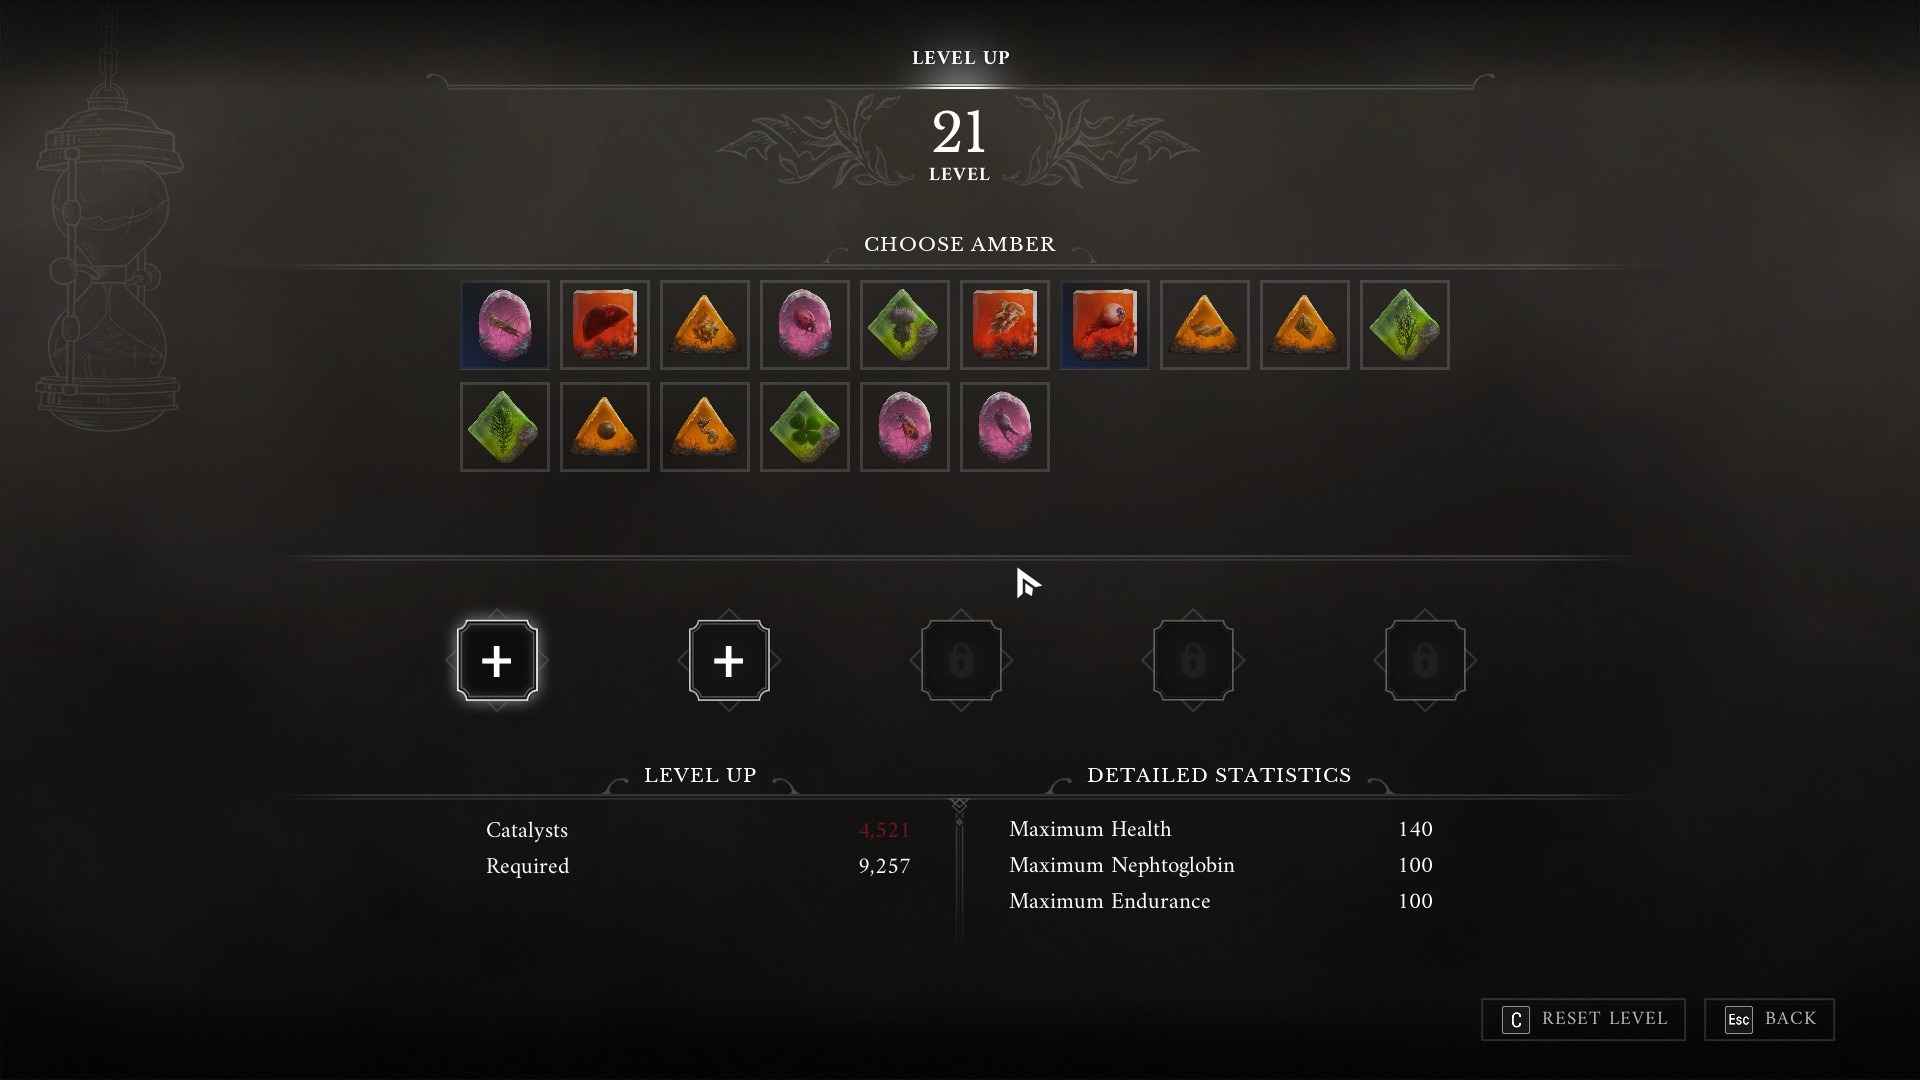
Next we have Ambers, which are little talismans that can be equipped while in the level-up screen. You will only be able to select two until you're at least level 30, so you need to choose wisely. But, equally, they tend to be quite situationally useful.
Firstly, for general use and exploration purposes, we would suggest that the two best Ambers to equip would be Tomorrow's Promise and Lucky Shot. The former is great as it will make every Ferrofluid Flask stretch a little bit further, meaning fewer desperate runbacks to lanterns to protect your Catalysts. Then, the latter allows you to keep your pistol and blunderbuss ammo stocked.
However, we would suggest a completely different setup entirely when fighting bosses. For these encounters, we would suggest Dominatus (ideally upgraded to Dominatus II) and Volatile End. Dominatus allows you to make the most of every critical hit you knock the boss down for by building up posture damage. Whereas the Volatile End amber makes your firearms more powerful and exploits their weak points, which tends to be a huge factor in various boss fights.
The only alternatives I would suggest to this would be Marksman's Bane if you want to lean into parrying and be able to parry bullets, or Iron Grip if you want to ensure that bosses can't interrupt you when you're healing.
Best Weapons, Skills & Upgrades
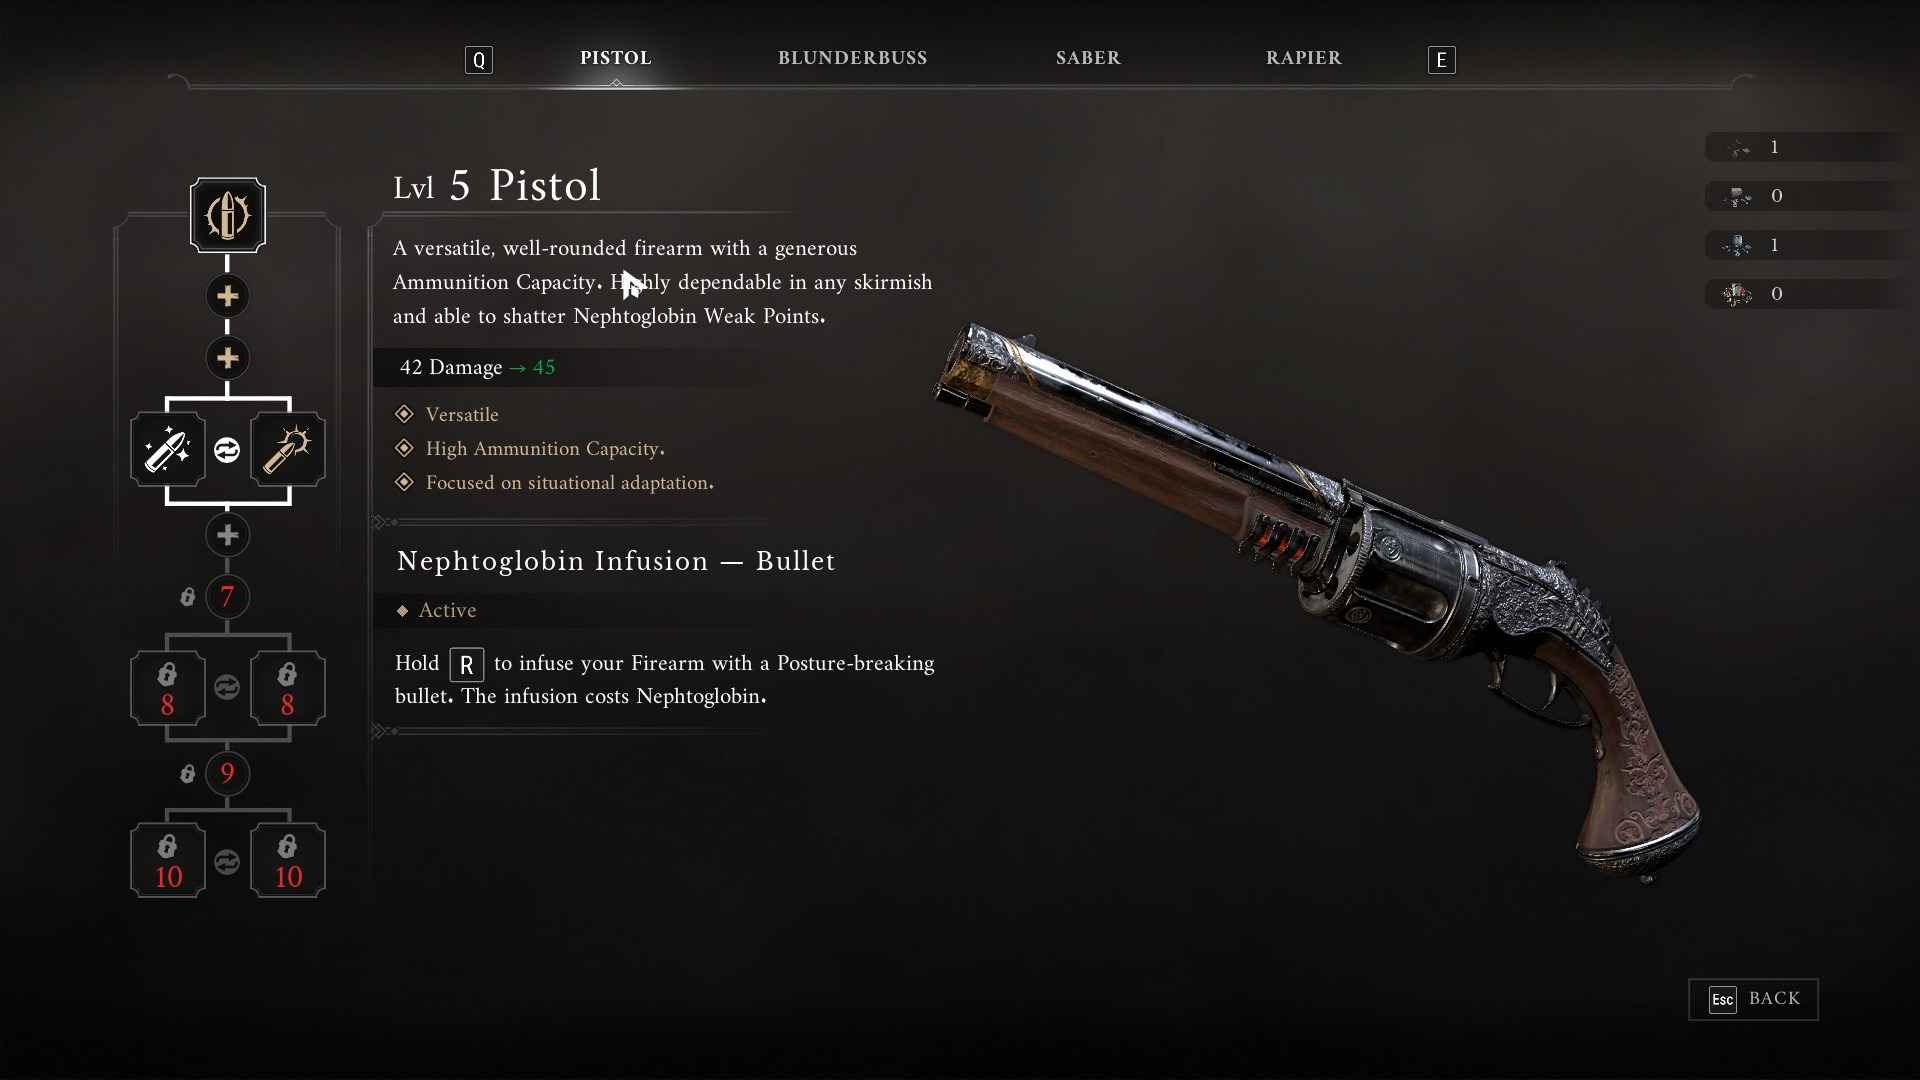
Next up, we have your weapons and transmutations, and the upgrades you can apply to them. We will keep this simple. Both of your available firearms and transmutations are useful, and therefore all should be upgraded.
The only weapon choice to be made here really is Saber or Rapier, and based on how well-rounded it is, we would suggest using the Saber for better melee damage and the ability to block as well as parry.
As for upgrades, the only choices to be made here would be which of the level five branching choices to choose. We would suggest the following:
- Pistol: Ruthlessness>Resourcefulness
- Blunderbuss: Collateral Damage>Iron Shower
- Saber: Pursuit>Careful Preparations
Note: Remember that you can purchase weapon parts and transmutation materials from James and Louis by spending Catalysts if you're short a part or two.
Best Items To Equip
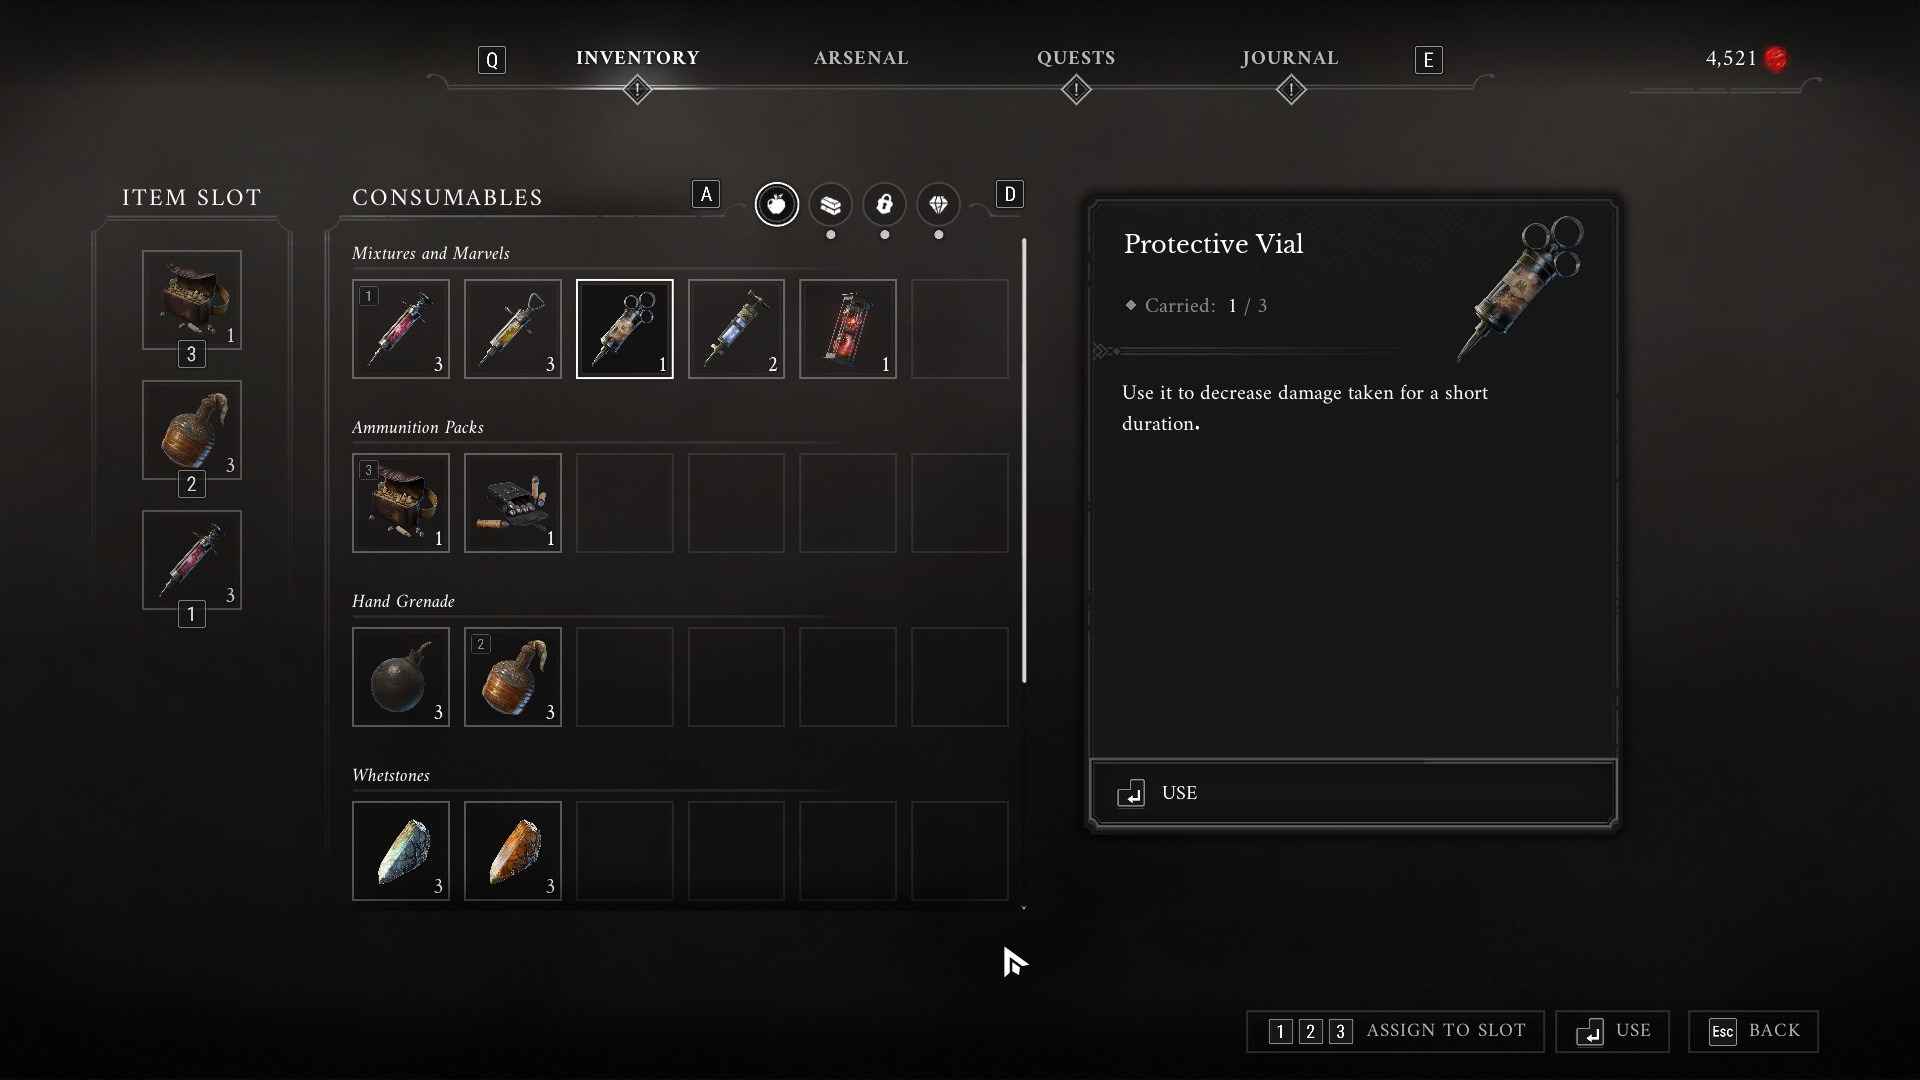
Then lastly, we have the items that we would suggest equipping to your quick slots. Here are the items that we would suggest below:
- Item One: Pistol Cartridges
- Item Two: Hand/Oil Grenades
- Item Three: Protective Vial
This is a pretty well-rounded setup, as you have an offensive, defensive, and utility function all loaded up and ready to go. Your grenades allow you to deal quick and powerful attacks. Your pistol cartridges allow you to keep fighting at range when ammo is scarce, and your protective vial is ideal when you know you need to fight a mini-boss and you're low on Ferrofluid Flasks.
Best Late-Game Build
This beginner build will get you through the hardship of the first few chapters. But as you get into new areas with a higher density of powerful enemies and more Labyrinthine level design, you'll want a build that can help you survive what the end-game has to offer.
With that in mind, here is the late-game build that we would suggest running:
Note: This build will take you all the way up to level 50, at which point the best way to invest catalysts is with the infinite perks at the end of the skill tree, which unlock at Lv.50.
Best End Game Level Upgrades
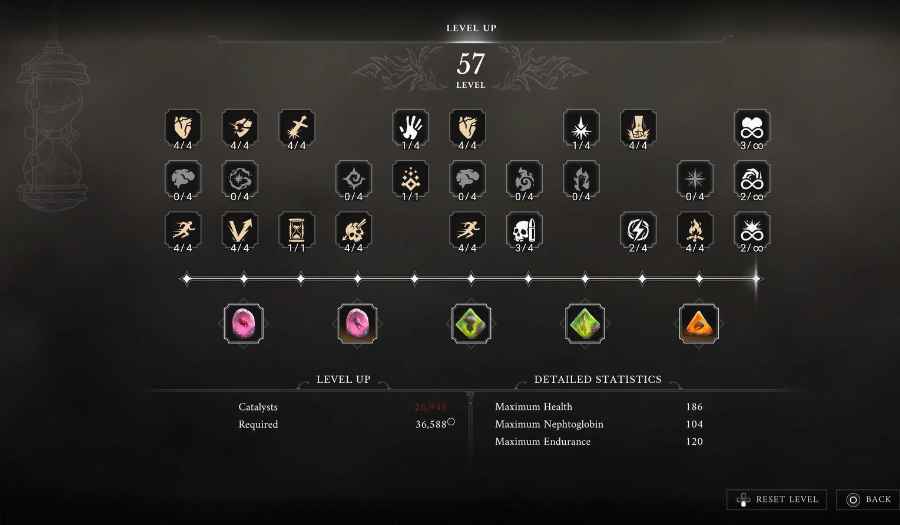
When it comes to spending your Catalysts in the end-game, it's all about leaning into the build you started working on in the initial stages. Since we proposed a melee and firearms-focused build, we will stick with that. Here is the way we would allocate upgrades:
- Maximum Health - 4/4
- Maximum Endurance - 4/4firearms-focused
- Parrying Impact - 4/4
- Blocking - 4/4
- Melee Damage - 4/4
- Airborne Aiming - 1/1
- Headshot Damage - 4/4
- Ferrofluid Flask Refill - 1/1
- Maximum Health (2) - 4/4
- Maximum Endurance (2) - 4/4
- Ammunition Drop Chance - 4/4
- Physical Resistance - 4/4
- Ammo Restock - 4/4
- Melee Endurance Cost - 2/4
Generally speaking, for this build you are pouring your points into non-Nephoglobin perks, and focusing on upping your firearm and melee ability. The only possible alternative picks you might consider are Endurance Regeneration or Critical Damage if you're really into breaking posture. But, all in all, we feel that this build offers the best all-around sword and gun combo build.
Best End-Game Weapon & Spell Upgrades
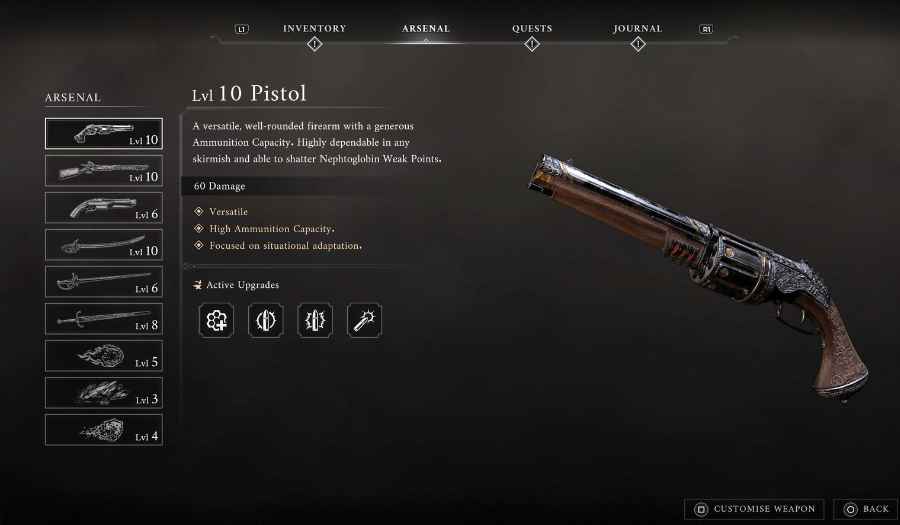
Assuming you have all the upgrade materials you need to max out all your weapons, here are the branching upgrade choices that we would make for each weapon:
Pistol:
- Ruthlessness > Resourcefulness
- Robust Chamber > Ingenious Engineering
- Tactical Reload > Automatic Mayhem
Blunderbuss:
- Collateral Damage > Iron Shower
Musket:
- Scope > Bayonet
Saber:
- Pursuit > Careful Preparations
- Second Wind > Adrenaline Flourish
Rapier:
- Astute Quarta > Invigorating Seconda
Claymore:
- Willpower > Bulwark
Fire Transmutation:
- Fireworks > Wildfire
- Unstable Blaze > Never Ending Inferno
Stasis Transmutation:
- Implosion > Eruption
- Hex > Control
- Drain > Expansion
Shield Transmutation:
- Deflect > Absorb
Best End-Game Ambers
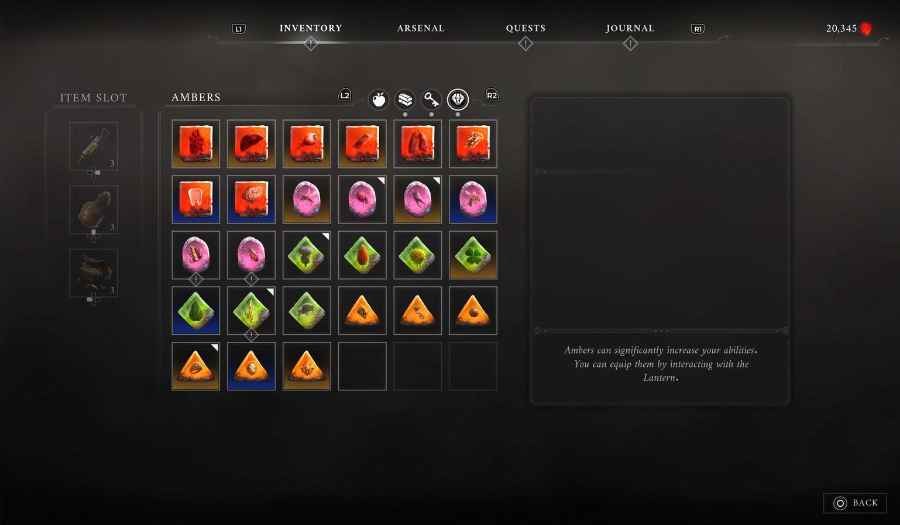
Next we have the best end game Ambers to employ when taking on the late game, and once again we will split things up into an exploration build and a boss fighting build. Here is a set of the best Ambers for each scenario:
Exploration Set:
- Lucky Shot
- Wounds That Heal
- Surplus
- Silent Squeak
- Bountiful Harvest
- Marksman's Bane
Boss Battle Set:
- Dominatus
- Volatile End
- Iron Grip
- Limit Break
- Fire Breathing
- Lunatic's Grasp
Best End Game Items
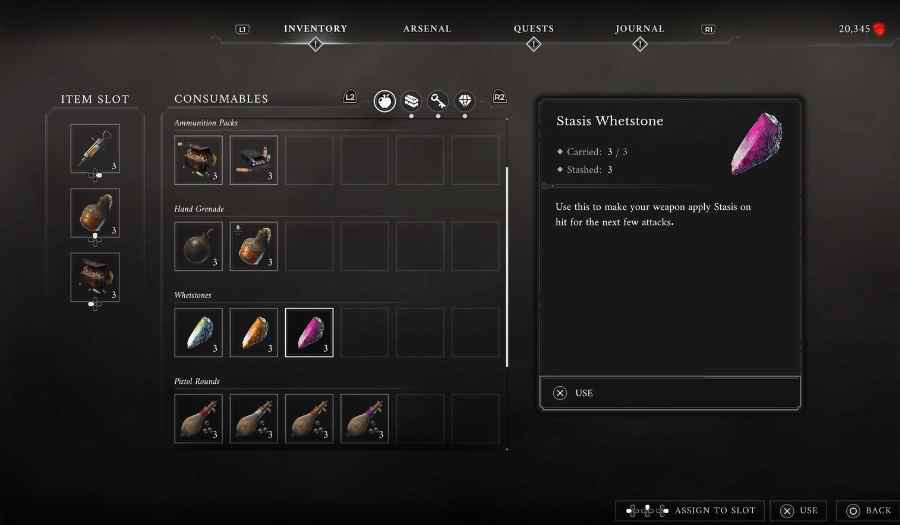
Then lastly, we have the best items for a late-game build. Here are the best items you can add to your quick slots later in the game.
- Stasis Whetstones - Best for late-game bosses
- Oil/Hand Grenades - Never stop being useful
- Sands of Time - Really helpful if you get overwhelmed
- Special Cartridges - Musket is OP, always good to be able to reload this one on a whim