Up to 84% Off VPN
Brencis' Boyars are by far the most intimidating and powerful Vhakhir in the entirety of Vale Sangora. As elusive as they are powerful, too, as you need to do a lot of legwork and serve as a thorn in their side just to get their attention.
But if you keep disrupting her transports and stealing her research notes, you'll soon manage to gain an audience with the queen of corruption herself.
Xanthe is a dark and twisted character, and her quest reflects that. So allow us to be a lantern in the darkness, and guide the way.
How To Start The Cycle of Love

Leonard asking for help with Xanthe
This quest will begin when you have successfully managed to disrupt Xanthe by completing at least 12 of 15 of her associated side quests. Doing this will lead to an audience with Leonard, a guard under Brencis' command.
As much as it pains him to ask for your help, it seems you're the only one with the guts and the strength to take on Xanthe. So, he'll find you after completing whatever quest you happen to complete 12th, and will hand you Xanthe's Lantern.
This will grant you access to Howling Keep, a mansion that is otherwise encased in corrupted vines in the south of the map. Outside the door, give the lantern to the undead statue standing there, and this will create a light that grants a path through.
Solving Xanthe's Lantern Puzzle
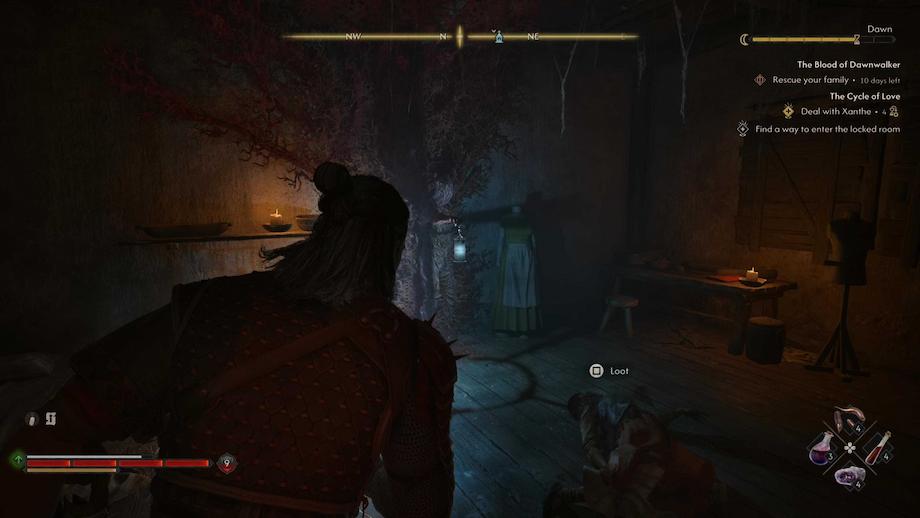
The first lantern inside Howling Keep
Throughout this quest, you'll have to fight a whole bunch of specter enemies that will punctuate your time spent at Howling Keep. But the real test is working out Xanthe's Lantern Puzzle.
To begin, head up the stairs on the left and leave the lantern that the statue is holding where it is. Then head into the room on the right.
Here you'll find a lady inside making dresses and going quite thoroughly mad. Feel free to talk with her, but you won't get much sense out of her. Instead, take the lantern from this room, and then step outside.
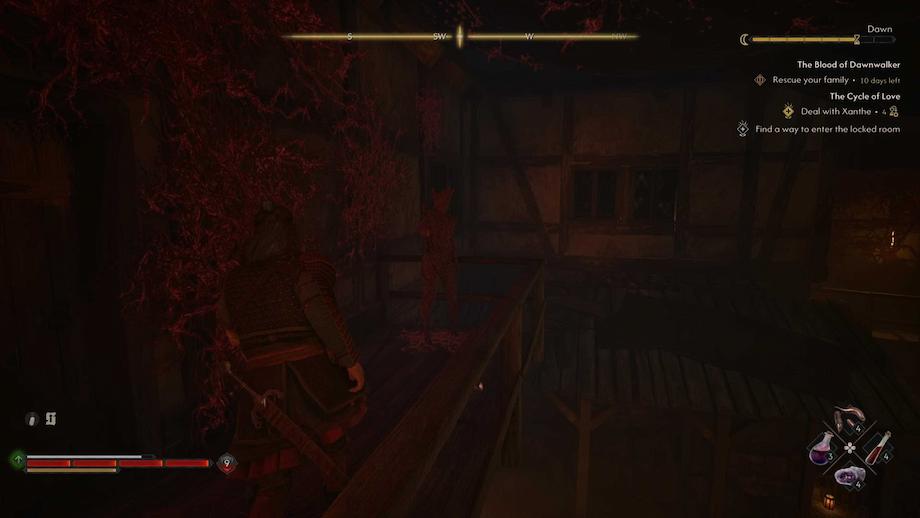
Statue outside the door on the left
You'll then want to head out the door leading to the courtyard stairs, and give the lamp to the statue outside on the stairs. Then step back inside, grab the lantern from the statue just outside the door with the NPC, and then head outside to the stairs again.
Before you grab the lantern outside, head slightly down the stairs, and there will be a door now free of corruption. Head inside, give a second statue a lantern, and you'll be able to access the next room and loot a rare manual that allows you to learn Cycle of Ruin.
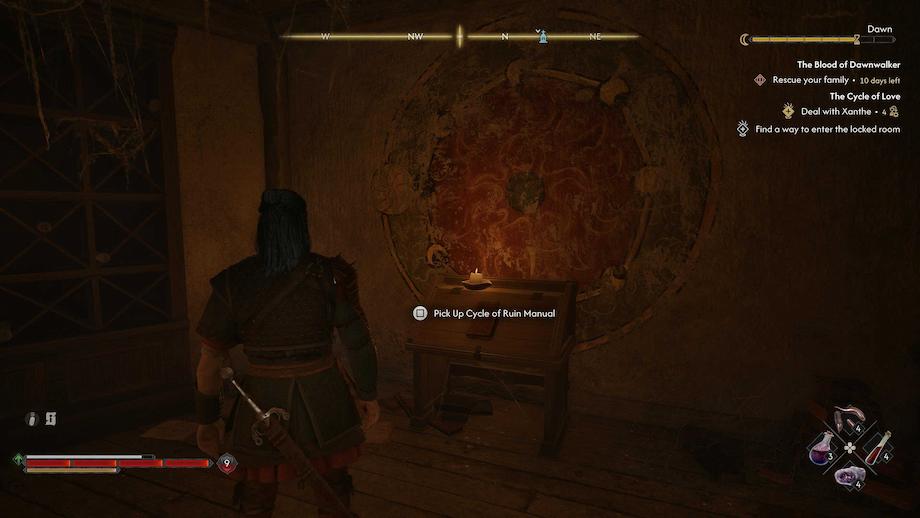
Pedestal where you'll find the Cycle of Ruin Manual
Once you grab this, head outside, grab the lantern at the top of the stairs, and then head downstairs into the courtyard and head for the stairs on the right.
First, use the lantern on the statue at the top of the stairs, as this will allow you to enter the two rooms above, where you can get some premium loot, such as the Recipe for Potent Aetheric Attunement and the Relic of St Dasius
Then, once you have cleared these rooms, get the lantern again and give it to the statue nearest the door on the ground floor. This will allow you access to the an area with a building in the back. A building that has a statue inside.
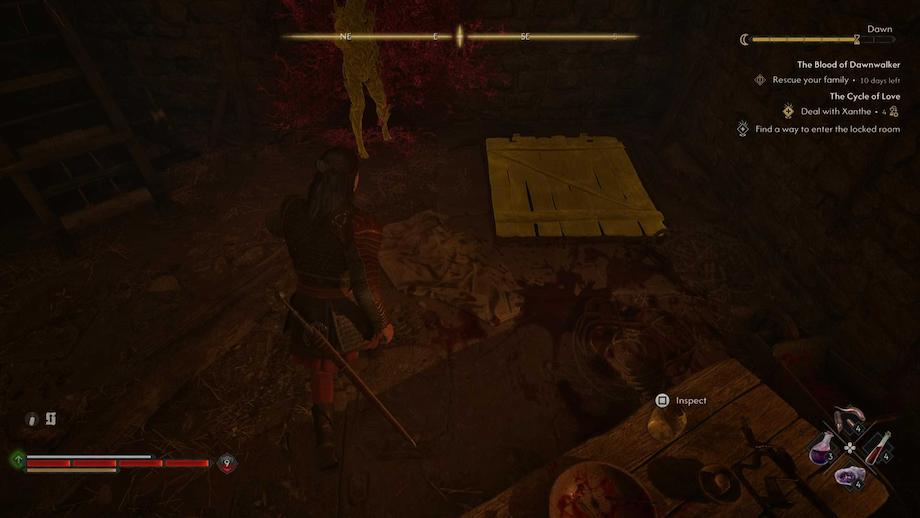
The trap door to the Dog Kennels
Take the lantern from them, but then use your focus mode, and you'll be able to reveal a trap door, allowing you to slip down into the Dog Kennels with an extra lantern.
Here you will need to fight spectres and hellhounds to escape, but at the end of the kennels you'll find a key that will let you out, and loop you back into the main courtyard where you started.
Now all that's left to do is grab the lantern from the statue on the right. Then head up the stairs on the left.
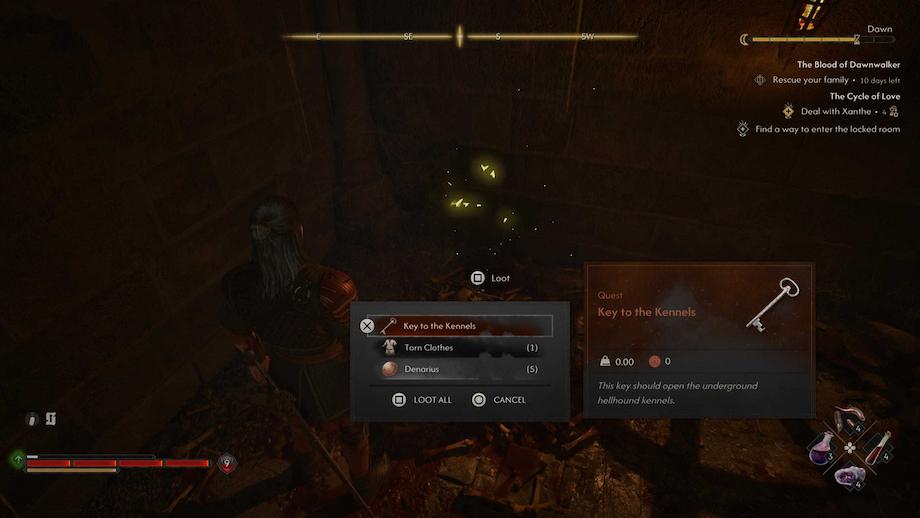
The key to exit the Dog Kennels
You'll then want to give the statue on the stairs a lantern. Run inside and give a lantern to the statue just outside the door with the NPC inside. Run back out and grab the lantern. Then finally, go through the door past the room with the NPC, and give the two spare lanterns to the two statues on either side of the door to get into Chariklea's room.
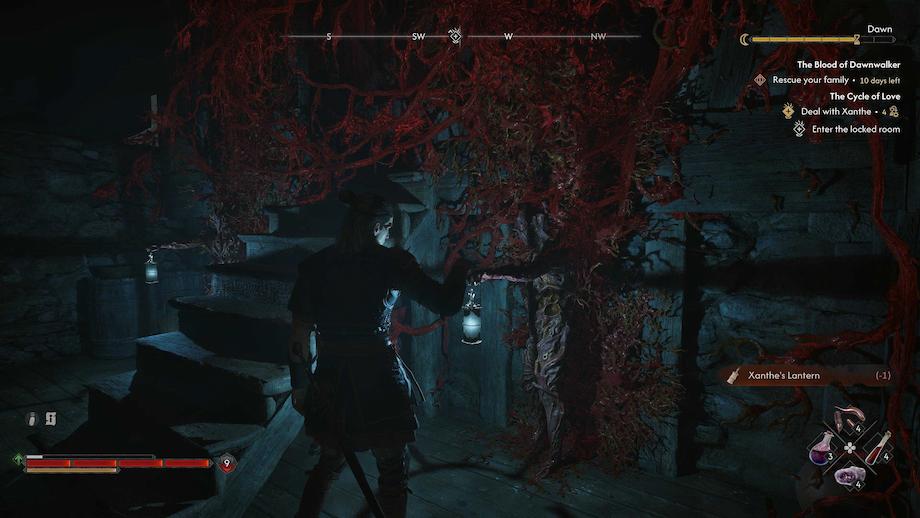
The two statues guarding Chariklea's room
After talking to her for a short spell, Xanthe will bust in, smacking you down to the courtyard where the boss battle will begin.
How To Beat Xanthe
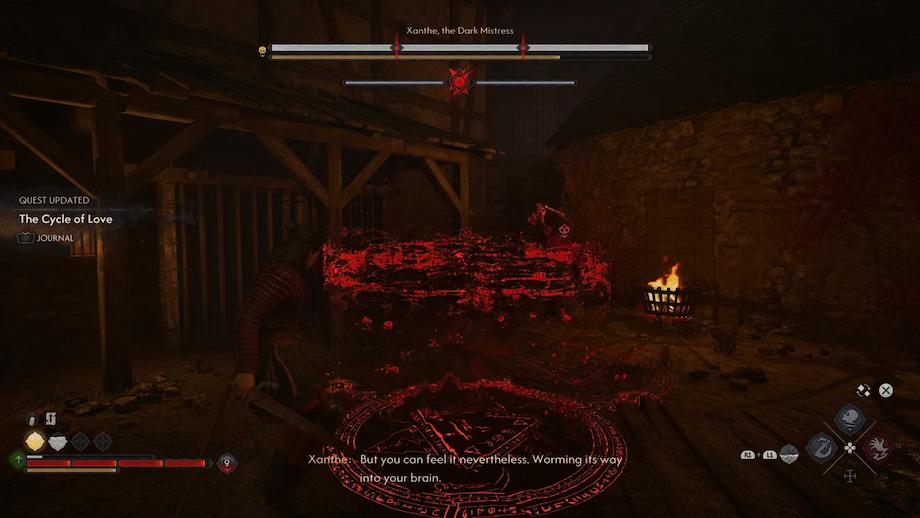
Xanthe Boss fight - First Stage
Xanthe's opening phase isn't all that tricky. They use a corrupted vine whip to hit you as any other enemy would a sword. The only difference being that her vine can hit from a distance, so you'll need to rely on blocks and dodges rather than smart positioning.
Then, her other move she will use throughout the fight is a blood hex on the floor that casts a hex on the ground and then explodes in a few moments, just giving you enough of a window to dodge out of the way.
After you take their yellow stamina/Armor bar down to zero, you'll then have a timed period to get their HP down by one segment. It isn't long, so be on the offensive immediately.
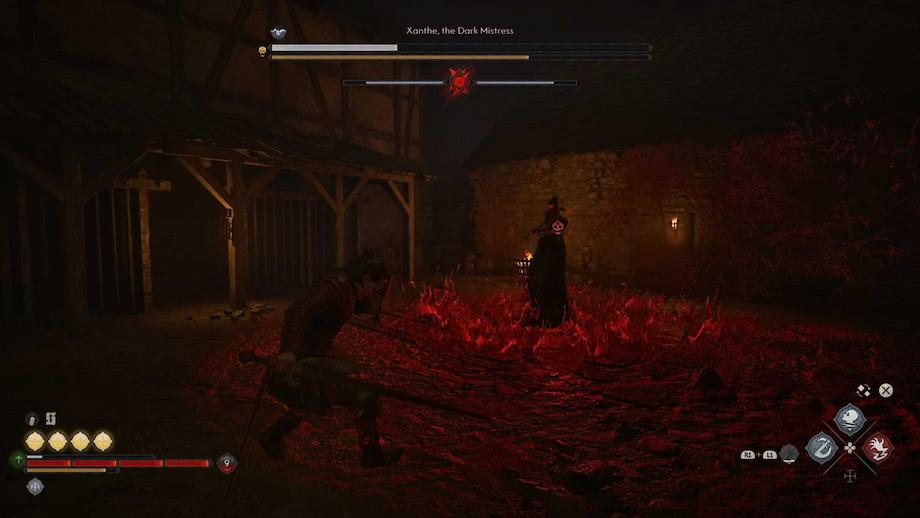
Xanthe Boss fight - End of second Stage
Then, after this, Xanthe will cast a hex that creates orbs around the arena. Orbs that heal them back to full health. The only way to prevent this is to attack and destroy them all before they are fully healed. Be sure to do this, as failing to do this will significantly elongate the fight and make things harder.
Throughout their second phase, this will all largely repeat, with the one small difference that she now gains an AOE burst attack with a wide radius. This will be marked with a wide red circle on the ground, so try to get out of that marked area before the point of impact.
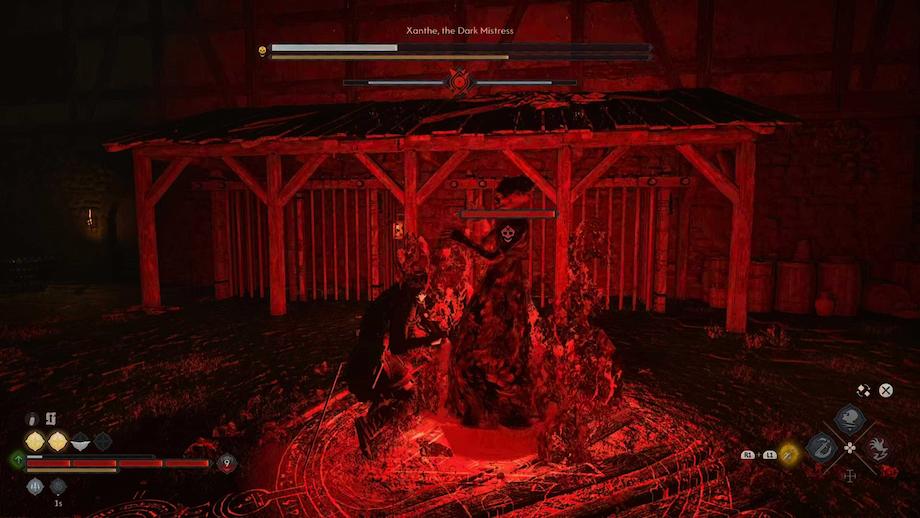
Xanthe Boss fight - Third Stage
Then, in their third and final phase, they will perform a desperation attack, where they disappear from battle, spawn a series of spectre enemies and effectively use them as kamikaze attacks, exploding as soon as they are within reach. To survive, it's all about timing your dodges to perfection.
Quest Outcomes & Rewards - Kill or Spare Xanthe?

Deciding what to do with Xanthe
As this quest concludes, you have a series of choices to make. One is whether to kill or spare Xanthe. Another is whether to invite her in or not if you do choose to kill her. Plus, you have the small matter of what to do with Chariklea.
Firstly, if you choose to spare Xanthe, both parties live, and Xanthe promises her services to you when the time comes to battle Brencis'.
This is the main reason to keep her alive, or at least invite her in, as she will not only help you out of the maze segment in the finale, but will also show up in battle to help take down Brencis in combat. It depends how much you back yourself, but it's probably the best outcome overall.
However, this will mean that she remains unpunished for her atrocities and her daughter will remain in her tragic state.
However, if you choose to kill her, you will be able to drain her blood and gain the Blood Surge Vampiric ability; you will be able to either spare or kill Chariklea, and you will be able to choose whether to invite her inside, which essentially allows her to live in your head Jonny Silverhand style and provide a running commentary on your adventure.
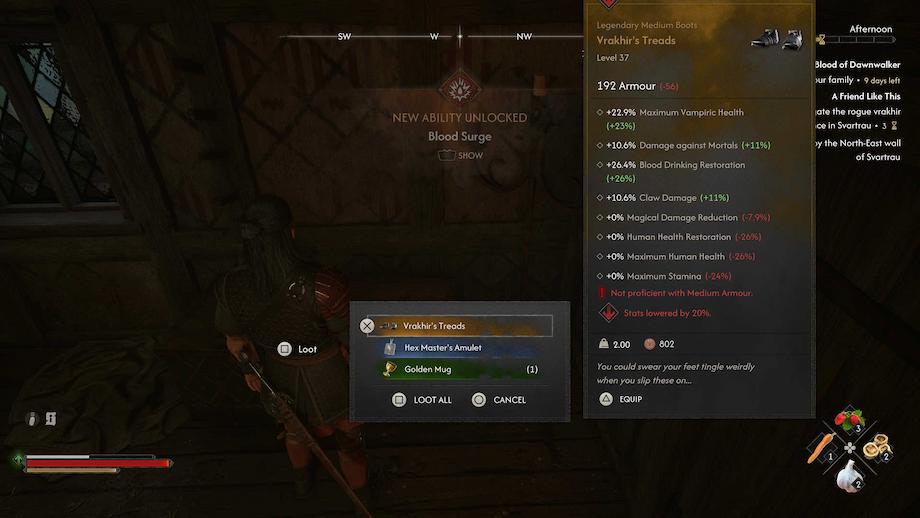
The Vhakhir's Tread Legendary Boots in Chariklea's room
No matter what you choose, you will also be able to head up to Chariklea's room, and inside a chest you'll find the Vhakhir Treads, a set of boots that are well worth looting, whatever fate you choose for Xanthe.