Up to 84% Off VPN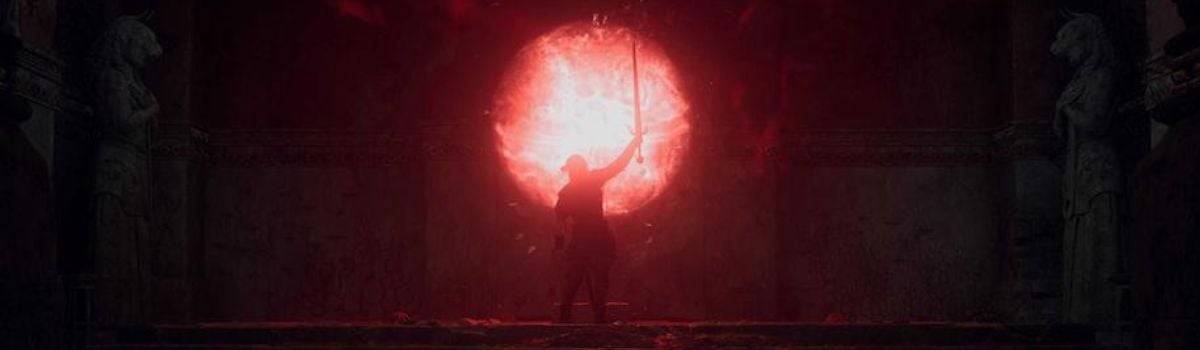
After you complete A Monk and a Saint and find St Mihai in his tomb, you'll get hold of his legendary sword. However, you'll soon realise that it doesn't exactly live up to the billing.
This is because the sword is missing a number of silver fragments that would make the sword complete. Fragments that have been scattered around Vale Sangora, and are a nightmare to find if you don't know where to look.
Thankfully, we do, and we are about to make your search for these sword shards a hell of a lot less stressful.
How To Start Forge It Anew
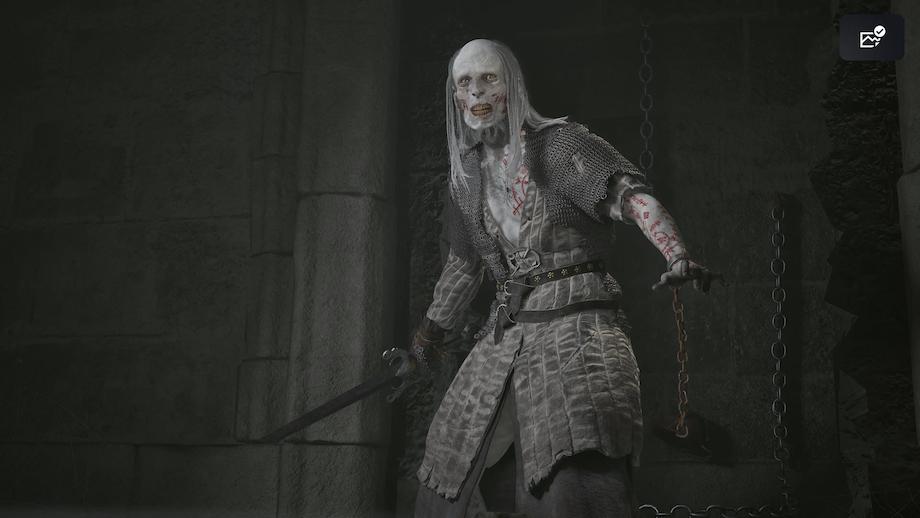
Saint Mihai's Tomb during the 'A Monk & A Saint' quest
Believe it or not, whether you've done the quest involving Saint Mihai's tomb doesn't stop you from getting the jump on finding the sword shards at all. In fact, because one is found so close to Laslea, most players will have a real chance of getting at least one before they start A Monk and a Saint.
You can begin this quest anytime, and each individual part of Forge It Anew will trigger when you find the caves associated with each shard.
However, it goes without saying that you'll need to complete A Monk and a Saint to gain the sword. A quest that typically is only triggered after completing Echoes of the Silenced Bells with Anca. So, be sure to do that as well.
Stone Shard Locations Revealed
Let's get into the meat here. There's typically a best order to collect these shards, so, here's the order that we would suggest hunting them down:
Stone Shard #1
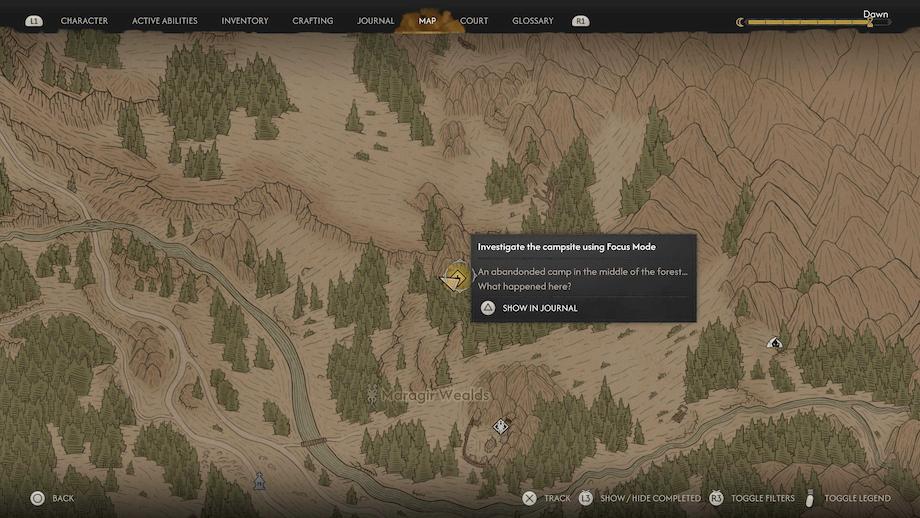
The first sword shard location marked on the map above
The first Sword Shard that we would suggest collecting is the aforementioned one closest to Laslea. This quest is the easiest of the three, as the game is filled with a number of Kobold enemies. Tough in the early game, but relatively speaking, not too hard to take down.
This cave is found in the Magagir Wealds, and starting from the Upper Maragir Wealds shrine is the quickest route there.
When you arrive, you'll need to kill some Kobolds outside and inside the cave. Then, once inside, you can examine the broken stone cross, and provided you're willing to sacrifice 3x time notches, you'll gain the first Sword Shard.
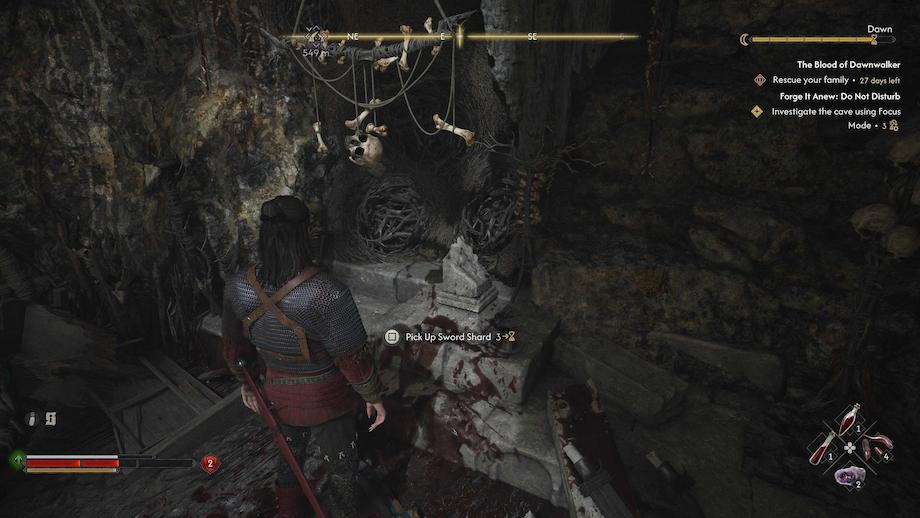
The stone cross where you'll find the first sword shard
Note: This can be done in any of the caves, but is best done early. Examine all the cave paintings, as they reveal the locations of the other shards, as well as the location of the Uriashi Blacksmith who will be able to repair the sword when you have all the parts.
Stone Shard #2
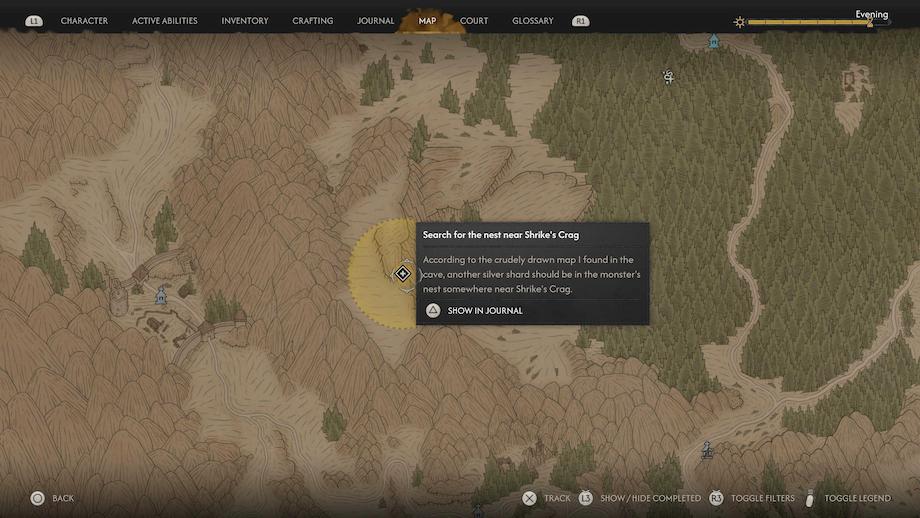
The second sword shard location marked on the map above
The second shard is a little trickier to get your hands on, as you'll need to fight a beefy Kobold boss to get it. To get here, you should start from the Giant's Pawns Shrine, and then work your way towards Shrike's Crag.
Once inside, you'll be confronted by a powerful Kobold named Munch Munch. A boss that's actually a little more nuanced than most others in the game. Not only do they slash at you and hit hard, but they also apply poison with each successful hit for slow-burn damage. So, try to be as evasive as possible.
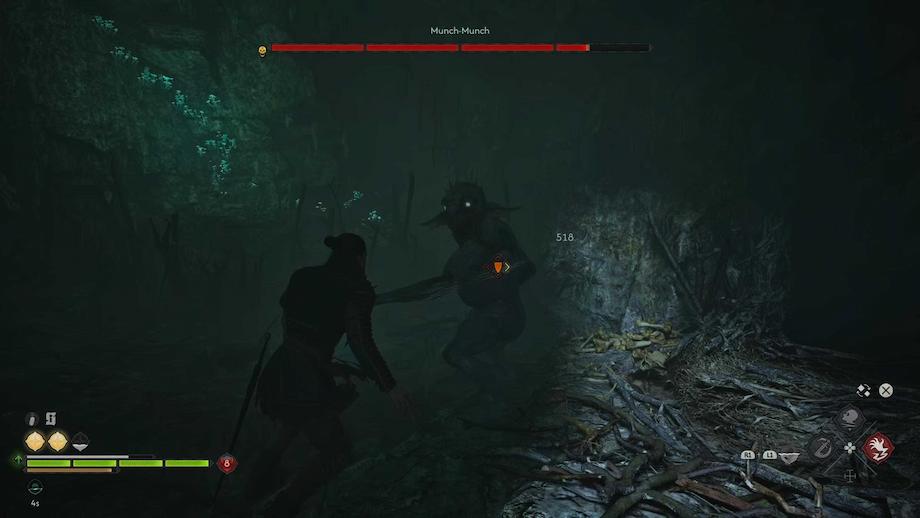
A fight with the boss Kobold, Munch Munch
When you win this fight, head over to the largest Kobold nest, and sacrifice 3x time notches to search this nest, where you'll find the second sword shard.
Stone Shard #3
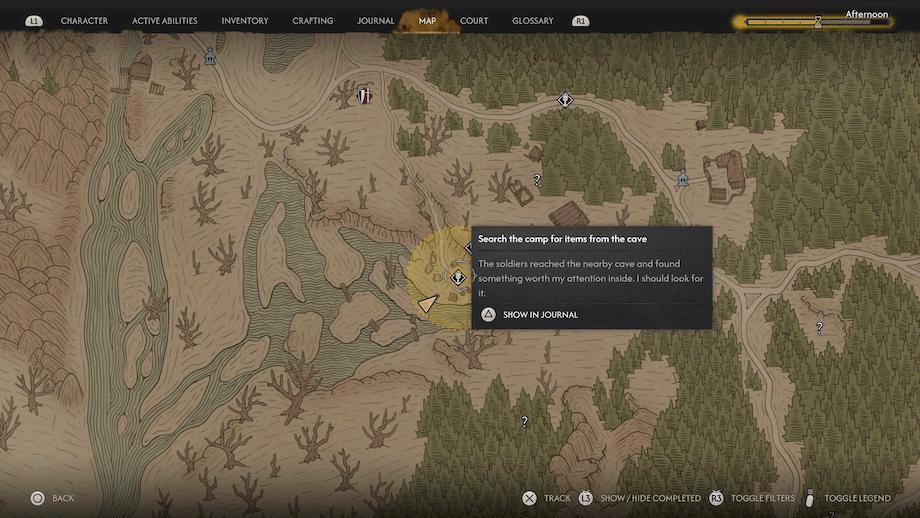
The third sword shard location marked on the map above
Lastly, you'll want to head down to Tantari for the last sword shard. You could head to the third marked location, leading you to a cave behind the Crossroads Inn near St Tyna's. But this will only reveal that this cave has been looted by Xanthe's men.
So, avoid the trip and head straight to the Soldier's camp. This is accessed easiest by warping to either the Drunken Inn shrine or the Tantari Watermill shrine.
The guards on point at this camp are beefy and will offer a sterner challenge than Munch Munch. Mainly because there are quite a few of them.
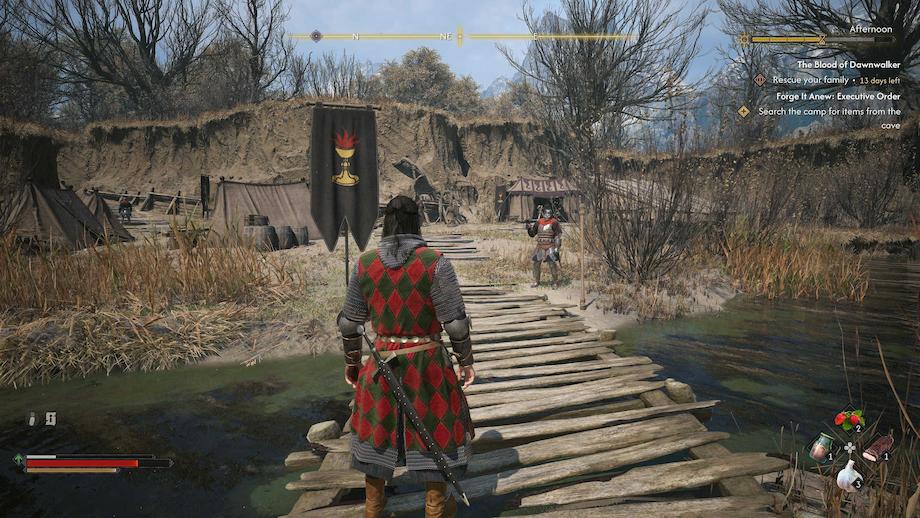
Xanthe's camp where you'll find the final sword shard
My tip would be to not step back into the marshlands, as the uneven terrain really doesn't behave well with the game's combat system and makes it hard to engage with enemies. Plus, I would suggest using abilities like Burning Blood to take out the more bulky enemies without needing to engage.
This will complete the side quest 'Xanthe's Blood Guards: Unquenchable Thirst'. Then you can head inside the tent where you'll find the final stone Shard.
Completing The Final Ritual
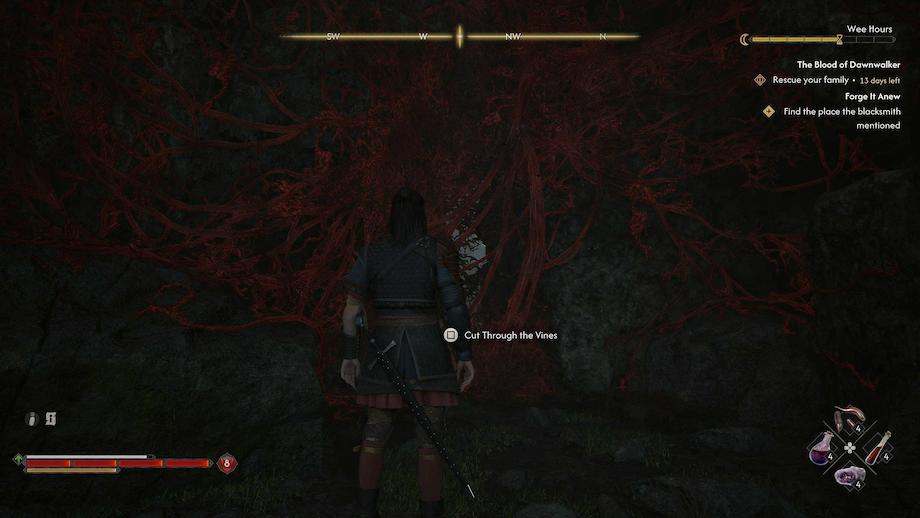
The corrupted vines that need chopped
After you have collected all the Sword Shards, you can head out to the Uriashi Hermitage marked on the map, which is where you'll find the Blacksmith that can put together your blade.
Note: You can head out to the blacksmith earlier and give the blacksmith individual shards to improve the sword by one rarity grade.
Doing this will raise the sword to epic rarity, but the forging will not be complete until you perform a final ritual. To do this, you'll need to head up the hill behind the Hermitage, where you'll find an opening in the cliff face that is covered in corrupted vines.
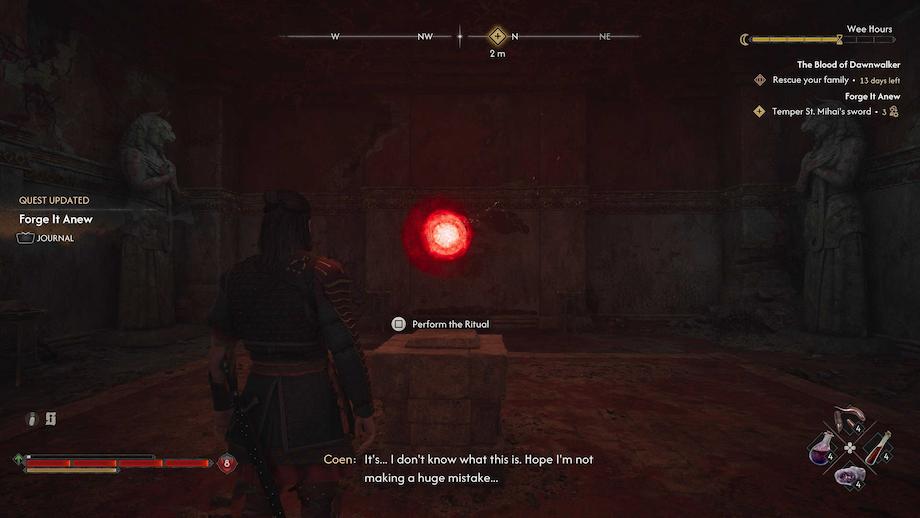
The altar where you can trigger the ritual
When you have collected all the shards and fixed the sword, you can use it to cut through the vines and enter the area where this ritual takes place.
You'll need to take down a bunch of undead creatures to reach the area where you can start this ritual, which then begins a boss battle of sorts, called the Echoing Anger. Which is less of a boss fight and more of an endless wave of spectre enemies.
I would suggest entering this fight in Vampire form for the sake of regeneration skills, and would also recommend stocking up on blood vials for healing during this fight, as it really drags on.
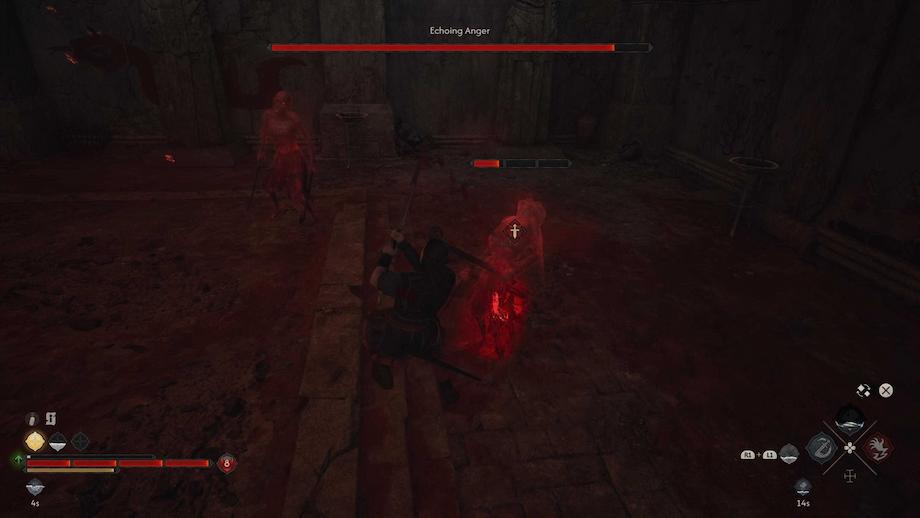
Dealing with the gauntlet of enemies known as the 'Echoing Anger'.
After you endure this gauntlet of spectres, you can then re-approach the glowing red orb to complete the ritual.
Congrats, you are now the proud owner of the Arbiter's Blade, and will pop the 'Arbiter's Blade' achievement to signal the end of this quest. Plus, you'll also gain 500XP upon completion.