Up to 84% Off VPN
In The Blood of Dawnwalker, if you follow the main quest and head to the heart of Vale Sangora, the city of Swartrau. You'll soon hear tell of a legendary sword, and a legendary set of armor which can help in your fight against Brencis.
However, both of these require quite a lot of legwork if you want to add them to your build. But, for the purposes of this guide, we want to focus on the Armor of the Arbiter.
You'll need to find quite a few components to craft this Armor, but believe me when I say that it's worth it for the benefits that come with equipping this full set.
Here is how to handle this questline, and where to find all the components you need.
How To Start This Quest
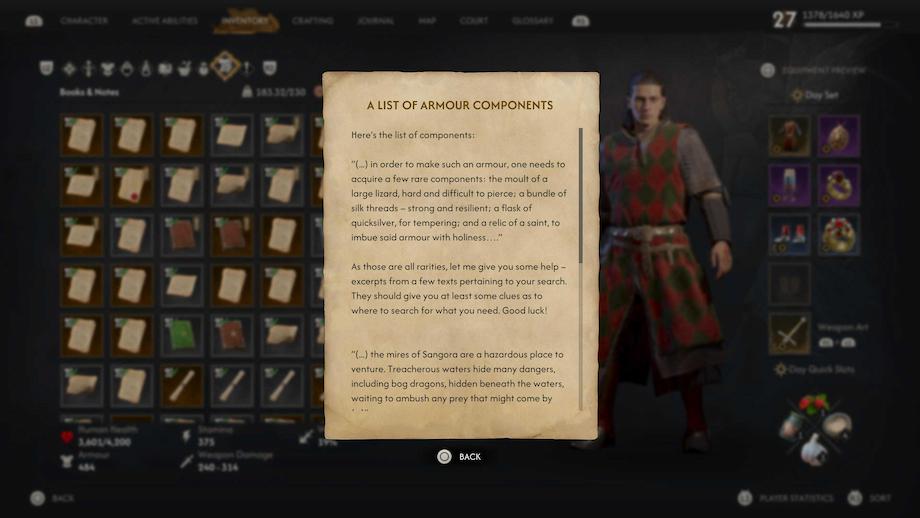
The letter describing the components needed to craft the Arbiter's Blade
This quest isn't one that you can seek out yourself, as it's a quest that literally comes to you. What you'll want to do is spend some time in Swartrau, and eventually you'll be approached by a courier who seems to deliver a letter to Coen of Laslea.
This letter is from an anonymous sender, but seemingly a friend who wants to see you succeed in taking down Brencis.
In the letter, they enclose the schematics for a legendary set of armor said to protect from even the sharpest of Vhakhiri claws. Plus, they send a list of all the components you need to make this armor.
Then finally, they list the location of a blacksmith who can put this all together for you. All the info is laid out for you, but it's very much a 'piece it together yourself' sort of quest.
Visiting The Uriashi Hermit
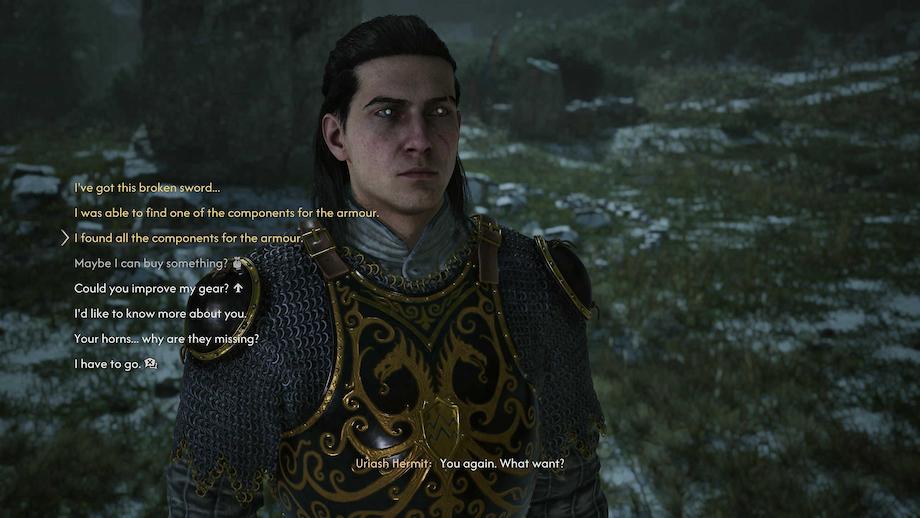
Talking to Nareh at the Usiashi Hermitage
Before we get into the nuts and bolts of the component locations, head out to the blacksmith so you have the fast travel point for later. Heck, you might even happen to have some of the components already, making the trip worthwhile.
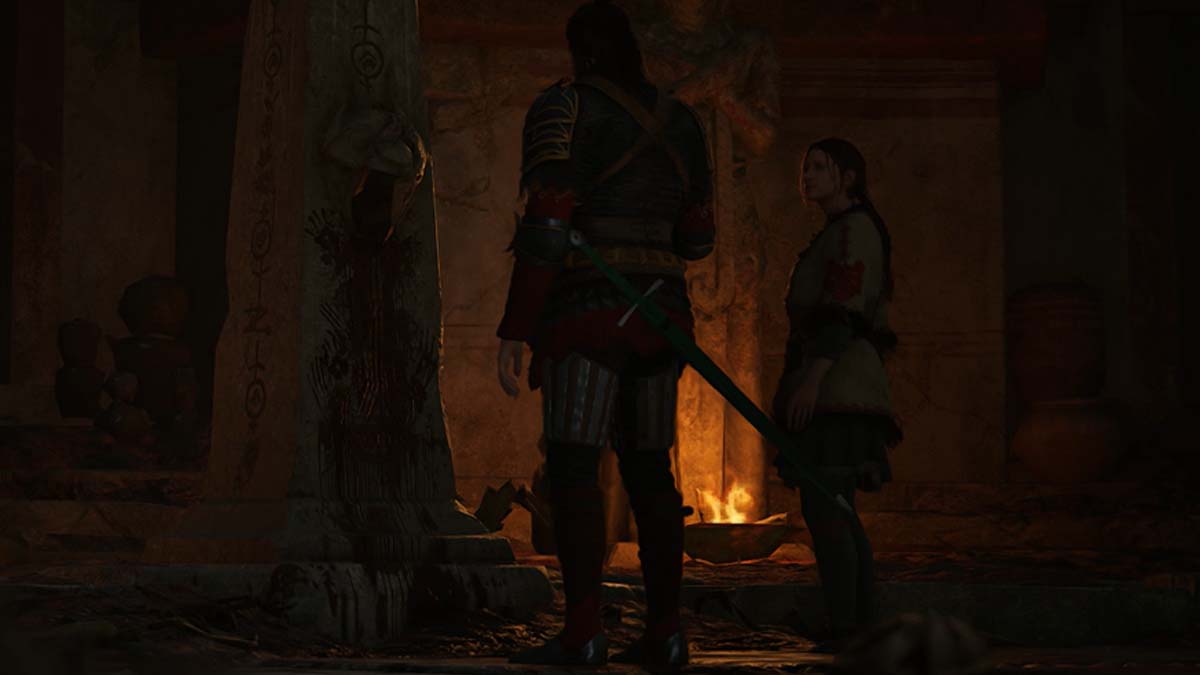
Nareh is found near the Uriashi Hermitage shrine and is a merchant who can sell weapons, improve gear, and is also the Blacksmith that can help you piece back together Mihai's blade found during the A Monk and A Saint questline.
You can head out here and convince her to help you. All you need to do is answer why she should help you, that you want to kill Brencis, and she will agree to help.
After this, if you have any components already, you can turn them over, and you will receive a piece of the Armor, whether that be greaves, bracers, armor, or boots, that corresponds with the different items.
You will only receive an epic rarity version of these items, and only when you find them all and bind them will they achieve their legendary form.
Gathering the Components
The reality of this quest is that, to complete it, you'll need to head off and complete a variety of other questlines. It's very easy to miss some of these components, even if you have done these quests, so we hope this steers you in the right direction.
What you need to make the Arbiter's Armor is the following:
- The Relic of a Saint
- A Lizard's Moult
- Silk Threads
- Quicksilver
All items that aren't exactly common to come by, but we can help you find them all.
Where To Find Quicksilver
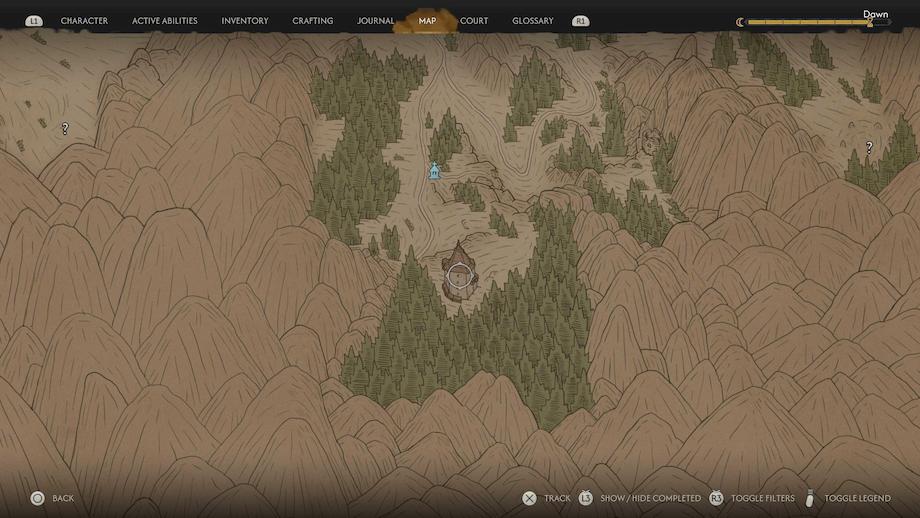
Location of Quicksilver marked on the in-game map
To find the Quicksilver, you'll need to head out to Aurelius Tower. An area you may end up visiting during the 'Who Pulls The Strings' questline.
To collect this, you'll need to head to the top floor of the tower, inspect the door, and then complete 'Home Sweet Home'. A dream sequence quest that occurs when you enter the top floor of the tower.
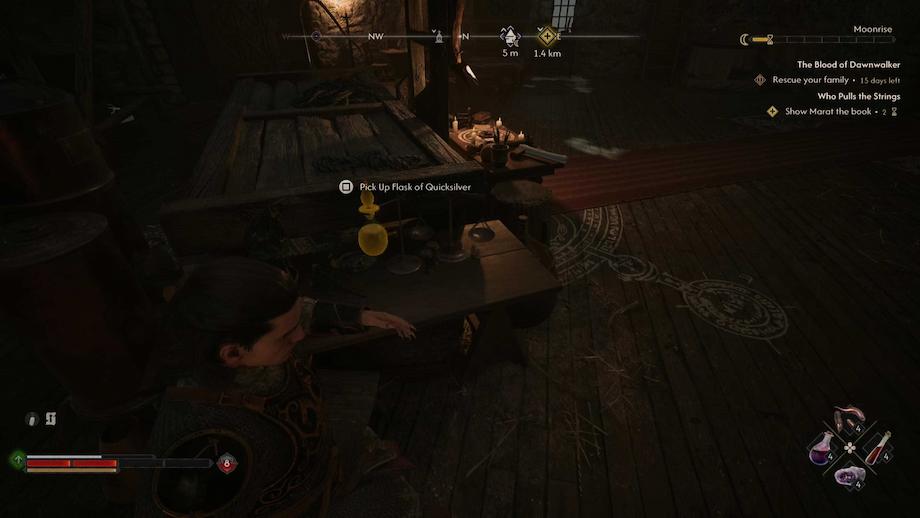
Quicksilver Flask found at the top of Aurelius Tower
You will then need to break out of this dream sequence, killing Aurelius the Astrologer in the process. Then, once you do that, head back up to the top of the tower, and inside this room you will find Quicksilver.
Where To Find St Tyna's Relic
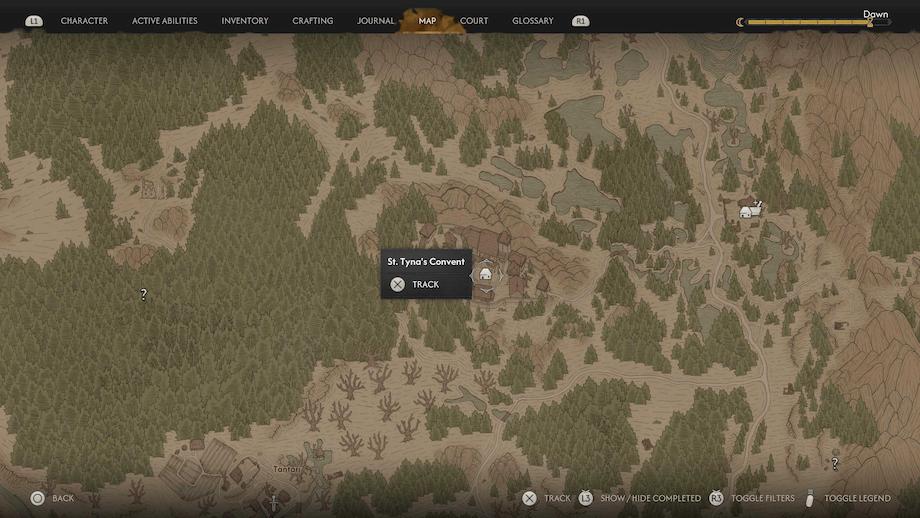
Location of A Saint's Relic marked on the in-game map
To find a relic of a saint, you'll need to complete the Echoes of the Silenced Bells questline. This is available pretty much as soon as you finish the prologue and can be triggered at the Crossroads Inn where Anca is living after leaving Laslea.
This quest will take you to St Tyna's Convent, where you will be able to explore the grounds and find two suitable items. St Tyna's Relic and St Tyna's Tibia.
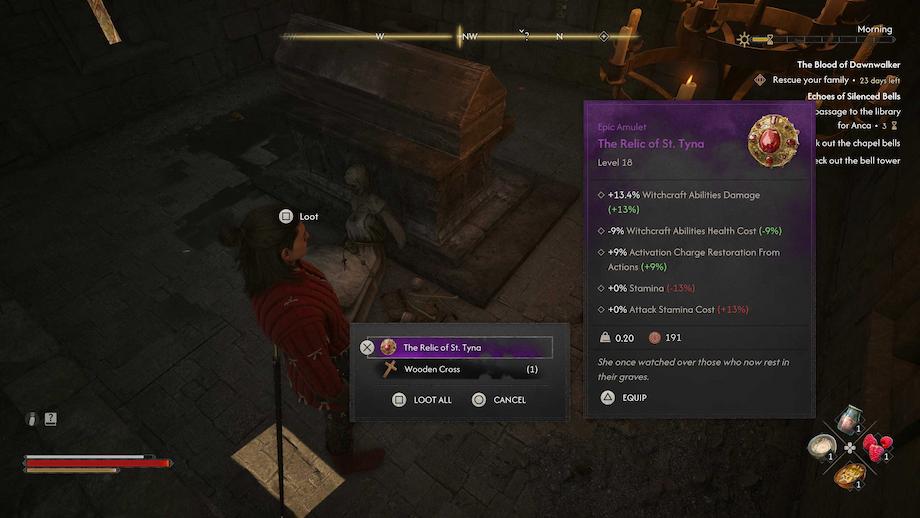
St Tyna's Relic found in the convent behind a locked door
You'll want to use St Tyna's Tibia for crafting the Armor, because aside from this use, it is a useless item. Whereas the Relic is a decent accessory that could be kept and upgraded.
Where To Find Moulted Lizard Skin
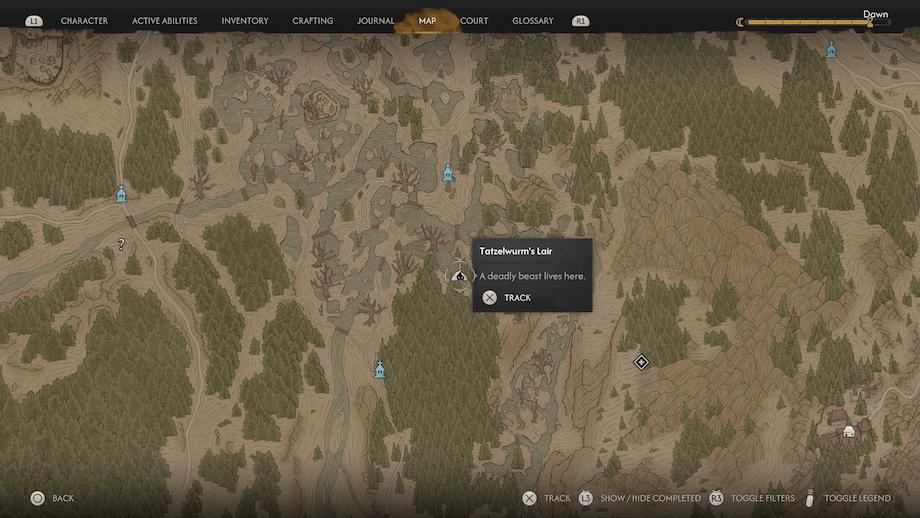
Location of Lizard Moult marked on the in-game map
Next, we have the Moulted Lizard Skin, which is acquired during A Bittersweet Toast. A side quest linked to The Guilded Gauntlet, the quest where you need to defeat Ambrus.
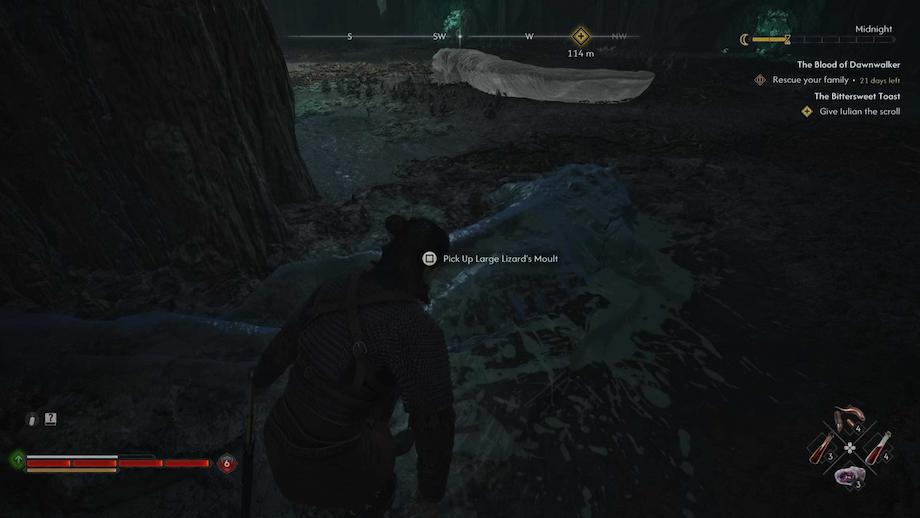
Lizard Moult found in the Tatzelwurm Lair
During this quest, you'll eventually be led to the lair of the Pale Ravager. You don't actually need to enter this cave to complete the quest, but if you do, you'll find the Moulted Lizard Skin in the cave.
Where To Find Silk Threads
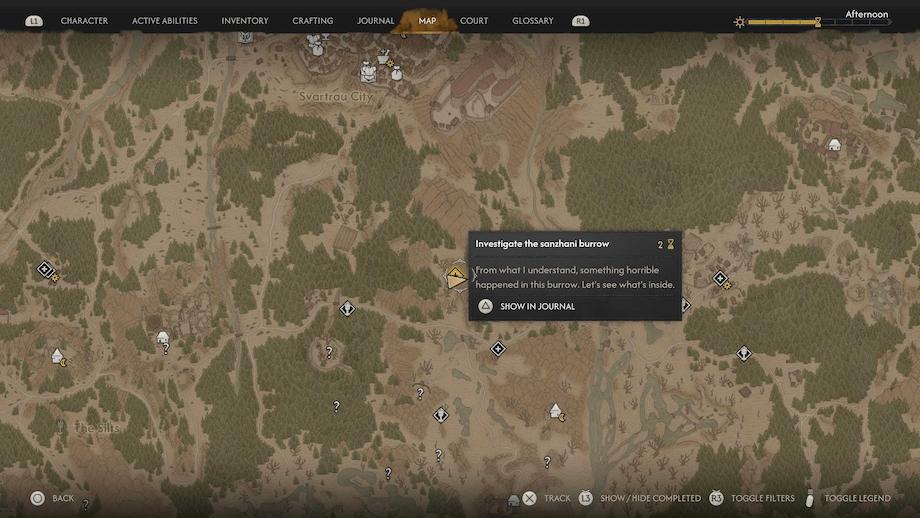
Location of Silk Threads marked on the in-game map
Then last, we have the Silk Threads. Something that is most easily acquired during the quest Come Hither. This is a quest that is linked to the Sansashi people, and has you help one of them by clearing a Murohn out of their burrow.
This quest is triggered by heading toward a question mark on the map nearest the Vedera Shallows Shrine, where you'll find a Sanzhani hovering around.
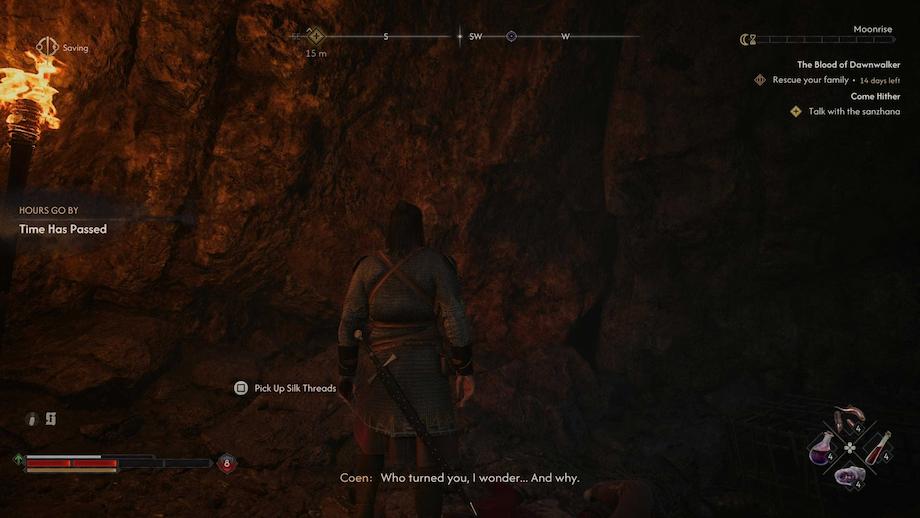
Silk Threads found in the Sanzhasi Burrow
Unfortunately, all the other Sanzhani are dead, but the silver lining is that there are some silk threads there to be looted.
It's also possible to purchase these from the Sanzhana merchant unlocked by completing the Pearly & Precious quest. But this will cost you 5,000 Denarius, so I wouldn't recommend that option.
Crafting The Arbiter's Armor
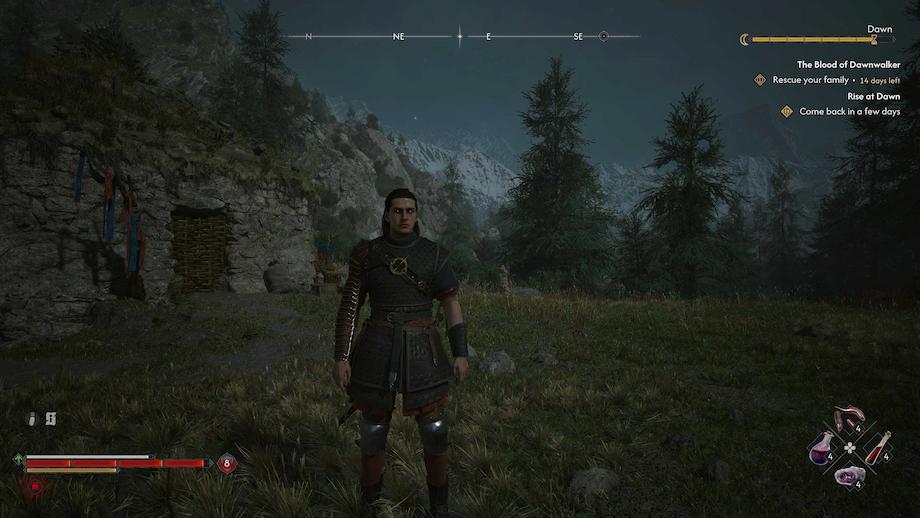
Wearing the complete Arbiter's Armor set
After you gather all these items, head back to Nareh and tell her that you have gathered all the Armor components. At which point they will tell you that they need to do a ritual to bind the Armor and finish the job.
This ritual plays out not unlike a typical Astral Communion side activity. You'll need to kill a bunch of wolves, and then the Ursine Apparition will appear. A Bear mini-boss.
This is no different from any bear fight, so treat it as such, watch out for their red skull attacks, and make use of your abilities to trivialize the fight, and you'll have completed the ritual before you know it.
Completing this grants you the full armor set upgraded to its finest form, which looks a little like this:
| Armor | Bonuses |
| Enhanced Armor of the Arbiter | • +9.2% Weapon Damage• +9.2% Claw Damage• +9.2% Witchcraft Ability Damage• +9.2% Activation Charge Restoration from Actions |
| Enhanced Shin Guards of the Arbiter | • +18.5% Passive Activation Charge Restoration• +9.2% Activation Charge Restoration from Actions• -6.2% Witchcraft Ability Cooldown• +18.5% Activation Charge Restoration from Perfect Blocks |
| Enhanced Boots of the Arbiter | • +6.2% Magical Damage Reduction• +20% Human Health Restoration• +20% Maximum Human Health• +18.5% Maximum Stamina |
| Enhanced Bracers of the Arbiter | • +20% Maximum Vampiric Health• +3.5% Vampiric Health Segment Regeneration per Second• +23.1% Blood Drinking Restoration• +9.2% Weapon Damage |
In short, this armor set makes you a very well-rounded, very powerful individual. Whether it's day or night, against just about any opponent. It's an Armor set that blows most others out of the water. Which is why there is no time like the present to find those components and craft this for yourself.