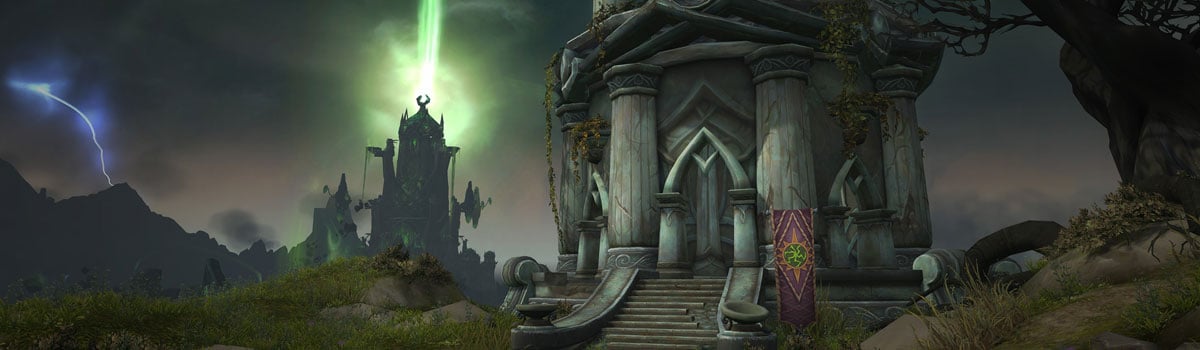
The An Impossible Foe Mage Tower challenge can be completed by Elemental Shaman, Feral Druid, Unholy Death Knight, Outlaw Rogue, Fury Warrior and Fire Mage. It involves 2 phases focused around a main boss (Agatha) and Imps that spawn throughout the fight.
Imp Types and Priority:
- Umbral Imps - These imps will make Agatha completely immune to damage, which means you want to kill them as soon as possible because they will give an immunity buff that prevents you from damaging her shield
- Imp Servants - These imps spawn at the back of the room and run to Agatha, when they reach her they channel a heal and increase her damage for the rest of the fight
- Smoldering Imps - These imps cast Fire Bolt, which deals increasing damage every time a cast is successful. These imps do not have a high priority, but their damage ramps up because of their buff, so you eventually want to kill them
- Fuming Imps will run towards you and cast Plague Zone when they reach you. When casting Plague Zone, the imp is fixed in place, allowing you to move out of the AoE before it hits. Because of this, if the poison pools don’t get too messy, you can ignore these Imps and prioritise the boss and the other imps. You want to position yourself (on the side of the room) to leave space to move later in the fight
Agatha Abilities:
- Dark Fury - When Agatha reaches 100 energy, she will gain an absorb shield that prevents her from being interrupted. She then channels a spell that deals increasing damage so, it’s essential to nuke down the shield and interrupt the cast as fast as possible
- Agatha's Fury - Whenever an imp dies, Agatha launches several shadowy orbs that do damage on impact if you stand in the swirls
- Fel Lava Blast - Small swirls on the ground that you need to avoid
- Shadow Stab - An uninterruptible spell that does minor shadow damage
Strategy:
Phase 1
Once the boss is engaged, the boss will spawn smoldering imps, some classes can focus the boss and cleave the adds (focus the adds if you start to get too many overlaps). Then Imp servants will spawn at the back of the room, and these are high priority. Fuming Imps will spawn next, position these to avoid blocking the room or CC/burst them down if the pools are an issue for you.
When the boss reaches max energy, it will use Dark Fury, apply a shield to itself, and do increased AoE damage until interrupted. You need to damage the shield until it breaks to allow you to interrupt the cast.
Imps will continue to spawn, damage them as you did before until the boss reaches 50% health. You will then move into Phase 2 of the fight.
Phase 2
At 50% health, the boss will teleport to the top of the ramp (other side of the room). Make sure to finish up any remaining imps before following the boss. The boss will continue to use the same abilities as in Phase 1, so be aware that Dark Fury (shield) will still happen at 100 energy.
During this phase, the boss will spawn boulders that move down the room. You need to avoid them and continue to damage the boss and Imps that continue to spawn. It’s even more important in phase 2 to have good placement of the Fuming Imp’s Plage Zone as it will help prevent you from getting hit by mechanics.
Agatha will intermittently teleport to either side of the room. During this phase, boulders will continue to spawn from the top of the ramp. The boss will then continue to teleport between positions until it’s defeated. Focus on the Imp priority, good Plague Zone placement, avoiding swirls, and remember to clear the imps when the boss changes position.
Class Tips:
Unholy Death Knight
This section was written by Kwepp and the video was provided by Cruelladk, who are both raiders in Method.
Talent Suggestion:
- Tier 1: Clawing Shadows
- Tier 2: Unholy Blight
- Tier 3: Asphyxiate
- Tier 4: Soul Reaper
- Tier 5: Wraith Walk
- Tier 6: Unholy Pact
- Tier 7: Army of the Damned
Tips:
This challenge is all about Imp management and lining up your cooldowns correctly. Make sure always to have Unholy Blight and Dark Transformation ready. You may need to delay them for 5-10 seconds, but it will make the Umbral & Smolding Imp spawns a lot easier to deal with. You can also pre-place your Death and Decay underneath yourself to get some good Clawing Shadows cleave onto them. They will teleport away, but you can still cleave them as long as you are within your Death and Decay.
When Agatha summons two Imp Servants at the back of the room, it is good to use Chains of Ice to slow them down, giving you more time to kill them. If they reach Agatha, you can use Asphyxiate, Death Grip, and your pets interrupt Leap during Dark Transformation.
When you reach 50%, Agatha will teleport to the other end of the room, and you will want to use Wraith Walk to close the distance quickly and make it easier to dodge the incoming balls. If she summons her Imp Servants, you will want to use Chains of Ice on them and kill them off before getting to Agatha.
Throughout the fight, you also need to deal with Fuming Imps, and they will begin to cast Plague Zone after they reach you. Because most of your damage comes from pets and your Clawing Shadows, you can position yourself to the sides of the room and bait the Fuming Imps to detonate on the sides of the room, giving you a lot more space to play with.
Anti-Magic Shell is a very useful tool in this challenge. I recommend using it for Umbral & Smolding Imp spawns later in the fight, as you will be taking a lot of damage. You can also use it when moving over Plague Zones (if you use Anti-Magic Shell before walking over a Plague Zone, you are immune to the damage effect).
Always keep yourself healthy with Death Strike uses. Everytime you kill an Imp in this fight. You will gain Dark Succor, increasing the healing of your next Death Strike by a substantial amount. Make sure to use these procs to keep yourself healthy throughout the challenge!