
The Equilibrious Beast, also known as Libra, is one of the most complex Nightlord encounters in Elden Ring: NightReign, found at the climax of the Equilibrious Beast Expedition. Libra doesn’t just punish mistakes; she turns them into domino effects. This is not a boss that can be overcome with raw damage alone, she needs proper planning and coordination with allies to beat.
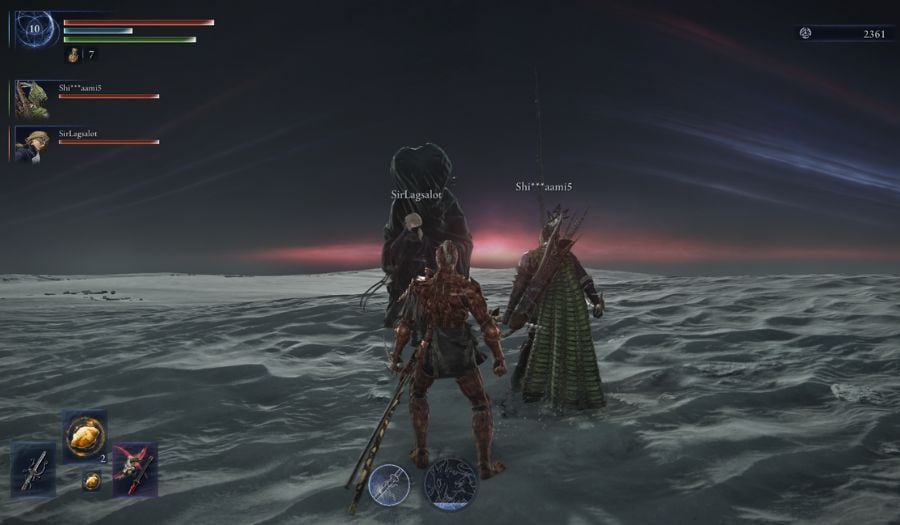
The boss battle has a unique start. Instead of the boss just appearing, a hooded figure awaits you in the arena. If you choose to talk to her, she will offer you buffs for the boss fight.
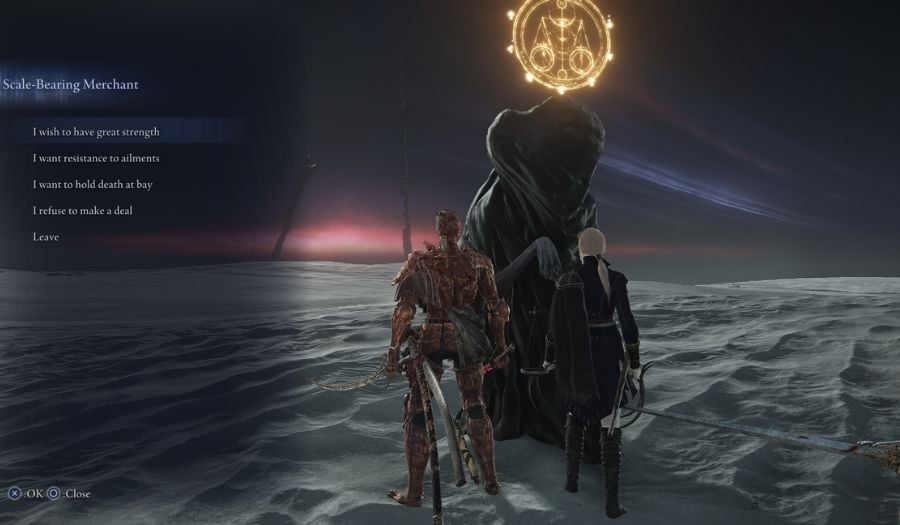
However, nothing happens after you select a buff. You have to attack the hooded figure, who turns out to be the Equilibrious Beast.
Madness Buildup and Opening Phase
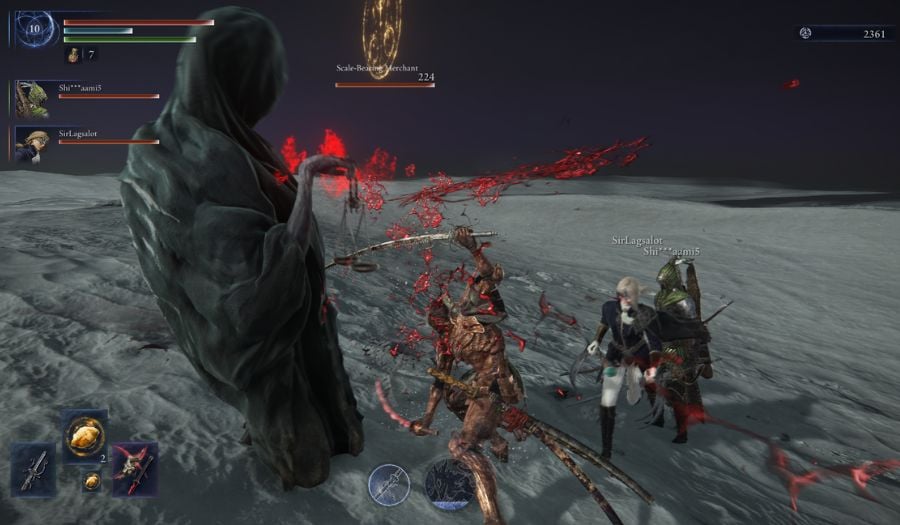
Libra begins the fight with sweeping arc attacks, vertical slams, and golden gaze beams that apply heavy Madness buildup. If allowed to stack, Madness will stun the player and deal massive damage, often enough to kill them or leave them exposed to follow-ups.
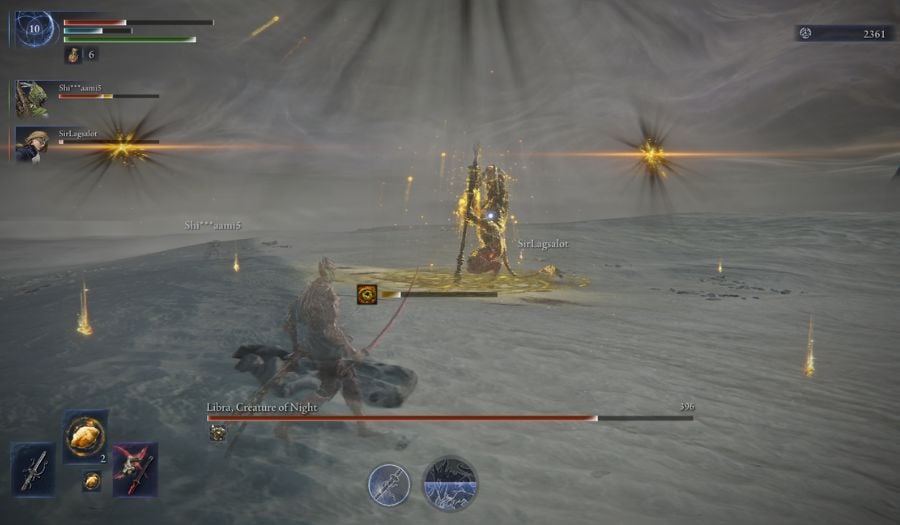
To manage this, you must collect golden particles scattered throughout the arena. These provide brief immunity to Madness buildup, granting much-needed breathing room during critical moments.
Spacing is essential in the early phase. Standing too close invites wide-area sweep attacks and delayed Madness bursts.
Revenant is extremely useful here. Her Summoned Spirits keep pressure on the boss when movement is restricted. The Summons are also extremely useful for distracting the boss so that you and your allies can get close to do damage.
Ranged classes shine in this phase. Recluse and Ironeye can safely dish out damage while dodging the boss’s melee-centric patterns. That said, they will still need to reposition frequently to pick up golden particles or avoid targeted Madness beams and hexes that appear in the ground and do AOE damage. These ranged classes also serve as ideal sigil breakers for the next phase.
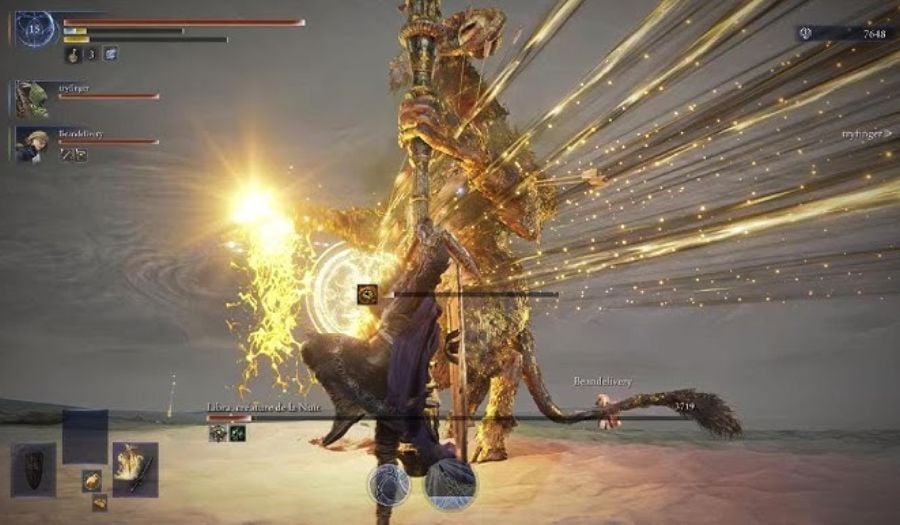
Meditation Phase and Invulnerability Shield
At roughly 75% HP, Libra begins her Meditation Phase, floating midair as a golden aura envelops her. During this time, she becomes completely invulnerable. If this process completes, she gains a defense buff that significantly reduces incoming damage and extends the fight by a considerable duration.

To prevent this, you must spread out and destroy the yellow sigils that appear around the arena. Usually, three to four spawn on both the ground and elevated platforms. They must all be broken within a short window before regenerating.
Pre-assigning roles here is critical. Ironeye can quickly access high sigils, while Wylder and Raider can burst through ground sigils. You also don’t have to hit the sigils, simply sprinting through them is enough.
Some ultimates, such as Wylder’s Onslaught Stake or Ironeye’s Single, can bypass this process entirely as they can take out all the sigils in one go.
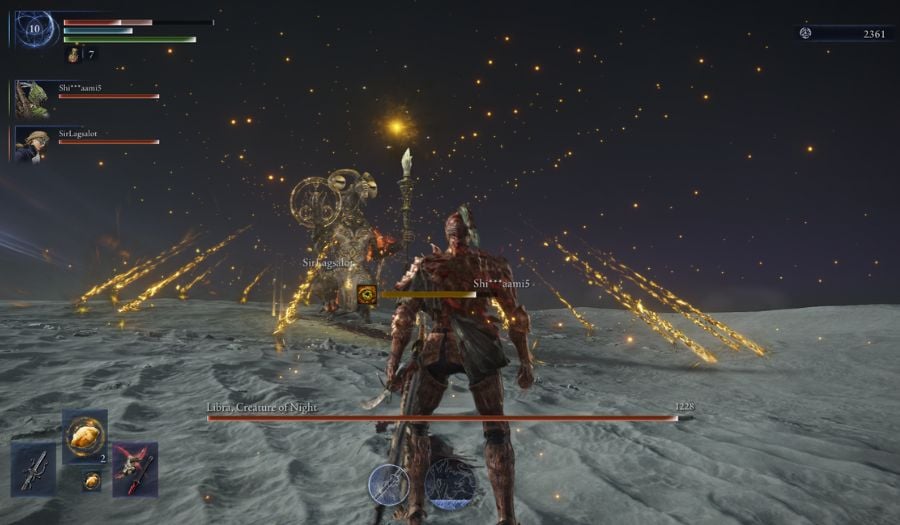
Frenzy State and Chaos Window
When the meditation is interrupted, Libra enters a Frenzy State. Her attacks speed up significantly, and she performs quick jump slam attacks throughout the arena.
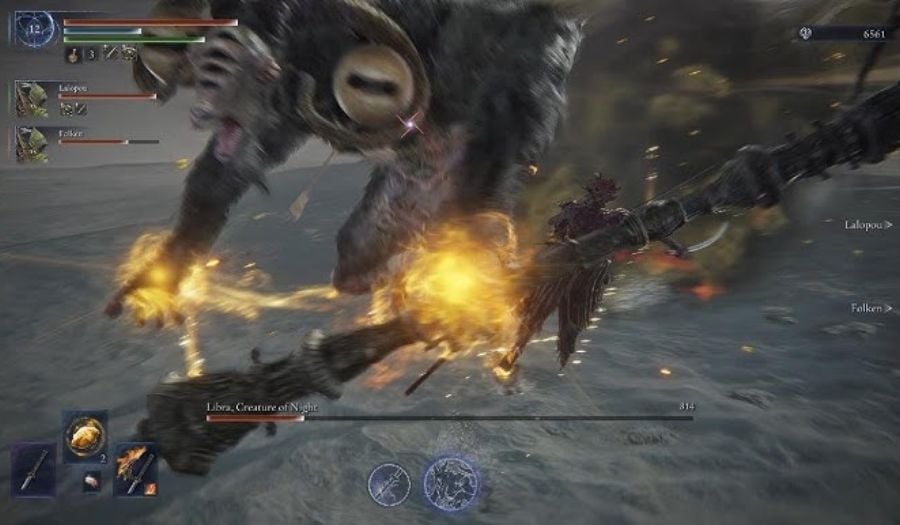
Without her golden aura, Libra can now be staggered and afflicted with status effects. Executor can charge in with the Cursed Sword during this window, while Recluse can exploit the Equilibrious Beast’s weakness to elemental effects. That being said, Revenant’s Immortal March is the safest countermeasure, letting your team stay aggressive without the fear of sudden deaths during this critical window.
Final Phase
Unlike most other bosses in Nightreign, Libra does not have a final phase. Her moveset remains largely the same throughout the fight. You just have to continue the same attack pattern for the rest of the battle, and have at least two ranged classes on your team.
Libra is less a boss and more a battlefield manager. She enforces strict status rules, punishes impatience, and rewards teamwork and planning. Learn her rhythm, manage positioning, and rotate responsibility, and the Equilibrious Beast will fall.