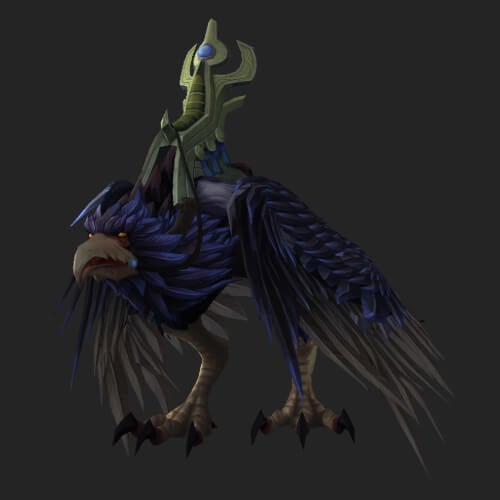
Umbral K'arroc
A savage K'arroc particularly well-suited to prowling the perpetual twilight of K'aresh.
How to get the Umbral K'arroc Mount
The Umbral K’arroc is obtained by completing the Glory of the Omega Raider meta achievement. This achievement consists of 8 sub-achievements, one for each boss of the Manaforge Omega raid. They must be done on normal (recommended) difficulty or higher. It is not currently possible to solo this achievement; you will need a full raid group.
I would highly recommend the addon, Instance Achievement Tracker, to help keep track of what your group needs to get done for each achievement.
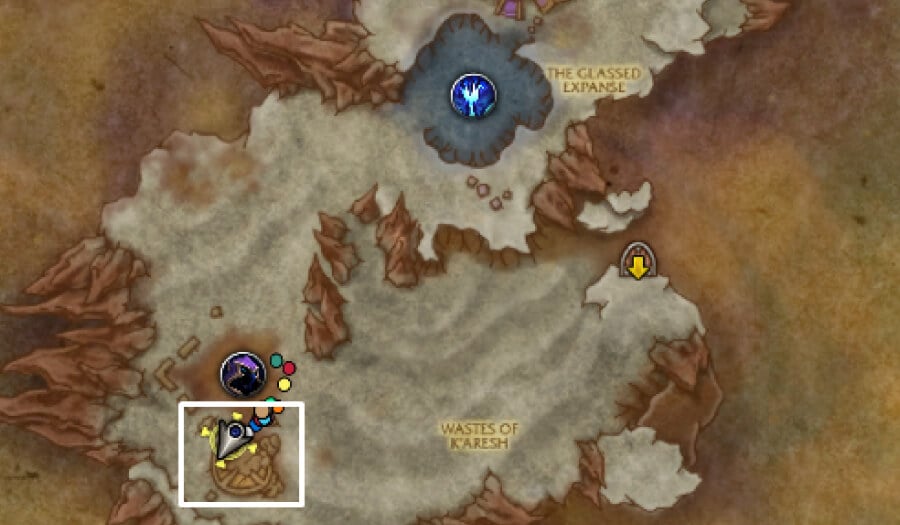
Manaforge Omega is located in northern K’aresh. You will need the legendary cloak, Reshii Wraps, to be able to enter the raid. To learn more, please check out our article on obtaining the Reshii Wraps.
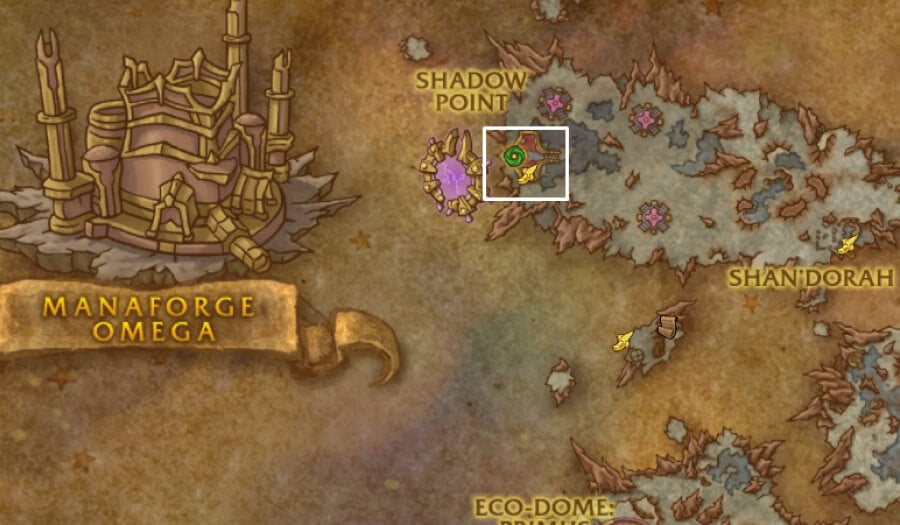
/way #2371 41.9 21.5 Manaforge Omega Raid Entrance
Plexus Sentinel - Of Mice and Manaforges
To complete the first achievement, you will need to save all the mice from being vaporized. The mice only spawn during the intermission phase when the boss uses his Arcanomatrix Atomizer (big wall you need to use your cloak’s extra action button to get through) ability.
Every person in the raid needs to walk over a mouse to pick it up. They will get a debuff for doing so. There will be a mouse for every person in the raid, but you’ll need to do three total intermissions, as they’re split between phases. For example, if you had 21 raiders, there would be 7 mice per phase.
Mice can spawn anywhere on the platform. This includes in traps, bubbles, or even in previous zones filled with purple gas. In my experience, they usually spawn near the back and sides of the room. Have players spread out to look for them. The mice are unfortunately not interactable or targetable, but you can ping their locations to help others.
IMPORTANT: If someone dies before picking up a mouse or a mouse gets killed by the wall, the achievement will fail. Wipe and reset the boss.
If someone dies AFTER picking up a mouse, that’s perfectly fine as long as you don’t resurrect them. Additionally, do not use any immunities (e.g. Blessing of Protection) as it will remove the holding mouse debuff. Once every person in the raid has the debuff, you are free to kill the boss.
Loom'ithar - Time to Vote! Cute or Scary?
Every person in the raid group must target Loom’ithar and do either the /cower or /cuddle emote before starting the fight. Everyone who votes will gain the Voted debuff.
If the majority of the group picks cower, the boss’s damage will be increased by 15%. If more people picked cuddle, the boss will take 15% less damage. Kill the boss and you’ll get the achievement!
Soulbinder Naazindhri - Mother of All Tantrums
As you enter the boss room, you should see four little pads near each corner of the room.
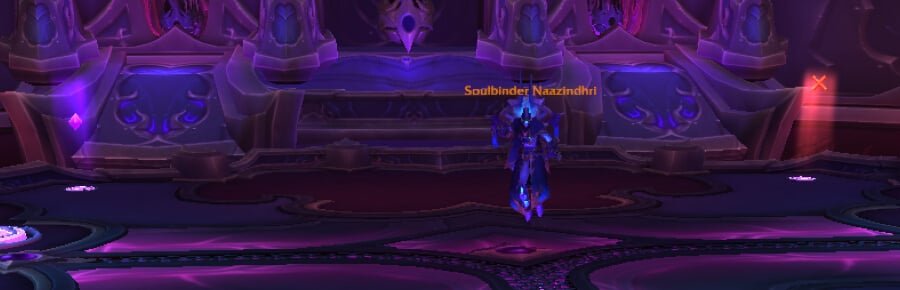
After pulling the boss, click on each of the pads. Doing so will cause four Little Unbound Soul adds to spawn.
These adds have low health, no mechanics, and they will not move from their locations. Kill them and then continue the fight as normal to get the achievement!
Forgeweaver Araz - Cheat Meal
During phase one of this encounter, an Arcane Echo add will spawn during Arcane Obliteration (soak mechanic). He will do this twice before intermission. Kill the first add but keep the second alive. Make sure the boss stays above 15% health until you complete the next part. You may want three tanks for this, with one focusing solely on tanking the add away from the group.
Once the boss reaches 100 energy and activates the Arcane Collector pylons, there will be a blue beam in the back middle of the room. Drag the Arcane Echo into the beam to make it gain the Forged Echo buff.
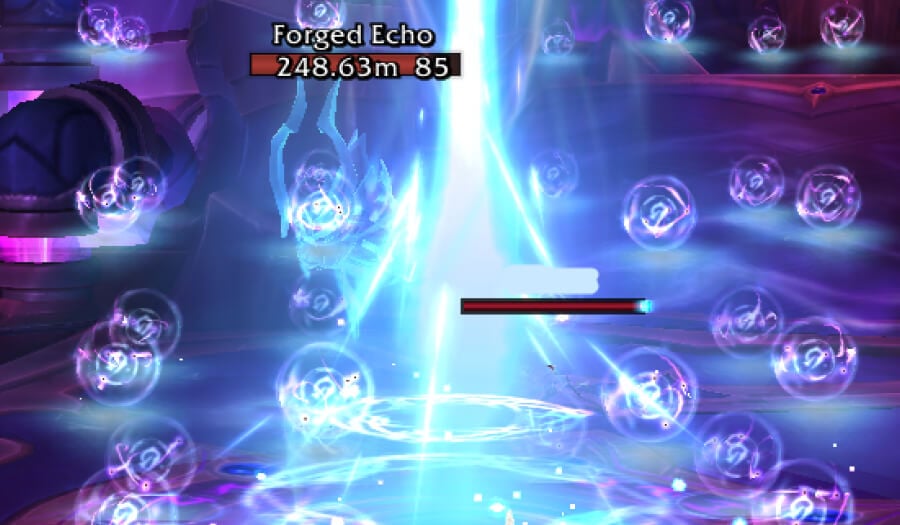
Continue the fight without killing the add until you get to the second phase (starts at 15% health), where the boss spawns Void Manifestation adds. You’ll want to drag the Buffed Arcane Echo over the Void Manifestations, causing it to become a Void Forged Echo. You can now kill the add and then the boss!
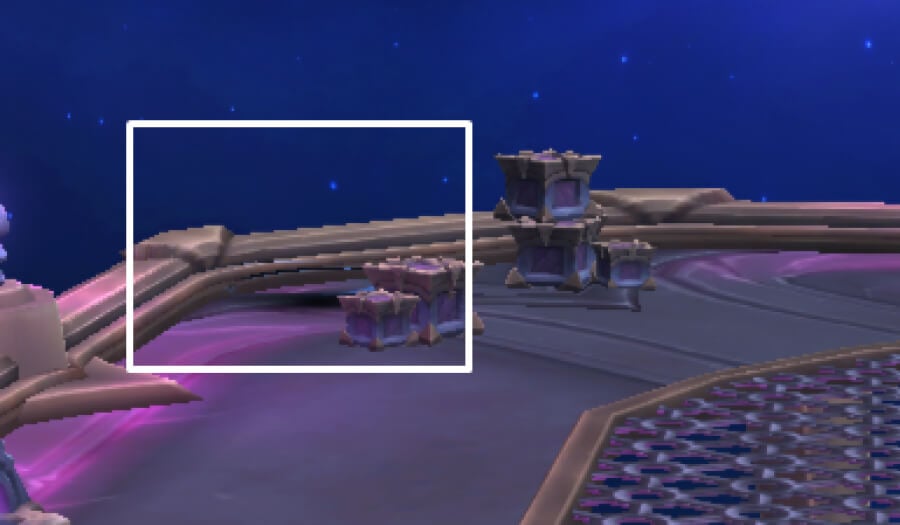
Soul Hunters - I See… Absolutely Nothing
To the south of the boss arena, there’s a pavilion with some tents and boxes. On top of one of the crates on the right, there is a blindfold.
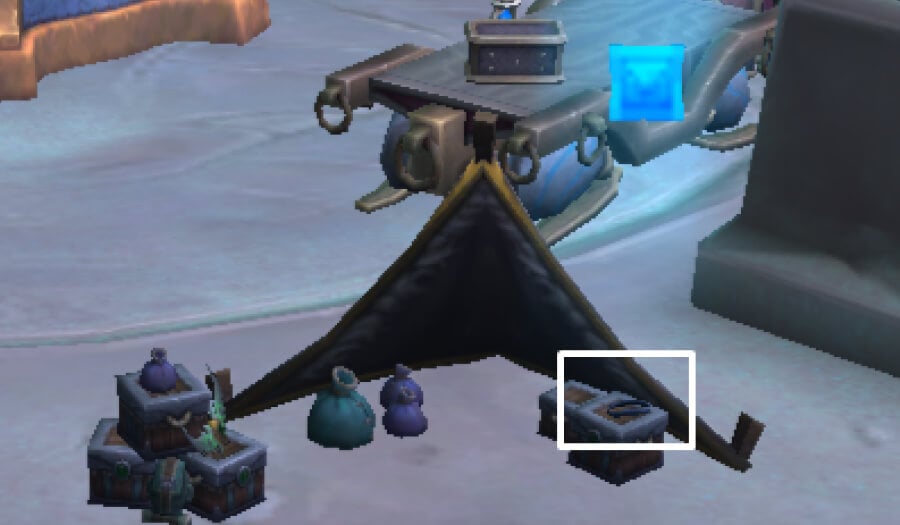
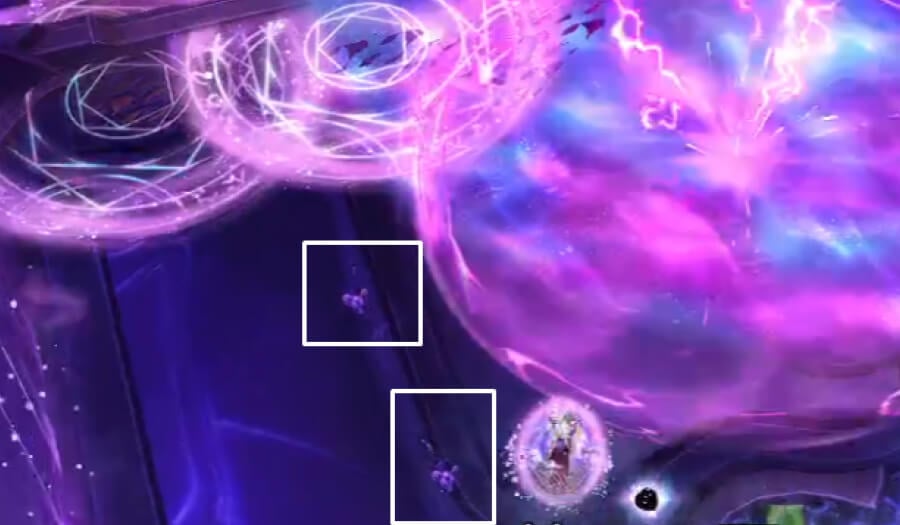
Everyone in the raid needs to pick up this blindfold, which will give them an extra action button. Pressing the extra action button will give you a debuff that make you “blind” like a demon hunter. You’ll mostly see black, with the boss silhouettes and some abilities highlighted, as shown below.
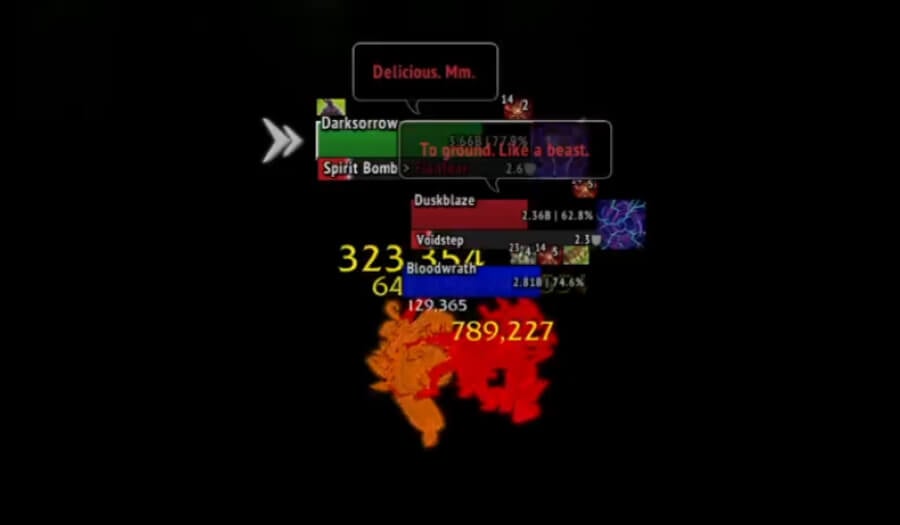
If you happen to play Demon Hunter, your screen will gain green fire around the edges, but otherwise you’ll be unaffected.
The point of the achievement is to click the extra action button and survive for one full minute of the fight, as the blindfold debuff lasts for one minute after being activated. I would suggest having everyone put on their blindfold right after pulling the boss. After everyone has survived for one minute blindfolded, their sight will be returned and the fight can be continued as normal.
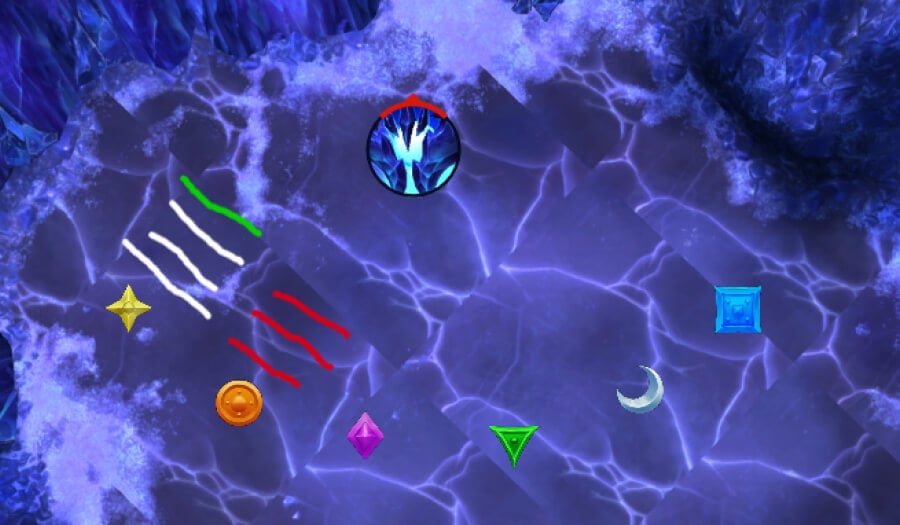
Fractillus - Breaking the Fourth Wall
For this achievement, you need to break the 4th wall of any lane 18 times total during the fight before defeating the boss.
This achievement requires a lot of coordination to complete, so I would suggest using raid markers to label the lanes and having a designated person call out where the walls and breaks need to go.
A good strategy is stacking the lanes evenly, going from left to right. Then break the 4th wall per lane (with Shattering Backhand), avoiding breaking any extra walls. You’ll then want to rebuild the 4th walls where possible, before breaking them again. Be aware of how many walls you have per lane. Five walls is not the end of the world, but that lane needs to be broken next, as a sixth will wipe the raid.
Strategy Example: The first three walls should be put into Star lane. Next, the tank wall will come out, and they’ll want to put theirs in Star lane too. The next three should then be placed in Orange lane.
When Shattering Backhand (wall breaks) come out, send one into Star lane and the rest should avoid any walls.
On the next round of walls, you would then put 1 wall into the Star lane, 1 wall into the Orange lane, 4 walls in Purple lane, and 1 wall in Triangle lane.
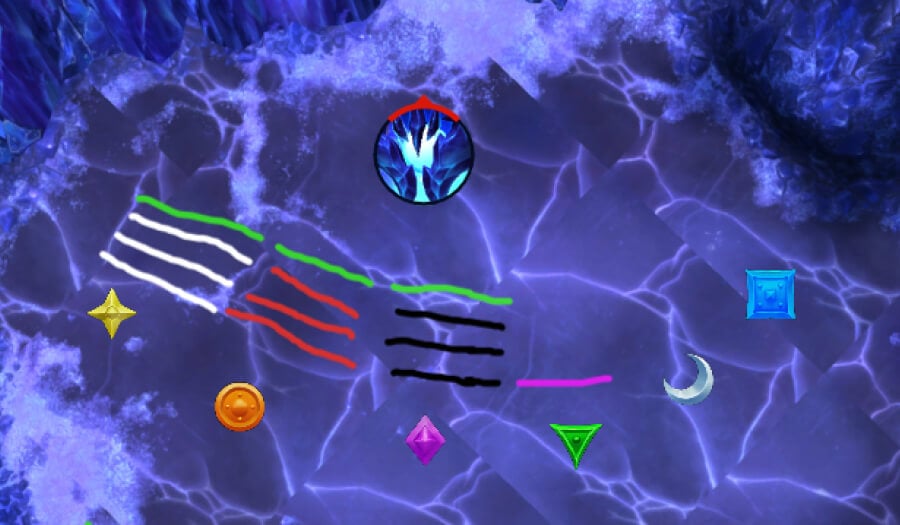
When the next set of breaks come out, break one wall in the Star, Orange, and Purple lanes. Keep repeating this process moving from left to right, making sure you stay below 6 walls in a lane. Do this until you have destroyed 18 of the 4th walls.
Additionally, you’ll want to bring the boss’s health down to 10-15% and then stop damage while focusing on the wall breaking. When you’ve gotten all 18 breaks (of the 4th wall in a lane), you’ll then be able to kill the boss quickly before you get overwhelmed with walls.
Nexus-King Salhadaar - King's Ransom
Instead of turning left like you normally do to get to Nexus King’s platform, go straight ahead. You will need to clear some extra adds to get there. In the corner on the left side, you will see a black swirly on the ground.
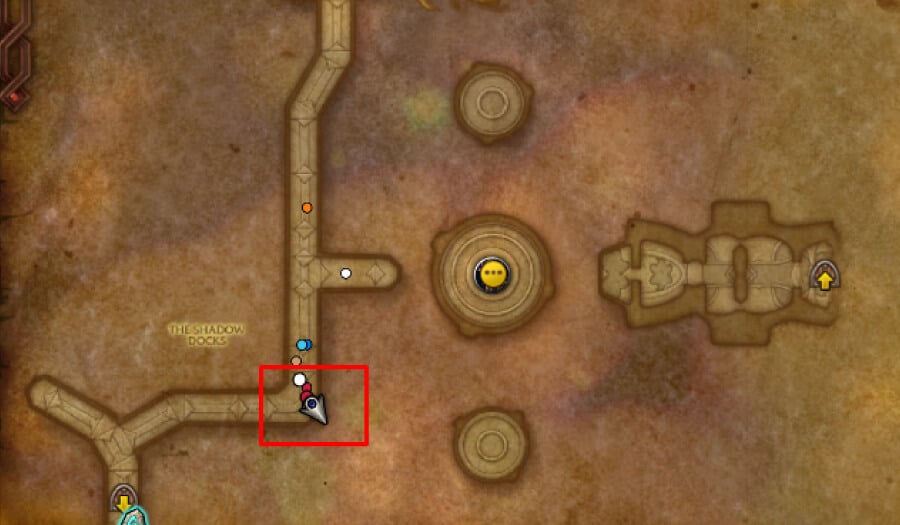
Move closer to the swirly, and Nexus Princess Ky’veza will appear. Talk to her and complete all the dialogue options.
This will make her appear during the boss fight, where she will sometimes do her signature dagger line attack. Avoid the lines and kill the boss as usual!
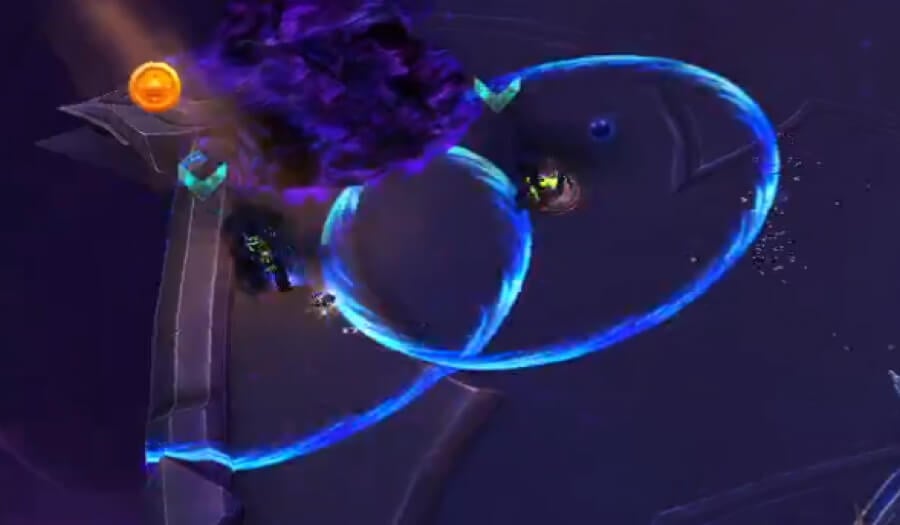
Dimensius, the All-Devouring - Defying Gravity
To complete this achievement, everyone needs to be lifted up by the boss’s Reverse Gravity (blue circles around two players per side) mechanic during phase one of the fight.
For the first Reverse Gravity, have everyone stand in the circles except the main tank and four others. The four others will need to stay out to free the rest of the raid from Reverse Gravity. To do so, kill the Living Mass adds and pick up their Excess Mass orbs. When Reverse Gravity sends the raid high into the sky, stand in the small circles on the ground under them while carrying the orb until they are released.
For the second cast, you’ll want to send up the other tank and the four orb carriers from the first set. Repeat what you did before to get them down. After everyone has been sent into the sky, you can kill the boss as normal.