Raid Setup
Introduction
Introducing Smolderon, the Fiery CEO of Firelands! In the world of World of Warcraft, some bosses mean business, and Smolderon is no exception. This corporate giant is here to remind everyone that playing with fire can be, well, a tad bit hazardous. But fear not, for if you're quick on your feet, adept at dodging and soaking abilities, the rewards are worth the inferno! Imagine numbers so high that even your next-door Unholy Death Knight, sporting five power infusions and a dedicated crew of Evokers, will gaze upon your achievements with envy. Get ready to turn up the heat, because Smolderon is about to show you just how hot the competition can get.
Fight Style: Single Target fight
Recommended Setup: 2 Tanks / 4 Healers / 14 DPS
Useful Defensive Utility: AMZ, Barrier, Darkness, Spirit Link
Useful Mobility Utility: Speed-Totem, Roar, Timer Spiral, Gateway
Hero/Lust usage: Last intermission (around 30% boss health)
This guide has been updated for ![]() Awakened in Season 4 of Dragonflight.
Awakened in Season 4 of Dragonflight.
With the item level curve of Season 4 and there not being any affixes means that the fight should be quite similar to when it was first released. Any further updates needed for Awakened tuning will be made as soon as possible.
Mechanics
This is the core ability of the fight that consists of several abilities at once. The current tank will be marked with a large circle that needs to be soaked by all players without the Overheated debuff. All players hit will gain a large absorb shield that needs to be healed up. When healed, every player will drop a circle on the ground that explodes after a few seconds, dealing a high amount of damage to anyone hit.
Additionally, it marks every player with Emberscar’s Mark, which prevents you from soaking this ability again until the next time you are in Phase 1! It will also give you beneficial buffs during intermission.
It has to hit at least 4 players or Smolderon will gain a 10% damage done buff!
The Tank who previously got hit by Brand of Damnation, instead of gaining absorb like everyone else that got hit, will instead gain a Searing Aftermath debuff that explodes after 6 seconds and deals high damage that is reduced based on distance! Simply run away from the raid.
Half of the raid will get targeted by this at the same time when Brand of Damnation is cast. This means that players with overheated are not going to soak the Brand, but instead they have to spread out to not inflict damage with the Overheated circles! After 10 seconds, the players explode, sending Fire tornadoes around them that need to be dodged.
Note: You can’t get Overheated twice during the same Phase 1.
Random swirls that need to be dodged and leave a puddle on the ground. Forces your raid to stack up most of the time to bait them, to keep the area cleaner.
Strategy
This is one of those fights with only a few abilities, similar to Sludgefist, Magmorax and Guardians, however this boss is very difficult to execute and extremely punishing on mistakes.
Expect a heavy healing and damage check!
Phase 1
Positioning:
Start the fight with everyone stacked, close to the edge of the room. Keep the boss there for the entire fight and just move along the edge when magma puddles force you to move.
Overheated and Brand of Damnation combination:
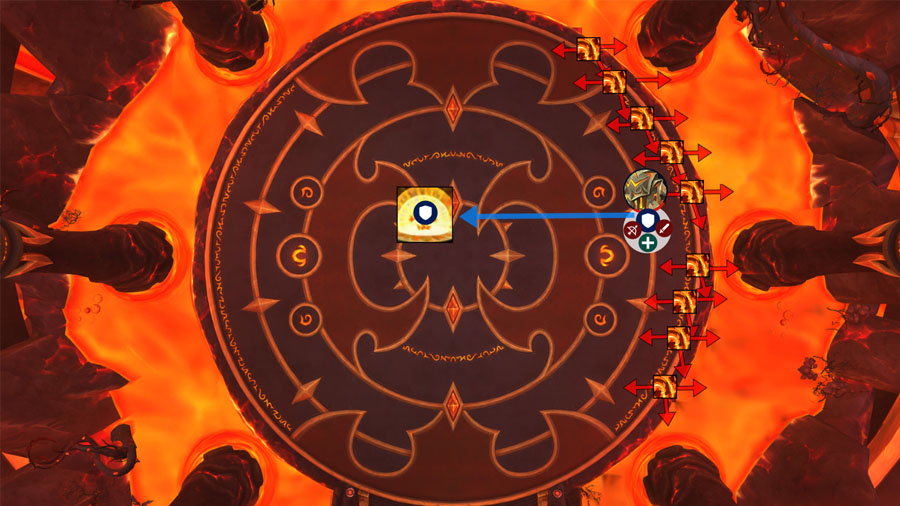
Half of the raid will get Overheated, meaning they cannot soak Brand Of Damnation (Tank circle) and they should move out of the raid before they explode and send out tornadoes everywhere! Currently it's unsure how the final version will be, in terms of the tornado pattern and amount of tornadoes players send out, but there are potential formations that could help deal with this ability.
The other half of the raid that did not get Overheated, needs to quickly run to the tank and use personal damage reduction cooldowns; using AMZ, Barrier, Darkness or Spirit Link is great here, make sure to assign those if available!
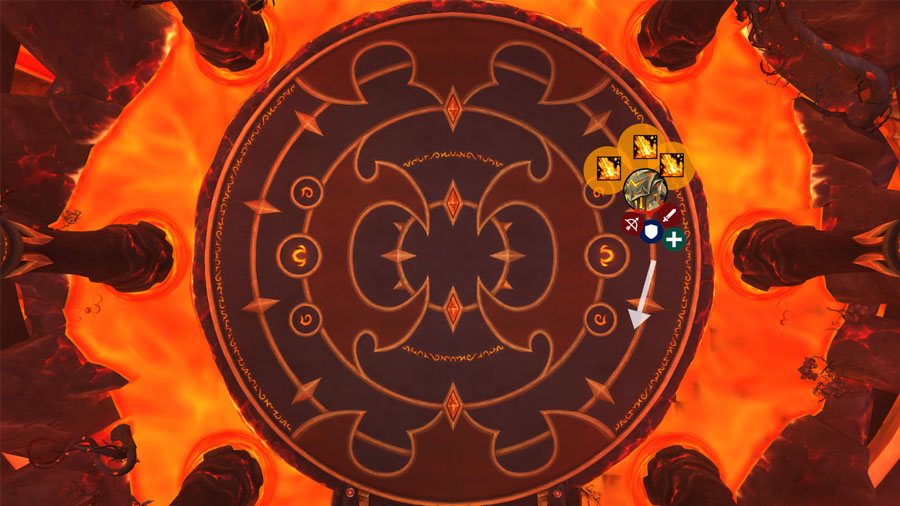
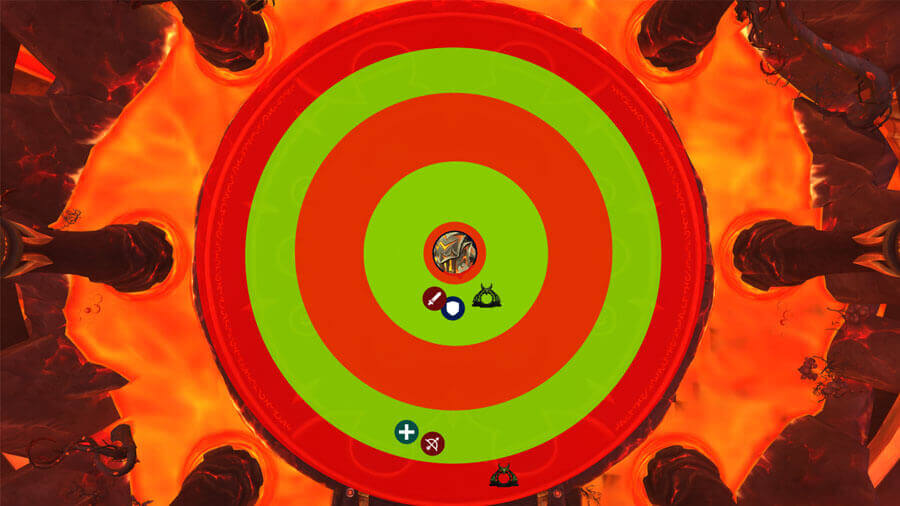
Here is an example of the potential combo formation:
If you have Overheated targets hug the edge of the room, this will guarantee that several tornadoes are shot outside of the map and you will have to dodge way less compared to having everyone just spread around the boss and hope for the best outcome.
Because the circle does not inflict heavy damage, you can also stack approximately 2 players on top of each other to reduce the space needed.
After the soak, the raid will just stand still until they start dropping the circles on the ground that they get after the absorb is removed. You can just sidestep out of them.
The Tank simply needs to quickly run towards the middle of the room to explode with the Searing Aftermath debuff.
You will repeat this combo again, but now all the players that did the tank soak on the first cast, will get Overheated, and players that had Overheated the first time, will now have to do the tank soak instead.
Intermission
After Smolderon has used his combo twice, he will enter intermission.
Every player will get knocked backwards, away from the middle, and spawn several orbs (5?). Only players that did the tank soak will spawn orbs, but ideally that is every player in the raid.
Each orb gives 20% damage done and 10% healing done for 20 seconds, and it stacks! However, you cannot extend the duration by delaying the pickup, so you want to pick all of them up quickly. When doing so, pay attention to your health as each orb deals a low amount of damage when picked up, so, if you are very low on health do not run into 5 orbs all at once.
Players can only see their own orbs and nobody else can interact with them except the player they belong to.
If an orb reaches the boss, it will give him 1% increased damage for the rest of the fight.
While picking up the orbs and dealing damage or healing, you are also playing a dance game similar to the Soulrender Dormazain fight in Sanctum of Domination.
Those safe spots keep changing during the intermission and require fast reactions, speed buffs, warlock gateway usage and anything else you can use to stay in the safe spots.
Once it's done, you go back to Phase 1, doing exactly what you did the first time, but now Smolderon has his damage buffed by 10%, plus 1% for any orb you failed to soak during the intermission!
At the very end of the fight, it's worth skipping the soak and buffing the boss by 10% if the raid’s health is not stable. You will have to make sure the tank survives the hit, using strong externals and blessing of protection will help achieve this.